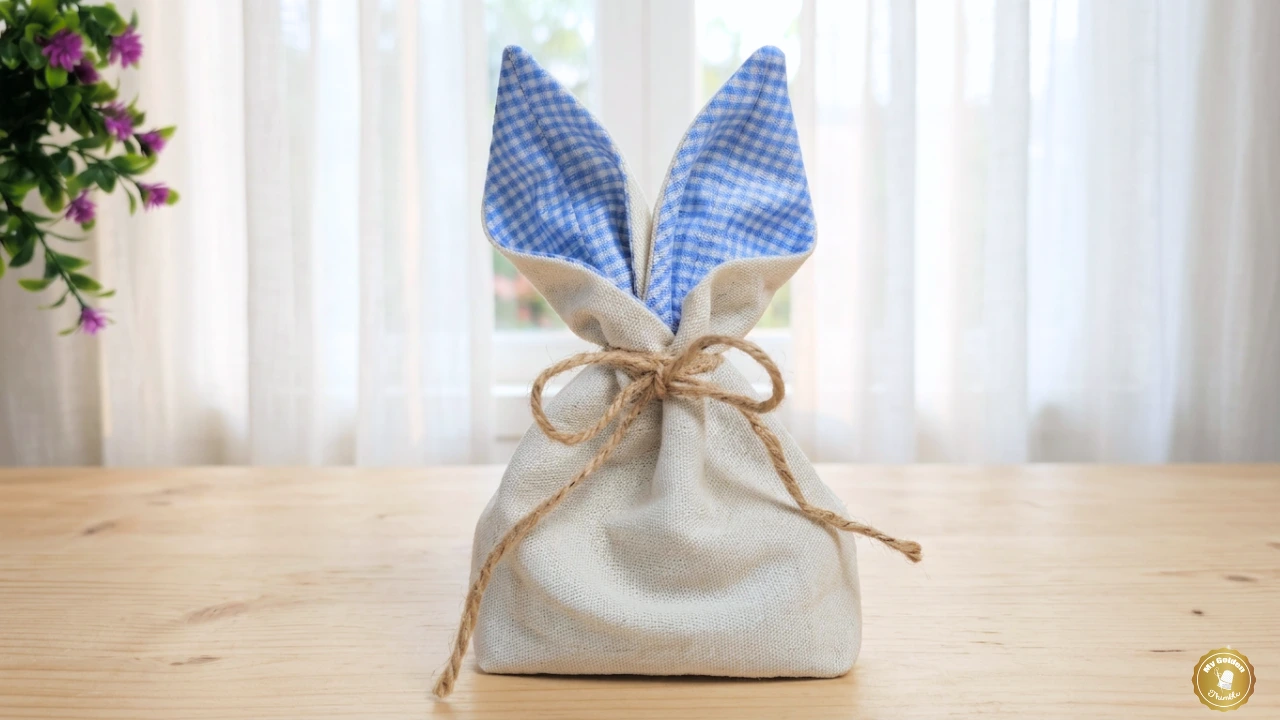
Make a beautiful Easter Bunny Wreath DIY using only leftover materials!
Spring is just around the corner, and our home decor DIY needs to celebrate that. Today, I am teaching you how to make this adorable Fabric Bunny Wreath.
The best part of this tutorial is that you will get to use all those scraps you’ve been storing away! Give a second chance to those fabric leftovers and discover how you can transform them into something beautiful.

NOTE: This post contains affiliate links, which means that if you make a purchase using one of the links in this article, I may earn a commission at no extra cost to you (To know more about this, click here.)
About a million tutorials will teach you how to do projects out of fabric scraps. We all have a hard time parting with those pretty fabric’s leftovers.
And this week, while I was scrap-busting some spring color fabrics, I came up with this cute bunny wreath idea. This takes almost no technique, and it is a pretty relaxing sewing project.
And girl, do I love scrap busting.
It has no science and requires the most basic sewing machine stitches knowledge. You can put some music, a podcast, or a cool background easy-to-follow Netflix shows and just get sewing.
In the end, you will end up with a completely new fabric. Which I assure you, everyone will love.
This bunny wreath diy is also a great project for kids to make on their child-safe sewing machines. So run to your scrap bin and pull out the brightest colors because we are making the cutest bunny ever!
How to decorate a DIY Easter Wreath?

Use your creativity to add your design touch to this project. You can use fabric paint, mini plastic eggs, bows, ribbons, glitter glue, decorative letters, and even add a pompom bunny tail!
These are the perfect projects to experiment with. So don’t be afraid to mess it up and just go with it.
Mix and match materials as it looks incredible with scrap-busting projects. You can glue different buttons and even hang some diy tassels on them.
Another cool thing to do is reuse materials like leftover yarn, and why not? Use fabric rag strips to make it more interesting.
Where can I hang the Bunny Wreath DIY in my home?

The to-go place to hang such a lovely wreath like this one is your main doorway. It is the traditional place to hang a Christmas Wreath, for example.
And yes, of course, it will look amazing in your doorway.
But don’t stop just there. Wreaths can also be hung in windows or decorating walls in your living room. It will also look amazing over the mantel or on a shelf.
Do you have an Easter party?
These wreaths can be a great decor for the back of your chairs!
My favorite wreath hanging place? Over a decorative mirror.
What size should the wreath be?
The ideal size of a wreath is 13” in diameter.
You can make it any size you want. But in this tutorial, we will use this size, which fits perfectly to the center of a door.
Don’t limit yourself to this size, though. A small wreath will look very cute too.
I love the holidays and the excuse (not that I need one) to make gifts for my friends. So don’t forget to make one for your loved one who loves colorful and cute celebrations like this one. I am sure they will love it.
What colors should I choose for the Decorative Spring Wreath?
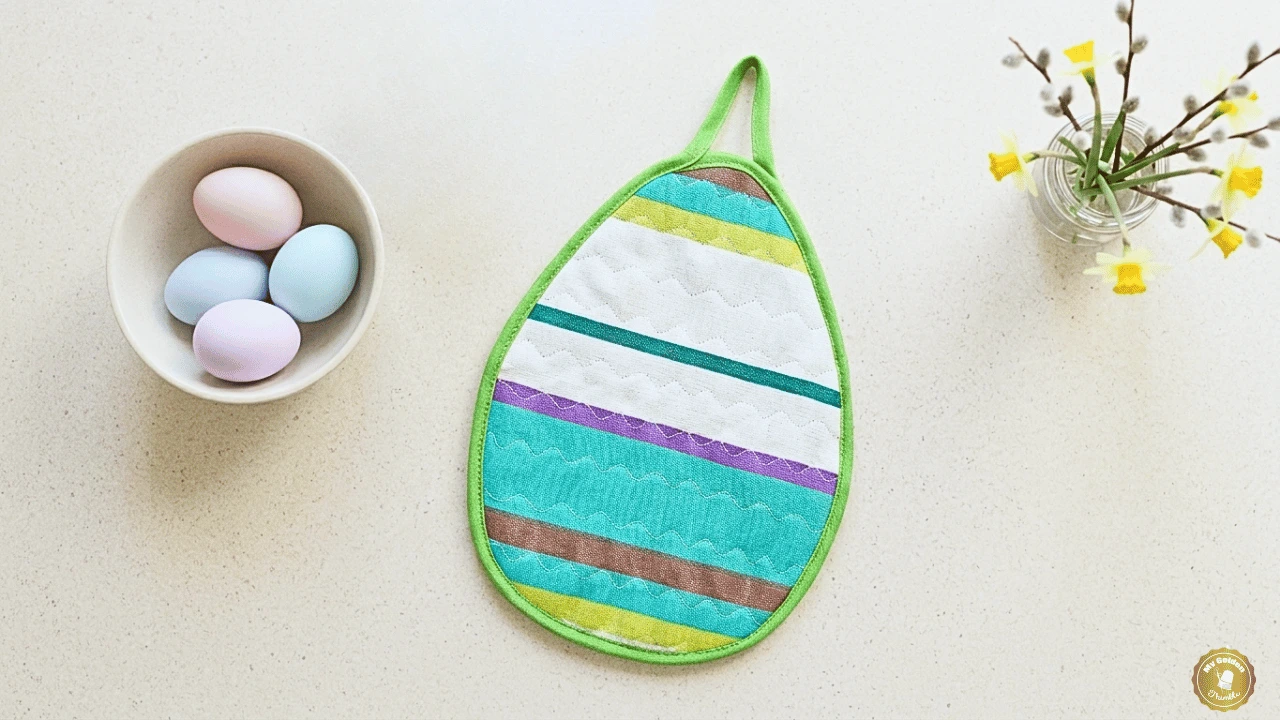
Rainbow colors, or pastel colors, are also an excellent option to use on your easter wreath. Choose polka dots, stripes, flowers prints, and primary colors like yellow, blue, pink, green, and purple.
These colors are beautiful and cute to see together, plus they are easy to see when our children are looking for easter eggs in the garden.
Because of course, the first thing we think of when we hear Easter is the colorful eggs of this holiday, and of course, they are very colorful, eye-catching, and cute!
So our wreath should definitely match that vibe.
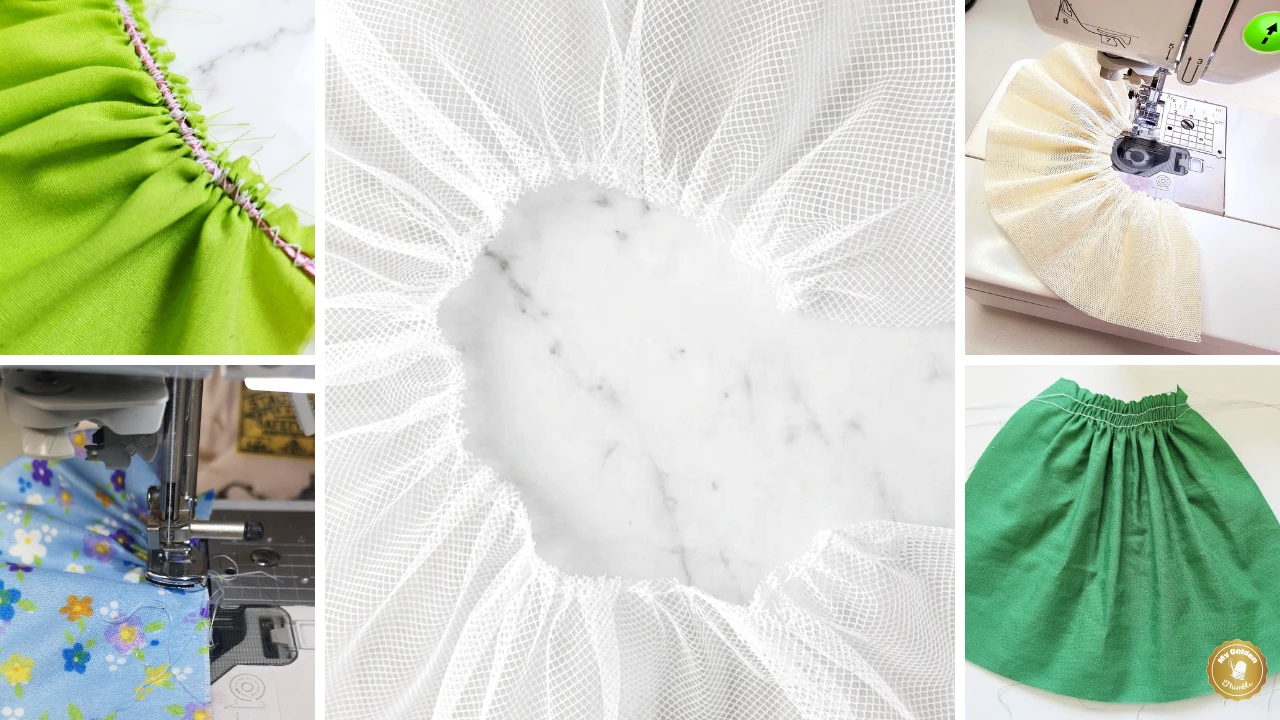
How to do Scrap Busting?
To make new fabric using the scrap-busting method, you need to take different scraps of fabrics and sew them together to form a new canvas.
This may seem complicated, but it is much easier than it looks. The scraps are irregular, and you are free to arrange the fabric as you like to form shapes that will make a new brand fabric canvas to work with.
You can just use rectangular, triangular, or irregular shape scraps and join them with a straight seam.
Materials:

- Light/medium fabric scraps
- Heavy fabric (can also be a scrap but must be a minimum of two 6″x8″ pieces)
- Fusible interfacing
- Scissors
- Sewing machine
- Thread
- Cardboard (a 13 ½” x 13 ½” piece is enough)
- Pattern paper (can be leftover, as we only need a 6 “x8” piece)
- Craft Knife
- Cold silicone glue.
- Fabric stuffing
- Iron
How to make a DIY Easter Bunny Wreath for Home Decor?
1. Cut out the base of the wreath.

Make a 13 1 ⁄ 2″ circle and then draw a smaller circle measuring from the outer edge in 3 ¼”.
Then cut out the inner circle with a cutter. Now you have your base for the wreath.
2. Assort your scraps.
Choose the colors you like best, in this case, bright ones, for the Easter celebration.
Remember that you can mix and match colors, textures, and patterns to achieve a stunning and original wreath and all the accessories you want.
3. Create your new Fabric

There are a lot of techniques to make fabric with scraps. Try to make small blocks of fabric, about 4″x6″, with all the pieces of scraps.
I cut out rectangles and squares of different colors and then cut diagonally to vary the design and shapes.
The only thing you need to do is start joining your scraps together with a straight line and then join those pieces to another piece of scrap.

You can also join several square scraps together to form a long strip.
Always have your scissors handy because when sewing and joining the pieces together, you can trim off the excess to make the wrong side of the fabric as smooth as possible and turn the seams to one side.
You can use your tape measuring to measure the spaces of your fabric that you want to join and look for a piece of that size to make the most of your fabric.
4. Press
Press the seams so we know how flat our color block is getting and if the seam is well done.
5. Press fusible interfacing.

Depending on the size of your color blocks, you will need approximately 13 blocks of patchwork fabric.
Press fusible interfacing on the back so you won’t end up with fraying seams. Trying to have the seams organized and as smooth as possible.
This is important to do because it keeps fabrics in place and prevents fraying.
6. Ears pattern

To add some bunny ears to our beautiful easter wreath, draw an 8″x6″ rectangle on pattern paper.
Mark the half of the 6″ sides and join with a curve from the lower side to the top center mark.
Mark a smooth, continuous curve at the top, which will be the tip of the bunny’s ear and cut.

Finally, fold the lower corners to the center and place the base of the wreath at the height you want the ears, mark, and cut.
Open your pattern and add seams of 1/2″ on the sides and 1 ½” on the bottom.
7. Scrap busting and cutting out the ears.

To make the bunny ears with my scrap-busting fabric, I made two 10”x7” blocks.
I cut a pair of ears on this fabric. Also, I cut another couple of batting to give structure and another pair for the lining.
8. Use filling to give your wreath volume.

Take your scraps-busting fabric blocks and put them on your base to place a line where you want to join your pieces together.
Start joining the blocks until you get a donut shape fabric.
Place this new fabric with scraps over the outside edge of the wreath.

Glue the fabric donut down to the entire outside edge of the base.
Them, take your stuffing and insert it as you start gluing the inner part of the donut to the base.
Do this step until all the inside, and outside edges of the base are secured.
For stuffing, you can use light/medium weight fabric to take advantage of this project and get rid of all the scraps you no longer want!
9. Attach the bunny ears

Once the front part is glued and stuffed, you can attach the ears.
Join the main fabric with the batting, making a basting stitch around the edge.
Then place the lining over the main fabric with the right sides of the fabrics facing together. Sew the sides at ½”, leaving the bottom open.

Make some cuts in the curve so it will turn better.
Now just need to fold the lower sides of the ears to the center and sew at 1″ to hold and make a bunny ears shape.
Do the same with the other earpiece (mirrored) and glue it to the wreath.
10. Close the back

The back of the wreath won’t be visible, so you can use a large piece of scraps (fleece or felt that doesn’t fray easily) and cover the back of the wreath.
11. Add details
You can also add other elements such as a ribbon or fabric bow, paint, pom-poms, and glitter glue.
You can make a stencil and decorate your easter wreath with a holiday pattern or add a few foam letters with seasonal colors.
Unwind creativity!
What did you think of this door wreath proposal? I would love to see yours, so don’t forget to tag us on your social networks.
The final result is incredible and a good alternative if you like to reuse and recycle materials.
Just imagine all that we can do for each season.
Not to mention that making this wreath is a much cheaper alternative than buying a new one in the store.
And you help the environment, avoiding waste in the trash.
If you’re still not convinced by this wreath, you can get inspired by other projects on our site, like the Christmas wreath or our fall wreath.
Psst…Was this article helpful to you?? Please support us so we can keep making awesome tutorials for you by buying us a cup of coffee here. We will be forever grateful!
Don’t forget to follow us on Social Media!!