
The best holidays are coming our way, and that’s the perfect opportunity to make an Interchangeable Home Sign DIY.
Yes, yes, yes!!

NOTE: This post contains affiliate links, which means that if you make a purchase using one of the links in this article, I may earn a commission at no extra cost to you (To know more about this, click here.)
It sounds kind of obvious, but having a “Home” sign in your living room automatically makes you feel in a warm home environment.
The moment I first walked into my home, I saw the empty space beside my stairs; I just knew I had to put something special there.
And I found just the perfect thing.
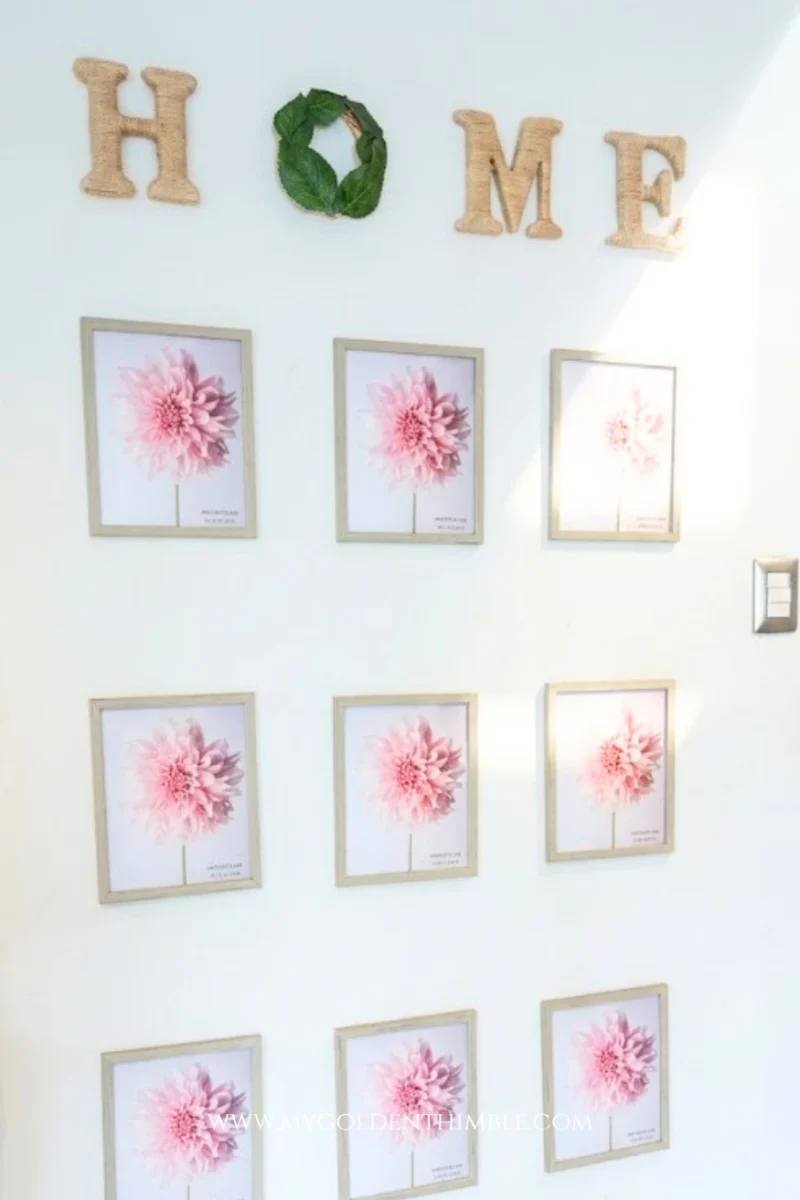
The first thing I did was to hang these 9 frames.
I know you can see that they still have the paper they come with.
I will take care of that later. LOL.
But the thing I want to show you today is this amazing Interchangeable Home Sign DIY I just made.
Best thing?
It was super cheap!! (That always makes me happy).
My Interchangeable seasonal letter will be the letter “O”.
This way I can use it as if it were a wreath base.
You will like this too: Christmas Rustic Wreath DIY
Seasonal Interchangeable Decorations Sign
As I made this Home Sign a couple of weeks ago, I decorated the “O” with a neutral, natural leaf color.
This gave it an amazing contrast with the jute twine.
Now, you might be wondering how you can change the decor on the letters.
That’s really easy.
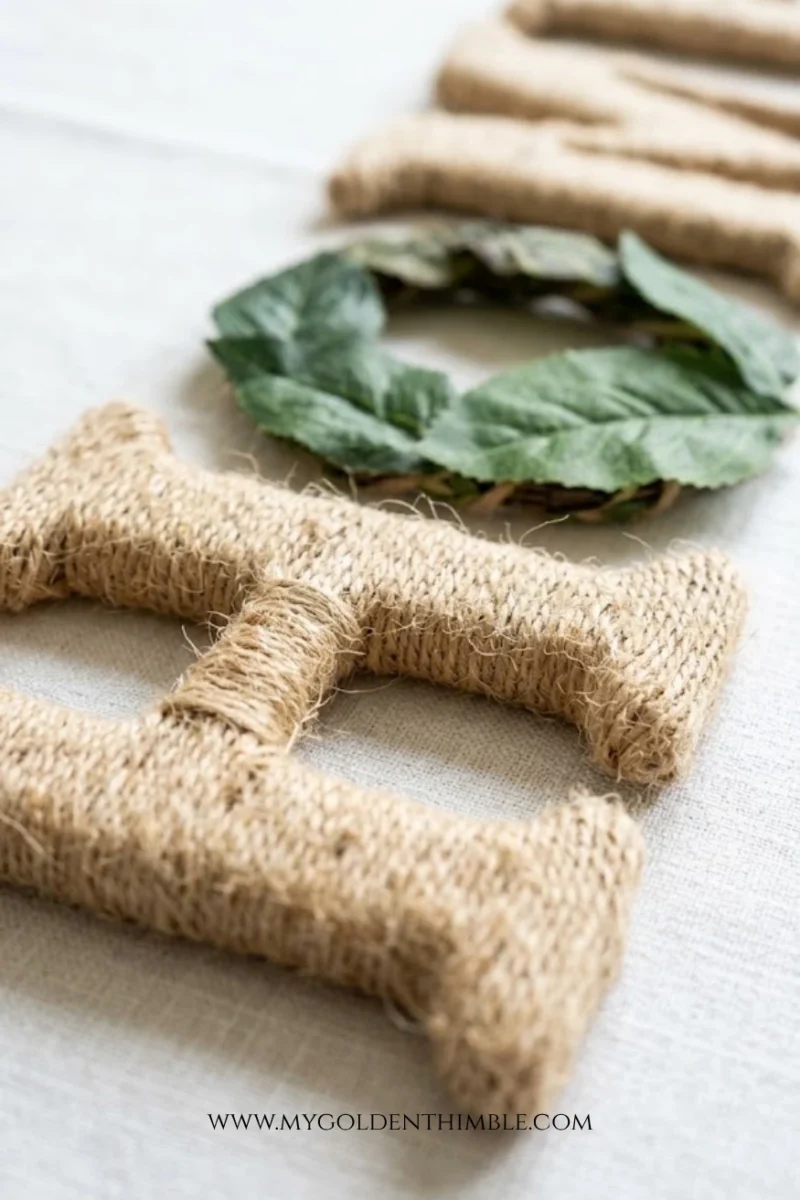
As they are foam craft letters covered with jute twine, you have 2 options.
Use small craft pins, which are almost unnoticeable.
Or use felt material, which will stay in place because of the jute’s rough texture.
I recommend using the pins, as I do in the video tutorial, to be extra sure they stay in place.
Fall Home Sign Decor
I learned this when I made the felt leaves letters for my fall season decor.
Some of these leaves are standing by themselves.
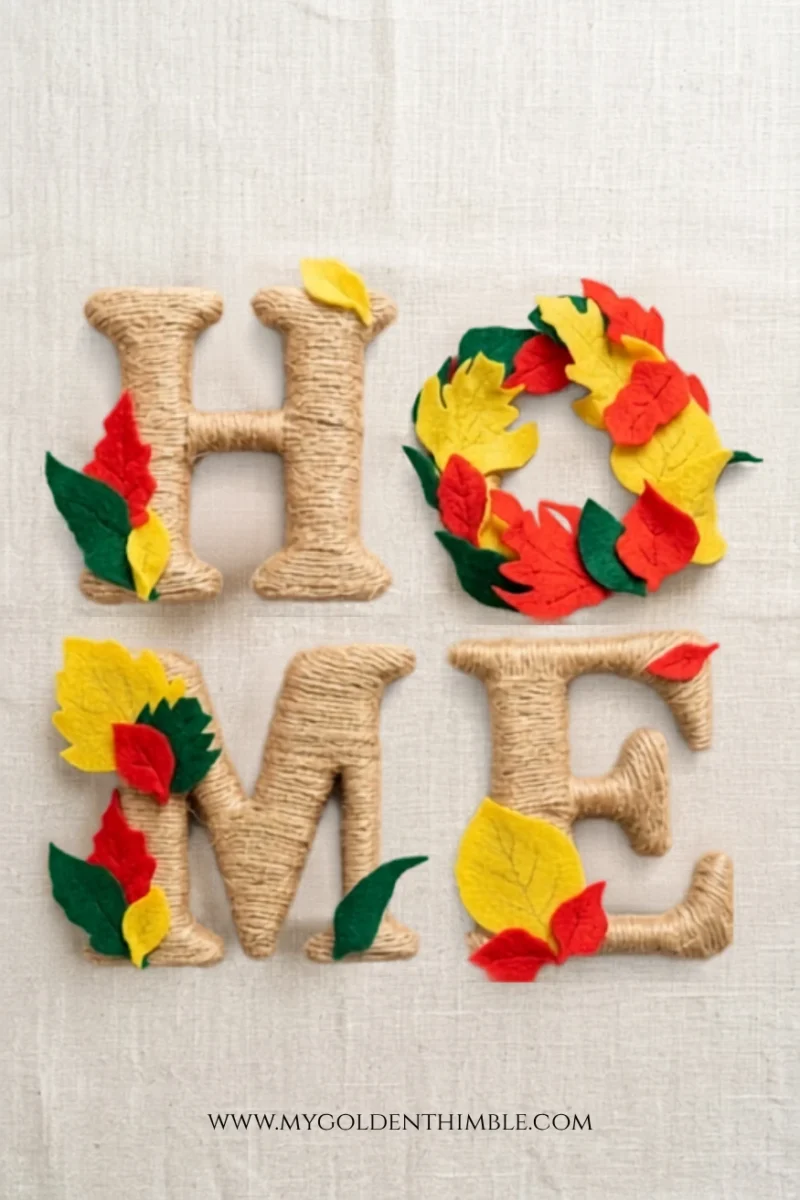
Minus the ones on the letter “O”, because there are just too many of them, and I wanted them to be in a specific position.
To make the fall-themed letters I just hand draw them by looking for “fall leaves shapes” on Pinterest.
I got so excited, and I made so many of them that I ended up putting them over the other letters too.
And the result was really fantastic.
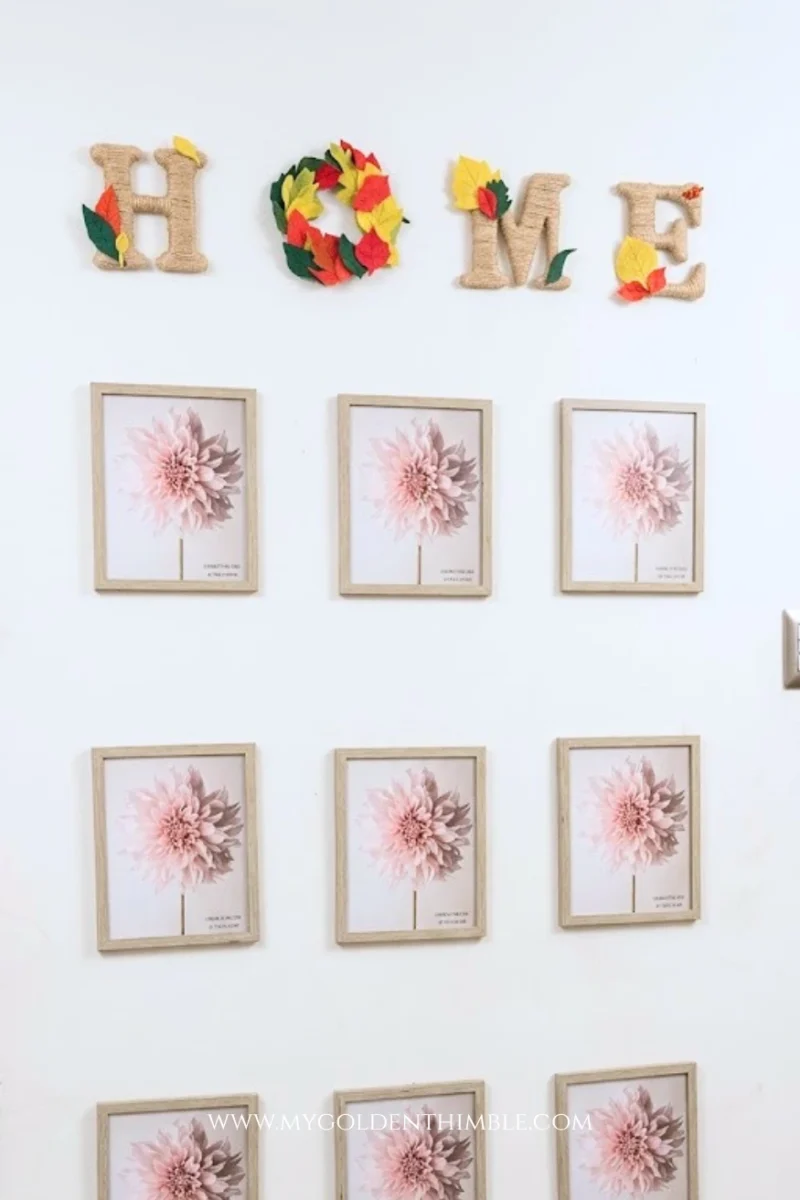
I do wish that I could have the pictures for the frames soon. I will totally show you the final complete result when I get them.
But anyway, let’s get to how to make your sign.
Interchangeable Home Sign DIY
To make your own home sign, you will need foam letters spelling the word Home, all in capital letters.
You will also want to buy a jute twine cone. You are going to have so many leftover yards, but that only means more twine for other projects.

Yei!
I found out that I also needed a glue gun or cold glue, if you want.
This will keep the twine in place as you wrap it around each letter.
Keep in mind that when you are wrapping each letter, you have to apply a little pressure so it doesn’t stay out of place.
Start by wrapping as much as you can, then fill in the gaps with smaller cuts of twine.
I attached these letters to my wall with a glue gun.
They are so light that they needed almost no glue, and I didn’t have to damage my wall.
And that’s basically it.
Now you just have to get creative with your decorations, either for one or multiple letters, as I did here.
Both examples look pretty good.
I hope you liked this tutorial. If you did, please tell me in the comments below what kind of decorations you would like to put in your interchangeable home sign DIY.
Don’t forget to follow us on Social Media!!





Thank you for sharing such a great idea!
I am so glad that you liked it!