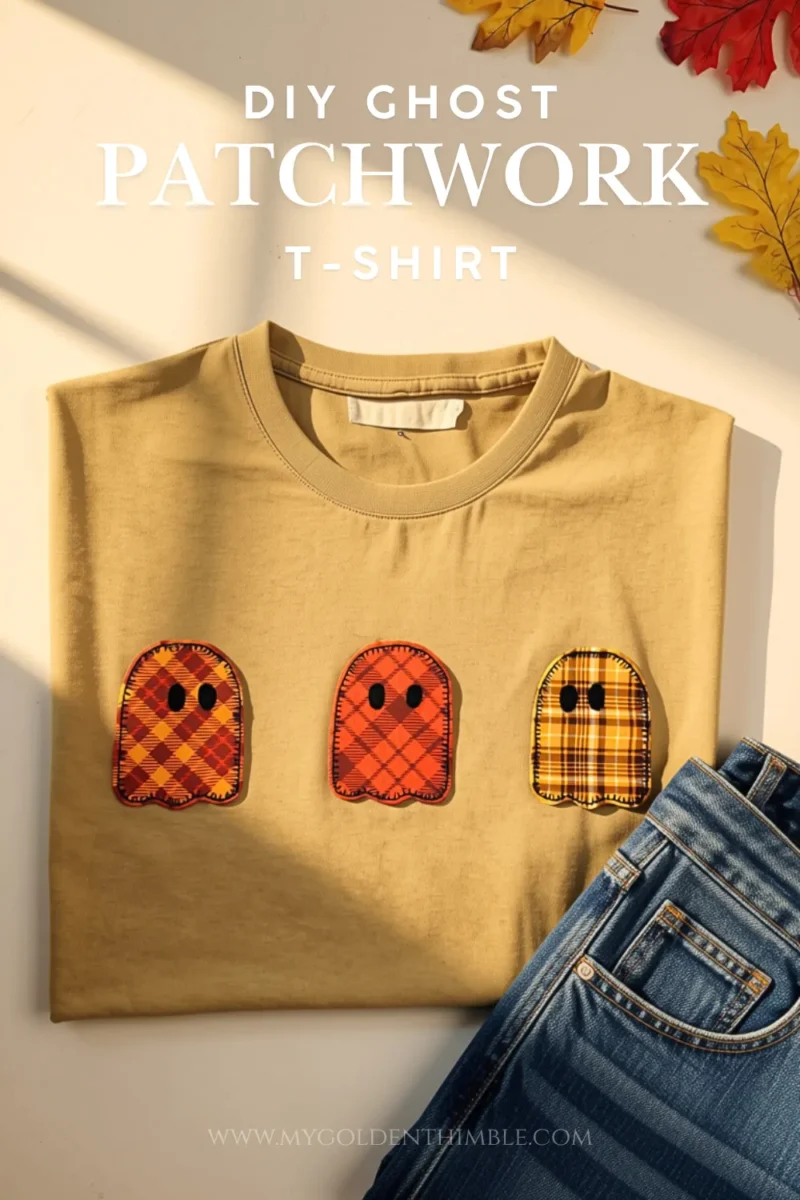
Let me teach you how to make the quickest and easiest Ghost Appliqué T-shirt with a Free Sewing Pattern!!
I might have discovered a new way to get people excited about patchwork, and it involves three little ghosts, a plaid fabric collection, and two men who apparently wanted to steal my Halloween T-shirt!
Let me explain.
NOTE: This post contains affiliate links, which means that if you make a purchase using one of the links in this article, I may earn a commission at no extra cost to you (To know more about this, click here.)
When I got my fabulous jelly roll pack of fall fabrics, I also picked up a fat quarter bundle full of the cutest autumn prints.
I was absolutely dying to use them!

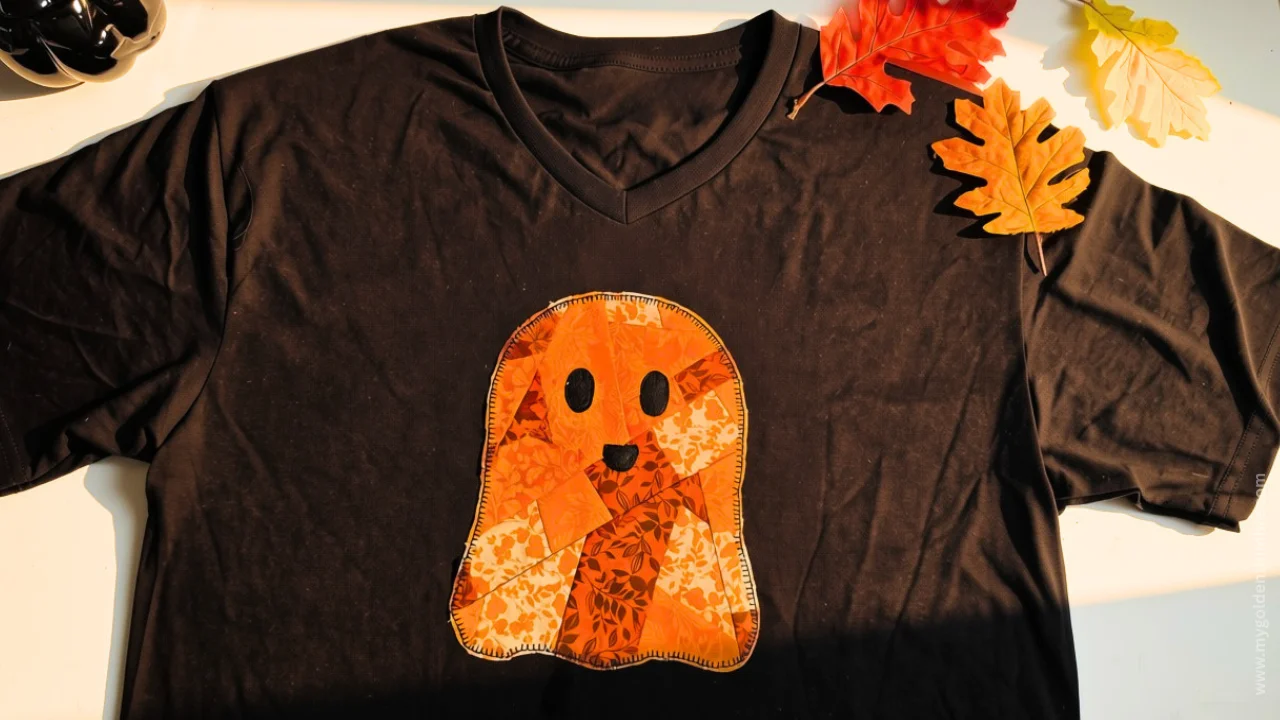
I already had this little ghost design in mind, and I wanted to make something quick and simple that would be a little similar to my first ghost shirt, but completely different at the same time.
That is how this Ghost Appliqué T-Shirt came to life.
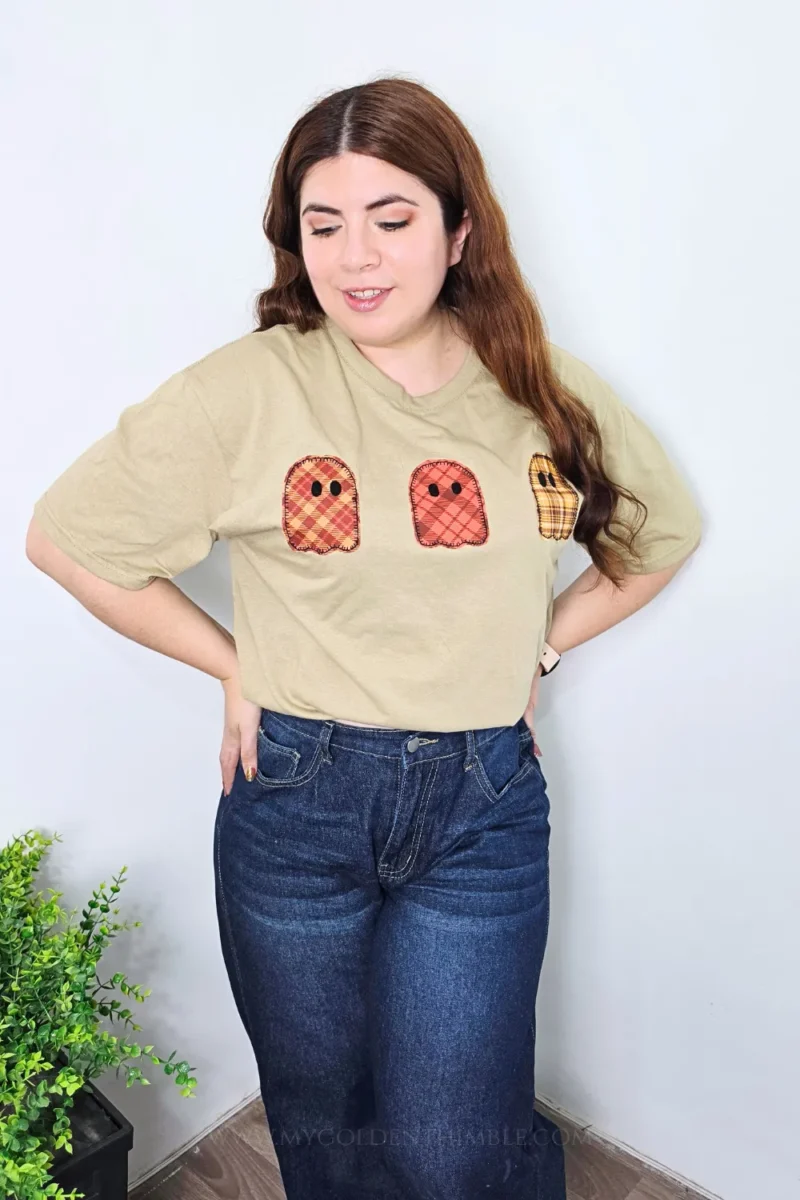
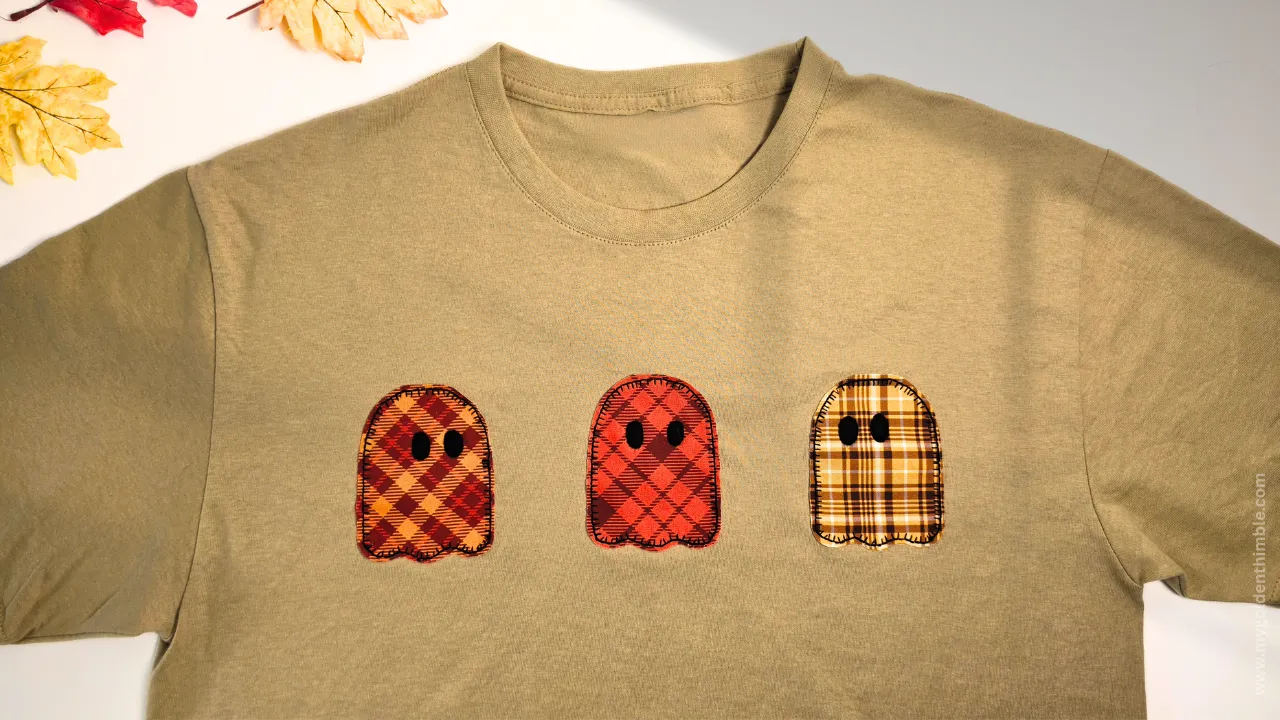
Instead of making one larger patchwork ghost, I decided to make three mini ghosts using different plaid fabrics.
The warm orange, yellow, and brown prints were perfect for the season, and I loved how the three little characters looked lined up across the front of a simple T-shirt.
And hear this. This project was so easy to sew!
I used a raw-edge appliqué technique to attach the ghosts directly to an existing T-shirt, finishing their edges with a black decorative blanket stitch.

No complicated garment construction. Just a plain T-shirt, a few pieces of pretty fabric, and a little Halloween creativity.
Is This A Men’s T-shirt?
Now, here is the part that made me laugh.
When one of my male friends first saw the shirt, his reaction was basically, “Meh.” You know, not particularly impressed.
But then he tried it on.
Suddenly, he thought it was SO cool he wanted to steal it, and honestly, I couldn’t disagree. Then another male friend saw the design and told me he would totally wear one, too!
So, have we discovered a crossover guilty pleasure between men and patchwork?
Because I did not have that on my Halloween bingo card, but I am here for it.
I think this is such a fun reminder that handmade clothing does not have to fit into a particular style or gender.
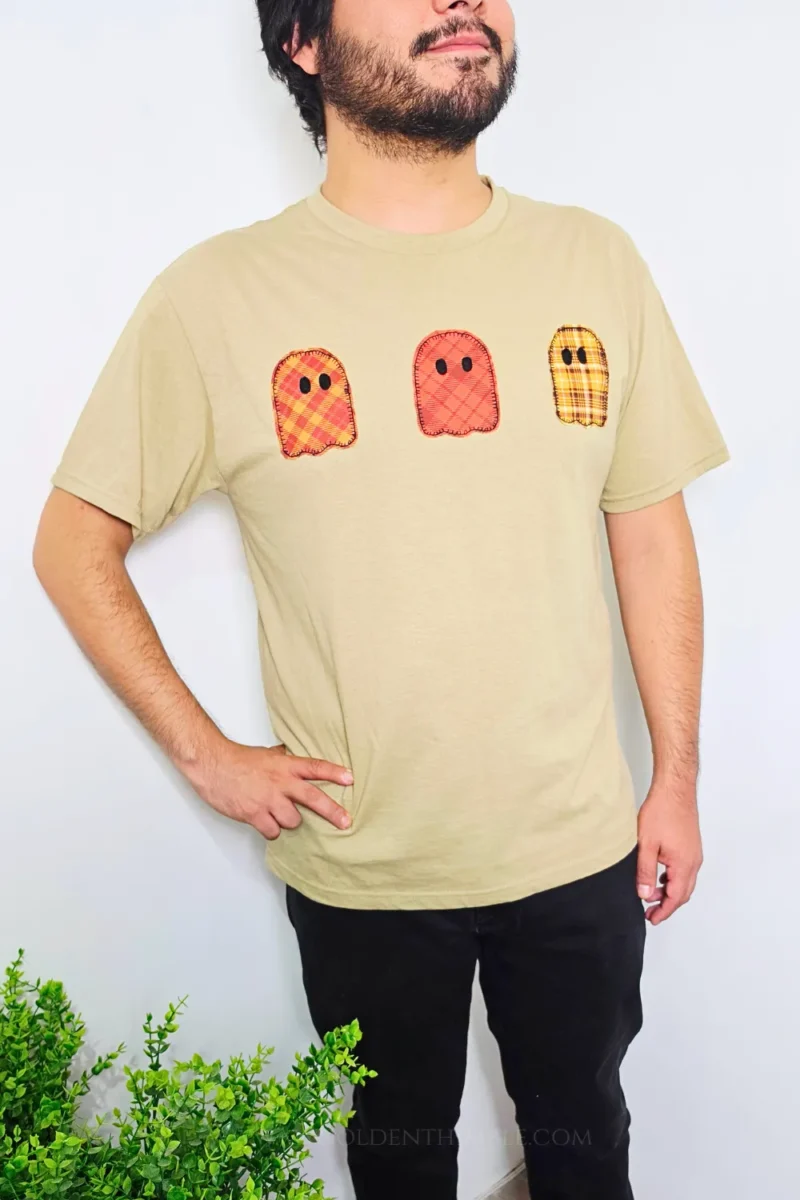
A cute little ghost shirt can be for anyone who enjoys a playful outfit, and I can absolutely see this design looking adorable on both men and women.
If you loved my first ghost shirt, you will probably enjoy this version, too.
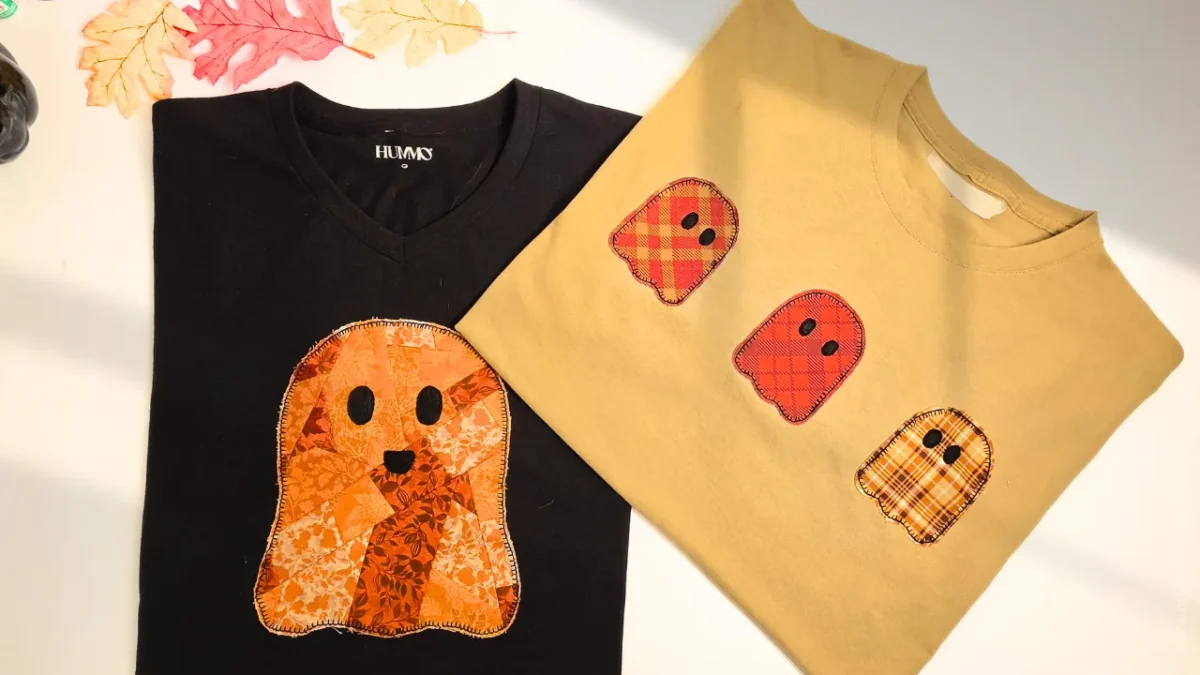
The two projects use the same ghost idea but different appliqué approaches, so you can choose whichever technique sounds more fun to you.

And because I clearly cannot get enough of ghosts, this is not going to be my last ghost sewing project.
I have a soft spot for these little spooky cuties, and I hope you do, too!
What Is a Ghost Appliqué T-Shirt?
A Ghost Appliqué T-Shirt is a simple way to decorate a plain shirt by sewing fabric shapes onto its surface.
For this version, we are using three mini ghost shapes cut from fall plaid cotton fabric.
The ghosts measure approximately 3 inches wide by 4 inches tall each.

Their faces are made from small black felt pieces, and the raw fabric edges are secured with a decorative blanket stitch.
Raw-edge appliqué means that you do not fold the edges of your fabric shapes underneath before attaching them.
Instead, you stitch around the shapes to secure them in place.
The exposed edges give the design a casual, handmade look that works beautifully for this playful Halloween project.
Learn more about Raw Edge Appliqué in my free guide here.

You can use this technique on more than just T-shirts, too. Imagine these mini ghosts on a sweatshirt, a tote bag, a fabric pouch, or even a little Halloween pillow!
If you are looking for more seasonal inspiration, visit my collection of: Halloween Sewing Projects.
Materials You Will Need
One of my favorite things about this project is that you do not need a long list of special supplies. Most of the materials are basic sewing-room essentials.
My Material Recommendations:

- Classic fit for loose comfort
- A great choice for everyday or work wear
- Heavyweight tee perfect for layering or on its own


- YOU WILL GET: 40 pcs cotton fabric bundles, each has a different design, various designs and…
- One plain T-shirt
- Fall plaid cotton fabric or quilting cotton for the three ghosts
- Black felt for the eyes and mouths
- Lightweight sewing stabilizer for the back of the T-shirt
- Matching or coordinating sewing thread for the appliqué fabric
- Black sewing thread for the decorative blanket stitch
- Sewing machine with a decorative blanket stitch
- Regular sewing needle suitable for your T-shirt fabric
- Fabric scissors
- Small trimming scissors for cutting the felt facial details
- Paper ghost templates from the free pattern
- Sewing pins
- Iron and ironing board
- Optional fabric marker or chalk for marking placement
A little fabric tip: I used new fabric from my fall fat quarter bundle for this version, but you can absolutely use fabric scraps from your stash. This is a lovely way to use small pieces of fabric that are too pretty to throw away.
Tips for Making Your Ghost Appliqué T-Shirt
If possible, pre-wash your T-shirt to prevent unexpected shrinkage after sewing. Use plenty of pins to keep the small felt ghosts in place, especially on knit fabric, and remove each pin as you sew toward it.
Take your time cutting the tiny eyes and mouths—small trimming scissors can help you make neat shapes. Before stitching on your shirt, test your decorative stitch on a scrap to check its width, length, and overall look.

Don’t skip the stabilizer—it helps support stretchy T-shirt fabric and makes sewing the appliqué outline easier.
Arrange the ghosts however you like, whether diagonally, across a sweatshirt, or with a few extras.
Use your favorite fabric scraps; plaid is perfect for fall, but florals, polka dots, stripes, and novelty prints work just as well.
How to Make a Ghost Appliqué T-Shirt
This is a beginner-friendly sewing project. If you can cut fabric shapes and sew around a curve on your sewing machine, you can make this shirt!
Before you begin, I recommend pre-washing your T-shirt if possible. This helps remove any shrinkage that might happen later, so your finished appliqué is less likely to be affected when you wash the garment.
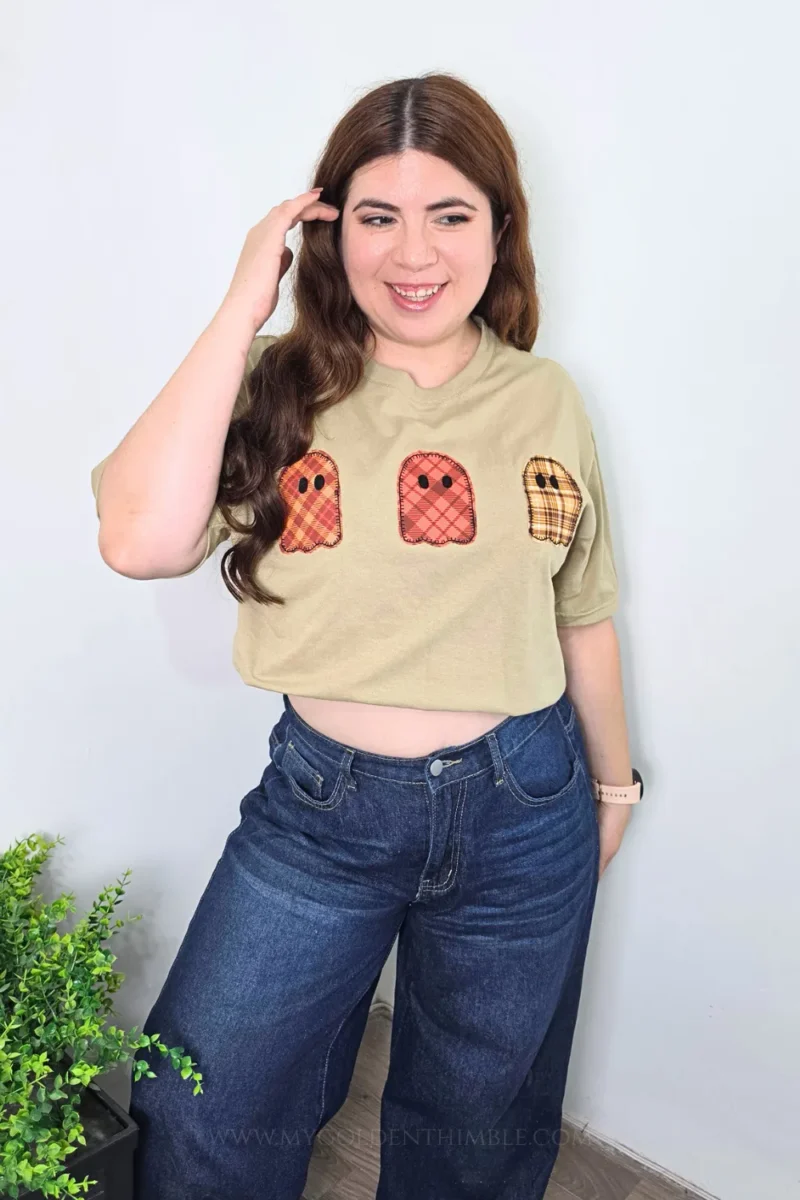
Step 1: Print and Prepare Your Ghost Templates
Start by downloading the free ghost pattern and printing the mini ghost template at its intended size.
Cut out the paper shapes. You will need three ghost bodies for this design, although you can make more or fewer if you want to customize your shirt.
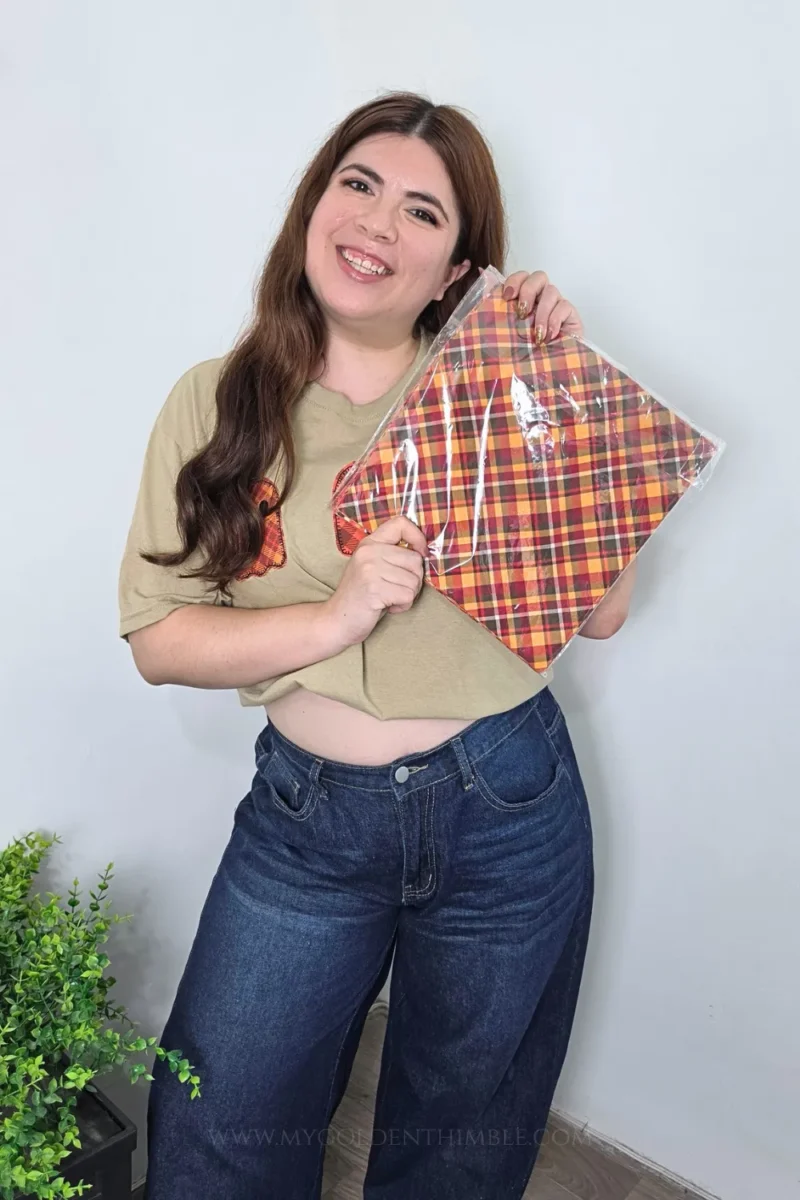
I used three different plaid fabrics because I wanted each ghost to have its own little personality.
You can use coordinating prints, different colors, or even three pieces of the same fabric.
There is no wrong choice here!
Step 2: Cut Out the Ghost Shapes
Place the paper templates on the wrong side of your chosen fabrics and trace around them. Cut out three ghost shapes carefully.
Take your time around the curves and the little scalloped bottoms.
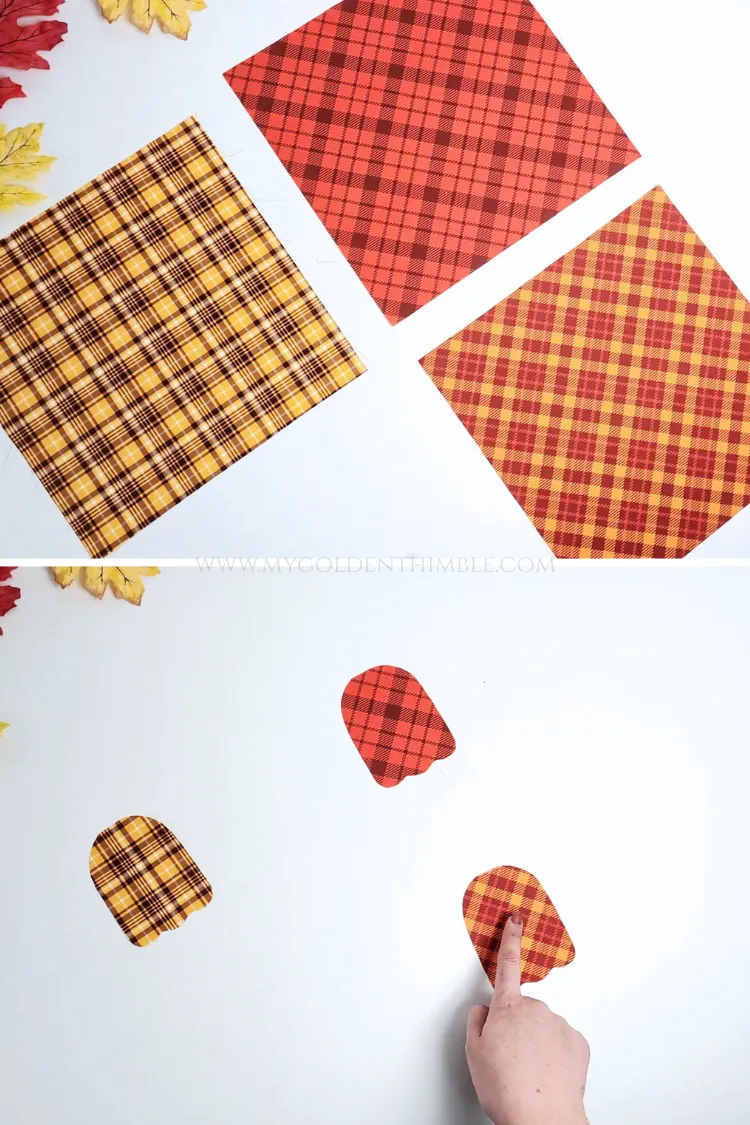
Those details give the ghosts their shape, and neat cutting will make the finished appliqué look much cleaner.
Since these shapes are fairly small, sharp fabric scissors make the job easier. Try not to stretch the fabric while cutting.
Step 3: Cut the Ghost Faces from Black Felt
Now for one of my favorite parts: giving the ghosts their little faces!
For each ghost, you will need two eyes. I used black felt for these details because it is easy to work with and does not unravel like woven fabric.
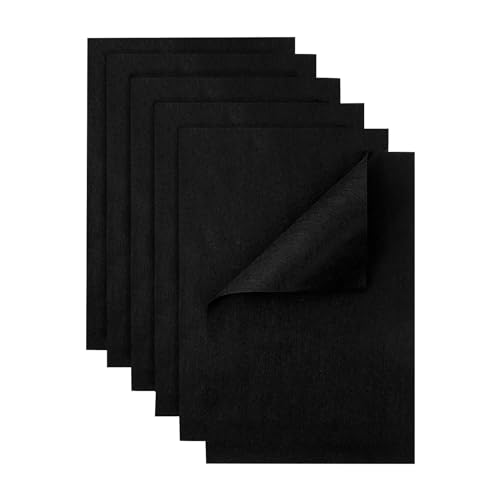
Cutting tiny felt shapes can be a little tedious, so please do not rush this step. I find that small trimming scissors make it much easier to get clean, precise shapes.

You do not need every eye to be perfectly identical.
In fact, a tiny difference in expression can make each ghost look a little different, which is part of the charm.
Step 4: Arrange the Ghosts on Your T-Shirt
Lay your T-shirt flat on your work surface and smooth out any wrinkles.
Arrange the three ghost shapes across the front of the shirt. I placed mine in a horizontal row, with a little space between each ghost.
You can use the same arrangement or experiment with different placements.
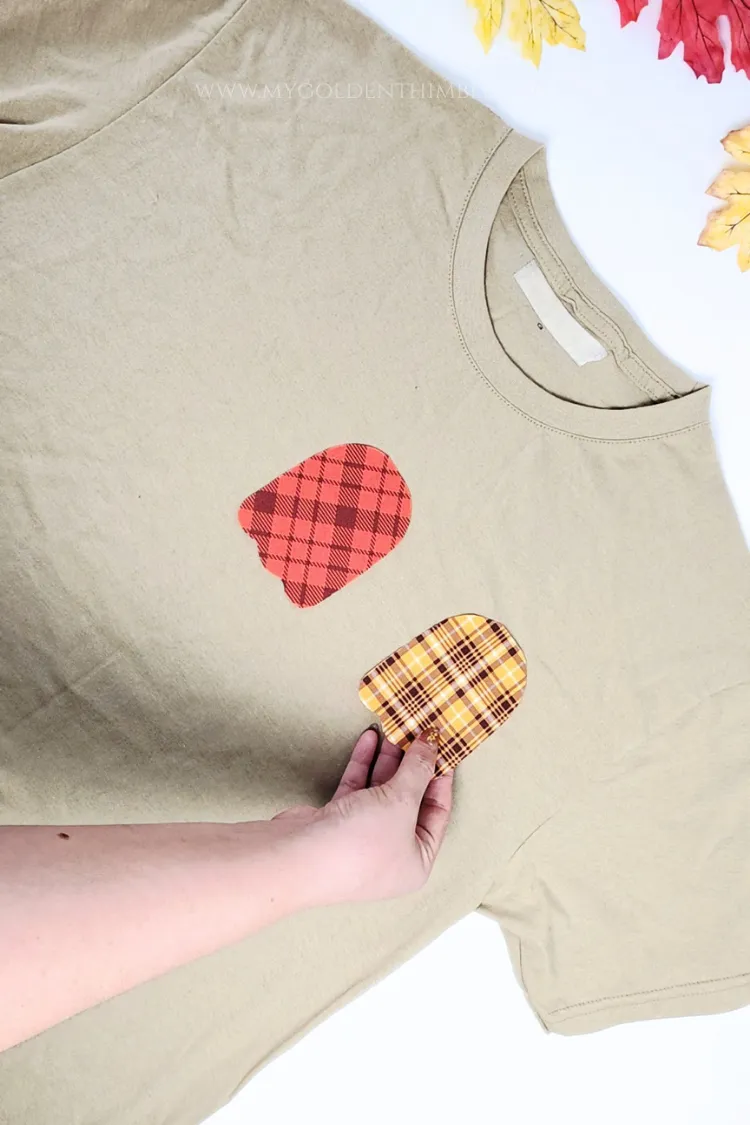
Try positioning the ghosts closer together, spacing them farther apart, or arranging them at slightly different heights.
Take a moment to look at the shirt from a distance before you start sewing. This helps you check the overall balance of the design.
Once you are happy with the placement, secure the ghosts with plenty of sewing pins.
Use lots of pins to keep the shapes from shifting while you sew, especially around the curved edges.
Step 5: Add Stabilizer to the Back of the T-Shirt
This is an important step when sewing appliqué onto knit fabric.
Turn your T-shirt inside out and position a piece of sewing stabilizer behind the area where the ghosts will be attached. Make sure the stabilizer covers the appliqué stitching area.
And make sure it doesn’t fold like mine here!

The stabilizer helps support the knit fabric while you sew, making it easier to guide the shirt under the needle and helping reduce stretching and puckering.
Smooth out the fabric and make sure there are no wrinkles trapped underneath the stabilizer. You want the shirt to lie flat while you work.
When you are ready, turn the shirt right side out again, keeping the stabilizer in position.
Step 6: Test Your Decorative Blanket Stitch
Before sewing directly onto your T-shirt, take a scrap of similar fabric and test your machine’s decorative blanket stitch.
This is one of those little sewing habits that can save you a lot of frustration.
Different machines may produce slightly different results, and you want to see how your stitch looks before committing to the finished garment.
You also have to check out your sewing machine tension.
I used the same stitch settings as in my Ghost Patchwork T-shirt project.

I used black thread for the blanket stitch because I wanted the outlines to stand out against the warm plaid fabrics.
The contrast gives the ghosts a playful, illustrated look.
Check that your stitch catches the edge of the appliqué securely and looks the way you want it to.
Adjust the stitch width or length if necessary, and test again until you are happy with the result.
Step 7: Sew the Ghosts onto the T-Shirt
Now it is time to attach your ghosts!
Place the T-shirt under your sewing machine and begin stitching around the edge of the first ghost using your black decorative blanket stitch.
I left a little bit (about ⅛”) of space between the edge and the stitch to give it that unique look of raw edge appliqué.
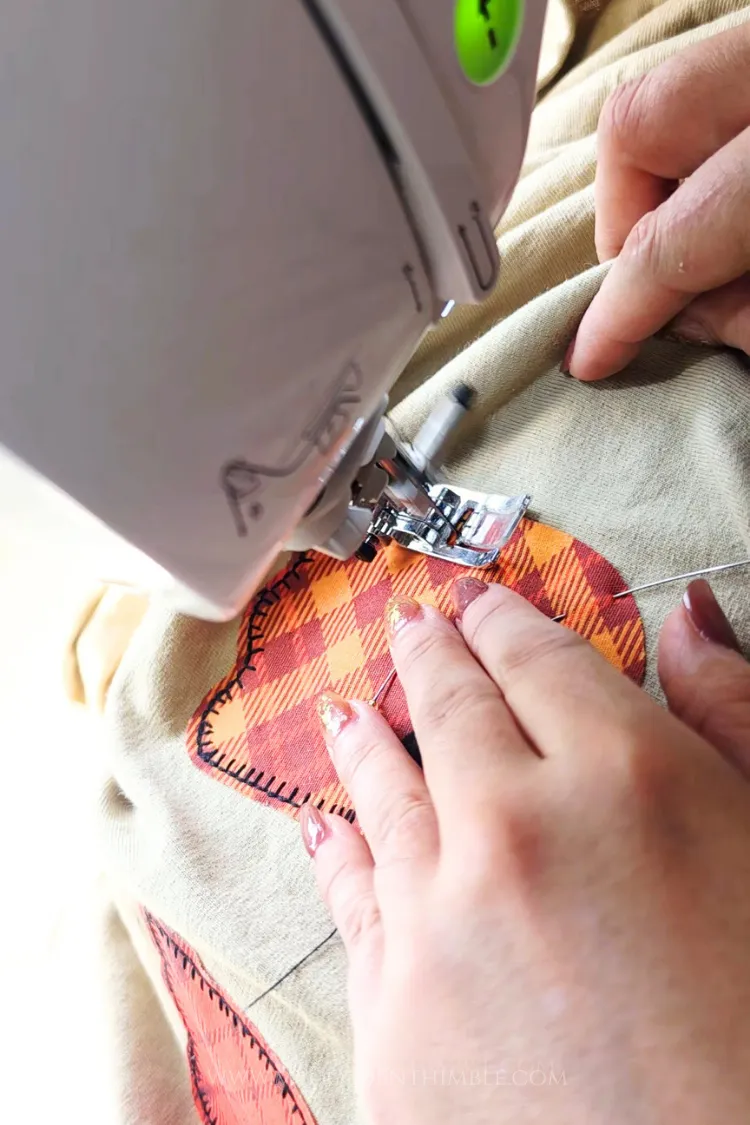
Keep an eye on the fabric underneath as you sew. You want to stitch through the ghost and the front layer of the T-shirt, not through both layers of the shirt.
Continue stitching around the entire ghost, securing the beginning and end of your stitching by going over the beginning of the stitch, overlapping the end and the start.
Repeat the process for the other two ghosts.
My biggest tip here is to take your time. Especially on the curves!!! Pivooooot! This is a small project, so there is no need to rush. A steady pace will help you keep the stitching neat and the edges secure.

Arrange the felt eye pieces on each ghost body until you like their expressions. Once you are happy with the placement, sew the pieces in place using a straight stitch close to their edges.
I used a free motion quilting foot to make it easier to move around.
Step 8: Remove the Excess Stabilizer and Finish
Once all three ghosts are sewn in place, turn your shirt inside out again.
Carefully trim away the excess stabilizer around the stitching, taking care not to cut into the T-shirt fabric or any of your stitches.
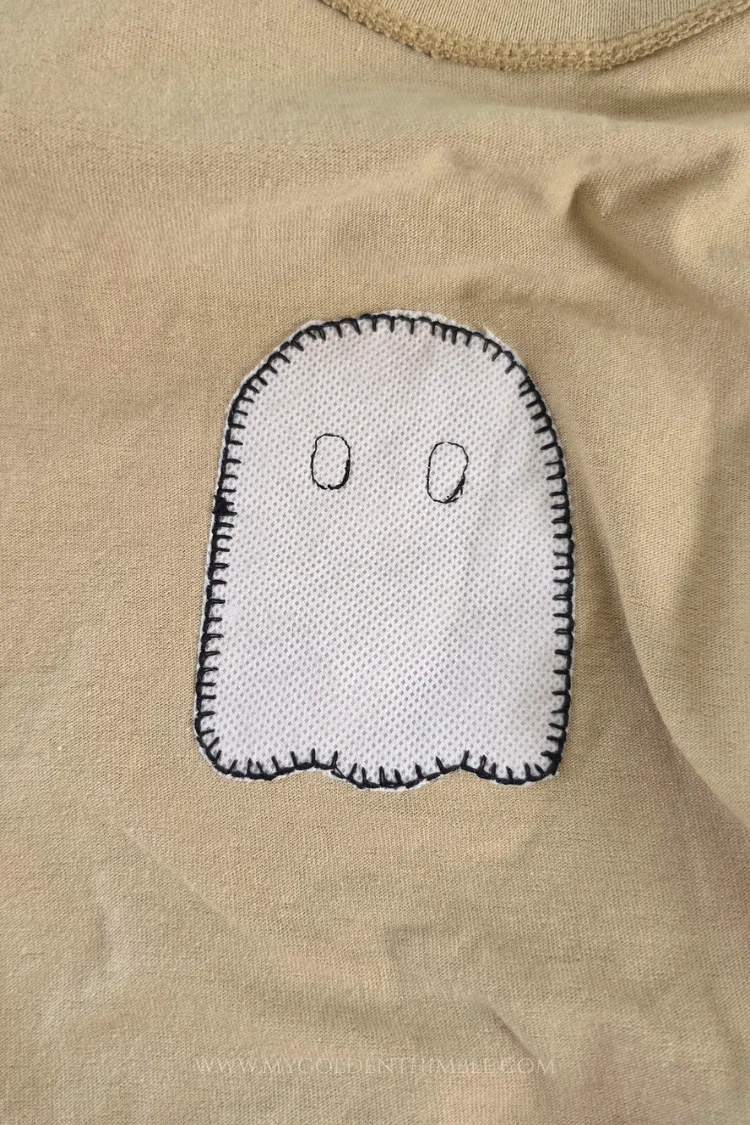
Follow the removal instructions for the type of stabilizer you used. I just cut very, very near the edge, being careful not to cut the stitches.
Trim any loose threads, then give your shirt a gentle press if needed, following the care instructions for your fabric.
And that is it! Your new Ghost Appliqué T-Shirt is ready to wear.
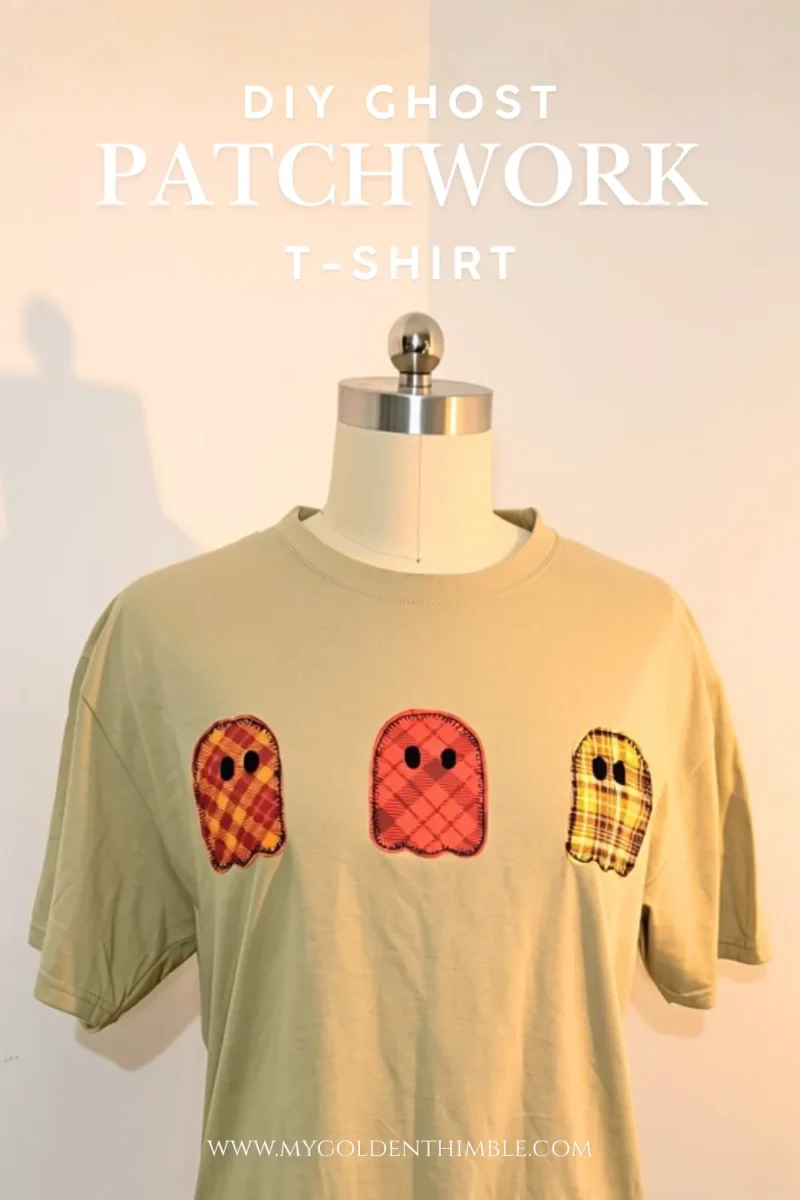
I love how such a simple technique can turn a plain shirt into something that feels much more personal.
The plaid prints make it perfect for fall, and those three little ghosts add just the right amount of Halloween fun.
Download the Free Ghost Appliqué Pattern
Ready to make your own little ghost shirt? I have a free pattern download that includes both ghost designs: the original larger ghost from my first T-shirt tutorial and the three mini ghosts featured in this project.
That means you can use the templates to make either version, or keep both designs in your sewing library for future Halloween projects.
Enter your email address in the free pattern signup form above or below this section, and I will send the PDF pattern to your inbox.
Can’t see the form? No worries, my friend! Try turning off your ad blocker extensions and refreshing the page. If it still doesn’t appear, you can also try opening the post in a different browser.
Happy sewing!