
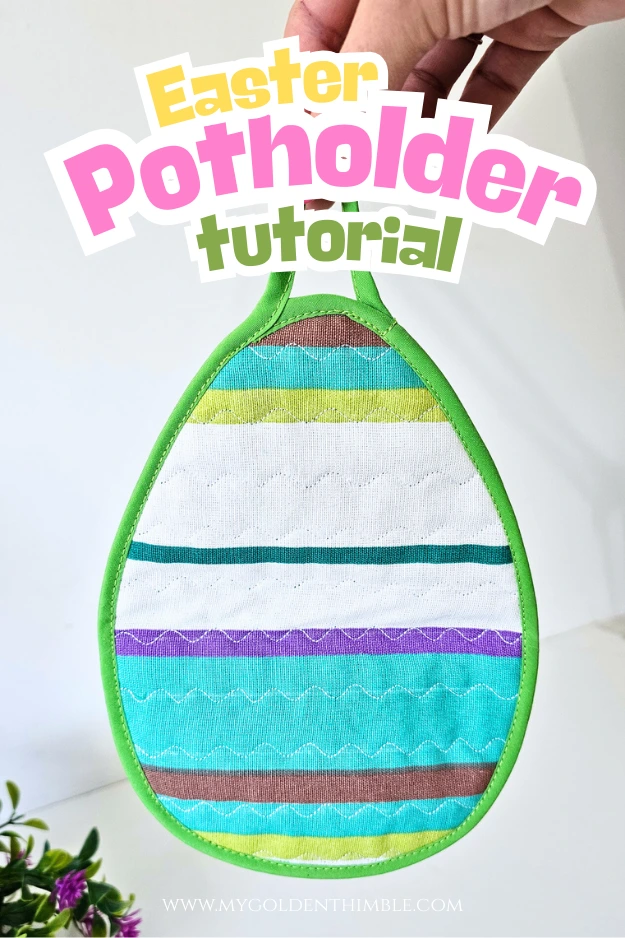
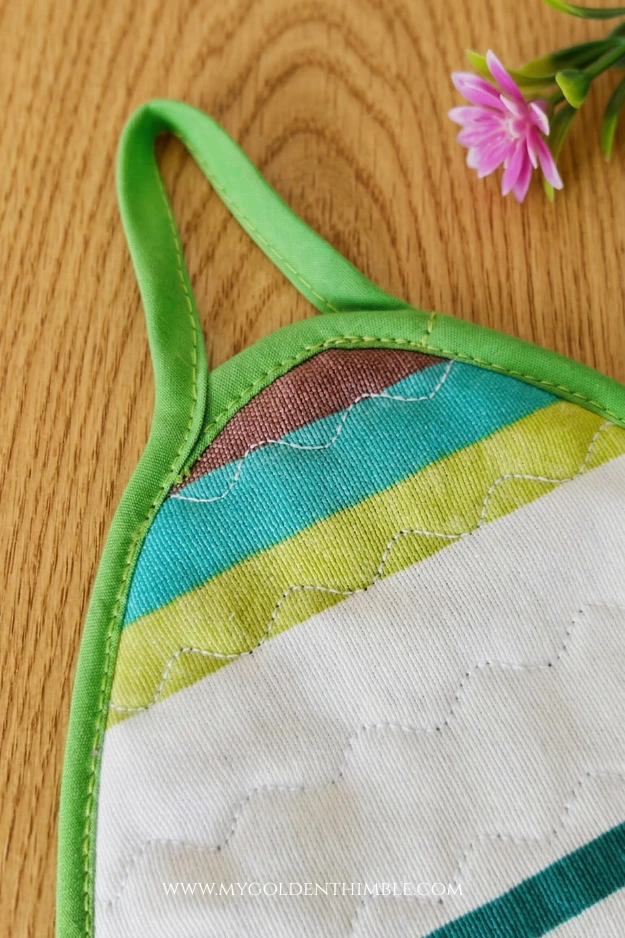
In this Easter Egg Potholder Free Sewing Pattern tutorial, I’m going to show you how to sew the cutest little egg-shaped potholder to decorate your kitchen for spring.
It’s such a fun project to make this time of year, and I love how a few handmade details like this can instantly make the house feel ready for the Easter festivities.
NOTE: This post contains affiliate links, which means that if you make a purchase using one of the links in this article, I may earn a commission at no extra cost to you (To know more about this, click here.)
For this tutorial, I’m including a free sewing pattern and very easy step-by-step instructions so you can follow along without any stress.

While we sew our potholder, you’ll also get the chance to practice a few really useful techniques that are great for beginners, like sewing bias tape around curved edges and playing with decorative stitches to add a cute little detail to your project.
About This Easter Egg Potholder
This Easter egg potholder pattern is one of those projects that feels incredibly satisfying to sew because it’s simple, quick, and actually useful in your kitchen.
The finished potholder measures 6 by 8 inches (not including the hanging loop), which makes it the perfect size for grabbing hot pans or displaying on your oven handle as part of your spring kitchen decor.
I especially love this project because it’s a fantastic beginner sewing project that still lets you practice some fun techniques. We’ll be using decorative stitches to quilt the layers together, which adds texture and personality to the potholder.
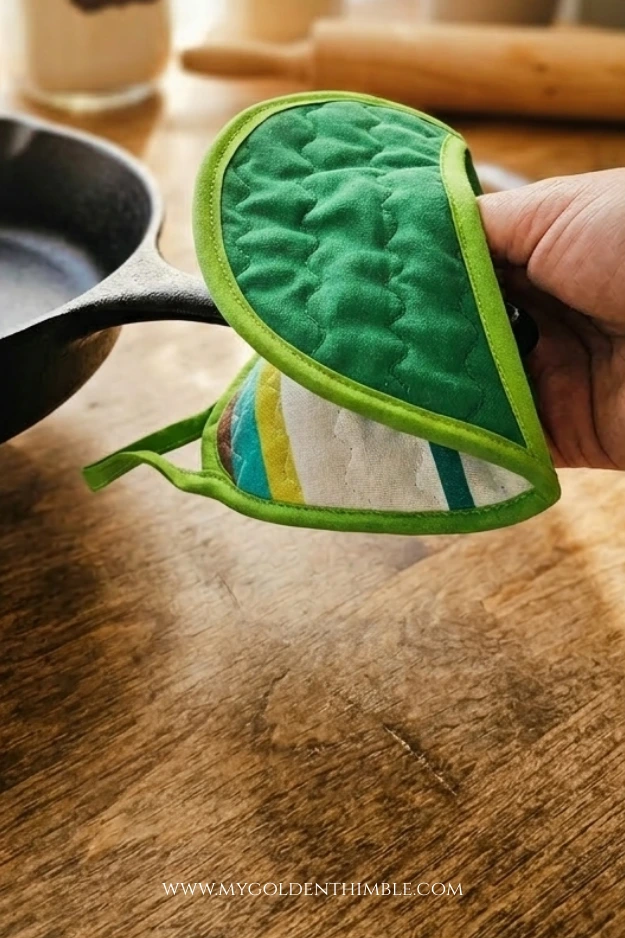
Another thing that makes this project so fun is that you can use different fabrics for the front and the back, which is perfect if you, like me, are looking for projects to use your fabric scraps in your sewing room.
I love finding ways to use those little pieces instead of letting them sit in a bin forever.
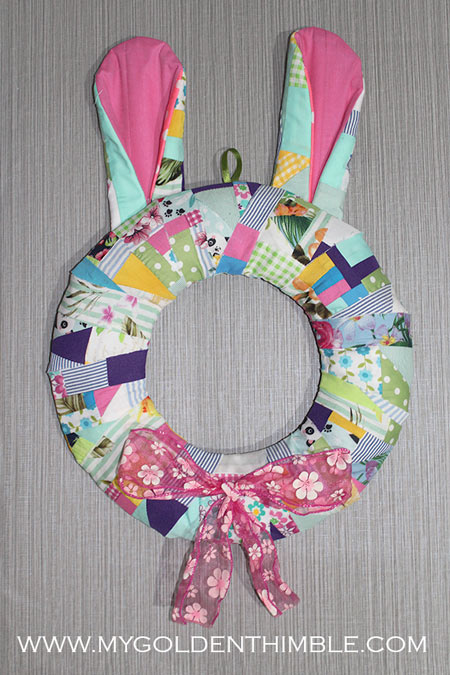
Every time I make something from my stash, it honestly feels like I’m punching a little hole in my “use your fabric stash” sewing card. Between this potholder and other scrap-friendly projects like my Easter Bunny Wreath DIY, those tiny fabric pieces start disappearing much faster than you’d expect.
If you enjoy sewing seasonal decorations, this project also fits beautifully alongside other Easter sewing projects around the house. In fact, I was already in a spring sewing mood when I made these, right around the same time I was sewing my Fabric Flower Coasters Pattern DIY, and they look so cheerful together in the kitchen.
To get started, you can download the free sewing pattern by subscribing to our newsletter, just like always.
Once you’re in, you’ll get access to this pattern along with all the new sewing projects and patterns I share with my subscribers.
Visit more Easter Sewing Projects


How To Sew The Easter Egg Potholder Free Sewing Pattern
Materials You’ll Need
One of the things I really love about this project is that it doesn’t require many supplies.
This is another reason why it’s such a great project for beginners. Plus, it’s a fun way to put your fabric scraps to good use.
Here are the materials you’ll need to sew your Easter egg potholder:


- Cotton fabric (you can use different fabrics for the front and back)
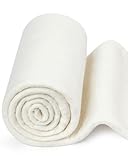
- Batting fabric – medium or heavyweight batting works best to help protect your hands from heat
- Matching thread
- Bias tape for finishing the edges
- Free sewing pattern (provided at the end of this post)
- Sewing machine
- Cutting mat
- Fabric scissors
- Rotary cutter
- Sewing clips
I definitely recommend choosing colorful cotton fabrics for this project. Bright prints, florals, and cheerful pastel colors make this little potholder look extra festive and perfect for the Easter season.
Step 1: Download and print the pattern
The first thing you’ll want to do is subscribe to our newsletter and download the free sewing pattern. Once you have it, print the pattern at 100% or real size so the potholder comes out with the correct measurements.
After printing the pattern, cut out the pattern pieces and use them to cut your fabrics.
For each pattern piece, cut:
- 1 piece from your main fabric
- 1 piece from batting
- 1 piece from your backing fabric
You’ll repeat this for all the pattern pieces included in the template.
For the front of my potholder, I decided to use a very old piece of scrap fabric that had been sitting in my stash. Now it’s found the perfect project.
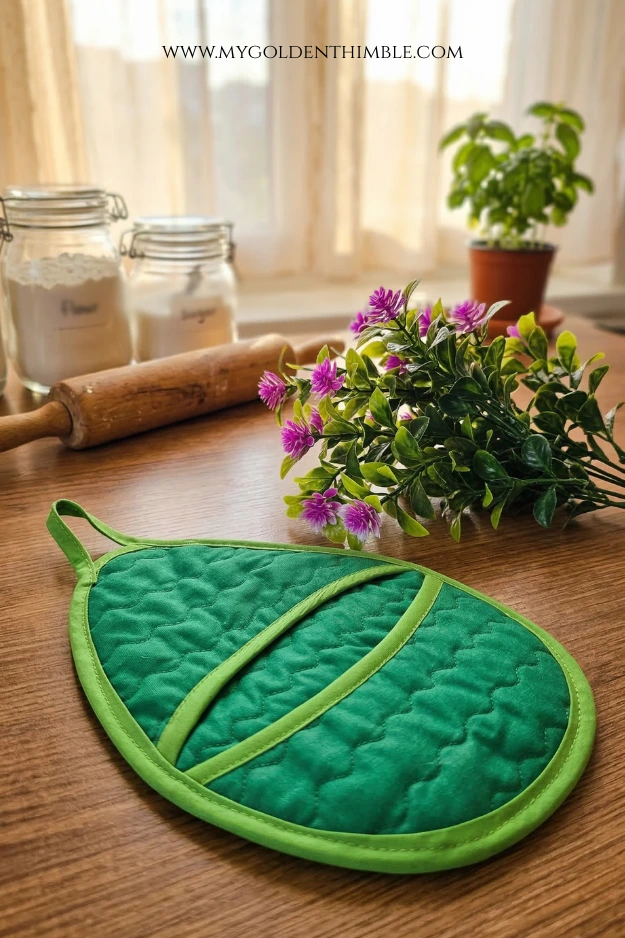
For the back of the egg, I used a beautiful green fabric leftover from when I made our Tiered Skirt pattern.
This is honestly one of my favorite parts of sewing small projects. Because they’re perfect for using those fabrics that have been waiting patiently in your sewing room.
Step 2: Layer and quilt the pieces
Next, we’re going to layer the fabrics together.
Place the batting between the two layers of fabric. Make sure the right sides of the fabrics are facing outward.
This will create a small quilt sandwich for each piece of the potholder.
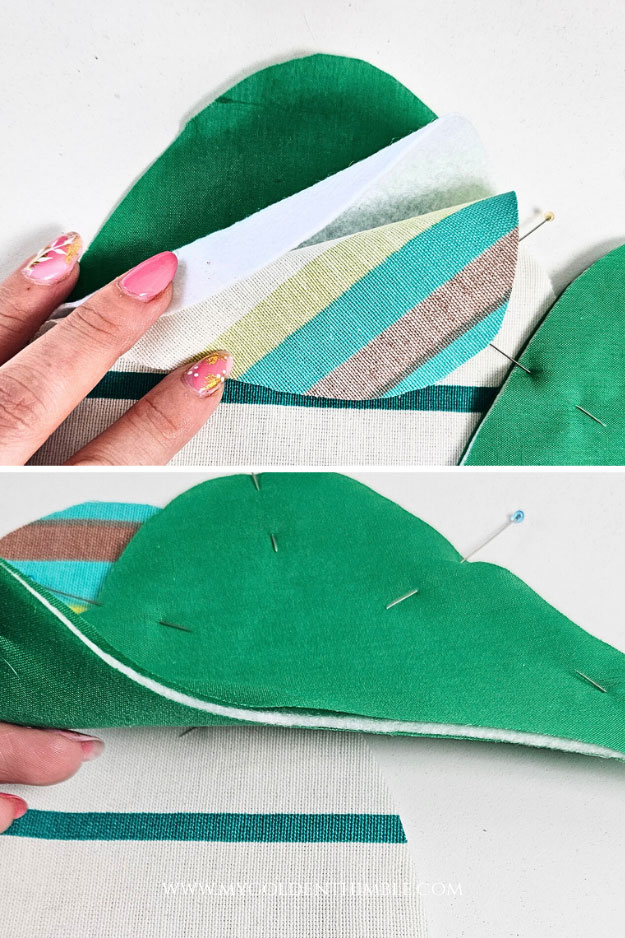
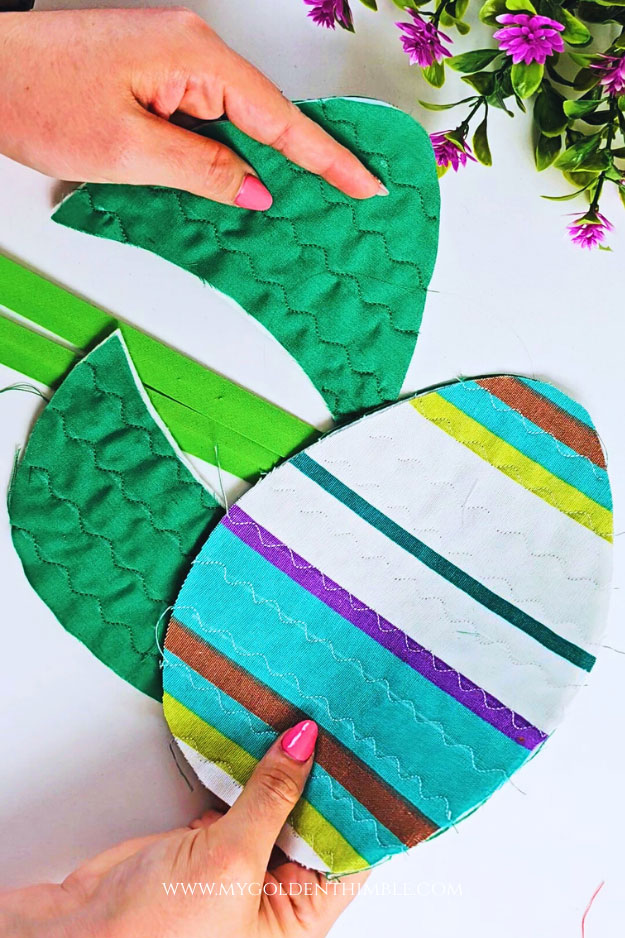
Once your layers are ready, take them to your sewing machine and choose a decorative stitch to quilt the layers together.
This is a really fun step.
You can experiment with the stitches on your machine and add a little personality to your project.

For my potholder, I decided to use a gobbly line stitch.
I think it looks absolutely adorable on this project.
I also adjusted the stitch length slightly so the design stood out a little more.
If you’re not very familiar with using decorative stitches on your sewing machine.
We actually have a tutorial on the blog that explains how to use decorative stitches on your sewing machine, which can be really helpful if you’re trying them for the first time.
Step 3: Finish the pocket edges
Once all the pieces are quilted, we’re going to finish the edges of the two smaller front pieces.

Sew your bias tape and sew it along the top curved edge of each of those smaller pieces.
This will create the clean finished edges for the potholder pockets.
Step 4: Assemble the potholder
Now we’re going to assemble the egg shape.
Place the two smaller pieces on top of the large backing piece, aligning the edges so they form the egg shape.
These pieces will overlap slightly to create the potholder opening.
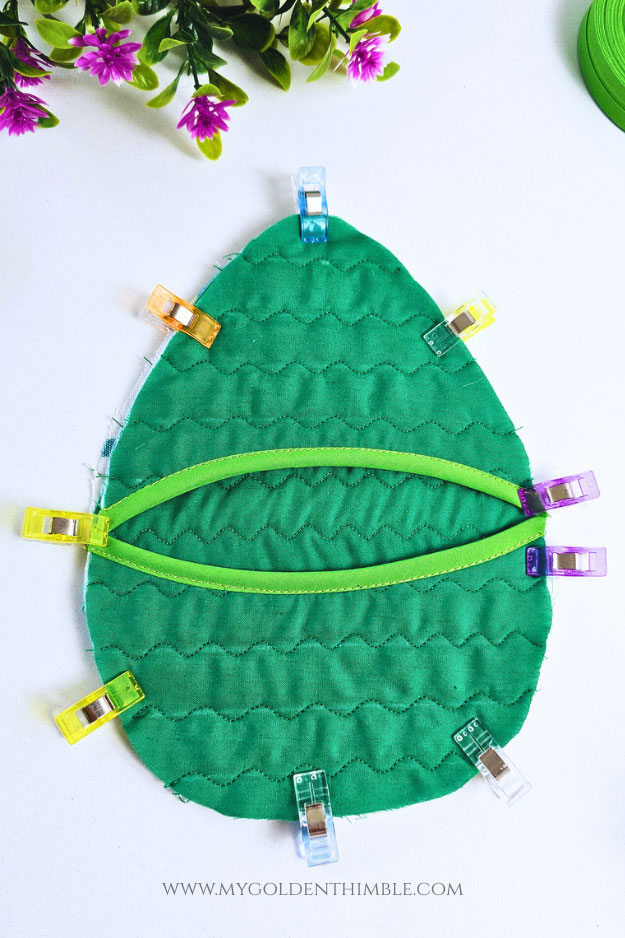
Hold everything together using sewing clips. I like using clips here because with the batting layers, the project becomes a little thicker, and clips tend to hold everything in place much more easily than pins.
Next, sew a basting stitch at 1/8 inch from the edge all around the potholder.
This step simply holds the three pieces together so they stay aligned when we attach the bias tape.
Step 5: Attach the bias tape
Take your bias tape and begin sewing it around the edge of the potholder.
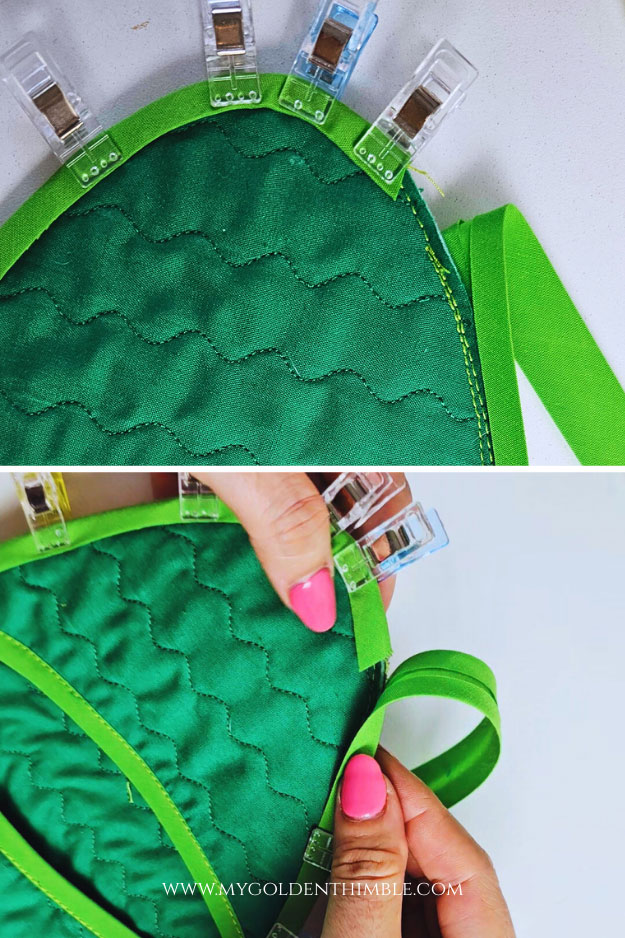
Start sewing slightly before the top center of the egg and continue sewing around the edge until you almost reach the same starting point.
Make sure to leave about 1½ inches of bias tape free so we can create the hanging loop in the next step.
Step 6: Create the hanging loop
Now we’re going to turn that extra bias tape into a little hanging loop.
Take the remaining bias tape and use it to cover the raw edge where you started sewing.
Make sure the tape fully wraps around the edge, and position it so it extends out from the egg at a slight angle.

Continue sewing the bias tape around the potholder, leaving about 4¾ inches of extra tape at the end.
Fold the raw end of the bias tape inward about ¼ inch, then pin it to the back of the potholder at the same angled direction so it forms a neat little loop.
Step 7: Secure the loop
To finish the potholder, sew along the bias tape where it meets the egg, following your original stitching line.

When you reach the loop area, sew across the bias tape to secure it firmly in place.
This will hold the loop together and make sure it’s strong enough for hanging.
Don’t forget to backstitch to secure your stitches.

And that’s it! Your Easter egg potholder is finished and ready to hang in your kitchen for the spring season.
Final Thoughts
And that’s it! Your Easter egg potholder is ready to brighten up your kitchen for spring. This is such a fun little project to sew, especially if you enjoy easy sewing projects for beginners and creative ways to use your fabric scraps.
Pattern Download
Hey there! Want this amazing free download? Just pop your name and email into the form below, and we’ll send it your way. Oh, and remember to check your promo or spam folders in case the email takes a detour there by mistake. If it does, just nudge it into your main inbox so you don’t miss any more freebies from us!
Don’t see the form? Disable your ad blocker and refresh the page!
Or…
For today only, get the free sewing pattern download by joining our Sewing Club Facebook Group and then click on this post in there to get a direct download of the sewing pattern.
No subscription required!








Thank you for the pattern, this will be great fun to make with my community group x
Hi lovely!
You are most welcome! I hope your group enjoys it a lot.
I Would like a copy of the Quilted Easter egg potholder with decorative stitches.
Thank you.
Hi Mary! The form is at the end of the post!
If you’re not on facecook, how do we get the pattern?
I just added the subscription form to get the pattern on your email, gorgeous!
Instead of regular batting, you might consider using Insulbright. I also recommend not using polyester batting as it will melt (ask me how I know 😂)
Totally! That’s why I linked the 100% cotton batting (ask me how I also learned that, haha). Using Insulbright is the best idea, I just didn’t have any at the time of sewing this project. Thank you for mentioning it!