
Are you looking for a creative and stylish way to make a DIY hidden Fabric Storage for your Sewing Room?
Look no further than this project, in which I use faux plants and pots to create a hidden solution for fabric scraps!!
But wait, this is not only a practical solution for organizing fabric scraps, but it will also add a touch of greenery and natural beauty to any sewing room.
Follow along with our step-by-step guide to transforming plant pots into decorative storage that will seamlessly blend into your sewing room decor while storing all your fabrics!!

NOTE: This post contains affiliate links, which means that if you make a purchase using one of the links in this article, I may earn a commission at no extra cost to you (To know more about this, click here.)
If you’re anything like me, you never throw away fabric scraps. Instead, you find creative ways to use and recycle them.
But let’s be honest. All those fabric pieces can start to pile up and create a chaotic mess.
My sewing room was overflowing with bags of fabric scraps, and I got tired of the clutter. I knew I had to do something about it.
That’s when I had a brilliant idea—why not come up with a solution that’s both storage and decor?

This hidden fabric storage idea transformed my sewing room organization into a neat and stylish space, and I’m so excited to share it with you!
So, let me show you what I did with just a handful of materials to change the clutter in my sewing room completely.
Hidden Fabric Storage DIY Tutorial

Materials for This tutorial:
- Tall plastic plant pots
- Faux plants (I got three sets)
- Cardboard
- Masking Tape
- Hot glue gun
- Craft Scissors
Create the Faux Lid (Plant Part)
First things first, grab your plant pot and measure the inner part of its opening. This will help you create a lid that fits just right.
My pot had a handy little inner border that perfectly held the cardboard square. These borders usually come with tall plant pots to hold smaller pots in them. This is because not that many plants will need to fill such a large amount of dirt.
That is why I took the measurements of the inner border instead of the outer one.
So, if yours has that, too, you’re in luck!
If not, these are the planters that I used.


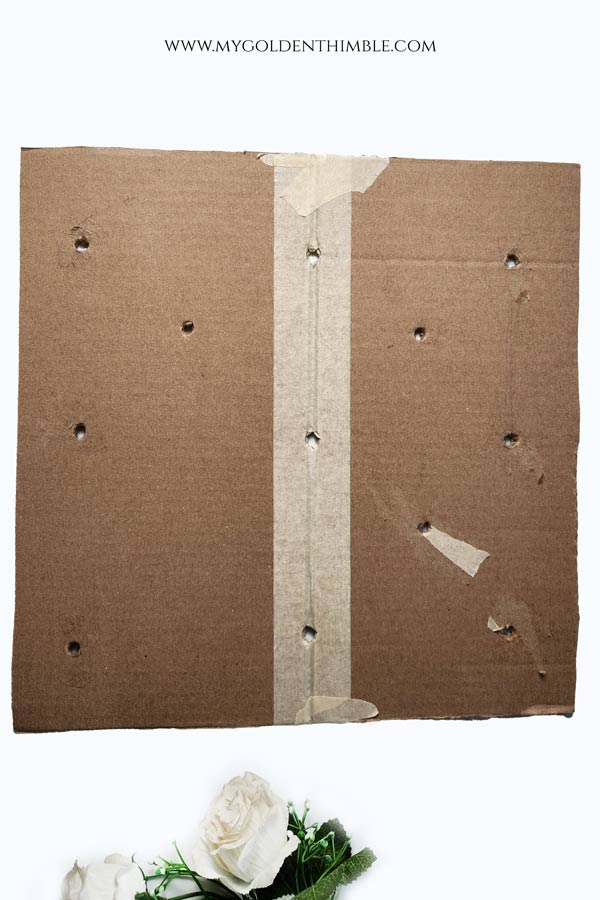
Take those measurements and transfer them to a piece of cardboard.
Cut out two squares of cardboard using your measurements. These will be the base of your faux lid.
After that, use a pencil to mark where you want the stems of your faux plants to go. I made 14 holes on each square because I had 14 stems, but you can make as many as you need for your plants.
Finally, after making the holes, paint the top surface of each cardboard square black.
This makes the lid look neat and blends in nicely.
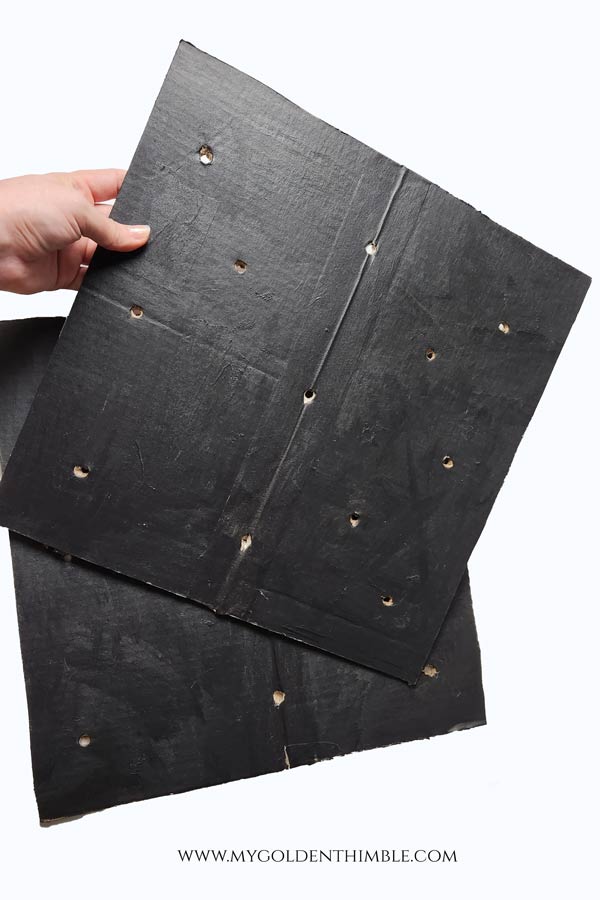
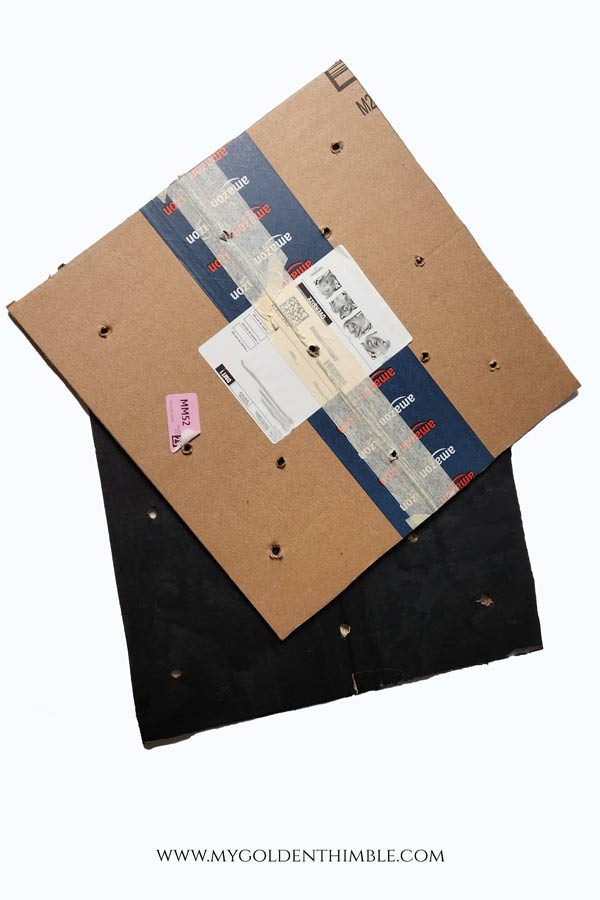
I didn’t bother painting the bottom since it won’t be seen, plus I was running low on paint, so it kind of seemed like I had to do it that way.
- You will also love:
- 10 Steps To The Perfect Sewing Room Plan
- Choose A Theme And Colors For Your Sewing Room With An Inspiration Board.
- Sewing Room Storing And Shelving Ideas
- Creative Sewing Room Organization Hacks For The Perfect Workspace
- 19 Amazing Sewing Room Wall Decor Ideas You’ll Definitely Love
Secure the Faux Plant Stems
Insert each plant stem into the holes you made in the cardboard. Make sure they’re evenly spaced and arranged how you like them.
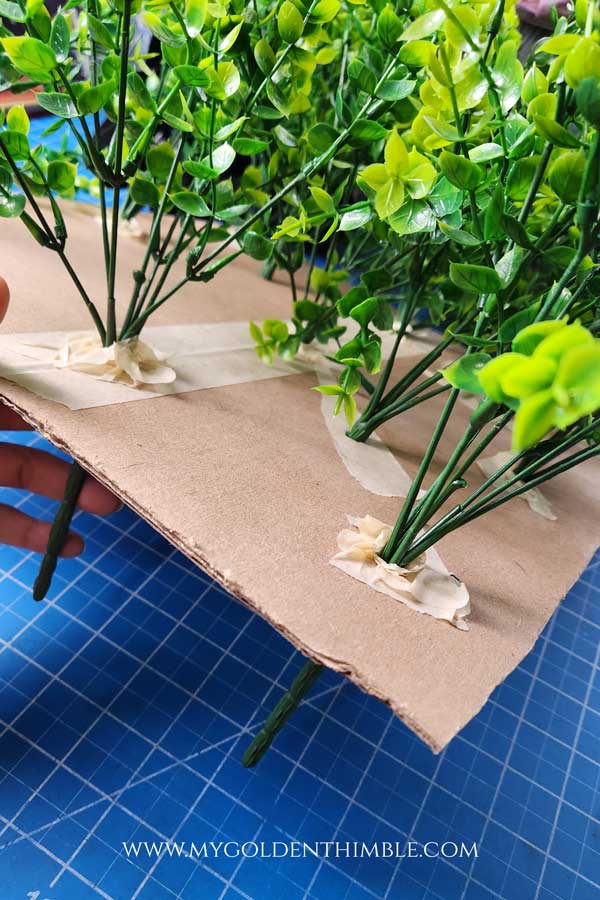
After carefully flipping the cardboard over, position each stem inside of the holes on the back of the cardboard.
To securely attach the stems, use a hot glue gun to apply an even amount of glue to the base of each one. This will ensure they are well-attached and will last a long time.
Let the glue dry completely before moving on.
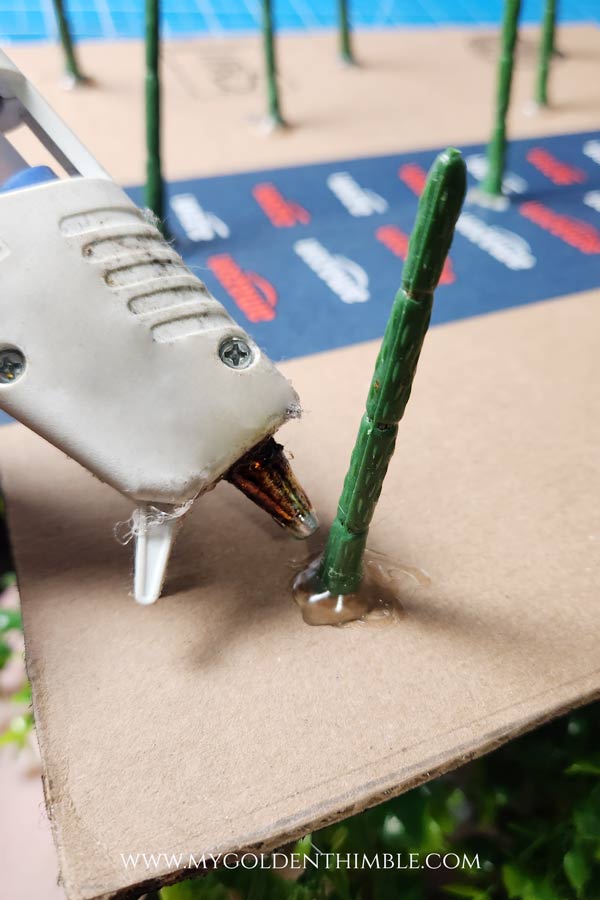
Now, the best thing to do here is to get rid of the leftover steam from each bundle that is sticking out the back of our cardboard. As I didn’t have the tools to do so, I just folded them against the cardboard.
And that’s it! Now, you can put all your fabric scraps inside the plant pot and put on the “lid.”
You now have a stylish and functional hidden fabric storage solution that also doubles as decor.
Your sewing room will look tidier, and you’ll have easy access to all your fabric scraps whenever inspiration strikes.
Please comment and let me know what you think of this idea and if you would replicate it for your sewing room! I’d love to know.

Don’t forget to follow us on Social Media!!








I really liked someone’s idea of adding flowers to give you an idea of the colors inside.
It is a great idea! I was also thinking on sorting the scraps by color and put them on a ziploc bag before put them in the bin.
I was just going to suggest that also. Or you could put a few colored flowers on top to designate the color of the fabric or flowerS if you have more than one color inside!!
That’s so cool!! What a fun idea! I’ve been thinking about putting some yellow flowers maybe!
Terrific idea, I may have to take you up on some ideas since I just moved to a new state!!
yes I will follow you!!!!
Thanks again
Thank you so much! I am very happy you liked this idea 😀
Thanks for a great idea! I have a couple of large black hampers that don’t have lids but look like planters. I’ll have to check them out for this purpose. Saw some of the comments, and had to sigh. You did start out by saying you needed a storage solution for scraps. Scraps are messy but when they are all over your sewing room they are really messy. With several of these planters, you can sort scraps by color and not have to store them in those ugly clear plastic bins. I love this idea! I’m even thinking about using silk flowers by color, pink flowers for pink scraps. Plain greenery for green scraps, etc. I’ll have a whole garden of scrap baskets and know exactly which one to go to for the color of scraps I need! Thanks again!
You are most welcome! I am very happy you liked it.
I think that’s a lovely idea! 💡. So inventive!!!!!!! Brilliant. Thank you for sharing.
Side note : If someone doesn’t like something, they can keep it to themselves. They don’t have to be ugly. I continue to be shocked by rudeness from n social media platforms. Maybe those people would say those things to others face too. Just not how I was raised is all. Anyway again thanks for sharing!
Hi Tia!
Thank you so much for adorable comment, thanks for thinking about that. It’s true we should be more sensitive at the time of typing. By now I do accept if someone doesn’t like what I do. That’s ok! I know it’s not personal, also I know that there are a lot of people who do like it like you. And I welcome so much these types of comments too!
your right about rude comments. I love your idea, some people are not happy at all.
Thank you so much Christie. Yeah, maybe this idea is not for everyone, but for me it has been a game changer my sewing room looks way cleaner, and I just open the lid to find the scraps I need when I need them.
Great Idea 👍
Thank you so much! I am very happy you liked it.
That’s Messy! Not organized, just hidden.
Well, they are more organized than before that’s for sure. Also I have one side for mini scraps and the other for bigger scraps.
I agree! I scrolled and scrolled to simply find a bucket with scraps stuffed into it.
Not for everyone. I have found that has done wonders for my organization.
This would work equally well with yarn.
Yes!!! It would be fantastic for storing yarn too! Love that idea.
Nice idea and was going to make them but my Significant other said they should be clear so you can see the scraps. I would probably want to use first what is on the bottom, then you have to take them all out, cause that’s how my life usually goes. But it does look very nice
That could be useful too!! In that case you could be better of with a drawers system, I think.
I think this is a great idea. I was just trying to clean up my sewing room yesterday, and was trying to think of what to so with my scraps. I’m definitely going to do this. Thank you!!
Hi Kiersten! I am so glad that this storage solution inspired you :D. You could try putting flowers two! I bet that would look awesome.