
Learn How to Sew an Evening Gown fast and easy with this 2 parts Sewing Tutorial.
This Evening dress sewing tutorial is the continuation of last week’s post. There, I showed you how to Draft this Sewing Pattern.
Today, we are going to sew it.
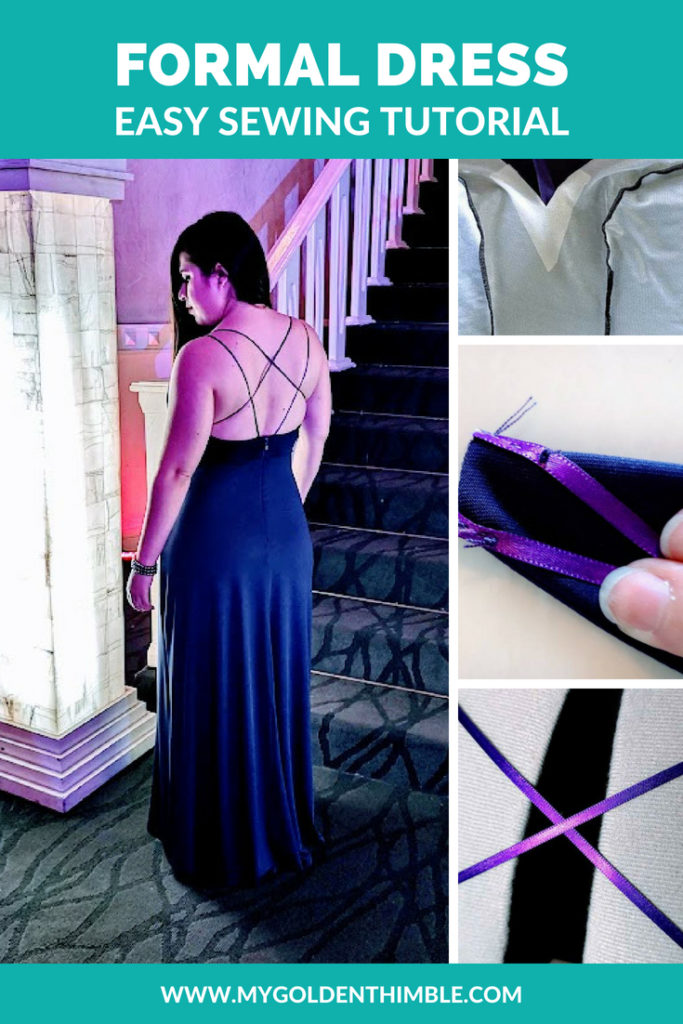
If you haven’t read the post on How to make this Pattern click here. And remember to save it and give it a look. It would be useful for you in many ways.
I am convinced.
This is one of the easiest and fastest Evening Dresses I’ve made from myself. It took me around 3 evenings from Making the Sewing Pattern to completely sewing it. Which I think is a very good time frame to sew a Formal Night Dress.
It was such an easy sew because I made this design using as a pattern base our Dahlia Dress Sewing Pattern.

A dress intended for knit fabric.
You already know that because of this, our Formal dress was a fast sewing project. That is what I love about knit fabric. Not to mention of course that is very comfortable to wear.
You want to start by getting the Original Dress Pattern I used for this Tutorial you can do it here.
♥ How to Sew an Evening Gown. An Easy Step by Step Tutorial. ♥
Let’s see how you can sew this gorgeous Evening Dress.

I Organized this Tutorial in 10 wide, but easy Steps so you can have a better view on how to sew this gown. If you have further questions please let me know in the comments of this post or on our Sewing Group.
Disclosure: I just want to remind you my urgency to have this dress ready under 3 afternoons so they might be parts where I made a “Not-so-pretty” stitch here and there. All in the name of the Purple Dress!!
1- Sewing the Top of the Dress
Before than anything else I pressed a lightweight stretch interface into the wrong side of the outside pieces of the bodice dress.
I did this to give it structure. You can appreciate how I pressed a double layer of the interface on the “V” of the neckline for the same reason.
Then I proceeded to join the bodice princess seams on both layers of the bodice, the outside and the lining.

2- Preparing the Zipper Zone.
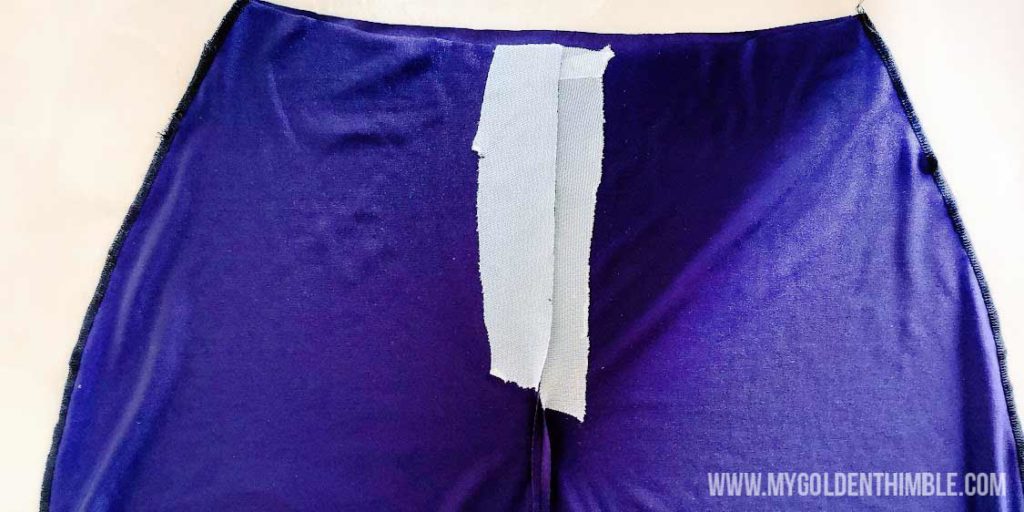
Next, I prepared the zipper zone with about 1 ½” strip of interfacing (hey I warned you I was on a hurry) on each side of the back center cuts on the main fabric as well. And joined the sides and the center back starting 8” below the waistline.
As I explain in my post 3 ways to Sew a Zipper. Interfacing is the key point to a smooth and better-looking zipper result.
The weight of the interface is going to depend on the fabric and the type of zipper you are sewing. In this case, the same lightweight interface would do. This because I used an invisible zipper.
3- Join Skirt and Bodice Dress
Next, I joined the bodice and the skirt. Did the same with the lining pieces.

4- Insert the Zipper
Before joining the main fabric and the lining of the dress I insert an invisible zipper on the back.
Here is a great video tutorial if you want to know how to match the waistline cuts on both sides of the zipper.
5- Sew the Lining Dress
Place together the right sides of the fabric of the dress and the lining and sew from the center back to the sleeve opening.
Don’t close the sleeve tops! Here is where we are going to insert our straps.

6- Planning the Straps Layout
To plan the back straps lineout I played with my dress form and some string I had until I achieve this look.
Here you can see one color for each strap just for you to know which is which.

7- Sewing the Top Straps
To tell how much length of ribbon I needed for the teal and pink top straps of the dress. How? By placing the ribbon I was going to use for straps over the mannequin draft.

I cut two lengths of ribbon and pinned them on the dress sleeves with the help of the dress form. They looked something like this.
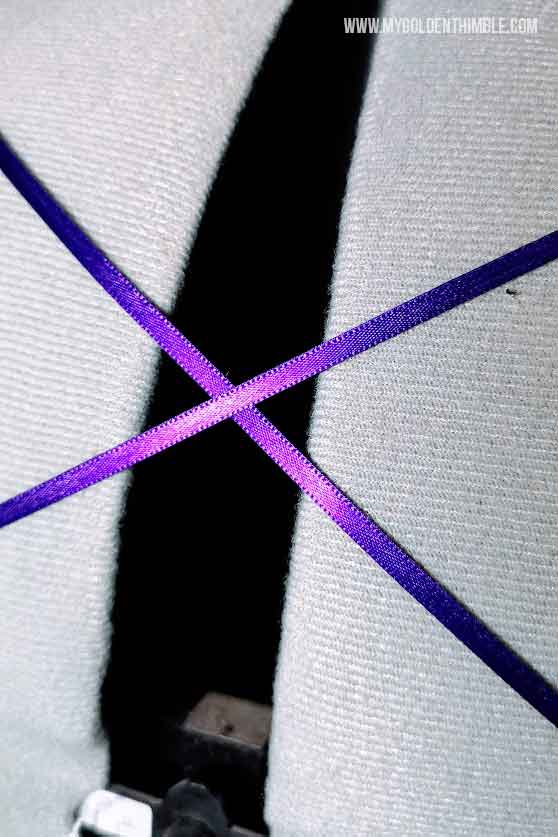
Once pinned the ribbon with the dress, I made a small baste stitch on the front part of the sleeve. Turned the dress inside out and then sew the top of the sleeves.

8- Securing the Lining
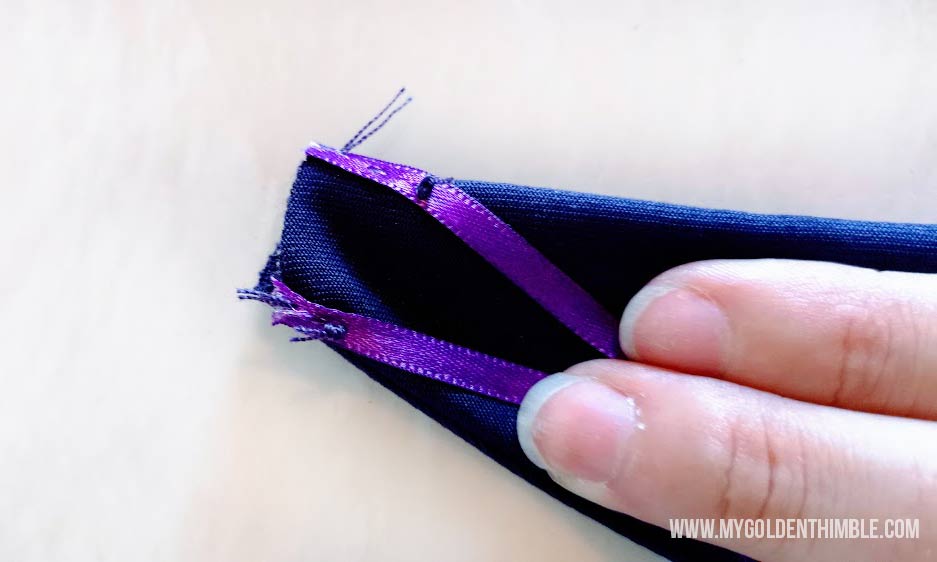
Make some small notches around all the cleavage of the dress before turning it inside out again.

To prevent the lining from showing up I made an edge stitch on the lining only.

9- Sewing the Bottom Straps
For the bottom part of the tied straps, I cut two long lengths of ribbon. Then I hand sew them to the center back of the dress.

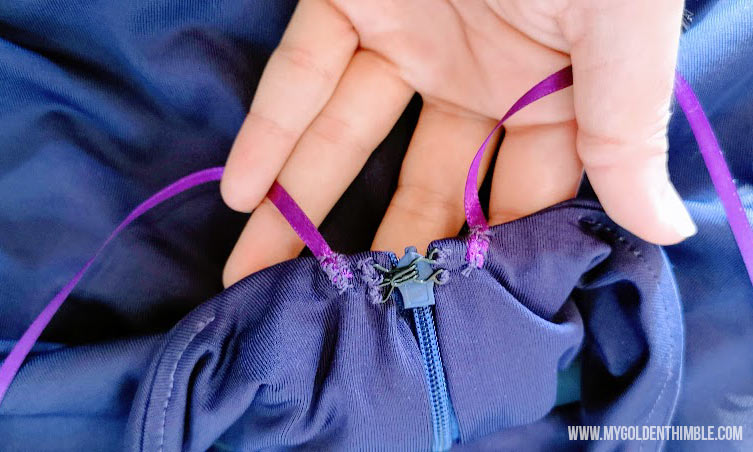
This is the fun part!
Lay your dress on a flat surface and arrange the top straps as they would be on you.
Pass the bottom straps into each one of the loops and pin them near to the sides.
For me, It was a flying solo moment.
And this is how I figure out how much and where to sew the bottom straps.
Give enough length to play with. Then put your dress on.

Ask for help if you can. If you can’t, use a mirror to move the strap and pin it until you are comfortable with the result.
For me was this.


Take out the dress and sew the straps where you pin them.


10- Hem your Dress
Finally, make your favorite knit hem. Here I made a blind Hem with my home sewing machine.
But if you like you can make this blind hem with your Serger/ Overlock Machine too.
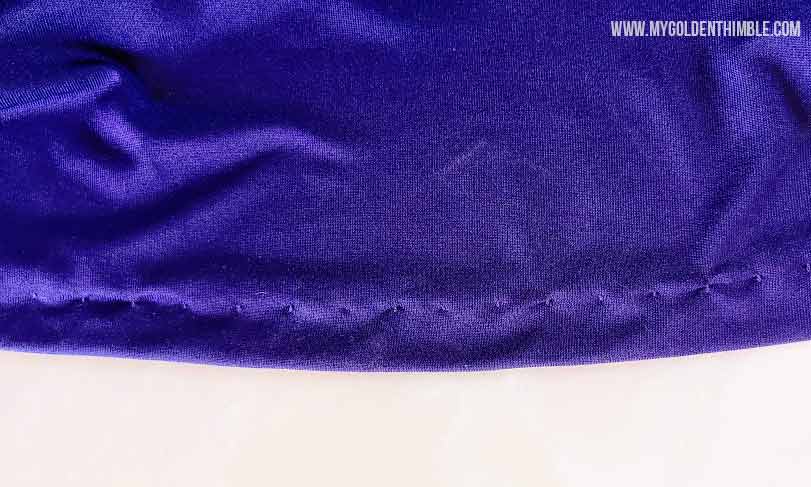
There you have it!
Wasn’t it easy??

I hope you really enjoyed this post. Thank you so much for sticking with me to the end.
If you have any other questions about Sergers or Overlock Machines please make sure to post them in the comments so I can help you with it.








Love how you’ve adapted your pattern and the instructions are very clear, makes me want to make a dress but perhaps it will be a sundress as I haven’t got a reason for an evening gown. Thank you, ❤️😘
Hey Judy!
Thank you so much for leaving a comment. I would love to see how this dress pattern looks as a sundress!
What I particularly appreciate about your post is the emphasis on creating a beautiful evening gown while keeping it approachable. I’m excited to add this to my patternmaking for fashion design collection. From choosing the right fabrics to mastering the essential sewing techniques, this blog covers it all, providing valuable insights for sewing your own elegant evening attire. So, whether you’re a seasoned seamstress or a newbie like me, there’s something to learn and love. Happy sewing everyone!