
Have you ever draft and make an evening gown?
Better yet.
Have you ever used an existing dress sewing pattern and turned it into a beautiful dress that you can use in weddings, military balls, and fancy night events?
Well, you are about to. And is going to take you less than an afternoon.

I am so excited about today’s post because a lot of you were asking me for more pattern drafting posts and hacks and I thought it was about time I make some.
Backstory time… 

My friend’s bae was getting married last weekend. His now Wife let us know that she wanted all the girlfriends and wives of said friends come to the wedding in purple dresses… This was said to me on a group chat that I honestly never see.
So by the time I realized the purple dress rule It was Monday. Fun thing: the wedding was that Saturday…
I needed something and Fast!!
After going into several rental dresses stores and being disappointed as “H”,(You know the feeling right) I came into the resolution I always came up.
Making it myself.
Needs:
- It has to be purple
- It has to sew up Fast!!
Sewing something from scratch wasn’t an option. Simply put, I didn’t want to complicate my life just to make an evening Gown in one week.
That is why I turned into my Dahlia Dress.
This is a dress that I already know it fits me and also is a very, VERY fast Sewing project.

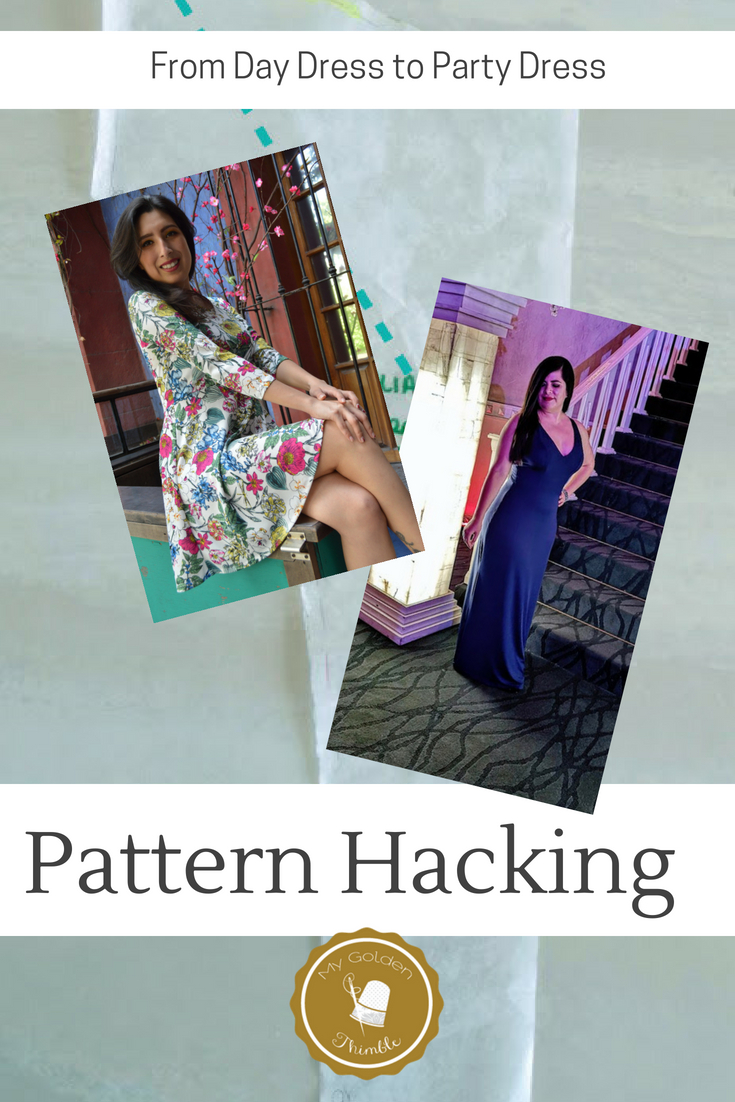
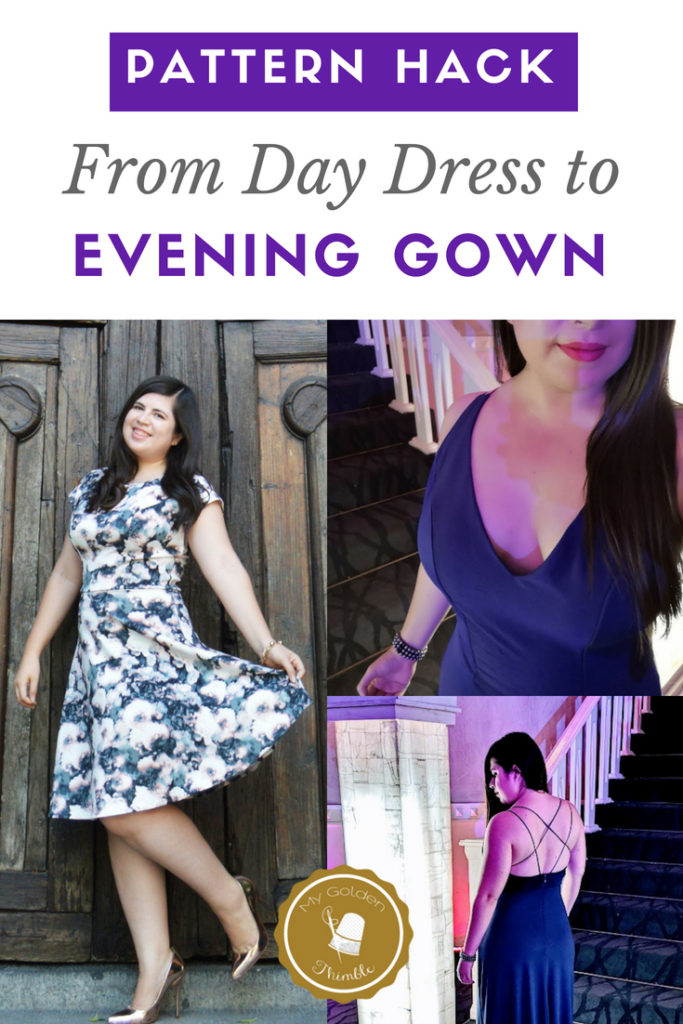
Within a couple of pattern hacks, I got to make an evening gown all purple and all…
Judge for yourself. At least for me was a total win! And bae though that too…

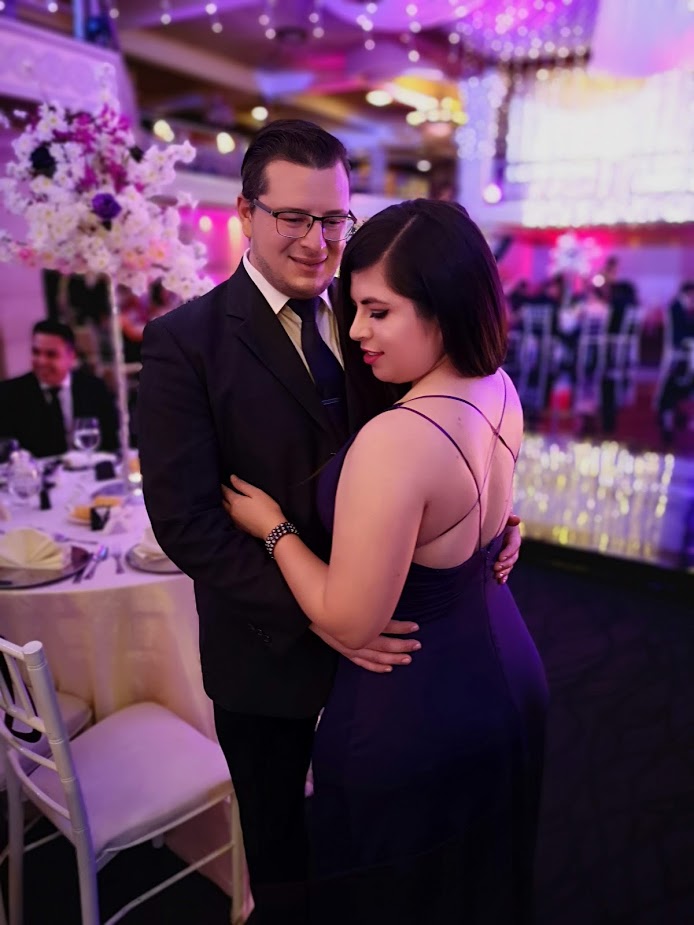
Great thing: You can make it too!!
Today you are not only going to have a FANTASTIC AND EASY Pattern Hack for your Dahlia Dress Pattern, but you are also going to learn very cool and interesting Pattern Drafting Tips and Techniques that you are going be able to use on your own patterns.
Is not a secret that Dahlia Dress is my favorite Sewing Pattern of My Golden Thimble. Such a versatile design that is also easy to make and very comfortable, with so many variations and sizes, well… is not an easy thing to find.

This pattern has been tested and upgraded to its best. And today I am going to give you one more reason to get this Sewing Pattern once and forever.
If for any reason you don’t have your Dahlia Dress Sewing Pattern yet, Today is the day to get it! Click here to see and learn more about it.
Make an Evening Gown using the Dahlia Hack Part 1- The Pattern
In order to make an evening gown pattern, I started by tracing a new copy of my Dahlia Pattern by grading it into my size (here is a great tutorial that shows you the basics about Grade Between Sizes), by using translucent paper.


-I’ve found this brand to be the most resistant and helpful when it comes to tracing patterns. Don’t believe me? Check out the awesome reviews. You can get it on Amazon here.
From the Dahlia Original Pattern I used the boat neckline variation and trace the front, back and the mini skirt variation (We don’t need the large one you’ll see why later).

You might also like: How to Sew an Evening Dress (Part 2 of this Post)
The Front Bodice

The first thing I did with my patterns was to draw the 1/4″ of seam allowance that was included with the original pattern.

When I drafted the front of the top I started by placing the center front top pattern over my body trying to match the ¼” of seam allowance with the exact half on my shoulder line (where your shirt shoulders seams meet).
Take a pencil and mark where you want your neckline to be.
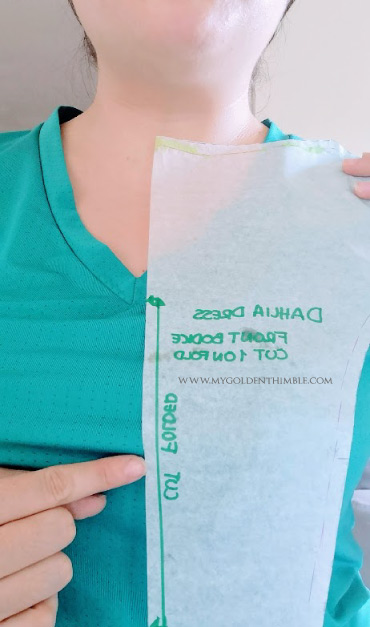
For my neckline, I wanted to be wide, that is why for the shoulders I measure 1 ¼” from the edge of the armhole going to the right.
Using an L ruler I joined a straight line both points, shoulder, and neckline.

♥
Educational Sewing Pattern Moment: a “V” neckline is never straight. Your body has curves (yes as skinny as you might be, you are not completely flat) so your neckline has to have some curves too. This curve can be positive: over the straight line (as shown bellow) or negative that would be below the straight line.
You might also like:Make your patterns fit better: a Simple Guide to Grade between Sizes.
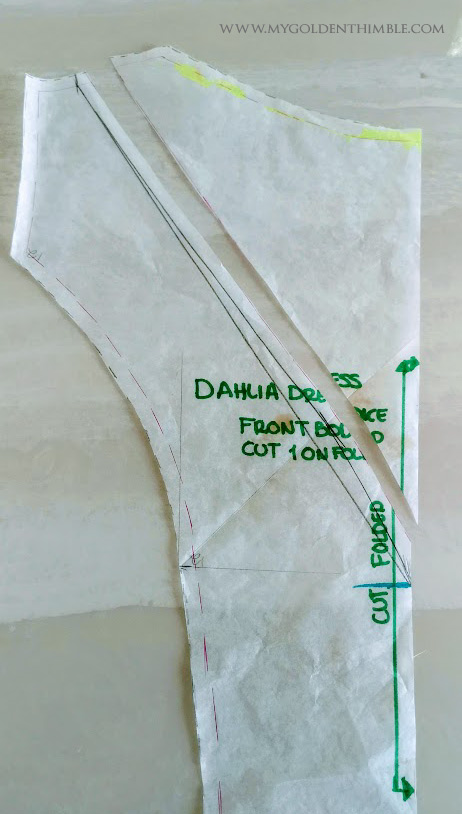
Forming the new “V” neckline
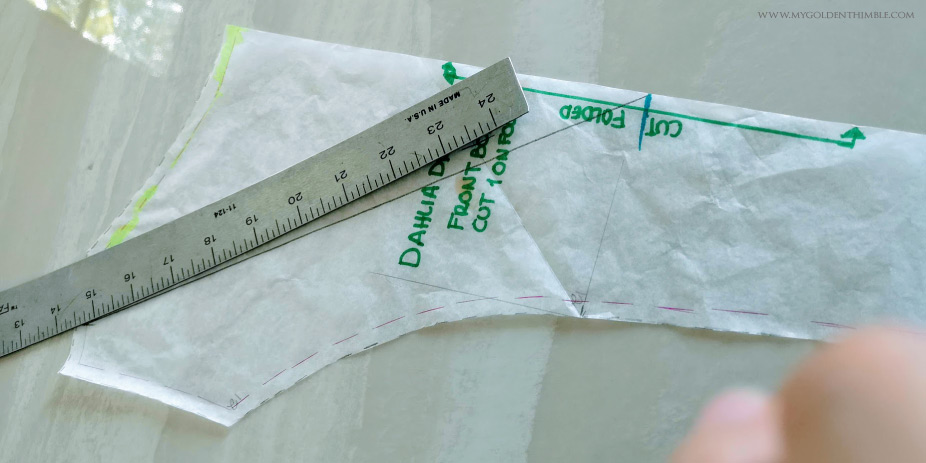
To make this happen you have to mark a 90° “L” just above the point of the princess cut notch, then you will make a diagonal line until you cross the first straight neckline you marked. You have to pass ⅜” after this line and then mark a dot.

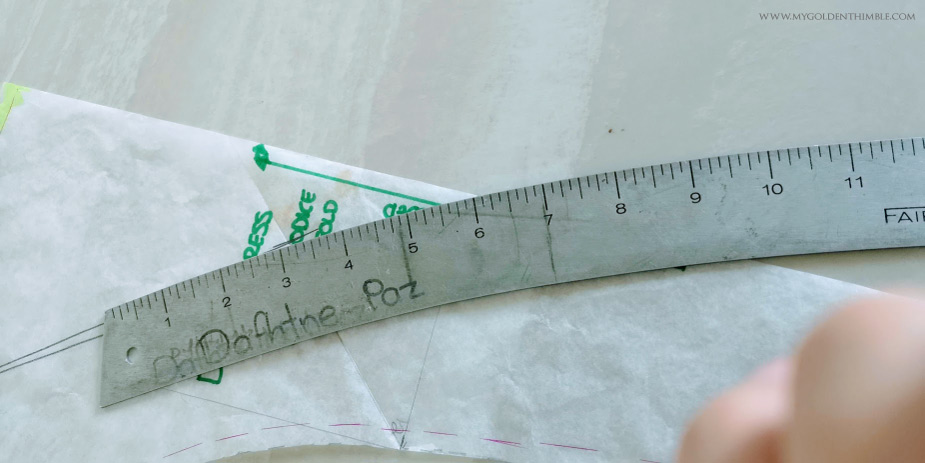
Using my curve ruler I formed the new “V” neckline. Check the pictures to see how I select the best end of the ruler to redraw this line.
You might also like: 20 Knit Fabric Sewing Tutorials you Need to Know Right Now!
After this, add ¼” of seam allowance to the neckline and cut away the leftover pattern.
By the way, If you want to buy this Rulers Set, I do recommend these ones that are the ones I use and have endured for more than 7 years (the same ones!). No breaks, no folds, and no blurry numbers.


And is not only me who says that. Check out what this customer on Amazon said about this rulers:
The Back Top Bodice

Drafting the back bodice took a little more work but don’t be scared because is nothing from another world.
Decide where you want the back cleavage to be. To me, a deep one was made by marking 2” from the back center waist up (see blue dot).
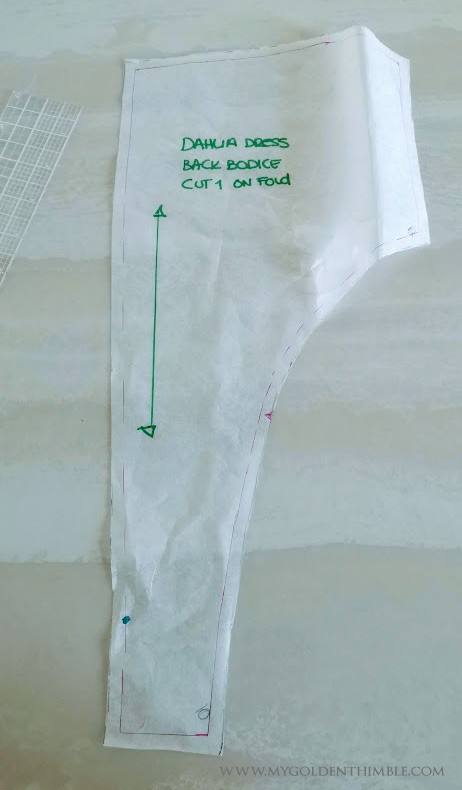
Take the Side back bodice pattern and place it over the center back bodice pattern making sure you match the seam allowance lines. Tape it. It is going to overlap at the Top But that won’t matter to make an evening gown back deep cleavage.

As we are going to make a continuous cleavage.
This is going to be from the front armhole to the center back. So take the front side of the pattern and use pins to hold temporally the full pattern.
Do this by matching the entire side of the back side bodice with the entire side of the front side bodice using the seam allowances lines to guide you.

Make a mark in about the half of the armhole of the front bodice side and with the curve ruler join this mark with the back cleavage mark on the back center pattern bodice.

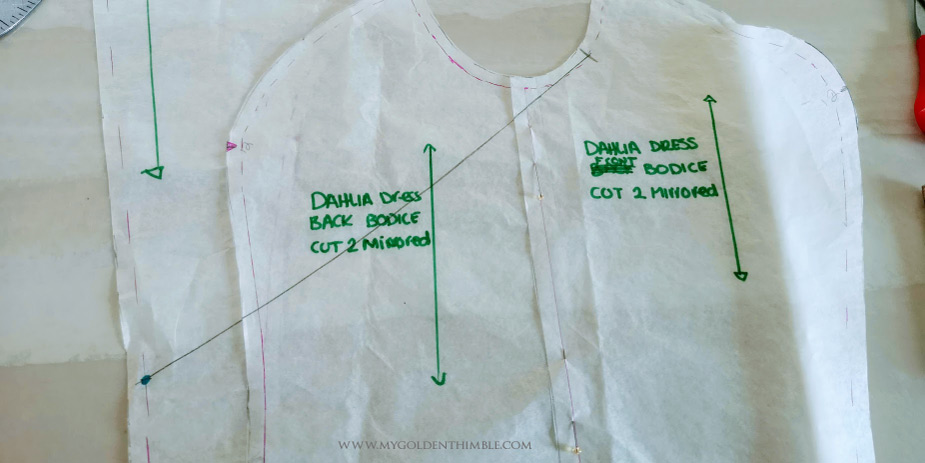
Using the Vary Form Curve Ruler go back to the front armhole of the front side pattern and compensate any pikes left, then if needed add what is missing of sewing allowance like this:
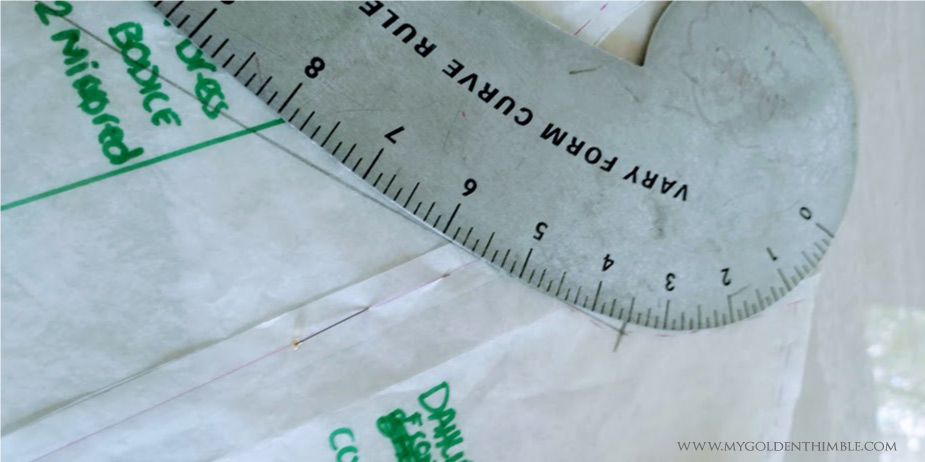
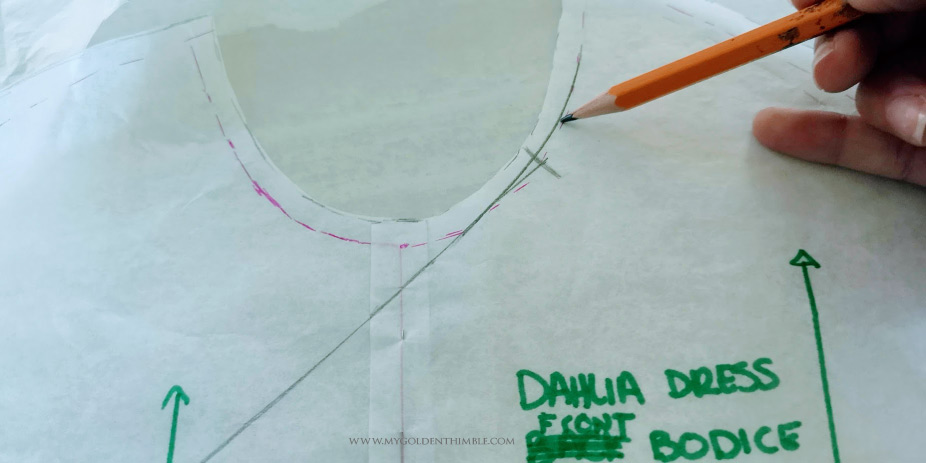

You will need to mark the sewing allowance as well in the back part of the top and then cut the leftover pattern away.

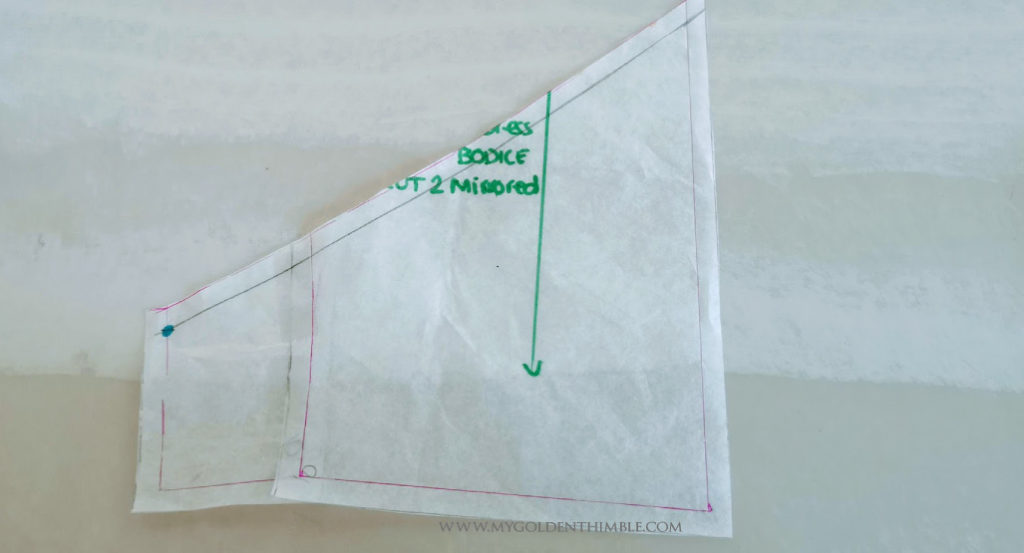
♥
Sewing educational moment 2: When you have a deep curved cleavage that goes into the bias of the fabric it is a good idea to add an invisible dart. We do this because bias cut fabric tends to stretch, and by taking in measurement in the pattern we compensate this excess before it happens.
To make an invisible dart. Make a fold on the curviest part of your pattern of about ⅜” and fade it into a corner to the pattern. Make sure you are not deforming the cleavage line.

Finally, check out the waistline and compensate it by using your Form curve ruler and adding the necessary seam allowance.

Fiuf! There you have it now we have completed the Top part of this Formal Dress Pattern. Now all that is left is the Skirt. So let’s do this!

Drafting the Evening Dress Skirt
We are going to transform the skirt by using only the waist part of it. And also by making a new hip part.
Here is how to do that.
The Front and the Back of the Skirt
First of all, you have to measure from the center waistline line down your waist to seat hip measurement.
Then you are going to fold the skirt. Do this until you find that from that point you just made to the other parallel edge measures ¼ of your hip seat girth measurement plus ¼” (this ¼” is the seam allowance).
And from there draw a horizontal line, and check that in fact, this line measures 1 fourth of your hip seat measurement plus ¼”.
My Picture is a little twisted but it has to have a 90° angle. Here I folded the little extra triangle at the bottom left just for practical purposes.

Back to the waistline, I used the Curve Ruler to compensate for the curve line.
After that cut away the excess pattern.
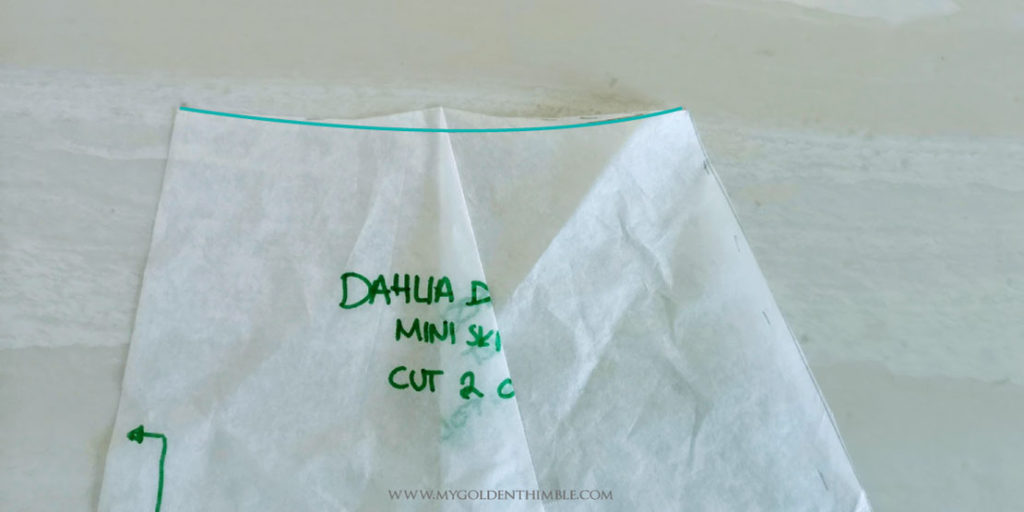
As the original side of the skirt pattern was straight we will need to fix that too. We are going to form a semi-fitted skirt. Do this by re-drawing a curve line to improve the shape. Also to fade away any left corners.
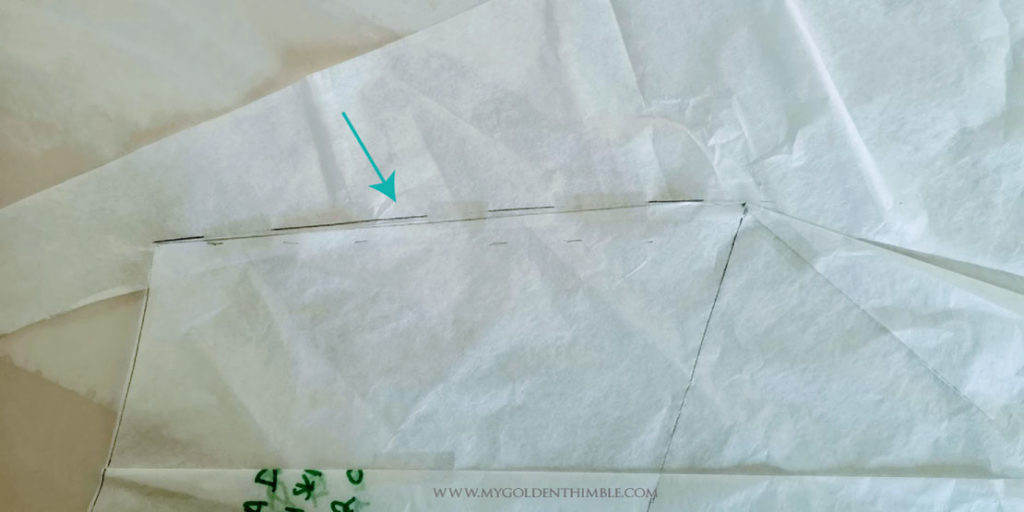
To add the length to the skirt make an “L” line that has 90° from the left point of the hip line down.

To add some amplitude to the skirt I use my measuring tape to guide a straight line from the point of the hip line to the bottom point of my desired amplitude.
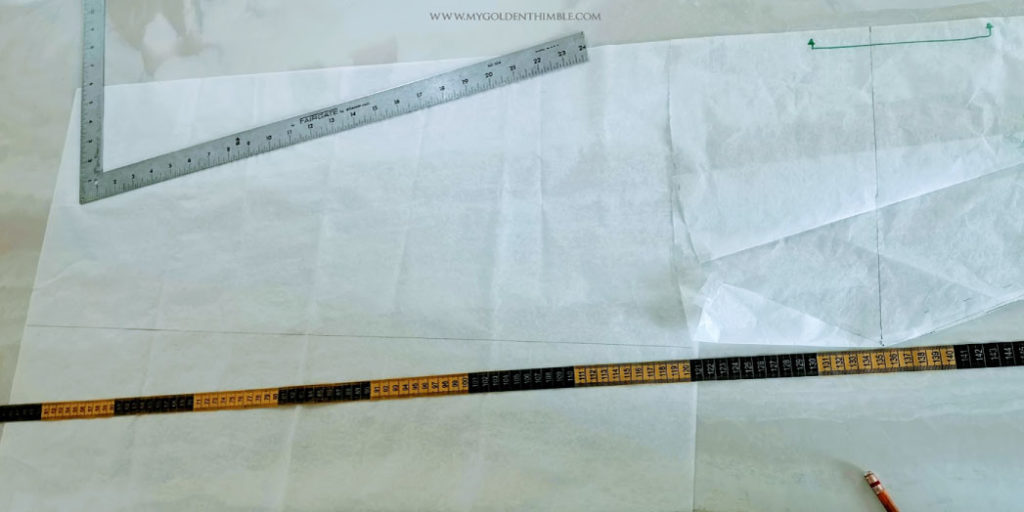
Finally, I unfolded the small corner from the top of the skirt pattern so it would match with the sideline of the new skirt.

Ta da!!
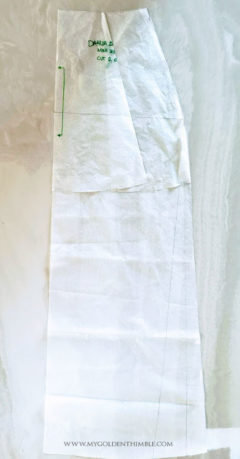
There you have it.
I want to make a very important note before you go. When you Cut your Skirt Pattern on the Fabric make sure to add Sewing Allowance to the back center!! You are going to cut the front of this skirt on Fold, and the Back is going to be a 2 pieces mirrored pattern. This is because we are going to insert an invisible zipper there.
Now we have completely hacked our Dahlia Pattern to Make an Evening Gown, that you can use in any fancy event you want.
I hope you have learned something new and useful today. I aim you to try to modify your own Dahlia for your own.
If you want to learn how to make this Sewing Pattern CLICK HERE and read the Second Part of this Post.

Remember that the next post I am going to show you how I actually put this sewing pattern together.
Ps: If you have any questions at all about this tutorial please join our Sewing Club on Facebook. There I can help you directly or drop them right here in the comments.
I am always happy to help.












1 thought on “How to Make an Evening Gown Sewing Pattern.”