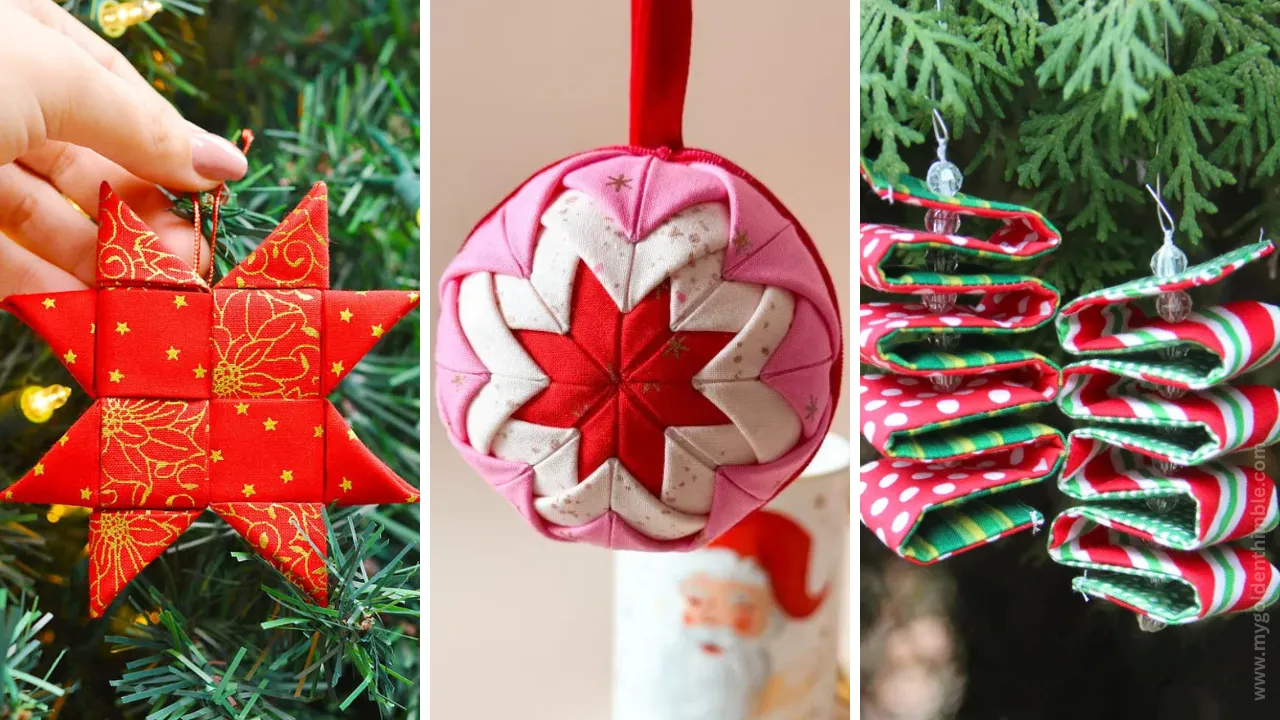
Make colorful felt Christmas ornaments inspired by Scandinavian folk art! Get a free printable PDF pattern or the premium SVG files for your cutting machine.
These colorful felt Christmas ornaments are exactly the kind of Christmas decoration I wanted to try making this year!
I’ve been seeing so many beautiful, bright, and playful holiday decorations lately, and I couldn’t resist bringing a little bit of that happiness into my own Christmas crafting.
So come with me to create these beautiful Scandinavian-inspired Felt Ornaments with a Free Sewing Pattern and Tutorial.

NOTE: This post contains affiliate links, which means that if you make a purchase using one of the links in this article, I may earn a commission at no extra cost to you (To know more about this, click here.)
About This Design
If there is one thing I wanted to try differently with my Christmas decorations this year, it was COLOR! I’ve been seeing so many beautiful, bright, and playful Christmas decorations lately, and I couldn’t resist trying to bring a little bit of that happiness into my own holiday crafting.
I went ahead and took inspiration from my curated list of Felt Christmas Ornament Ideas, and that was enough to have this idea.
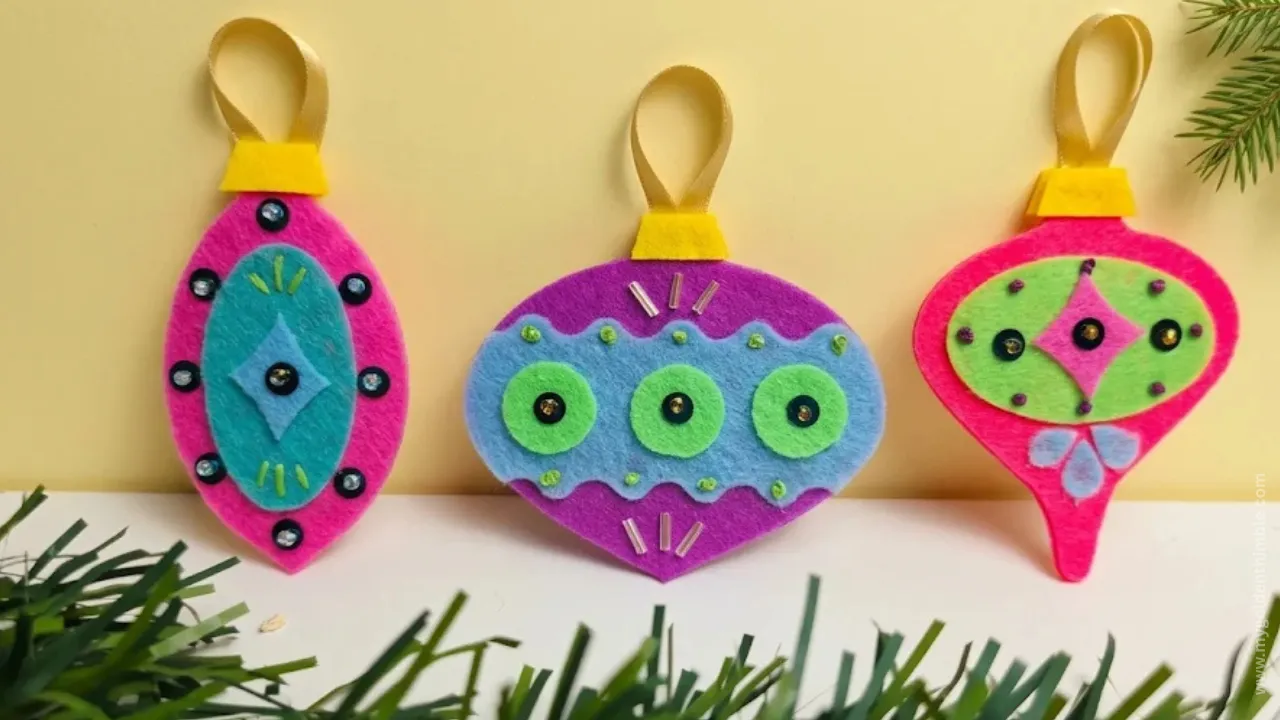
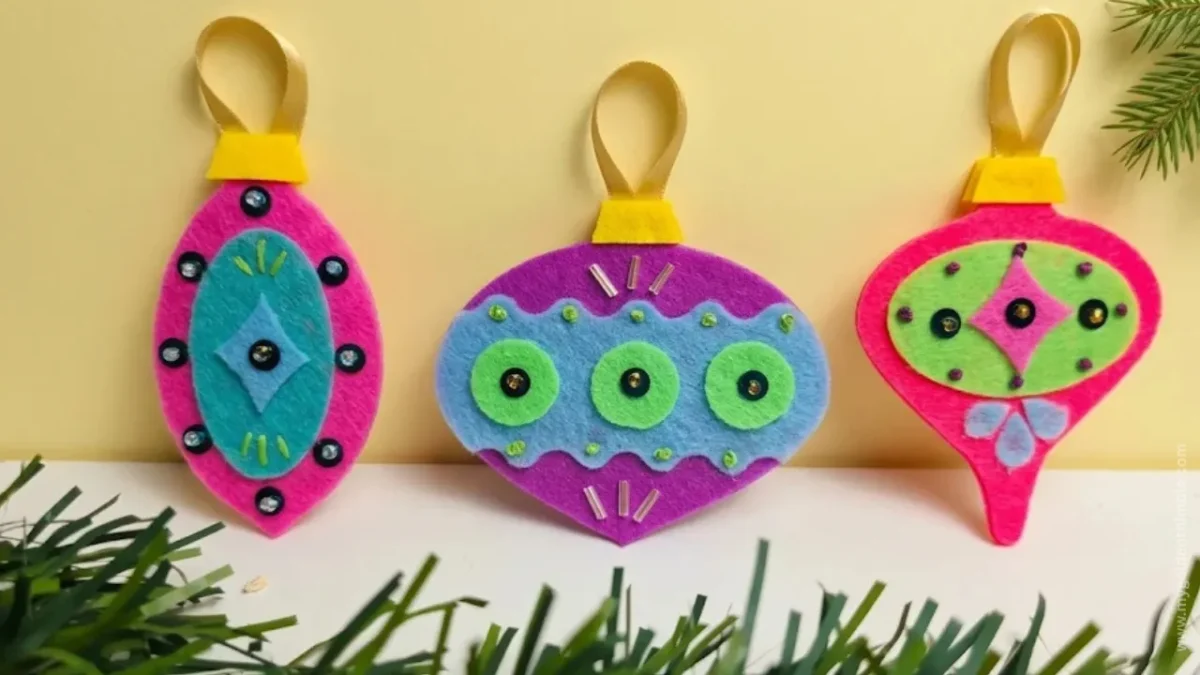
So, I designed these colorful felt Christmas ornaments, taking inspiration from vintage Christmas baubles and Scandinavian folk art.

I started by drawing three different ornament shapes and then played around with the colors, shapes, and little decorative details until I was happy with the designs.
And oh, am I happy with how they turned out! They are such a pop of happiness, with their vibrant colors and playful little details. I can’t wait to hang them on my Christmas tree!
These are designed as Christmas tree ornaments, but I can also picture them looking adorable as part of a festive garland.

In fact, their size and shape would work beautifully for that, just like the mini Christmas tree garland I made last year.

The best part?
They are surprisingly simple to put together, and you can have so much fun playing with different color combinations to make them your own.
Get Your Free Colorful Felt Christmas Ornament Pattern
I have prepared a free printable PDF pattern for these colorful felt ornaments! You can download it, print it at home, and use the templates to cut all the felt pieces by hand.
No special equipment is needed, and you can get it by subscribing to our newsletter (I’ll tell you how in a minute), just like all the other free sewing patterns on our blog.
BUT…
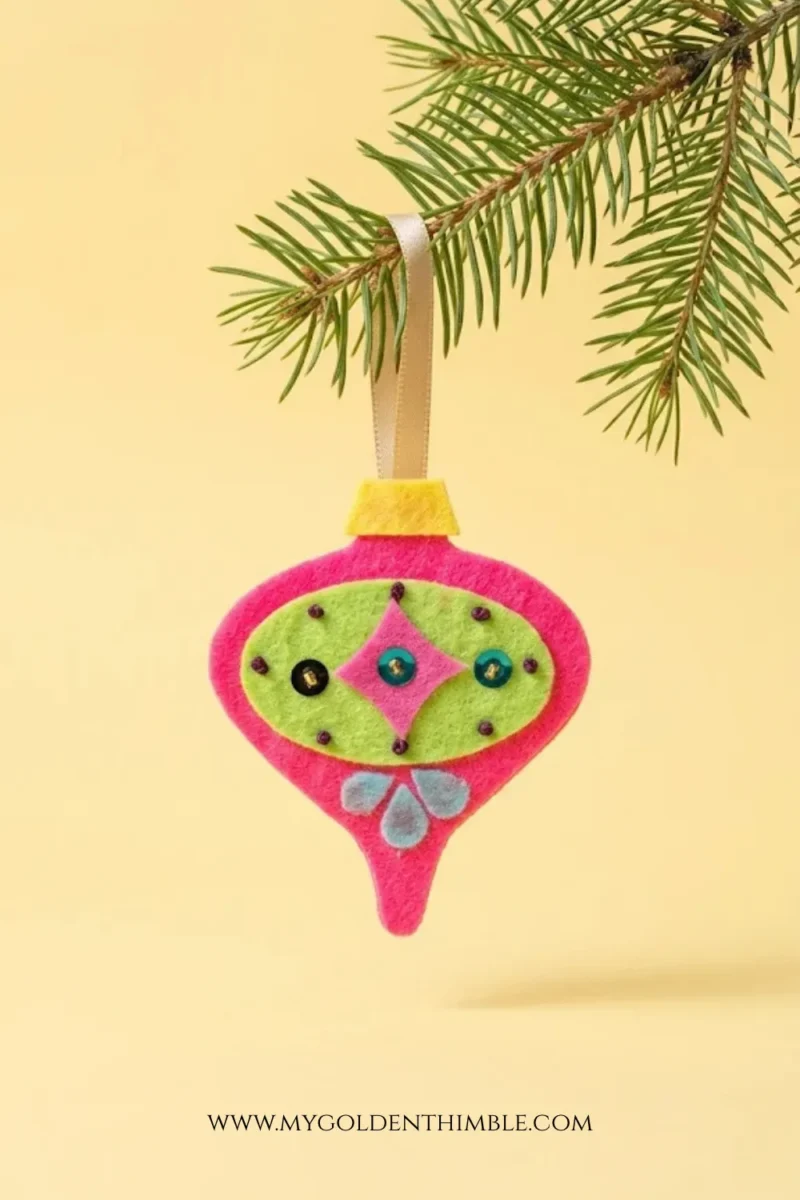
Want to make these with a Cricut or another cutting machine instead? I’ve also created a premium version of the pattern for just $2.99.

The premium pattern includes everything in the free version, plus SVG, DXF, PNG, and JPEG files, so you can use the cutting files with your compatible cutting machine.
Plus! You get a PDF instruction booklet to read at your own pace wherever you want.
The SVG version is the one I used to make my ornaments, and it is especially handy for cutting all those smaller, more intricate decorative shapes. You can also resize the designs to create larger ornaments!

And because choosing colors can sometimes be half the battle, I’ve included three full pages of color combination inspiration to help you put together your own beautiful ornaments without having to figure out every combination from scratch.
By purchasing the premium version, you’re also supporting My Golden Thimble and helping me continue creating original, human-made sewing and crafting designs for our creative community.
Every little bit helps me keep making new things for you!
Materials for Colorful Felt Christmas Ornaments
To make these colorful felt Christmas ornaments, you’ll only need a few simple craft supplies. Most of them are probably things you already have in your sewing or crafting stash!
- Acrylic felt sheets in assorted colors
- 1/4-inch-wide ribbon
- Small decorative beads or sequins
- Hot glue


A little more about the materials
For these ornaments, I used a pack of assorted rainbow acrylic felt sheets that I already had in my craft room. I love this particular felt because it comes in so many different shades, which makes it perfect for colorful projects like this one.
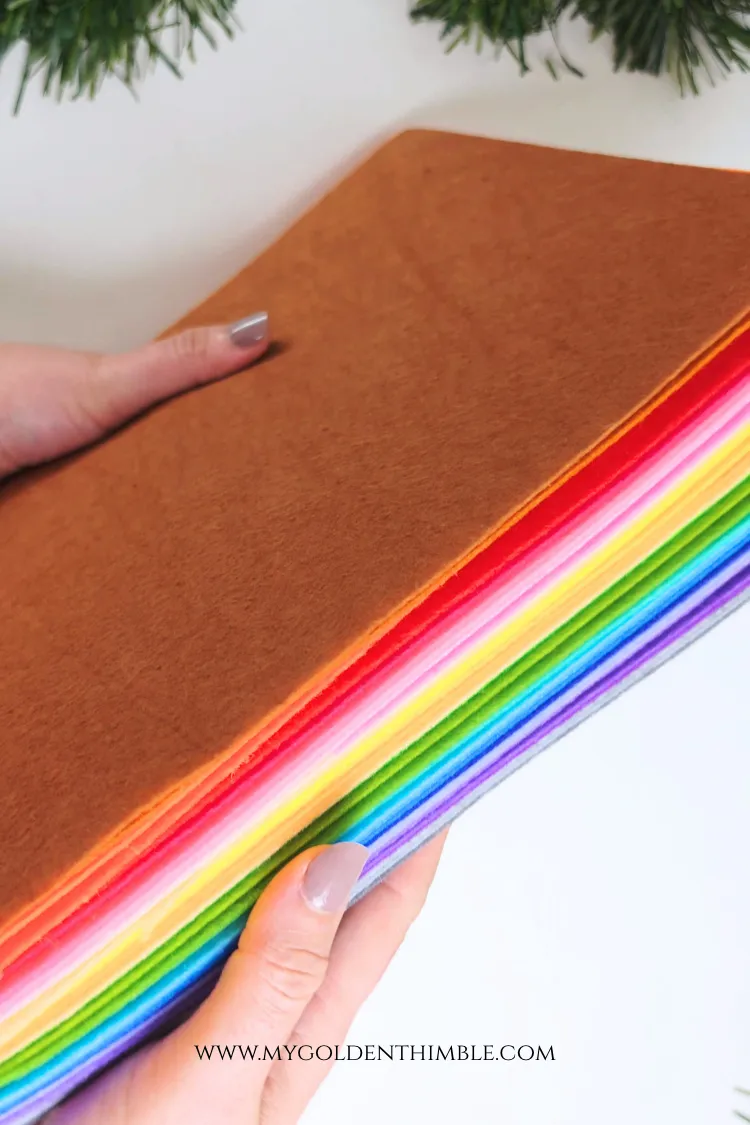
It is also sturdy enough to hold its shape beautifully without being too thick to cut. You can easily cut it by hand or use your Cricut machine if you prefer. Another thing I appreciate is that it isn’t see-through like some of the thinner felt sheets I’ve tried before.

For the little decorative details, I used some small beads and sequins I already had lying around, along with a thin ribbon for the hanging loops.
I didn’t need to invest in anything extra for these embellishments, which is always a nice bonus when you are working on a craft project!

I also decided to use hot glue to assemble the felt layers instead of finishing the edges with a blanket stitch.
I wanted to keep this project simple and avoid spending extra time stitching around all the edges.
However, if you prefer a completely no-glue approach, you can absolutely use a blanket stitch to join the layers instead.
How to Make Colorful Felt Christmas Ornaments
Now that you have your materials and ornament templates ready, let’s start making these colorful felt Christmas decorations!
I’ll walk you through each step, from cutting your felt pieces to adding all those little decorative details that make each ornament special.
Step 1. Cut Your Felt Ornament Pieces
The first thing we need to do is cut all the felt pieces for our ornaments.
I used my Cricut machine for this project by uploading the SVG cutting file and arranging all the shapes before sending them to cut.
This was especially helpful for the smaller decorative pieces, which can be a little tricky to cut accurately by hand.
If you don’t have a cutting machine, don’t worry!
You can use the free printable PDF pattern included in this tutorial (sign up at the end of the post).
Simply print the templates at home and cut the felt pieces by hand.

A little tip for cutting small felt shapes by hand: Try ironing a piece of freezer paper onto the back of your felt before cutting.

- Freezer Paper Roll: Contains one 100 square foot roll of Reynolds Kitchens Plastic Coated Freezer Paper, measuring 66-2/3 feet x 18 inches
- Plastic-Coated Nonstick Inner Surface: Keep freezer burn at bay with the plastic side of this freezer paper to seal in moisture & flavor
- Write-On Freezer Paper: Use the outer paper side of this Reynolds freezer paper for easy labeling

This will give the felt a little more stability and make it much easier to cut those tiny decorative shapes, especially the little teardrops.
Just remember to peel the freezer paper off once you’re done cutting.
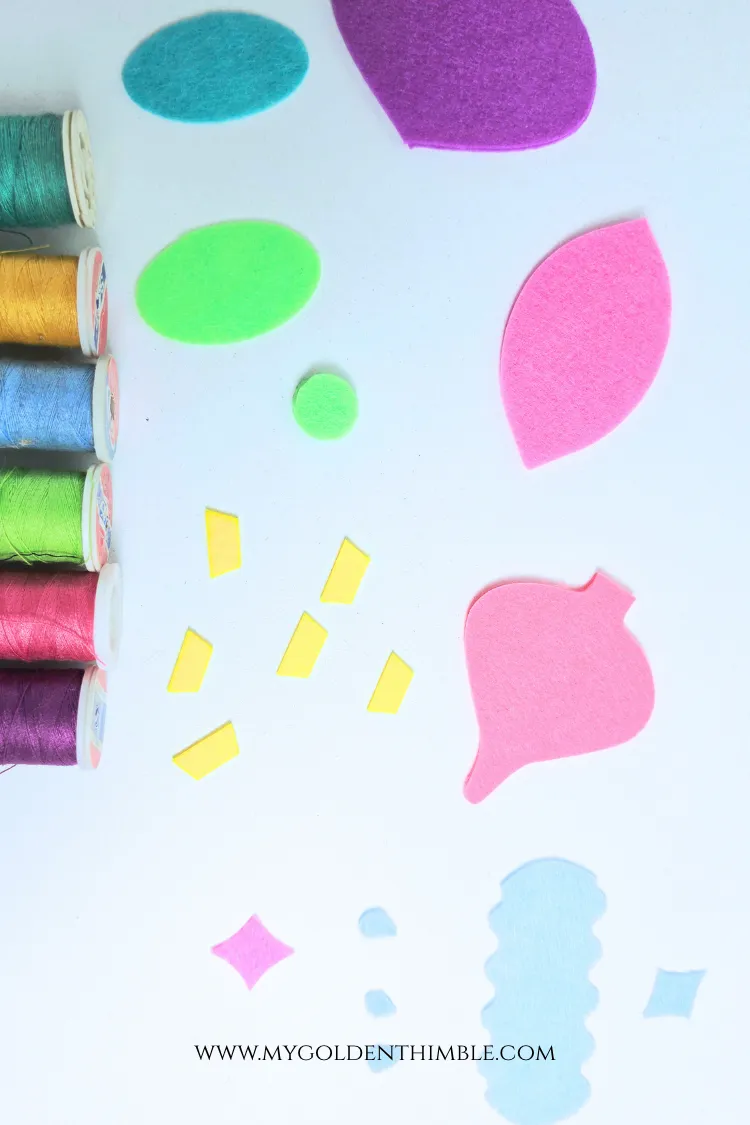
For each ornament, you’ll need two main body pieces: one for the front and another for the back.
We’ll use the front piece to add all our decorations, while the second piece will eventually cover the back and hide all the embroidery stitches.
Step 2. Embellish the Front of Your Ornaments
Now comes the fun part! Before putting the ornament together, we’re going to decorate the front layer.
Start by arranging your decorative felt pieces over the main ornament shape. Once you’re happy with their placement, you can begin securing some of them with embroidery thread.
For the little circular details, I used a French knot stitch. This creates those cute raised dots that add a little texture and dimension to the ornaments.
To make a French knot, bring your threaded embroidery needle up through the felt where you want the knot to appear.

Hold the thread taut, wrap it around your needle three times, and then insert the needle back into the felt very close to where it came out.
Gently pull the thread through while keeping the wraps snug around the needle. You’ll end up with a lovely little raised knot!
Repeat this wherever you want to add those tiny embroidered dots or secure your decorative felt pieces.
Step 3. Add the Beads and Sequins
Next, I added some little beads and sequins to give the ornaments a bit of sparkle.
This is a very simple way to add extra detail. And you can use whatever colors you have available in your craft stash.
To sew them on, bring your threaded needle up from the back of the felt at the spot where you want your embellishment. Slide a sequin onto the needle first, followed by a small bead.
Then, pass the needle back down through the felt, right around the same point where your first stitch came out. The thread will hold the sequin and bead in place, with the bead sitting on top of the sequin to secure it.
Repeat this process for all the little embellishments you want to add. I love how these tiny details make the ornaments look so much more playful!

Step 4. Glue the Smaller Felt Decorations
For some of the smaller decorative shapes, such as the little teardrops, I simply used a bit of hot glue to attach them to the front of the ornament.
You can arrange these pieces however you like, depending on the design you’re making. Just be careful with the glue, especially when working with small pieces, so you don’t end up with too much visible around the edges.
Step 5. Attach the Hanging Ribbon
Once all your front decorations are in place, it’s time to add the hanging loop.
Cut a piece of ribbon approximately 4 1/2 inches long. You can make yours longer or shorter depending on how much you want the loop to stand out above the ornament.
Fold the ribbon in half to create a loop, then use a little hot glue to attach its two loose ends to the back of your decorated front layer, right at the top.
Make sure the ribbon is positioned correctly before moving on to the next step.
Step 6. Cover the Back of Your Ornament
Now we’re going to sandwich the two felt layers together!
Apply a tiny amount of hot glue around the back of your decorated ornament, then carefully place the second felt body piece over it to cover all the embroidery stitches and the ends of your ribbon.

A little hot glue goes a long way here! You only need enough to hold the two felt layers together. Avoid using too much, as you don’t want to soak the felt or have glue seeping out around the edges.

I chose not to sew around the edges of these ornaments because I wanted a cleaner, simpler finish.
However, if you love the look of a blanket stitch, you can absolutely use it to join the two layers instead. It would also make a lovely extra decorative detail!
Step 6 (optional). Sew the Back of Your Ornament with a Blanket Stitch
Now we’re going to sandwich the two felt layers together!
Place the second felt body piece over the back of your decorated ornament, making sure the edges line up nicely. Use a few pins or clips to hold the layers in place if needed.
Using embroidery floss and a needle, sew around the edges with a blanket stitch to join both felt layers together. This creates a lovely finished edge while keeping all the embroidery stitches and the ends of your hanging ribbon hidden inside.
I decided not to use a blanket stitch for my original ornaments because I wanted a cleaner, simpler finish, so I used a little hot glue instead.
However, I actually love how a blanket stitch can become another decorative element, especially if you use a contrasting thread color!
My tip: If you’re using a blanket stitch, try choosing an embroidery thread that contrasts with your felt. For example, a pink thread around a turquoise ornament or a bright yellow thread around a purple one. It adds another pop of color and gives your ornaments that lovely handmade folk-art look.
Step 7. Add the Ornament Caps
We’re almost done!
To finish your ornaments, take the small felt cap pieces included in the pattern and glue one to the front and another to the back, covering the area where the hanging ribbon attaches.
This gives the ornaments a more finished look and makes the ribbon attachment blend beautifully into the design.
And that’s it! Your colorful felt Christmas ornaments are ready to hang on your tree!
Tips for Making Your Own Colorful Felt Christmas Ornaments
One of my favorite things about this project is how much you can customize it!
You don’t have to stick to the exact colors I used.
In fact, I think these ornaments look even more charming when you experiment with different color combinations.

Here are a few ideas to get you started:
- Play with contrasting colors. Try pairing bright pink with turquoise, purple with lime green, or any other unexpected combinations that make your ornaments pop.
- Mix different shades of the same color. If you prefer a softer look, try combining different shades of blue, pink, or green.
- Don’t be afraid to add embellishments. Beads, sequins, embroidery knots, and little felt shapes are all wonderful ways to give your ornaments extra personality.
- Make them in different sizes. If you’re using the SVG cutting files, you can resize the designs to create larger or smaller ornaments for your Christmas tree.
- Turn them into a garland. These shapes are also perfect for making a colorful Christmas garland. Simply make several ornaments and arrange them along a longer piece of ribbon or string.
And if you’re anything like me and sometimes find yourself staring at a pile of colorful felt wondering which shades actually go together, I’ve got you covered!
The premium pattern includes three full pages of color combination ideas to help you mix and match your felt without having to figure everything out from scratch.
Think of them as a little color inspiration cheat sheet for your Christmas crafting!
Free Vintage Ornaments PDF Download
Hey there! Want this amazing free download? Just pop your name and email into the form below, and we’ll send it your way. Oh, and remember to check your promo or spam folders in case the email takes a detour there by mistake. If it does, just nudge it into your main inbox so you don’t miss any more freebies from us!
Don’t see the form? Disable your ad blocker and refresh the page!