
On today’s post, I want to show you how to make a DIY Snack Bags (or sandwich bag, or pouch bag or any shape really) to stop throwing away dozens of Ziploc bags each week.
Most of the bag anyway…

NOTE: This post contains affiliate links, which means that if you make a purchase using one of the links in this article, I may earn a commission at no extra cost to you. This helps me to create more free content for you and all sewing lovers out there (To know more about this click here.)<<
♥DIY Snack Bags, Sandwich Bags and Pouch Bags with Ziploc-like closure♥
If you happened to catch my Reusable Grocery Bag sewing tutorial (you can read it here as well as get the free pattern) you know that I’ve been trying to cut back my carbon print by reducing my only use once plastic products.
I’ve also made Reusable Dish Sponges, Reusable Fabric Pull-up bows, Fabric Napkins and more…
But, Ziploc bags are lifesavers. Both for food and for the organization here and there.
But they are also a not so great thing: A ton of plastic daily waste. Yikes!!
If you think about it is nuts!
It only took a sneak peek at how much waste my consumption of Ziploc-like bags was in the trash I decided it was time to do something about it.

♥
Confession: I choose to not use Velcro for Closure…
Of course, you have seen the reusable velcro lunch bags around Pinterest.
But I just wasn’t crazy about putting velcro on mines. Mainly because of the humidity that could stay between the velcro fibers at the moment of washing them. But also because for some weird reason I can’t explain…
The reliable closing system Ziploc-like bags have, is simply one thing I wasn’t ready to give up.
That’s why I put 2+2 together and came up with a mash-up DIY Snack Bag with the twist of the Ziploc closure.
YOU MIGHT ALSO LIKE: Apron + Oven Mitts Kit Sewing Pattern

I’ve been using these Snack bags for a while now, and I have to tell you I just love them.
They are pretty, practical, environmentally friendly and very easy to clean and reuse!

Are you ready to make your own reusable Ziploc bags?
Watch this video tutorial and check the list of materials below. If you prefer to read the instructions instead, head down at the end of the post.
PS. I apologize in advance for the poor lighting of my camera, I am still new at this thing of videos but very soon I will be improving them for all of you.
Let’s do this!
Materials I used for this tutorial:
- Ziploc like plastic bags
- Non-Fabric Scissors (This are the ones I used in my video)
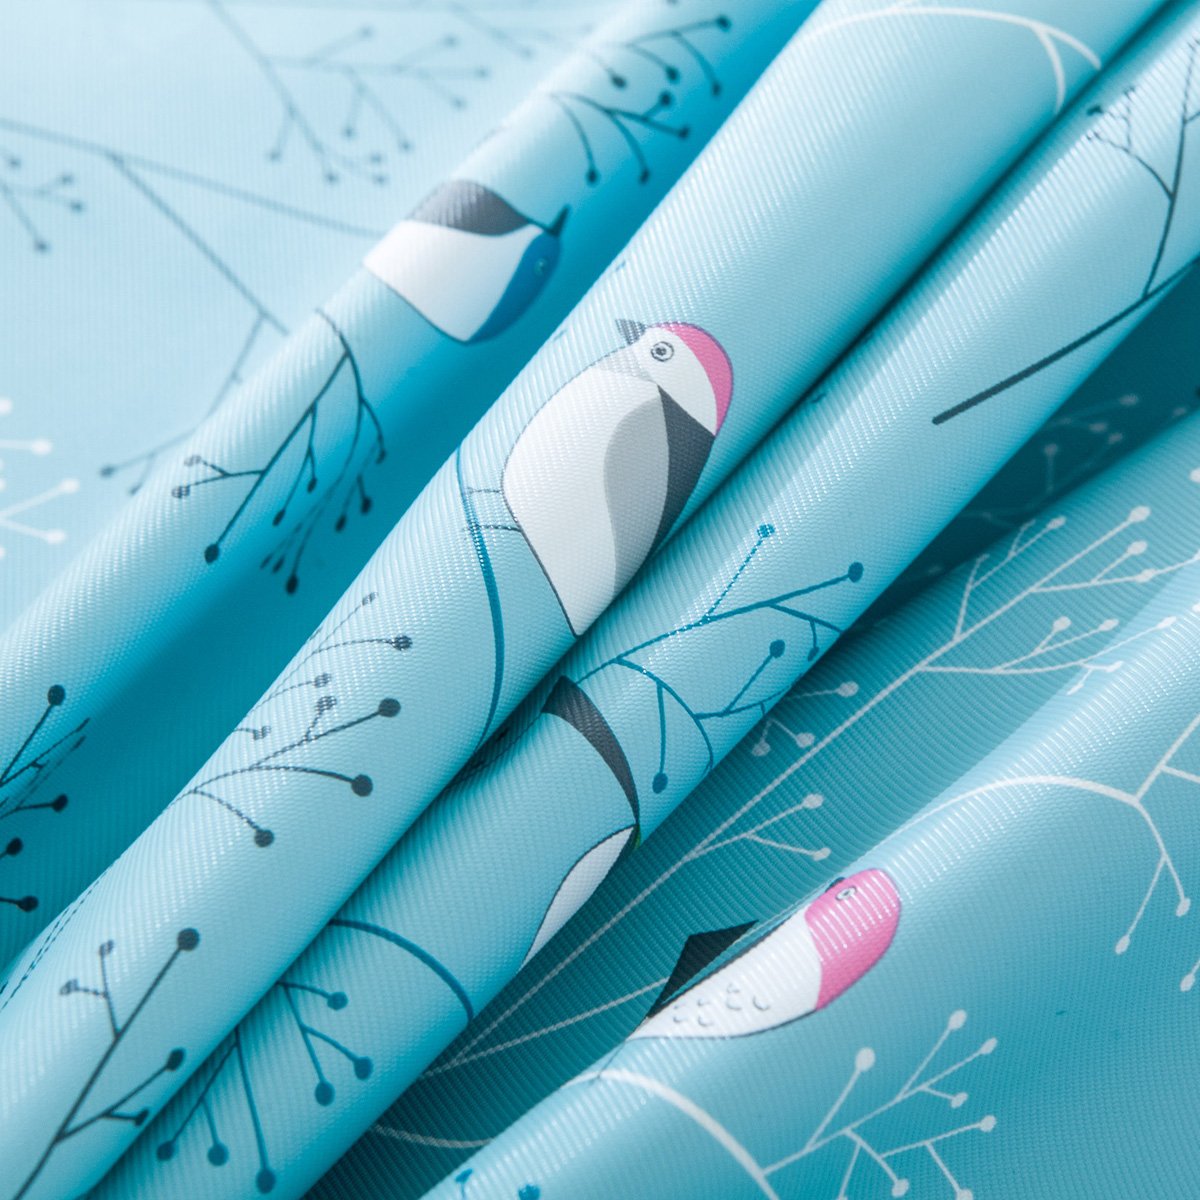
- Oilcloth Fabric/ plastic tablecloth (Below I explain my choice of this fabric meanwhile you can find it our selection for this fabric on Amazon or on Fabrics.com)
- Matching Cone Thread
- Mini Paper Clips
- Pencil or chalk
DIY Snack Bags Video Tutorial
♥
Why use Oilcloth Fabric for the Snack or Sandwich Bags?
I suggest you use Oil Cloth Fabric for this project due to its waterproof capacity and the easiness to clean. This fabric is mostly used for a tablecloth for the very same reasons, so it is also perfect for this “Ziploc-like” bags.
Here I have found some Oilcloth Fabrics designs that you might like. Just click on the picture to be taken to the fabric product page:




DIY Snack Bags Step By Step

1. To begin with, you need to cut out the resealable part of the bags making sure you are cutting as near as possible to the closure without damaging it.
2. Next, you have to measure the length of that part of the bag to determine the opening of it.
3. Cut a rectangle that measures that length plus seam allowance (½” will be enough) by the desire deep you want to give to the bag x 2. I recommend the following:
- Snack bags: 10″ length x Width of the Tab + 1″ (1/2″ of seam allowance in each side)
- Sandwich bags: 13″ length x Width of the Tab + 1″ (1/2″ of seam allowance in each side)
- Pouch bags: 13″ or 14″ length x Width of the Tab + 1″ (1/2″ of seam allowance in each side)
4. Fold the rectangle in half and close the sides at ½” from the edge (or at your selected seam allowance).
5. Cut the corners of the bottom and turn the bag inside out.
6. Place the Ziploc closure inside the bag and fold the open edges in to “trap” the opening part of the closure cutting.
7. Make sure you are not covering the closure with your fabric.
8. Make a stay stitch around the opening lapels close to the cutting closure.
9. To finish your bag and to ensure an easy closing every time make a backstitch on both ends on top of the closed bag closure.
And you are done!!
NOTE: To wash these beauties use dish soap and a sponge and dry open.



you can also use the whole zip lock bag and make it food safe inside as well. jut a thought
That is also a great idea!! I am totally going to try that. I have seen people press plastic on fabric, so that might be worth the try.
Fantastic idea! Thanks for sharing this. I’ll definitely be trying it.
If you buying a ziplock type bag to only use the zip lock portion, you are still wasting the rest of the plastic bag. That defeats the purpose!!
Hi Becky.
I would actually use the ziploc bag first, then I would wash it and cut the zip tab, then I would use the plastic bag either to make plastic bottle blocks or when I walk my dogs as… well poop bags. It’s important to don’t waste anyting!
in your instructions you use the length of the closure and technically it is the width and it is not the depth because that indicates front to back, it is the length. in the sizes of the bags you got it right.
Thanks for your corrections Carol 🙂
I can’t get the video to play. Thanks
Hi Gladys, if you have any ad blocker extension installed on your browser the video won’t play. You can disable that or give it permission for our site to catch the videos and later if you want you can turn it back on.
I’m curious as to why you use Oilcloth, which is NOT food safe?
It hasn’t been proofed that it is not a food-safe, I know a lot of people said so, but I asked my doctor (really) and he said that to me.
But that is ok. If you don’t feel comfy using oilcloth fabric there is a lot of alternatives such as beeswax treated fabric or pull fabric.
Hi! How do you clean these bags? I’m kind of a germ freak and understand you can wipe them, but I assume the thread could become a germ holder. Also, have you used these for non dry snacks/foods (apple slices, carrots, cucumbers etc…). Thank you?
Hello there Emie!, Yes I have use them for non-dry snacks and they have worked very well. I clean them the same way I clean my dishes with a dish sponge soap and a bit of bleach or baking soda to get rid of any possible germs. The most important thing for me is to leave them dry open completely before each use, otherwise, they will get mold (I have never had happened this to mine, but that’s because I do all this to prevent that) Kind of a germ freak too.
I hope this helps.