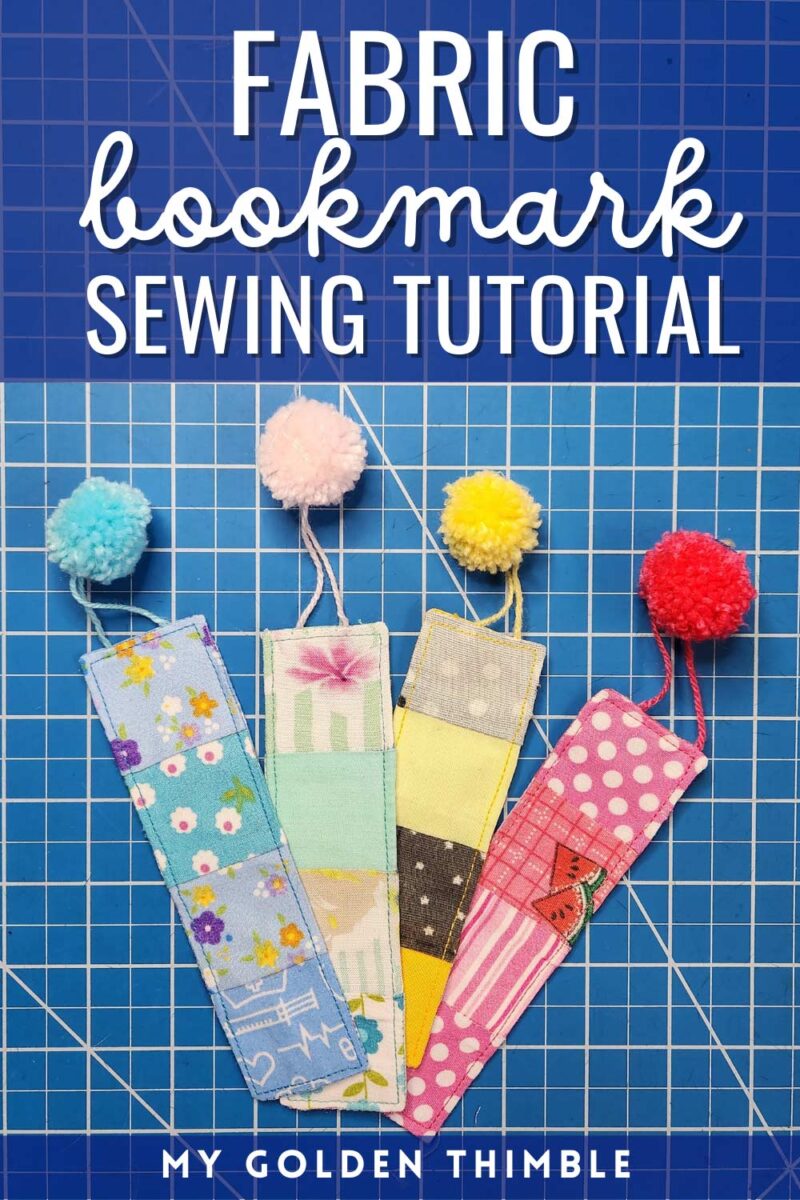
Do you want to make a super quick and easy Fabric Bookmark? Then you came to the perfect place.
In this tutorial, I will show you how to make a classic rectangular bookmark with fabric and a cute mini pompom on the top.
This fabric bookmark tutorial is quick to make (you can make it in under 10 minutes), and it is also one of the great sewing gift ideas for your friends and family.
Customize each bookmark with your favorite fabric colors and patterns, and add a cute pompom detail at the end to make it extra special!
So get your fabric scraps or fat quarters, and let’s do this!
NOTE: This post contains affiliate links, which means that if you make a purchase using one of the links in this article, I may earn a commission at no extra cost to you (To know more about this, click here.)
Using Fabric Scraps.
I love all easy sewing projects. But DIY Fabric Bookmarks is one of the beginner sewing projects I enjoy the most.
Not only because I am a total bookworm but also because I get to use my mini quilt blocks. You see, I hate throwing fabric scraps away. Even the tiny odd shape pieces!!
So I have a process to take advantage of the very last fiber of my fabrics.

The first thing I do is separate the big odd shapes of scraps. Anything I can use to make a pocket, a small bag, or any other small project goes in a roll and into my fabric shelf.
This was one of the first changes I made when I reorganized and planned my sewing room.
Then, I take all the medium scraps (the ones that are about the size of my hand or slightly larger), and I cut these 2” square blocks. I store those in a small box by color.
I can do all sorts of things with these cute mini blocks, like this gorgeous lumbar quilted pillow cover I made a few months ago. These are great for all types of handmade projects, and I use them a lot.
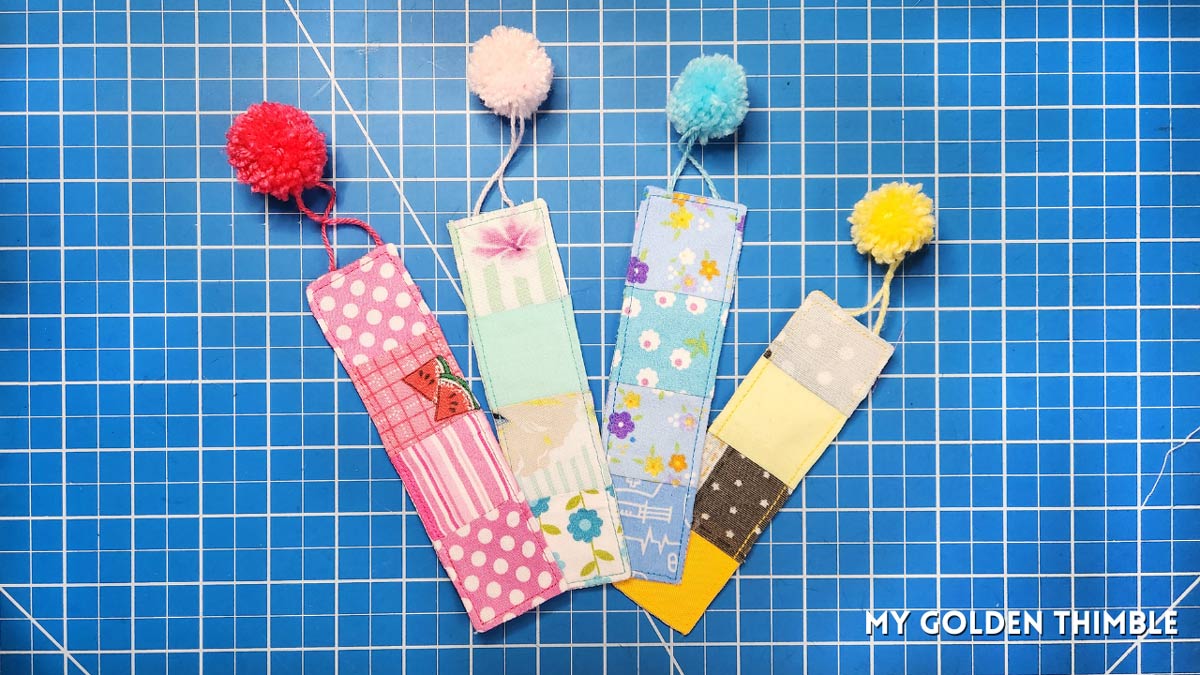
Like today! We are using 2” quilt blocks made with scraps.

Finally, I took all the crumbs, which are fabric scraps too tiny to make anything, and I sorted them by color shades so I could make Crumb Quilts. Crumb quilting is a technique that uses tiny scraps of fabric to create new fabric canvases with amazing shapes and colors.
And this way, I use absolutely every single scrap of fabric in my stash, and I avoid waste as much as possible.
What can I use to Top my Fabric Bookmark DIY?
Literally, anything you want!!
Some great ideas to use as a top for your fabric bookmark are DIY tassels, ribbons in strings, ribbons, loops, braided yarn, chains, and pompoms like I am doing here.

And you don’t need to go simple either! In our tutorial about making DIY tassels, we went uber-creative and added beads, lace, and chains to make them extra special.
So don’t be afraid to experiment with more materials and get creative with the details.
How can I customize my bookmarks?
This project is so quick to make that you can take a lot of time personalizing each with unique details.
For example, you can embroider your name or your initials. You can also embroider figures or shapes related to your book.
This is an excellent idea if you are obsessed with one book (Harry Potter, anyone?) and want to make a custom bookmark, especially for that book!
Another idea to personalize your fabric bookmarks is to add some trims and findings. You can sew a narrow lace trim to make a vintage-looking bookmark. Or you can sew bias tape around it to make a really unique “framed” bookmark.
Explore the many fabric bookmark ideas and get inspired by them to create your unique and fantastic design.
What do I need to make a Fabric Bookmark?
For these cute bookmarks, I used scraps of fabrics that I cut into squares, acrylic yarn, and heavyweight interfacing (like the one you would put on a dress shirt’s collar).
I like to use interfacing of this weight because I like the feel of “stiff paper” on my bookmarks. But if you want your bookmark to be softer, you can use lightweight fusible interfacing.
For this tutorial, it is really important to use interfacing as we will be joining small fabric blocks together.
This will create many seams on the body of the bookmark. Therefore the interfacing. It will give extra body if you use very lightweight fabrics, and it will hold together the pieces on the wrong side of the fabric.
If you don’t want to use interfacing, I will give you another option in the next section.
Gather the following materials to make these easy fabric bookmarks.
- 8 pieces of 2” by 2” quilting blocks (any type of woven fabric)
- Heavyweight Fusible Interfacing
- Matching Thread
- Sewing Machine
- Yarn
- A fork from your kitchen
- Iron
How to make a fabric bookmark without interfacing?
If you don’t want to use interfacing when you sew your bookmark, you can replace it with batting or a piece of craft felt.
If you use any of these materials, your bookmark will still have a nice shape and body, but it will be softer than the one we are making here. I used this to make my sleep mask free sewing pattern and tutorial. Because for sleeping, I needed something soft but that would hold the shape of my design.
Choose whichever option you feel more comfortable with. Just consider that if you don’t use interfacing, the bookmark won’t be stiff and probably won’t have very sharp edges.
How to make a Fabric Bookmark? Easy Rectangle Book Mark Tutorial.
1. Decide the order of the blocks.
As I was matching different patterns and fabrics, the first step for me was to decide the order in which I wanted my blocks to be.
You need to place them in a vertical column, one next to the other, to see which placement you prefer. If you skip this step, you could make a mistake and sew two blocks with the same pattern together. That might look weird.
2. Sew the blocks together.
Once you have decided on the order of your blocks, join the first block’s bottom edge with the second block’s top edge. Then join the bottom edge of the third’s block with the top edge of the fourth block.
Place all the blocks with the right sides together, and sew at 1/4” of the seam allowance.
Then place the bottom edge of the second block with the top edge of the third block with the right sides together so you can have a column of four blocks.
Repeat all of these two times so you end up with two columns of four blocks.

3. Press the seams to one side.
This is optional, but you can nest your seams to create less bulk on your fabric bookmark.
To do this, press each column’s seams to one side. And then, press the seams of the other column to the opposite side of the first column.
By doing this, the seams of one layer will face to the right, and the seams of the other will face to the left when you align the seams on the sides.
This is great because it reduces the bulk of the seam allowances.
4. Press the interfacing.

Cut a rectangle that measures 5 3/4” by 1 1/2” on your heavyweight interfacing.
Place it at the center of the wrong side of the fabric of one of the columns (ideally, the one you think looks best) and press it with your hot iron.
5. Make the pompom.

This step is optional. You can put anything as the topper of your DIY fabric bookmark. For example, a ribbon, a DIY tassel, a string, or, like in this tutorial, a pompom.
This bookmark is 1 1/2” in width, so our pompom must be really small to look balanced.
To make a tiny pompom, use the fork pompom technique of this post.
And remember to leave long strings when you tie them!
6. Close the pieces.

Place the pompon on the top edge of your fabric bookmark. Secure the strings with pins.
The pompon has to be over the body of the bookmark. Pin it upside down.
Align the rest of the bookmark (remember nesting the seams as we explained in step two of this tutorial).
Push the pompom out to one side between the seams so you can pin and close the bookmark easier.

Just make sure the strings keep secured in their place.
The side from which the pompom is sticking out will be the space you will leave open to turn the piece inside out.
Sew around the rectangle at 1/4”, leaving one space open at the sides.
7. Turn inside out.

Cut the corners of the bookmark and turn the piece inside out through the open space.
Press the piece, ensure the open space seam allowance is well folded, and press on the seam allowances.
Save this tutorial on Pinterest.
8. Close the open space and make a topstitch.

Use an invisible stitch to close the open space on the side of your fabric bookmark.
Then make a topstitch around the whole rectangle at 1/8” from the edge of the fabrics.
And that’s it!! Now you have a gorgeous bookmark that took almost no time to make, and I am sure it will be unique, just like you.
What other types of bookmarks can I sew or DIY?
Another popular design of this project is the corner bookmark, a small square with a slot you insert the page. The fabric corner bookmarks are a cute style that can be made with very little fabric.
There is also the fabric bookmark with elastic which is basically a “headband” for your pages. You can also make a cross-stitch bookmark or a hand embroidery one. I have linked a tutorial of this one in the post, Christmas Sewing Gift Ideas, if you want to check it out.
Finally, there are crafty bookmarks you can make with paper and other crafty materials like cardboard or paint.
Try them out! And let me know in the comments which one would be your favorite to make and to whom you will gift these bookmarks.
Don’t forget to follow us on Social Media!!
Psst…Was this article helpful to you?? Please support us so we can keep making awesome tutorials for you by buying us a cup of coffee here. We will be forever grateful!


The bookmarks are such a great idea and your instructions make it an super easy project.
You are by far one of the most gifted and inspirational persons I’ve come across! Just love your blog and projects.
Thank you!
Sonet, I just printed and put your beautiful words on my wall. Thank you so much for saying this. I am truly happy to be able to make this content for all of you.