In this tutorial, I will show you the wonders of Crumb Quilting. A method that will help you to finally use all those fabric scraps you have been storing for all your life.
Whether you are a beginner seamstress looking for a fun project or an experienced quilter looking for a challenge, this new technique will be great.
I will tell you all you need to know about the materials, techniques, tools, and tips you need to get started with crumb quilting.
So keep reading to learn a new technique to make the most out of your tiny fabric scraps.
Save this tutorial on Pinterest.

NOTE: This post contains affiliate links, which means that if you make a purchase using one of the links in this article, I may earn a commission at no extra cost to you (To know more about this, click here.)
I seriously don’t know why I haven’t made this crumb quilting tutorial before today.
I mean, I have loved this technique since I discovered how to do crumb piecing two years ago.
You, as well as many of us, probably save all the small pieces of fabric that are left over from that gorgeous project you just made. I don’t know about you, but at this point, I have a whole “garbage bag size” equivalent of fabric scraps.
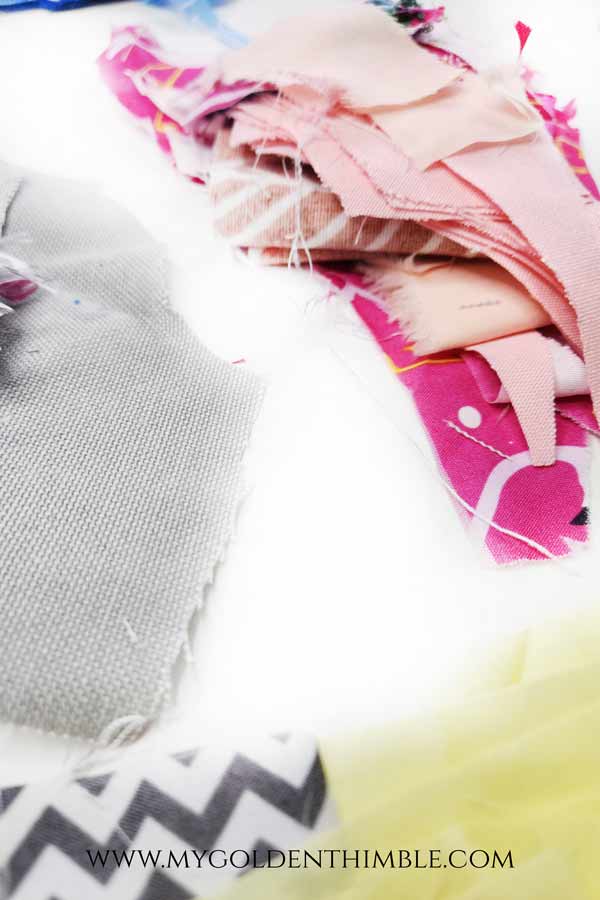
And it’s pretty understandable. We know how valuable our fabrics are. So getting rid of it hurts, even if it is a tiny little piece.
But today, I am here to tell you that your hoarding will finally pay off!!
We will create gorgeous quilt blocks and patterns with all those tiny pieces. So, take out your scrap bin and start sorting those scraps.
We are making crumb quilts!
What is Crumb Quilting?
Crumb quilting is a sewing technique quilters use to create new fabric canvases from small, randomly shaped pieces of fabric.
Unlike traditional quilting, where you cut specific shapes of quilting blocks to create your quilt, crumb quilting uses a more random placement.
When sewn together, these irregular shapes can form larger quilting blocks that can be used for any fabric project or combined to create beautiful, intricate designs.
This differs from other techniques and designs used to create beautiful quilt blocks and patterns. For example, you can make a quilt by hand, trapunto, a design such as a star quilt, or a log cabin, and so much more.
But these last ones are specific blocks. Whereas on a Crumb Quilt, you will create a random pattern with your fabric pieces.
What tools do I need to make a Crumb Quilt?
We recommend these materials to make your experience with crumb quilting fluid and organic.
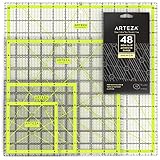
You will need fabric scraps, fabric scissors, a rotary cutter, a cutting mat, a pattern-making ruler, and iron-on interfacing if you want more stability on your quilt.
You might also want to consider investing in this affordable table thread cutter in the shape of a flower.

This thread cutter is a lifesaver when the time comes to separate the string of blocks you feed through the machine.
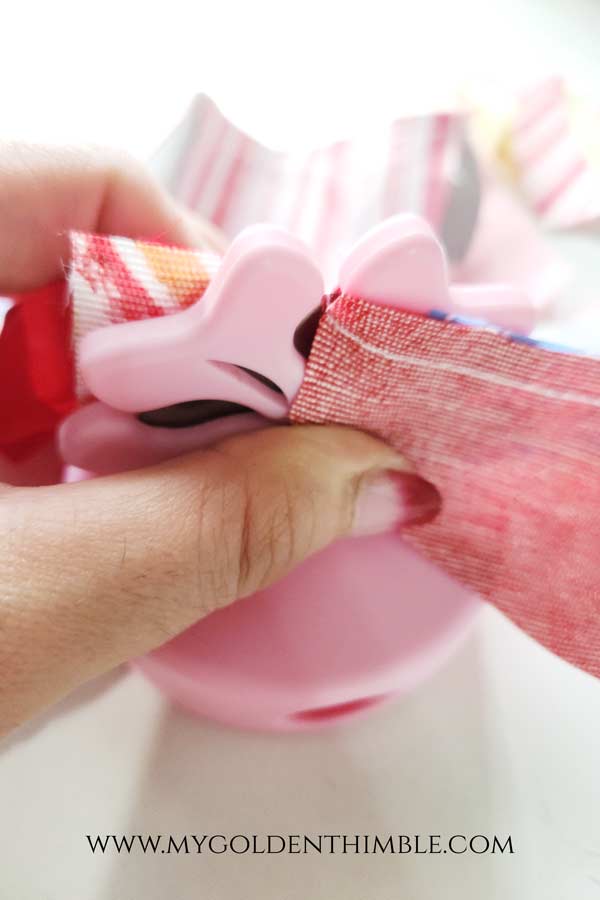
And the best part is that you can use dull rotary blades that are no longer good for cutting fabric inside the tool to work as a thread cutter.
This will extend the life of your blades, which is a great way to use old rotary cutter blades.
You can get this thread cutter on Amazon here.

- Don’t discard old rotary blades, use them in the BladeSaver Thread Cutter.
- Product Features: Give your used 45mm rotary blades extended life by using them in the BladeSaver Thread Cutter and make cutting your chain pieced fabric projects fast and easy.
- Each BladeSaver comes with a magnetic case to keep your thread cutter safe when not in use or when taking it to class.
Finally, if you want to make a scrap quilt, then you can use your quilt rulers to cut the blocks to your desired size.
How Do You Use Quilting Crumbs?
The blocks created with crumb quilting offer many possibilities for your sewing projects.
I like to use crumb quilting in all sorts of sewing projects. Here are some examples of what you can do with quilting crumbs:
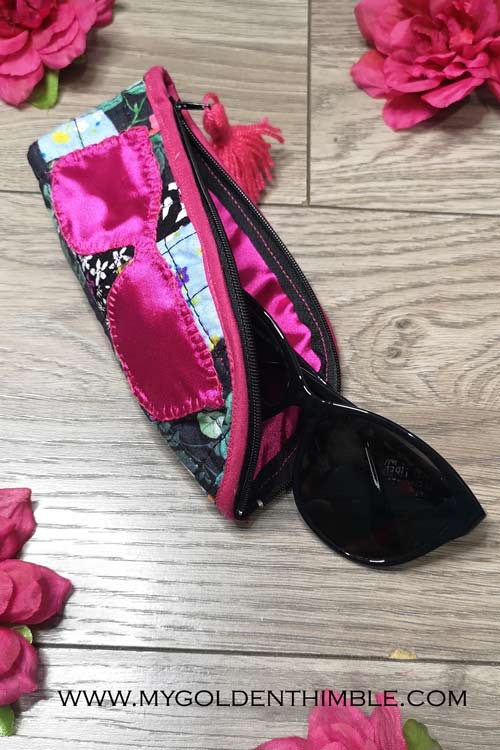
- Sunglasses Cases
- Table Runners
- Mug Rugs
- Placemats
- Plant Pot Covers
- Drawstring Bags
- Bed Quilts
- Tote Bags
- Clutches
- Clothes such as Jackets
- Hanging Storage Pods
- Bow ties
- Scrunchies
- And more.
In reality, there is no limit to what you can do with the fabric canvases created with crumb piecing. So, let your imagination run wild, and start making great sewing projects with your new fabric.
What Does a Crumb Quilt Look Like?

A crumb quilt will never be the same as another. It has no specific shape, color combination, or block design.
The pieces of fabric will be arranged in random shapes and placements, creating a gorgeous canvas of irregular shapes and colors.
When a quilt block is created out of crumb fabric, you will perceive the square shapes of the blocks between the seams. But this is almost insignificant.
Crumb Quilting Tips
These are some of my tips that I think will help you with these quilting techniques.
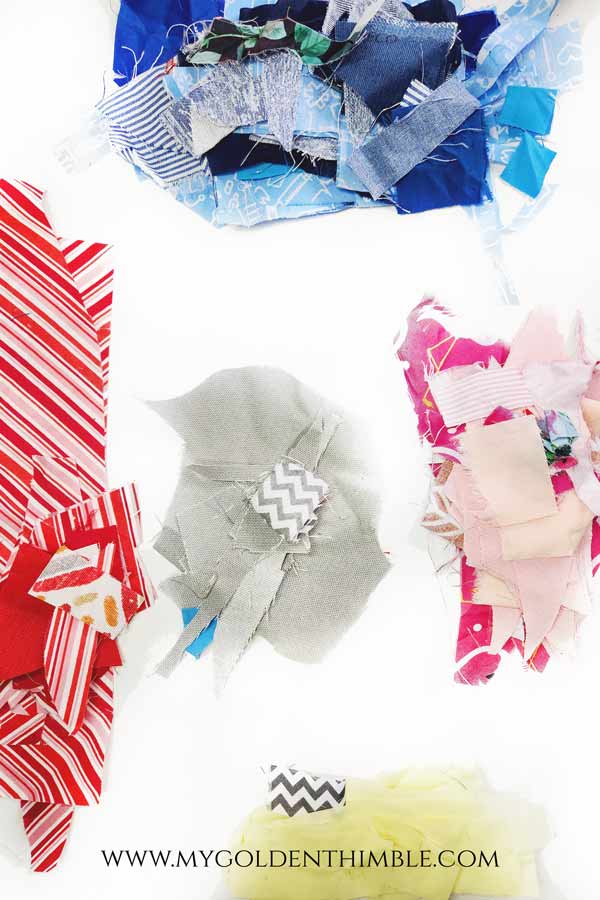
First of all, when it comes to sorting your scraps, consider doing it by color. Not necessarily to make just one shade of color crumb quilts only. But if you sort your scraps by color, choosing specific color palettes for your quilts will be easier. And if one day you are in the mood to do random colors, just mix them up.
Another great tip to make your crumb quilt process more fluid is to prepare your crumbs by looking for straight edges. Then arrange your scraps with the straight edge looking to one side. This way, you can arrange the pieces much faster when feeding them into the sewing machine.
Taking 2″ blocks out of the bigger scraps allows me to have the material to make tiny block projects such as my lumber pillow cover. And this, at the same time, lets me keep my scraps really small so I can have a better-looking crumb quilt.

Finally, using the right tools will also make this process easier. I love my thread table cutter, mainly because it lets me cut threads between pieces super fast. Another great tool is the quilt ruler bundle, which includes super-sturdy rulers with standard quilt block measurements to accurately measure and cut your blocks.
How to do Crumb Quilting?
1. Sort your fabric scraps.
First of all, decide if you want to make a random color, a palette color, or a single-color hue crumb quilt.
If you want to do a single-color hue quilt, separate greens with greens, pinks with pinks, blues with blues, and so on.
On the other hand, if you want to make a mix-and-match crumb quilt, mix all the colors randomly.
2. Start piecing the crumbs.
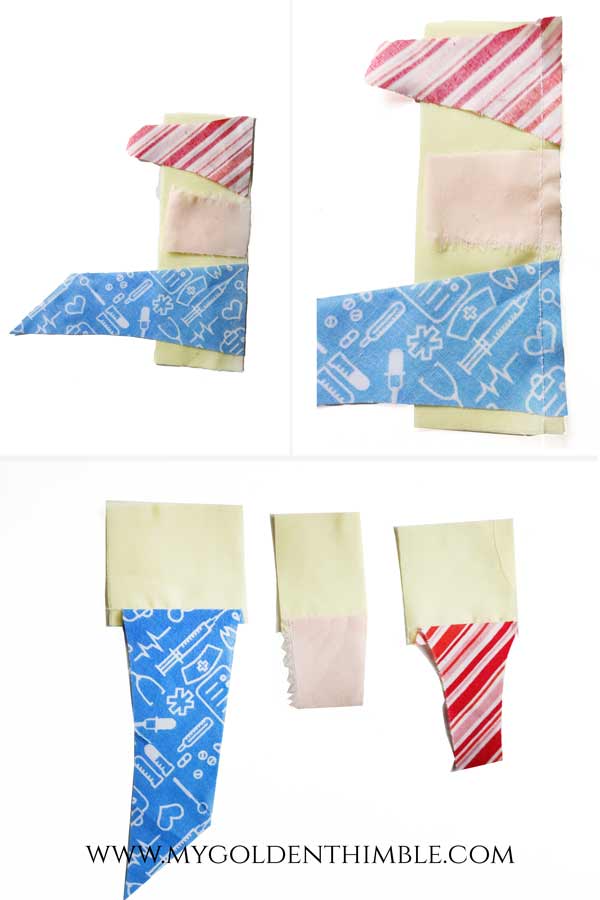
Find the longest piece of fabric you have with a straight edge.
Then find other small pieces with straight edges and place them over your first piece with the right sides of the fabrics facing together.
Sew those pieces with a seam allowance of ¼”. And if you can, and there is space, keep adding pieces to the long strip straight edge.
3. Press as you go.

I like to separate each block first before pressing my seams open.
You can do it in whichever order you prefer. I have seen that for some people it is easier to press the seams first and then cut to the desired shape.
And don’t think you have to cut only rectangular shapes in these steps. You can cut diagonally to form triangle pieces, and so on.
Keeping a small pressing mat and mini iron at one side of my sewing machine makes this whole process way quicker for me. This saves me time to stand up and go to my ironing board for each small piece I sew.
4. Form larger blocks.
Repeat the process by sewing all the straight edges that you can together.
And then (after pressing the seams open, of course) add those sections to other sections of the crumb quilt blocks.
You can find more large pieces just like this blue one here, and add the mini crumbs to that. Or you can join one crumb with another.

Stop at any time if you feel like you want to modify the shape of a crumb to fit a specific place or if you want to form straight edges when you don’t have any more.

Because it will happen. As these shapes are irregular. You will reach a point where you just don’t have a straight edge to join.
In this case, you can trim any side of the block or cut a straight line in between.
5. Join everything together.

Once you have several of these crumb quilt block pieces, arrange them and join them to form one large piece.
This is a great moment to trim the edges if you need to or to see if you need more sections of crumb quilts for the size of your project.
Remember to press as you join the pieces so you end up with a flat canvas. Otherwise, you will have a bunch of messy seam allowances on the back of your canvas.
6. Cut quilt blocks (optional).

Once you have a large canvas, you can use your quilt rulers to cut small squares of quilt blocks.
You can use these blocks to create a blanket quilt or to make other projects, such as a clutch or a tote bag.
And the best part is that all the remaining pieces of the blocks can be used to make more crumb quilting canvases!
If you use this technique to create gorgeous quilts, you will never run out of fabric. You can even use these crumb quilt blocks to replace a specific block color of a quilt pattern design.
It will give your design a unique look and a fun twist.
7. Top stitch to create an element of design.
This step is also optional and largely depends on your taste. I have seen many beautiful crumb quilts in which quilters add adorable decorative top stitches between the seams to create a 3D texture.
This will give your quilt a handmade look and make it more interesting.
And that’s it!
Now you know how to make a crumb quilt with just a few steps and a great video tutorial. Please remember to post a picture of your project at My Golden Thimble Sewing Club!!
And let me know what you think about this tutorial in the comments. I will love to know.
Psst…Is this article helpful to you?? Please support us so we can keep making awesome tutorials for you by buying us a cup of coffee here. We will be forever grateful!


Love this idea.As a new quilter I can do this as I go, along side other projects. Thank you – Marna
Definitely! And all the scraps will make more canvases!
While quilting for some time, I have only just come across crumb quilting from a fellow quilter. I am so excited to go through my ‘scrap stash’ and see what I can create, but needed a little reassurance as to how to start. So, THANK YOU, for providing a simple, easy to follow plan, I will definitely send a pic of whatever I end up creating! I also love the free star pattern template you provided, this has given me another idea for my crumb quilting 😉 Can’t wait to start!
Hey Liz! Thank you so much. I am honestly so happy with crumb quilting I find it extremely relaxing. I’d love to see what you are making
I love the idea of using leftover scraps to create something new. I would like to know where the use of the fusible interfacing come into play when constructing my square. Thanks for the great idea.
Hi Cerlida,
The fusible interfacing is great when you just finished your canvas. You press it on the back of it and make it super stable for sewing projects!
I hope you like this idea.
What a lovely, creative way to use even the most unusual scraps! Our “ancestor” quilters used what they had on hand to make beautiful, long lasting quilts.
Thank you!
Thank you so much Bonnie! I know, I would love to get my hands on a heritage quilt… If I am so lucky I really hope I can! In the midtime… I guess I would have to make my own and pass them on.
I have been using this technique for awhile now and have done a complete sewing room ensemble.
Whenever I feel stagnant it is time to sew some crumbs together and then wait for a need to create something useful. (as if the process itself was not already useful to my mood).
Thanks for your tute. You always make an idea fresh and easy to follow.
That’s a great way to drive till the sewing mojo goes back!
Thank you so much Peg, dear. Comments like this make me keep going with this sewing love.