Today, I want to share a super fun DIY craft I made for my home décor that completely transformed one of those tiny details we usually overlook.
Lately, I’ve been focusing on budget-friendly home decor upgrades, DIY projects—those little changes that make a house feel warm, cozy, and truly lived-in.
I’ve been eyeing those gorgeous vintage switch covers for a while now… You know, the ones with that perfectly aged, antique metal look.
They add so much character, but the price? Not so cute.
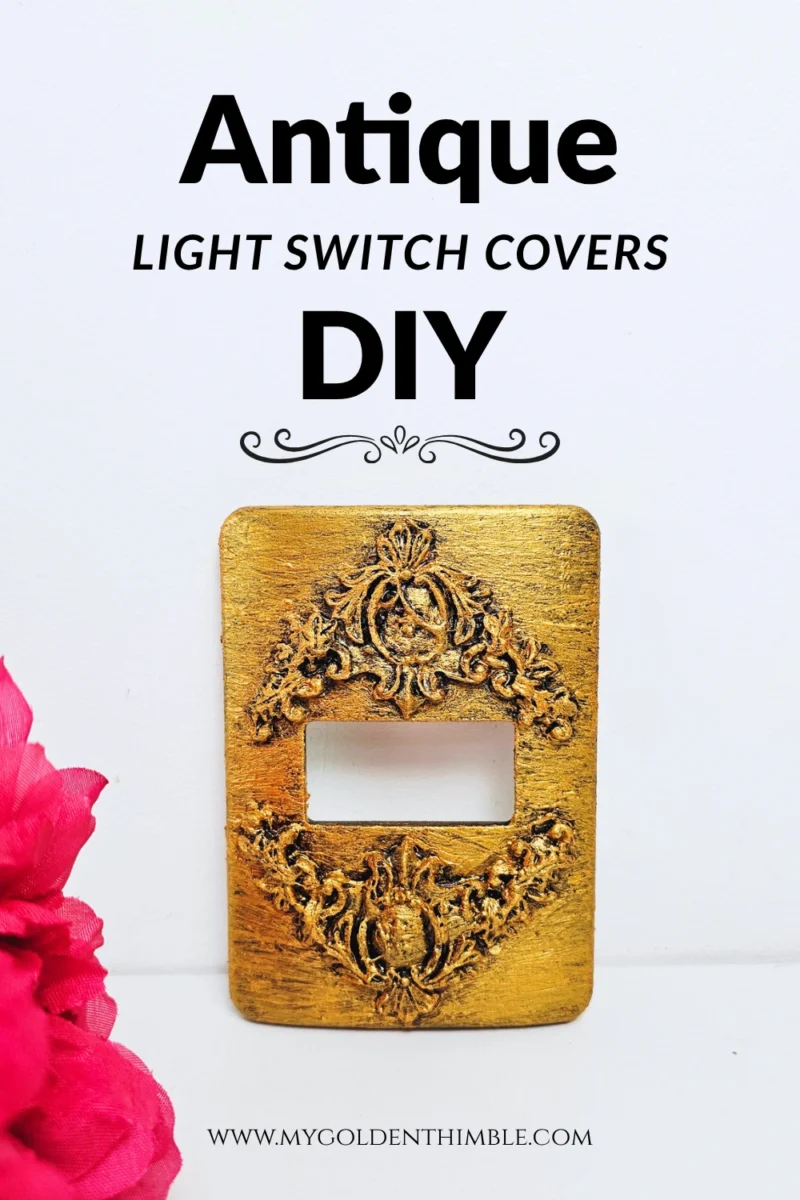
So I decided to try my own DIY Vintage Light Switch Covers—and I was honestly surprised at how realistic they turned out.
NOTE: This post contains affiliate links, which means that if you make a purchase using one of the links in this article, I may earn a commission at no extra cost to you (To know more about this, click here.)
Why Upgrade Your Light Switch Covers?
I truly believe it’s the little details that turn a house into a home, and light switch covers are one of those things we see every single day. I just knew that giving mine a vintage look would add so much warmth and character to my space, especially since I love that cozy vintage home decor DIY style.
So of course, I did what we all do… I went straight to Amazon to find some ready-made vintage switch covers. And let me tell you, I was not prepared.
Most of the ones I loved were around $25 each. That might not sound too bad at first, but with 10–12 switch covers around your home, it adds up quickly.
The sum of all materials used will be less than $5 per plate!
But taking into account that I already had everything (as I assume your crafty self will, too), it was FREE!
That’s when I hit that familiar moment, you know the one. Where instead of clicking “add to cart,” you start thinking… “Wait, I can probably make this myself.”
And honestly, those are my favorite kinds of projects. Not only do you save money, but you end up with something even more special because you made it with your own hands.
That’s exactly what makes these budget-friendly home decor DIY projects so worth it.
The idea really clicked when I remembered I had these silicone molds with beautiful flourish patterns that I’ve had for over two years now.
I originally used them to make my Halloween potion bottle decorations last year, and they turned simple glass bottles into something that looked hundreds of years old.
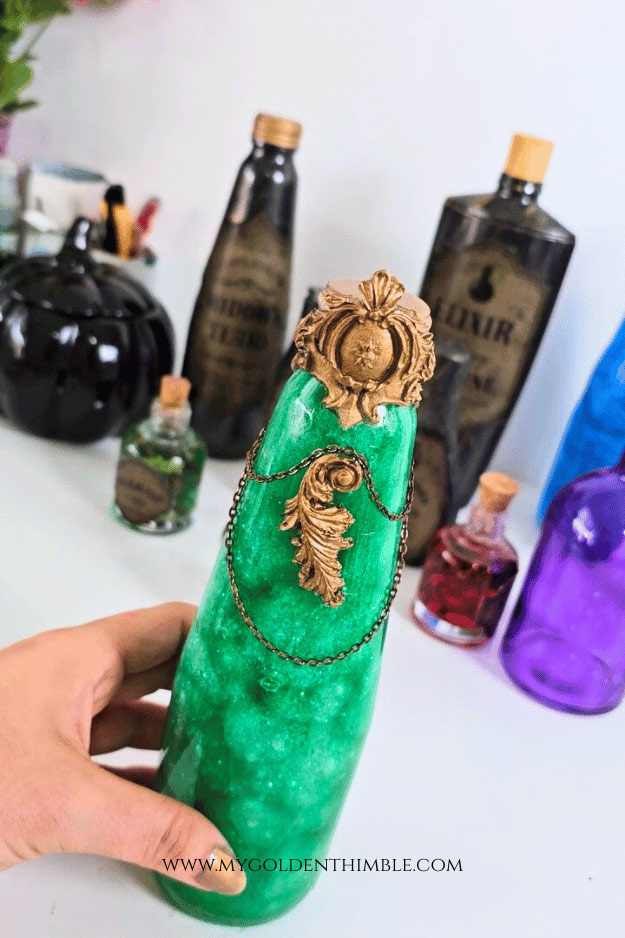
So I thought… if I could make plain glass look antique, why couldn’t I do the same thing with light switch covers?
And that’s exactly what I did.
Let me show you step by step how I created this easy light switch cover makeover idea that looks like real aged metal.
Vintage Antique Light Switch Cover Tutorial:
Materials
Here’s everything I used to create this Antique Light Switch Cover DIY:
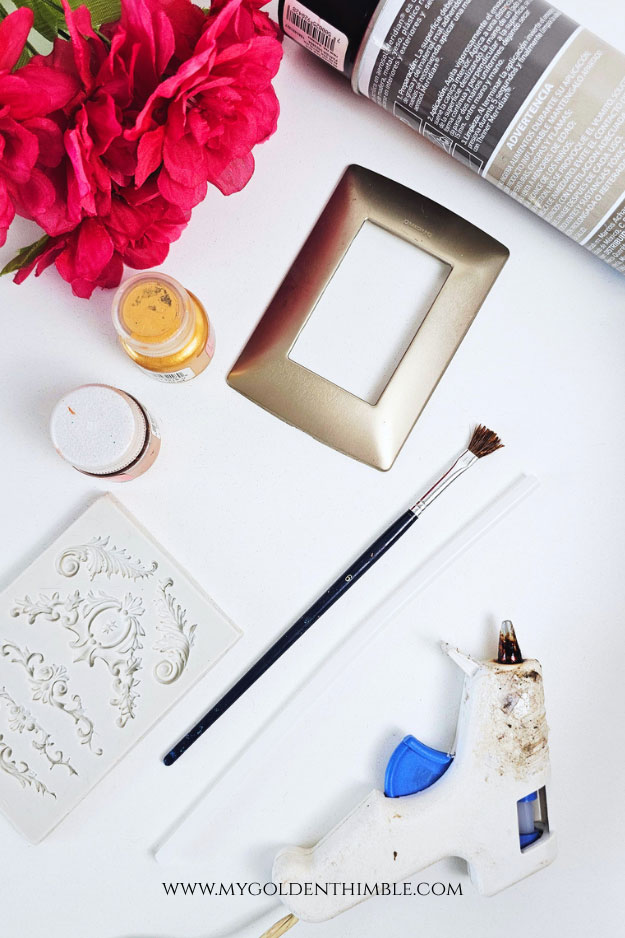
- Standard plastic light switch covers
- Fine-grit sandpaper
- Cleaning cloth or paper towel
- Silicone molds (flourish or decorative patterns)
- Hot glue gun + glue sticks
- Black paint (spray paint or acrylic)
- Copper, gold, or metallic paint of your choice
- Paintbrush (an old or stiff brush works best)
- Clear protective top coat spray (sealant)


1. Remove and Clean Your Switch Covers
Start by removing your light switch covers from the wall. This is super easy—just use a small flat tool like a nail file or any thin object to gently pop them off.
Once removed, give them a really good clean. You want to remove any dust, grease, or buildup so your paint sticks properly.
2. Lightly Sand the Surface
Using fine-grit sandpaper, lightly sand the surface of each switch cover. This step is key if you want your paint to last.


You’re not trying to damage the surface—just create a slightly rough texture so the paint can grip onto it.
If you’re wondering how to paint plastic to look like metal, this is one of those small but important steps that makes a big difference.
3. Create Your Decorative Details
Take your silicone molds and play around with different designs and placements. I used flourish-style patterns to give that vintage, ornate look.
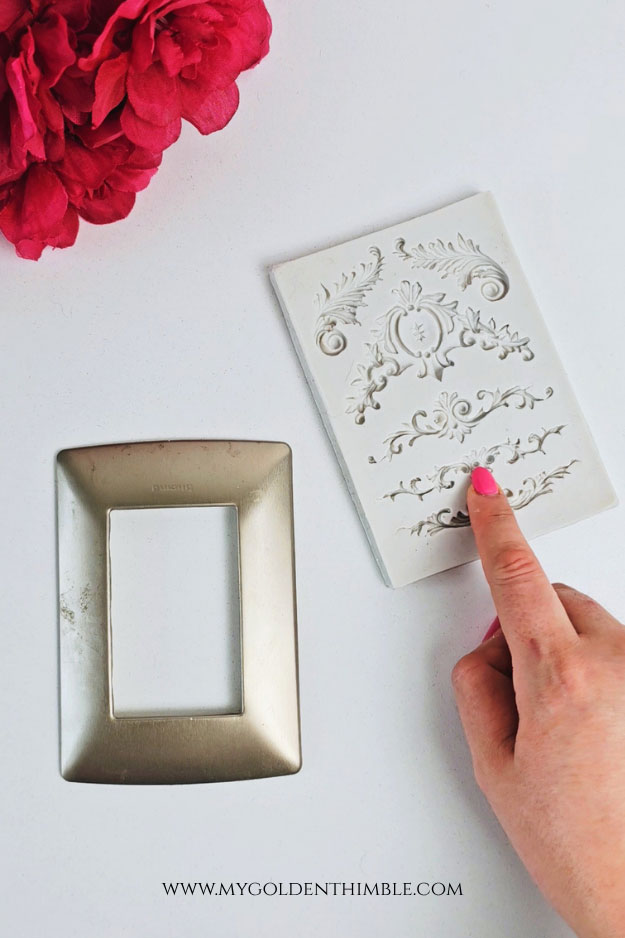
Once you’ve decided on your design:
- Heat up your hot glue gun
- Fill the mold with hot glue, making sure it reaches every little detail
- You can gently open the mold with your fingers (wet them first) to help the glue spread evenly

Let it cool completely (this takes about 2 minutes), then carefully peel the shape out of the mold.
Repeat this step until you have all the decorative pieces you want.
4. Attach the Designs
Now, take your finished glue pieces and attach them to your switch cover using a bit more hot glue on the back.
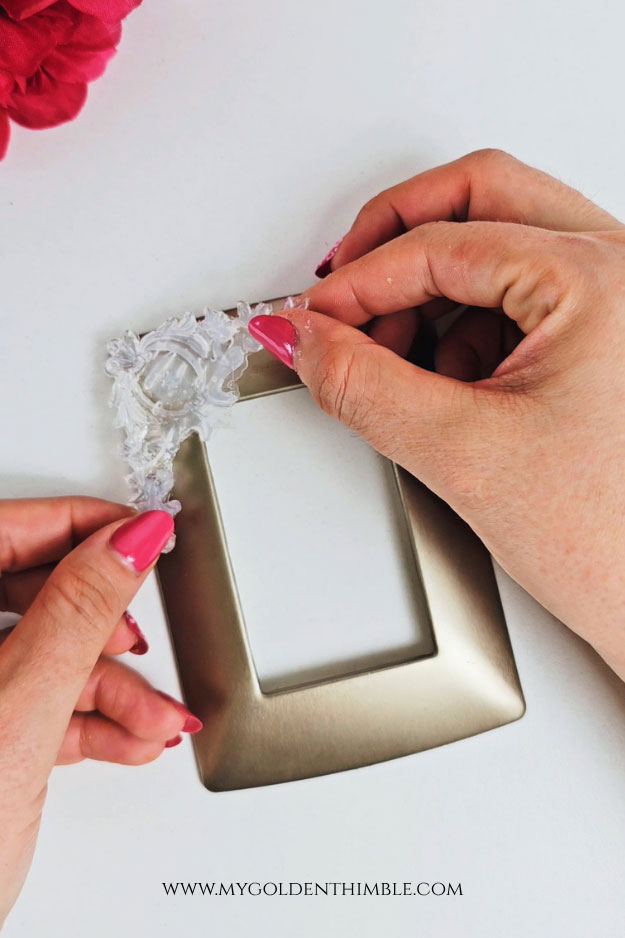
Arrange them however you like—this is where you can get creative and make each cover unique. This step is what really turns this into an easy light-switch cover makeover idea.
5. Apply the Base Coat
To achieve that aged look, start with a black base coat. This helps create depth and gives that realistic antique finish.
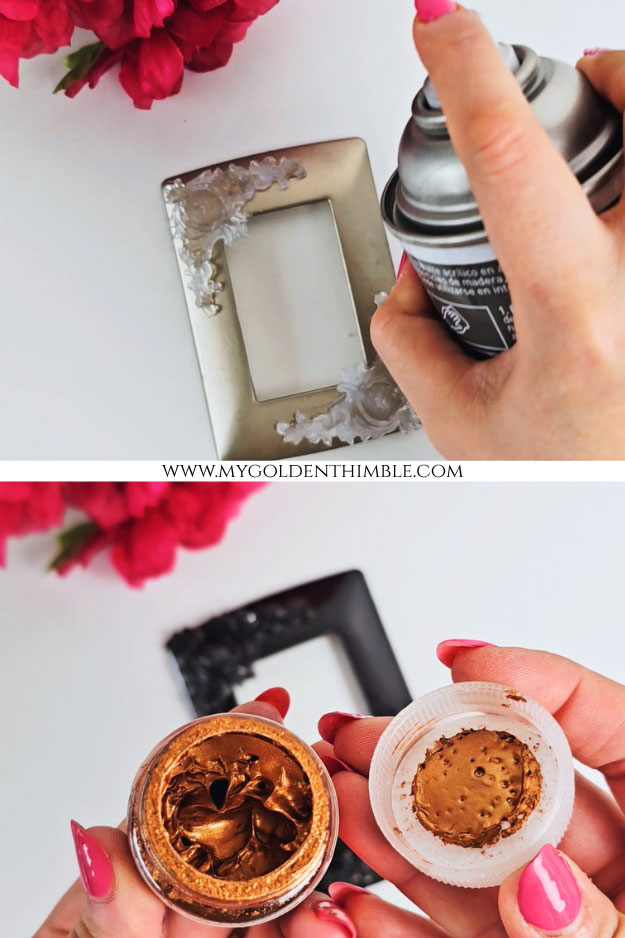
I used spray paint because I already had it on hand, but acrylic paint works just as well. Just make sure everything is evenly coated.
Let it dry completely before moving on.
6. Add the Metallic Finish
Now for the fun part—bringing that vintage look to life.
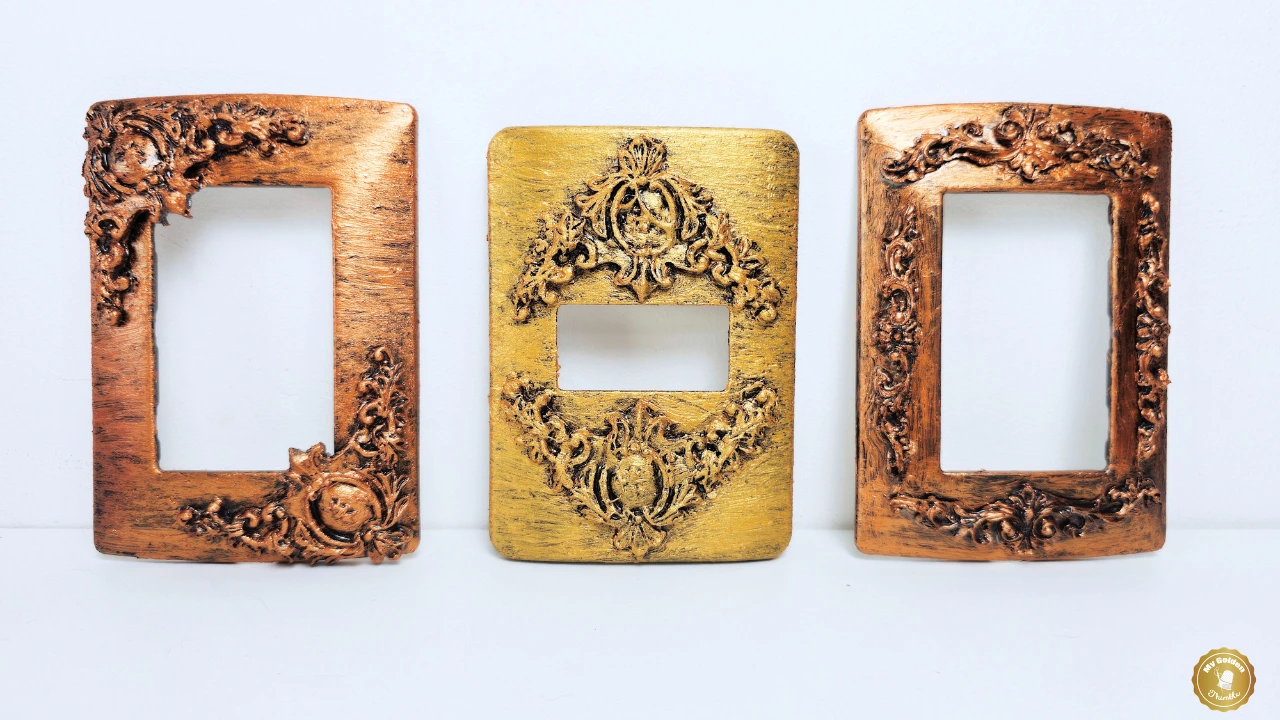
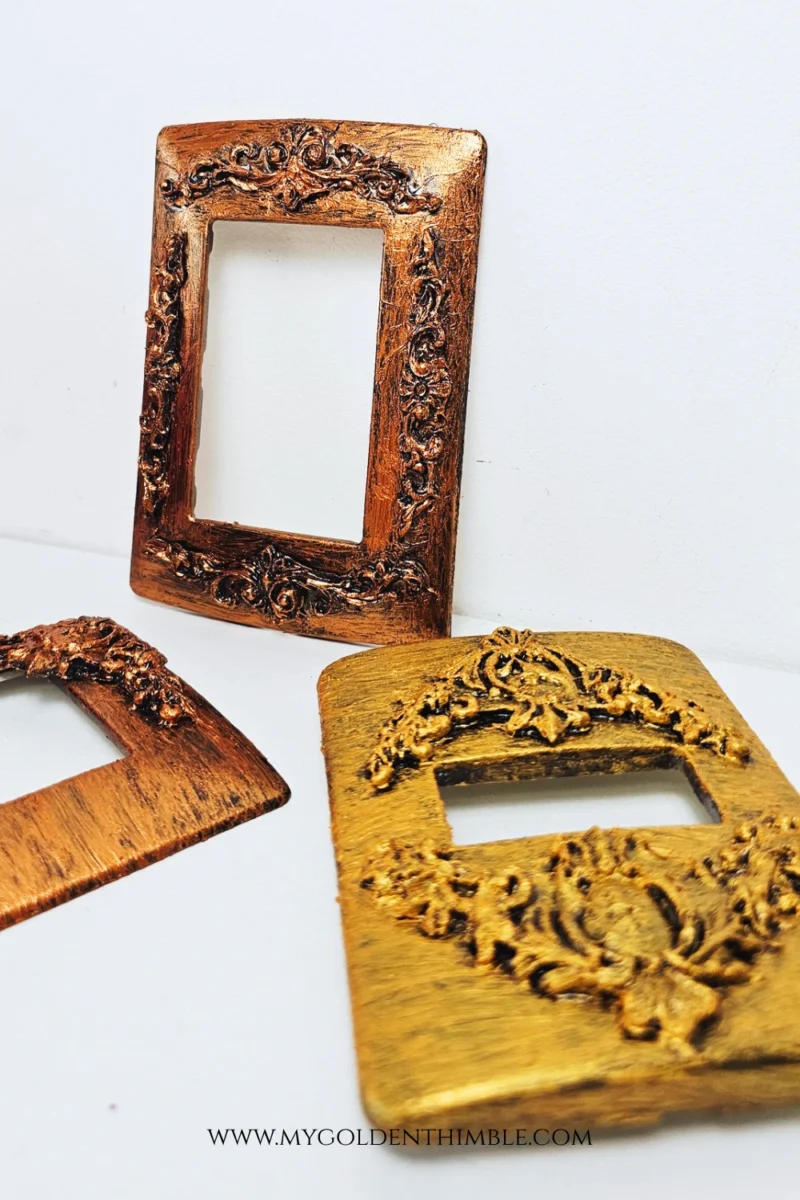
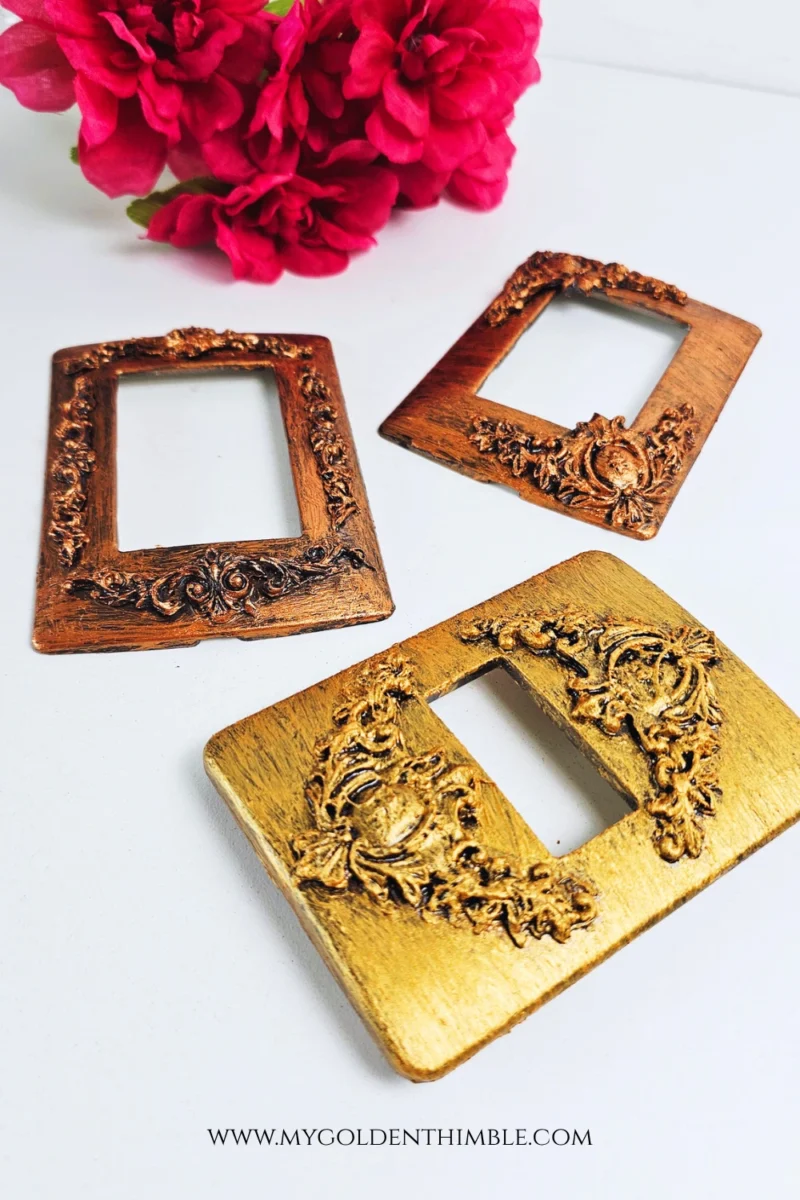
Using a copper, gold, or metallic paint, lightly brush over the surface. I used copper for most of mine to match my décor, and gold for my bedroom since I have more warm tones there.
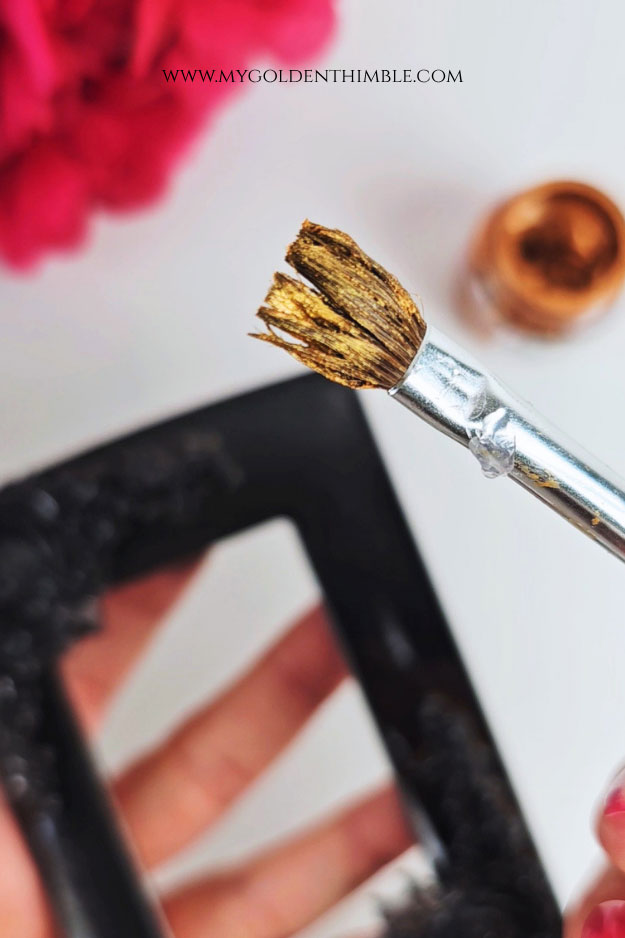
Use a stiff or older paintbrush and apply the paint gently. You don’t want full coverage—leave some of the black base showing through.
This technique is part of what makes this a great faux metal painting technique for beginners, because it instantly creates that aged, worn effect. The visible brush strokes actually help mimic the look of real antique metal.
7. Let It Dry
Let everything dry completely, preferably overnight. This helps the paint set properly and prevents smudging.

8. Seal Your Finish
Finally, apply a clear top coat to protect your design from everyday wear and tear.
I used a spray sealant so I could coat everything quickly and evenly, but you can use any protective finish you have. This step is especially important since these will be touched often.

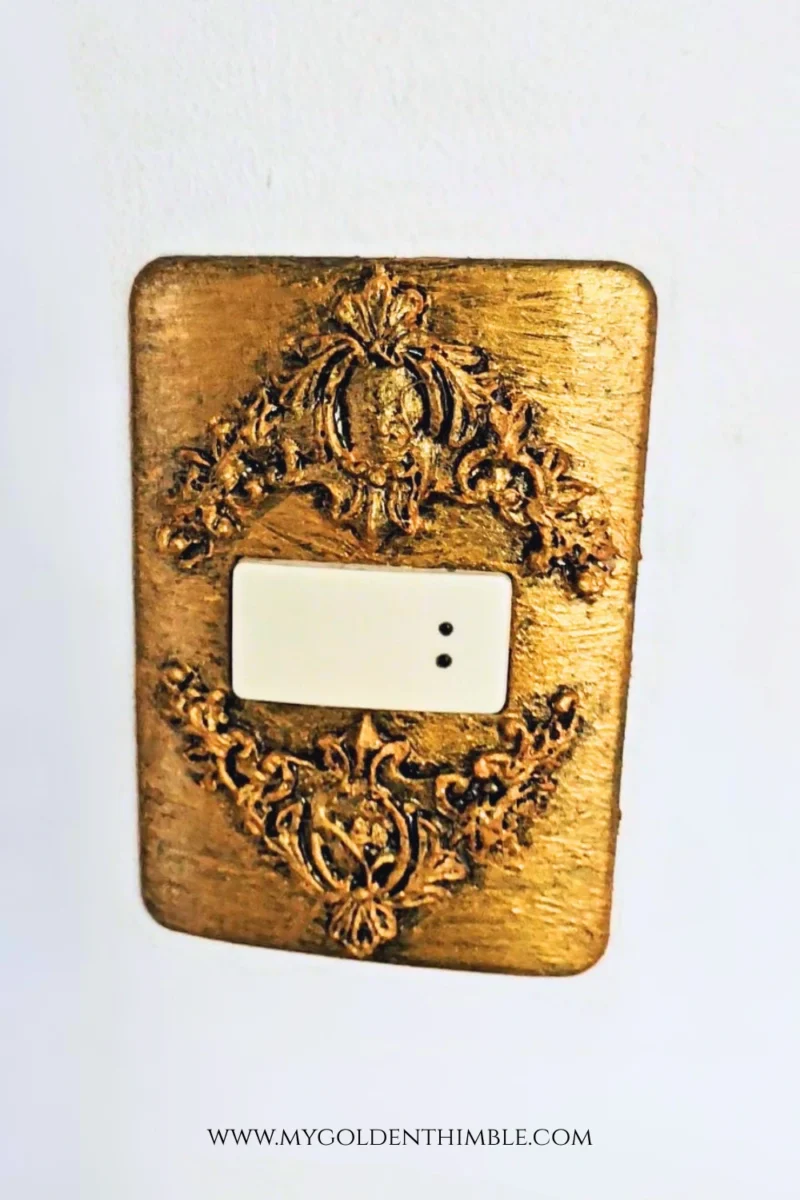
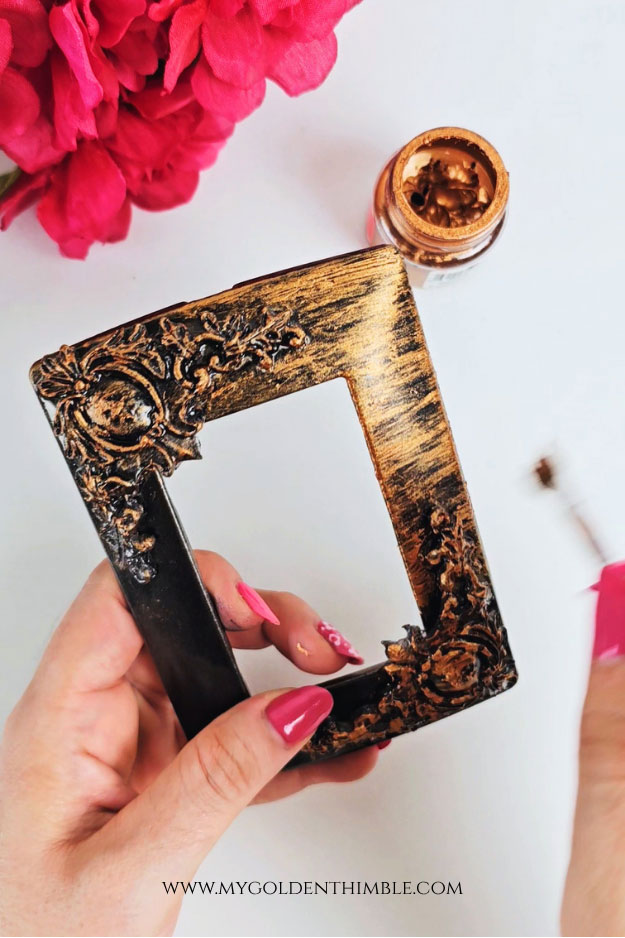
And that’s it! You now have a beautiful DIY copper patina switch plate tutorial result that looks like real aged metal—but at a fraction of the cost.
Variations & Ideas to Try
One of my favorite things about this project is how customizable it is. Once you learn the technique, you can easily switch things up to match different styles around your home.
You can also:
- Mix and match different mold designs
- Create matching outlet covers
- Try silver or brass finishes for a different vibe
- Add a heavier dry-brush effect for a more distressed look
Once you get the hang of these faux metal painting techniques for beginners, you’ll start seeing so many ways to use them all over your home.
Conclusion
This project honestly reminded me how powerful the smallest details can be. Something as simple as a light switch cover can completely change the feel of a space when it’s given a little extra love.
What I love most about these DIY Vintage Light Switch Covers is that they’re not only affordable but also give you the freedom to create something that truly fits your style.
If you give this project a try, I would love to see how yours turns out! You can share your creations or ask any questions inside the My Golden Thimble Sewing Club on Facebook—I’m always there, cheering you on.