In this guide, I’m going to walk you through exactly how to start using a Cricut Machine for sewing projects, even if you’ve never touched one before. We’ll go step by step so you can feel confident using it with your own patterns.
If you’ve ever wished you could skip the most time-consuming part of sewing (yes… cutting fabric), then having a Cricut is about to feel like a total game-changer.
And to make things super practical, I’ll show you how to use one of our most recent free sewing patterns to create a simple set of fabric coasters.
That way, you can practice and complete your very first Cricut sewing project from start to finish.
NOTE: This post contains affiliate links, which means that if you make a purchase using one of the links in this article, I may earn a commission at no extra cost to you (To know more about this, click here.)
Benefits of using a Cricut Machine for sewing projects
As sewists, we’re used to scissors, rotary cutters, and paper patterns—but the Cricut Maker opens up a whole new way of working with fabric. It helps you cut pieces with incredible precision, saves you time on repetitive cuts, and makes those tiny or tricky shapes so much easier to handle.

If you’re anything like me, you care a lot about precision. I’m the kind of sewist who will redo a step just to make sure everything lines up perfectly.
Instead of cutting your fabric by hand, the Cricut Maker uses a rotary blade to cut your pattern pieces—with smooth, clean edges and incredible accuracy.

Once your pattern is set up, the machine follows your design and cuts each piece exactly the same every time. No shifting fabric, no uneven edges, no second-guessing.
Not only that, but you can also use it to mark your notches or notes with sewing markers with the pen tool!
Types of sewing projects that work best with Cricut
The Cricut Maker really shines when you’re working with:
- Small or detailed pattern pieces
- Projects that require multiple identical cuts
- Quilting shapes and appliqué
- Scrap fabric projects
- Beginner-friendly patterns where accuracy helps everything fit together better
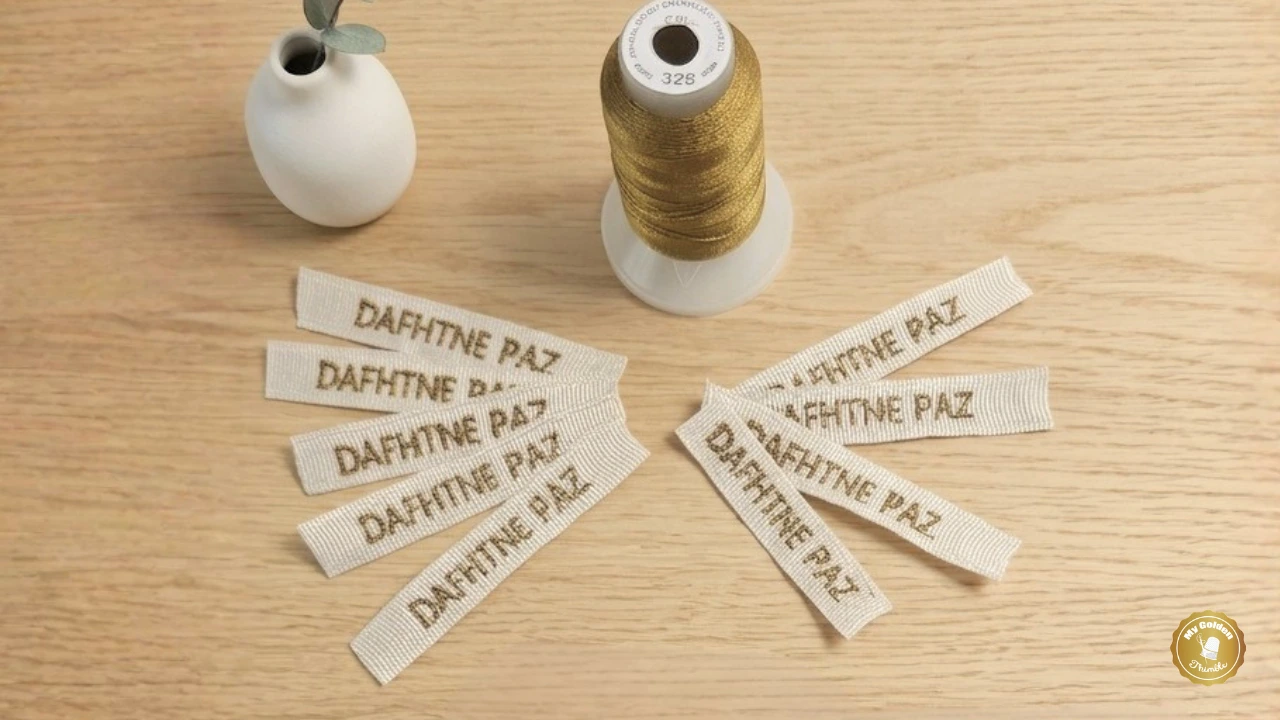
As of today, I’ve made only a handful of sewing projects using my Cricut Machine, including the Ghost Garlands I made for Halloween last year and the Flower Coasters I made for Spring on the current one.
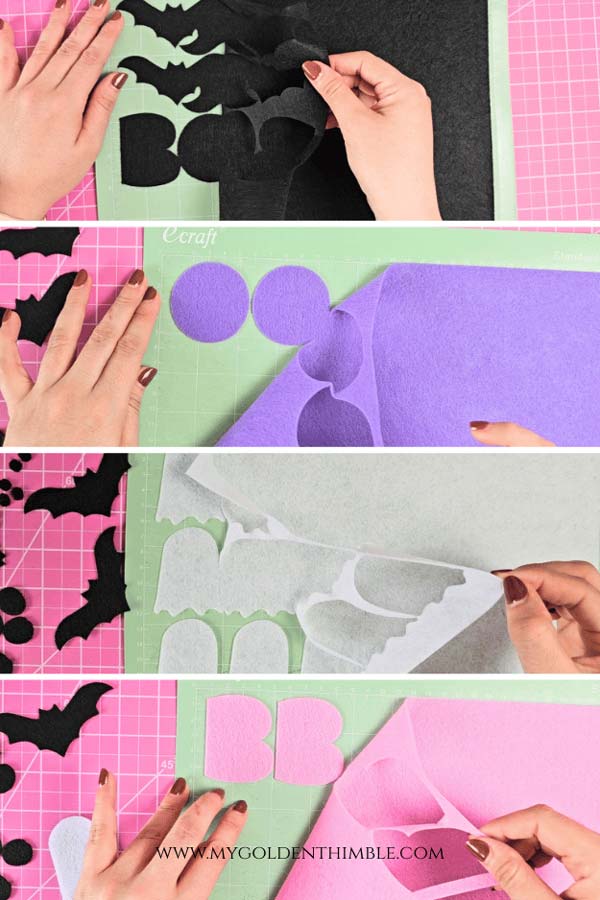
Basically, any project where cutting feels tedious or needs to be extra precise, that’s where this machine steps in and does the heavy lifting.
You can see how I had a lot of intricate shapes, including curves, letters, corners… super small pieces!
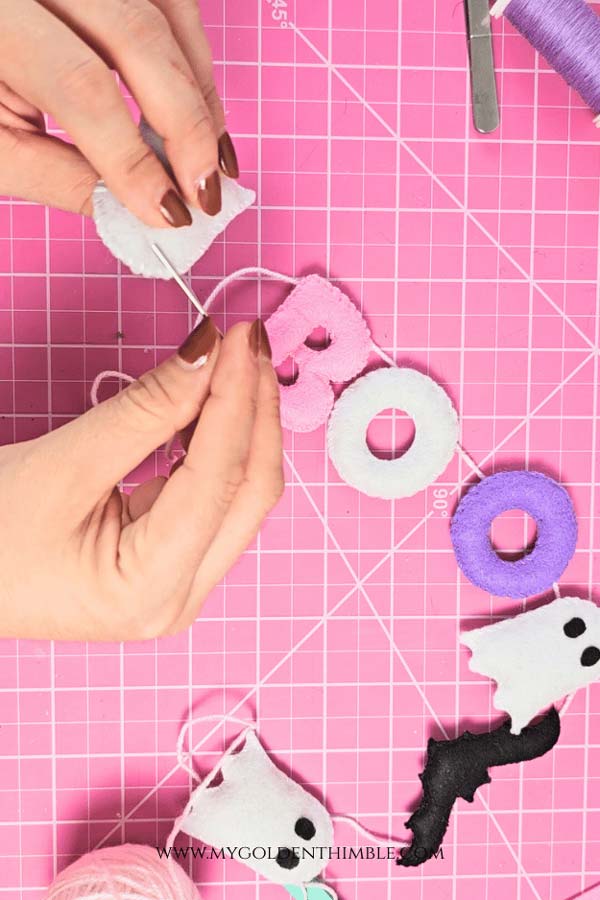
And don’t even get me started on the circles! I mean… have you ever cut a perfect circle by hand?

I certainly haven’t.
But, guess who can do that, every single time…
Tips & Recommendations Before You Start
Before you dive into your first project, here are a few little tips that will save you time, frustration, and fabric (because we are not wasting the good stuff).
Keep your blade sharp
Just like your regular rotary cutter, your Cricut Rotary Blade will eventually get dull.

When that happens, you might notice skipped cuts, frayed edges, or pieces that don’t fully separate from the fabric. If that starts happening, it’s time to replace the blade. Don’t try to push through it; it will only mess up your cuts.
Always start with a clean mat
Fabric leaves behind lint (a lot of it), and over time your mat will lose its grip. Give it a quick clean with a lint roller before each project to keep that stickiness working in your favor.
Do a quick test cut
I know it’s tempting to skip this, but a small test cut can save your entire project.

It helps you confirm that your material settings and blade pressure are just right before committing your fabric.
Press your fabric (yes, every time)
Wrinkles and folds are the enemy of clean cuts. A quick press before placing your fabric on the mat makes a huge difference in your final result.
Tools & Materials You’ll Need
First things first.
Before we jump into cutting fabric like magic, let’s make sure you have everything ready to go. Let’s talk materials.
If you have the basics, you’re already halfway there.
Ps If you want to skip this list, you can also check the whole package on My Amazon Store Front.
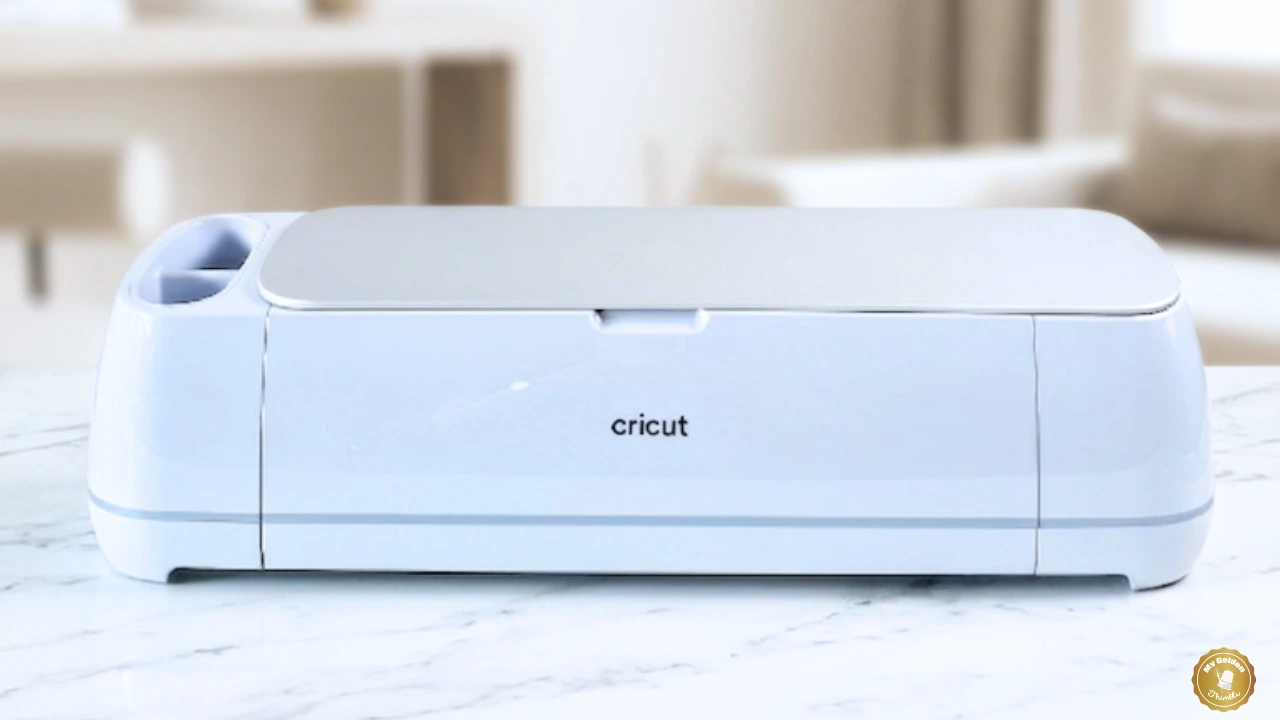
Cricut Maker machine
First things first, you’ll need a Cricut Maker. This is the one I have. The Cricut Maker 3. This one is no longer available, because the current one is the Cricut Maker 4. Same thing though.

This is the star of the show and the reason we can cut fabric with that beautiful, clean precision we were just talking about.

Not all Cricut machines are made for fabric cutting the same way, so the Maker really shines for sewing projects.
Rotary blade (and why it matters)
This little blade is everything when it comes to cutting fabric.
The rotary blade rolls across your fabric (instead of dragging like a regular blade), which means less pulling, less fraying, and much cleaner edges.

- The rotary blade rolls and glides and quickly cuts through up to three layers of fabric at a time.
- The premium stainless steel blade cuts both fabric and delicate materials with no backing required.
- Has the ability to accurately and precisely cut a wide variety of materials from lace, felt denim, silk even crepe or tissue paper.
It’s exactly like your Rotary Blade tool, but in miniature.
And the best thing is that it is designed especially for fabric.
The only bad thing about it is that this does not come with your Cricut machine, so you will have to buy it as an addition.
Fabric mat (aka the pink mat)
You’ll also need the pink fabric grip mat, which is made to hold fabric in place without damaging it.

- REUSABLE CUTTING MAT FOR SEAMLESS CUTTING – Enjoy smooth, hassle-free fabric cutting with Cricut FabricGrip Mat for crafting. Acting as an interface between material & your Cricut machine, the craft mat holds your material in place, giving you clean cuts
- STURDY & DURABLE – The Cricut mat combines increased strength and density that ensures the longest possible life. The 12″ x 12″ fabric cutting mat comes with a clear protective film that protects the fabric mat from dust and tiny scraps when not in use
It has just the right amount of stickiness to keep your fabric from shifting while it’s being cut. The other mats have too much grip, which might damage the fabric when you peel them off.
If you’ve ever had fabric slide around while cutting by hand… You already know why this matters.

- REUSABLE CUTTING MATS FOR LIGHT MATERIALS – Enjoy smooth, easy cutting with Cricut LightGrip Mat for crafting. Acting as an interface between your material and your Cricut machine, the craft mats hold your material in place, giving you clean cuts
- STRONG ADHESION, LONG LIFE – Each Cricut mat is designed to have the best possible adhesion and the longest possible life. The 12in x 12in cutting mats come with a clear protective film that protects the mat from dust and paper scraps, when not in use
If you don’t get the pink mat, you can also use the sky blue one (which is meant for paper, but works great on fabric).
Fabric types that work best
Not all fabrics behave the same.
Cotton fabrics are your best friend here; they cut beautifully and are perfect for beginners.

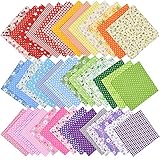

I’ve also worked with Lightweight canvas and felt, and they also work really well.
Super stretchy or very thin fabrics can be a bit trickier at first, so I’d save those for later once you feel more confident, or avoid them completely.
Optional (but super helpful) tools
These aren’t 100% required, but they’ll make your life so much easier:

- A brayer to press fabric firmly onto the mat
- A weeding tool or spatula to lift delicate pieces
- A lint roller to clean your mat (this is a little lifesaver)
- Fabric stabilizer for more delicate materials
Once you have these ready, you’re all set up for success—and I promise, the cutting part is about to become your new favorite step.
How to Prepare Fabric for Cutting on Your Cricut
This step might feel simple, but it makes all the difference in how clean and accurate your cuts turn out—so don’t skip it.
One of the best things about the Cricut Maker is that you don’t need to add any stabilizer to your fabric before cutting. (Huge win, because that’s one less step.) Some other Cricut machines do require stabilizer, but with the Maker, you can go straight to cutting your fabric as-is.
That said, a little prep goes a long way.
First, press your fabric really well. I’m talking nice and smooth, no folds, no wrinkles, no sneaky creases hiding anywhere. Any little bump can throw off your cut, and if you’re like me and care about precision, this is not the moment to rush. A quick press ensures your fabric lies flat and behaves exactly how you want it to.

Next, pay attention to the grainline. Try to place your fabric so it’s aligned properly with the grain, just like you would when cutting a regular sewing pattern. Avoid using scraps that were cut on the bias, because once you peel your pieces off the mat, they can stretch and lose their shape—and that’s the kind of thing that quietly ruins a project later on.

If you’re not super familiar with grainlines yet, check this fabric grainline tutorial (definitely worth it for your sewing overall).

Once your fabric is ready, place it onto your fabric mat and use a scraper tool (or even your hands) to smooth it down firmly.

You want to push out any air bubbles and make sure the fabric is fully in contact with the mat. The goal here is simple: flat, secure, and not going anywhere while the machine does its thing.
Install the Cricut Rotary Blade
Before we start cutting fabric, let’s get the right blade in place—this is key for clean, professional-looking results.
The Cricut Rotary Blade is specifically designed for fabric, and it works very differently from the standard fine-point blade. Instead of dragging through the material, it rolls across the fabric, which means smoother edges and way less distortion.

Here’s how to install it:
- Open clamp B on your Cricut Maker (this is the clamp on the right side).
- Remove whatever blade is currently in place.
- Take your rotary blade housing and drop it into clamp B.
- Close the clamp until it clicks securely into place.
That’s it—super simple.
If this is your first time using it, just make sure the blade is clean and properly seated. A loose blade or incorrect installation can affect your cuts, and we definitely don’t want that.
How to Upload a Sewing Pattern to Cricut Design Space
Now for the fun part: getting your pattern into the machine so it can do the work for you.
Ideally, you’ll be working with a project that was designed specifically for Cricut, which makes everything so much easier. These usually come in SVG format, meaning they’re already set up and ready to cut—no resizing, no editing, no guesswork.

If you’re working with your own designs, you can upload PNG files or even create shapes directly inside Cricut Design Space, but that involves extra steps like cleaning up the image, setting cut lines, and adjusting sizes. It’s totally doable—but it’s a bit of a learning curve, and we’re keeping things simple today so you can go from start to finish without overwhelm.
For this tutorial, I’m using one of our ready-to-go Cricut sewing projects: our flower fabric coasters (they’re perfect for a first project).
How to upload your file:
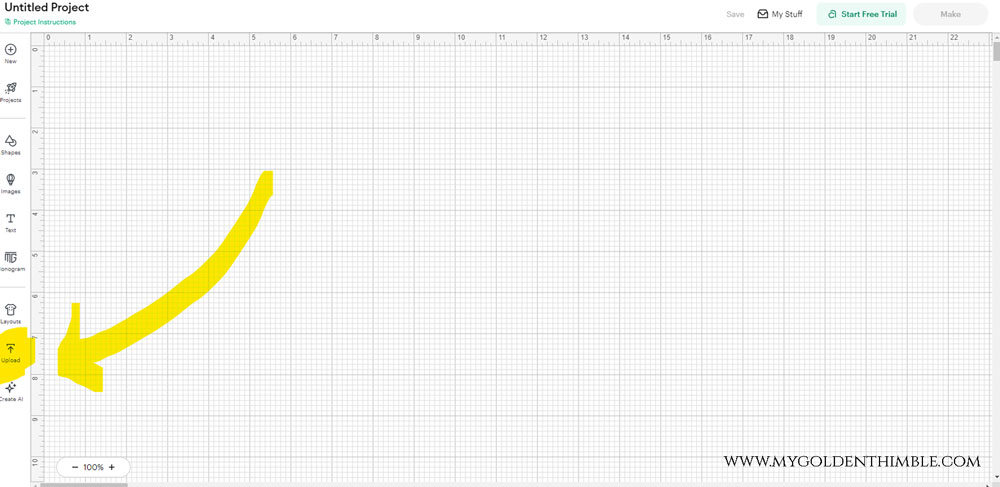
- Open Cricut Design Space
- Click on “Upload”
- Select your SVG file
- Add it to your canvas
And that’s it.
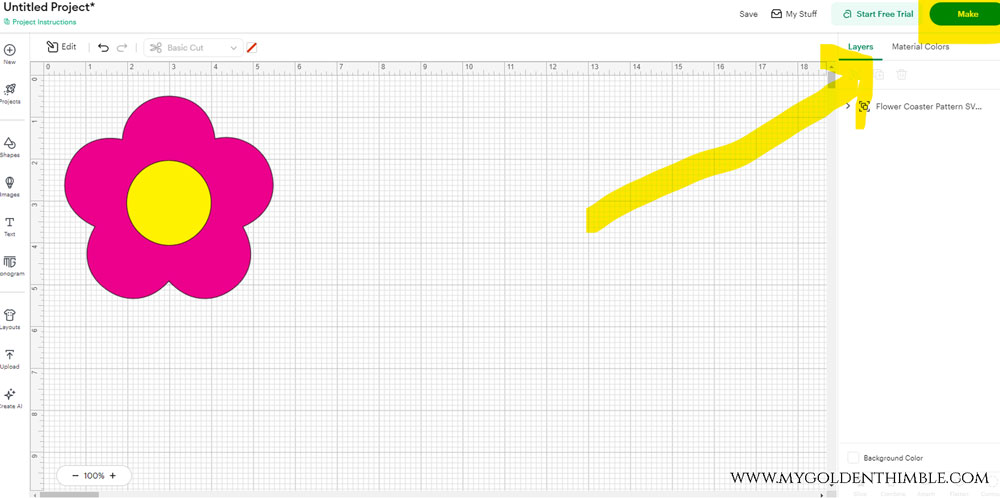
Because this project is already designed for Cricut, you don’t need to adjust anything—it’s ready to go straight to cutting.
One quick thing to keep in mind:
If your design includes multiple colors, Cricut will separate them for you. Each color gets cut on its own mat, and all the pieces of the same color will be grouped together and cut at the same time.
It’s one of those little details that makes the whole process feel so organized and, kind of satisfying.
Cutting Your Fabric Pieces with the Cricut
This is where everything comes together. It’s the part that feels a little bit magical the first time you see it happen.
Once your design is ready inside Cricut Design Space, click on “Make It”. This will take you to the preview screen, and this step is so important, especially when you’re working with fabric.
1. Check your mats and fabric placement
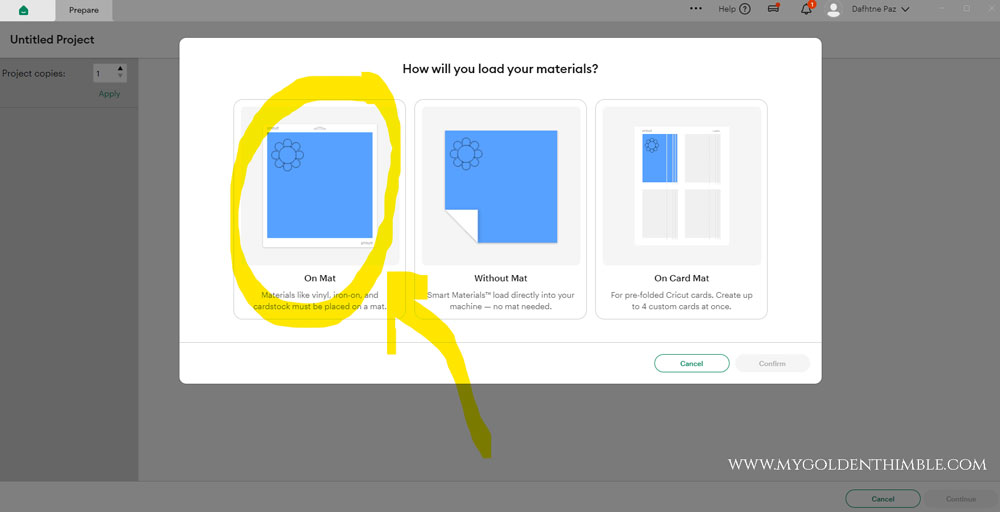
If your project includes different colors, Cricut will automatically separate each color onto its own mat. That means you’ll be cutting each fabric separately, based on the color grouping of your pattern pieces.
The software also arranges the pieces in a way that saves as much fabric as possible, which is amazing, especially if you’re working with scraps.

On this preview screen, you’ll be able to:
- See each mat (same size mat, different fabric each time)
- Know exactly which pattern pieces are being cut on each one
- See how much fabric is needed for each cut
This is incredibly helpful when you’re working with smaller pieces of fabric, because you can plan exactly how much you need and avoid wasting anything.
2. Adjust placement if needed
You can also move pieces around on the mat if you want a different layout. This is perfect if you’re trying to fit your design onto a specific fabric scrap.
Using the grid on your mat (measured in inches), you can place your fabric exactly where it needs to go—whether you’re using a standard 12” x 12” mat or a larger 12” x 24” one.
3. Select your material settings
Once your fabric is placed on the mat and loaded into your Cricut Maker, it’s time to choose your material.
This step matters because it tells your machine how much pressure to use when cutting.

For this example, I’m cutting the flower pieces using canvas fabric, so I selected “Fabric: Canvas” from the material settings.
A quick tip:
It’s always a good idea to do a small test cut before committing to your final fabric—just to make sure your settings are perfect.
4. Let the machine do its thing
Once everything is set, follow the on-screen instructions and send your project to cut.

And that’s it.
No extra steps, no complicated adjustments—the machine takes over from here and does all the hard work for you.
When it’s done, you’ll have beautifully cut pattern pieces with smooth curves and perfectly matching shapes. The first time I did this, I couldn’t get over how exact everything was—especially those mirrored pieces that usually take so much effort to get right by hand.
Final Thoughts: Is the Cricut Maker Worth It for Sewists?
Alright, let’s be real for a second—is the Cricut Maker actually worth adding to your sewing setup?
The honest answer is: it depends on how you like to sew. But if you’re anything like me, there’s a very good chance you’re going to love it.
Who it’s best for
This machine is perfect for sewists who:
- Care about precision and clean results
- Make projects with repetitive pattern pieces
- Love working with small or detailed shapes
- Want to save time on cutting (especially batch cutting)
If you’ve ever felt frustrated trying to get multiple pieces to match exactly, this is where the Cricut really starts to shine.
This is the part that sold me—the consistency. Every single piece comes out the same, and that makes the whole sewing process smoother from start to finish.
At the end of the day, the Cricut Maker isn’t about replacing sewing—it’s about supporting it. It takes one of the most time-consuming (and honestly, least fun) parts of the process and makes it faster, more precise, and a whole lot more enjoyable.