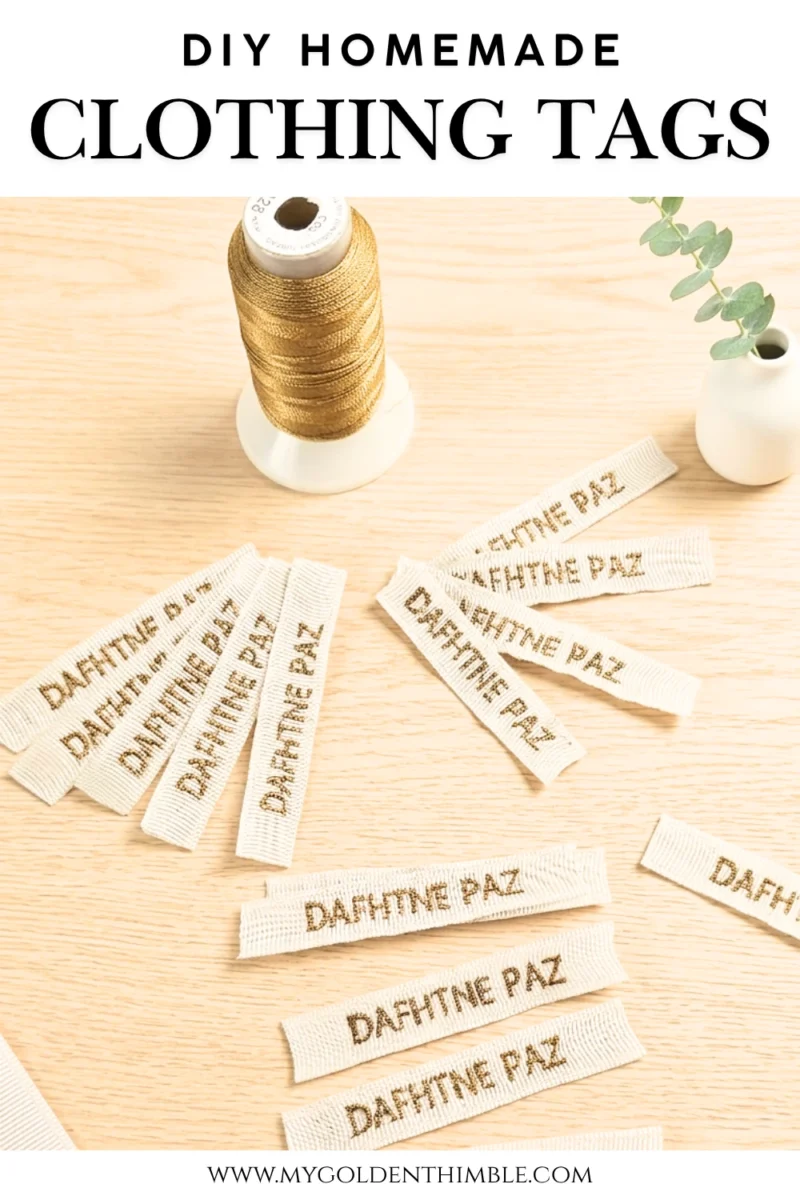
Today I’m going to show you how to do just that with your own DIY clothing labels.
In this tutorial, I’ll walk you through how to make fabric labels with a sewing machine in a way that’s easy, beginner-friendly, and honestly way more budget-friendly than ordering them online.
If you’ve ever wanted to create your own homemade clothing tags or try custom clothing labels DIY style, you are going to love this.
NOTE: This post contains affiliate links, which means that if you make a purchase using one of the links in this article, I may earn a commission at no extra cost to you (To know more about this, click here.)
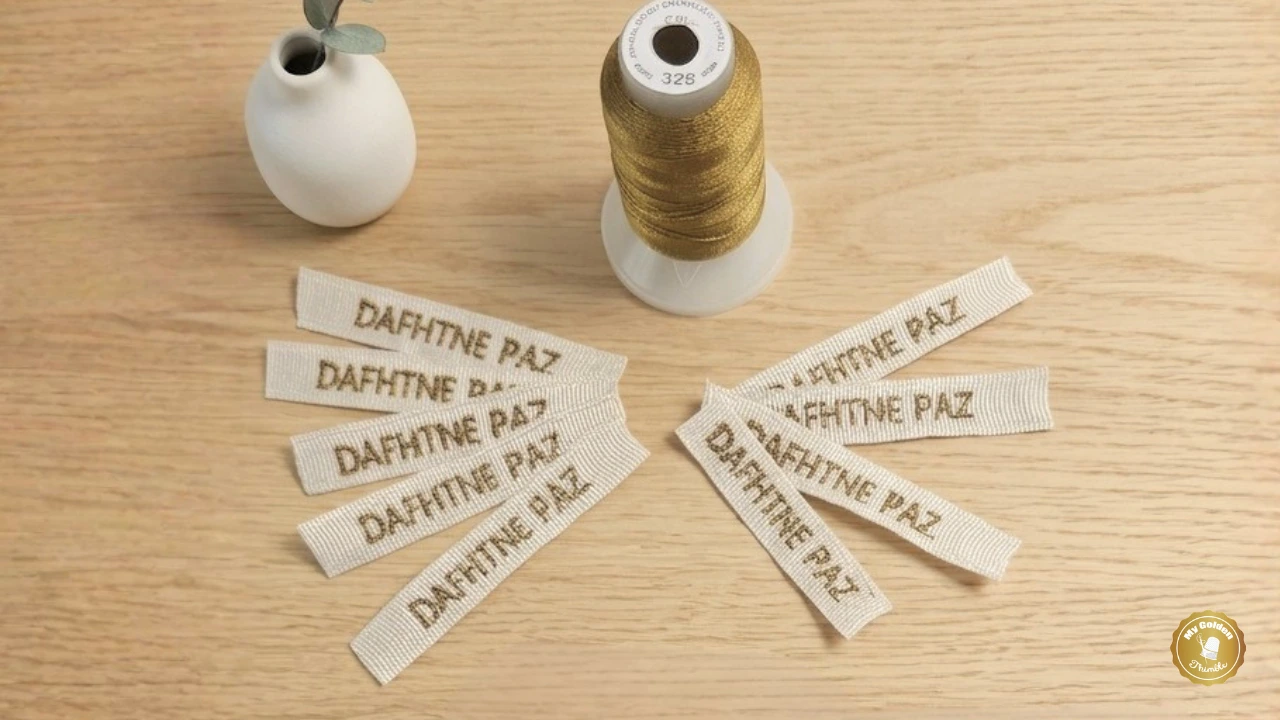
I like to make a batch of my DIY sew-in labels every so often so I always have them ready to go. And I’m not even exaggerating—there is nothing more satisfying than finishing a project and sewing in one of your own personalized fabric labels. It instantly makes your piece feel more polished, more professional, and so much more meaningful.
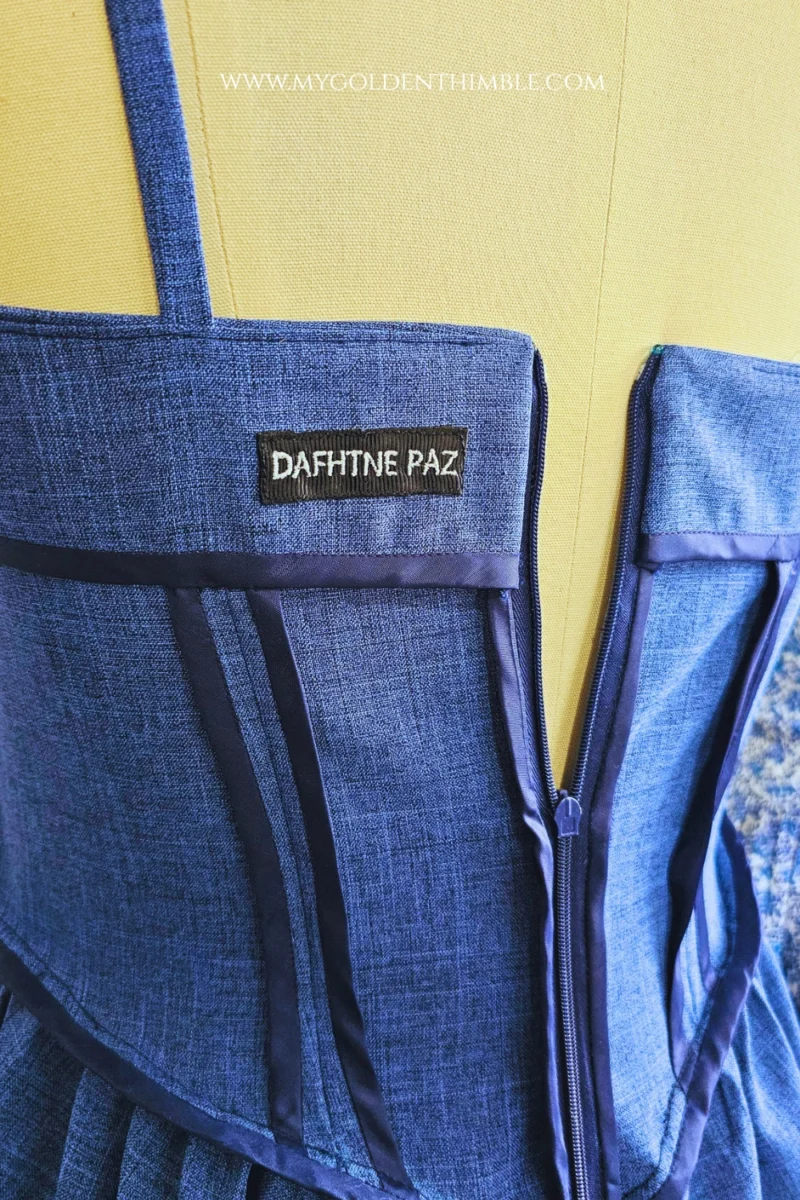
And the best part? When I gift something to friends or family, they always have that little moment where they notice the label inside—and it just makes the whole piece feel extra special, like a tiny signature sewn in with love.
About This Project
For this project, I’m using my Brother sewing and embroidery machine, which I’ve had for over 6 years now.
And I truly love it.

It’s one of those machines that just keeps proving its worth over time.
Not only does it have tons of built-in decorative stitches, but it can also convert into a quilting machine with the right attachments, and of course, it works as an embroidery machine too.
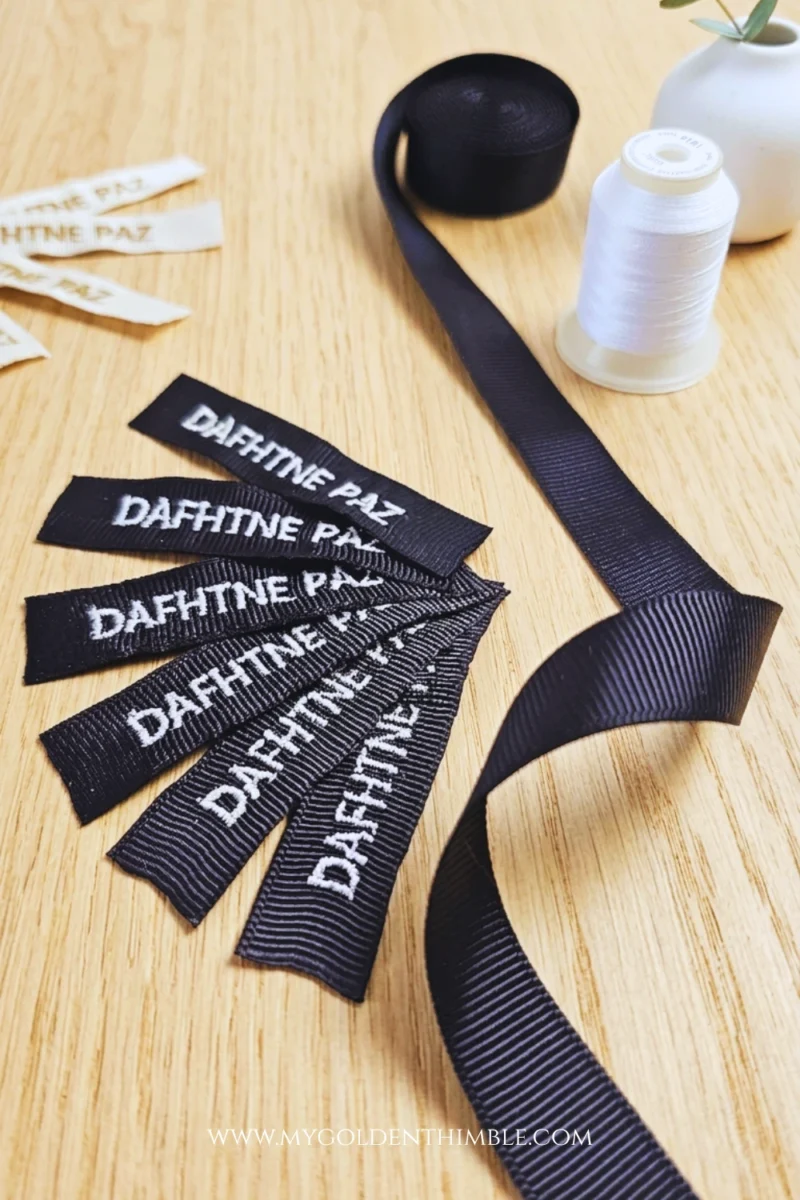
For these homemade clothing tags, I’m keeping things simple and practical.
I chose a ribbed ribbon because I wanted my labels to be a bit more structured and durable.
Especially since we’ll be using stitching that needs a stable base to really hold its shape.
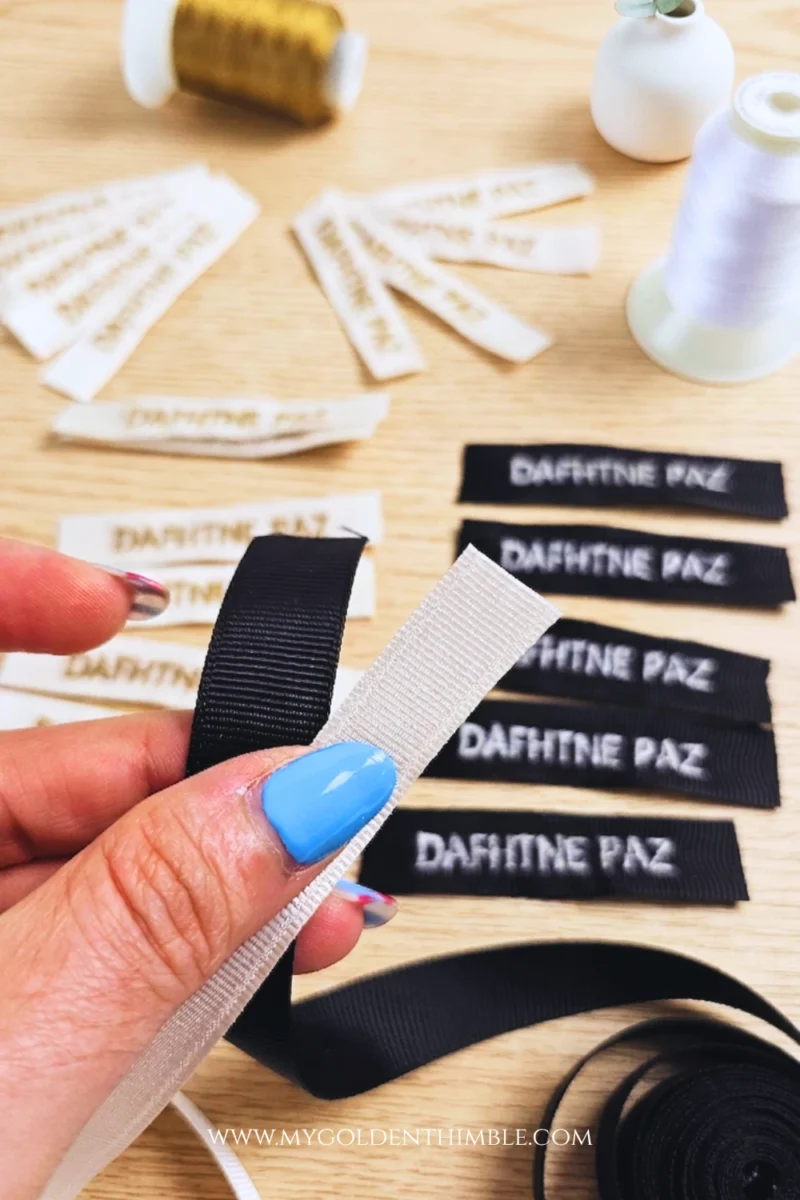
That said, you can absolutely use other materials too.
Satin ribbon, for example, can give your personalized fabric labels a softer and more delicate look.
The key is to test your settings and use the right stabilizer so your fabric doesn’t shift while stitching.
Alternatives to Embroidered Labels
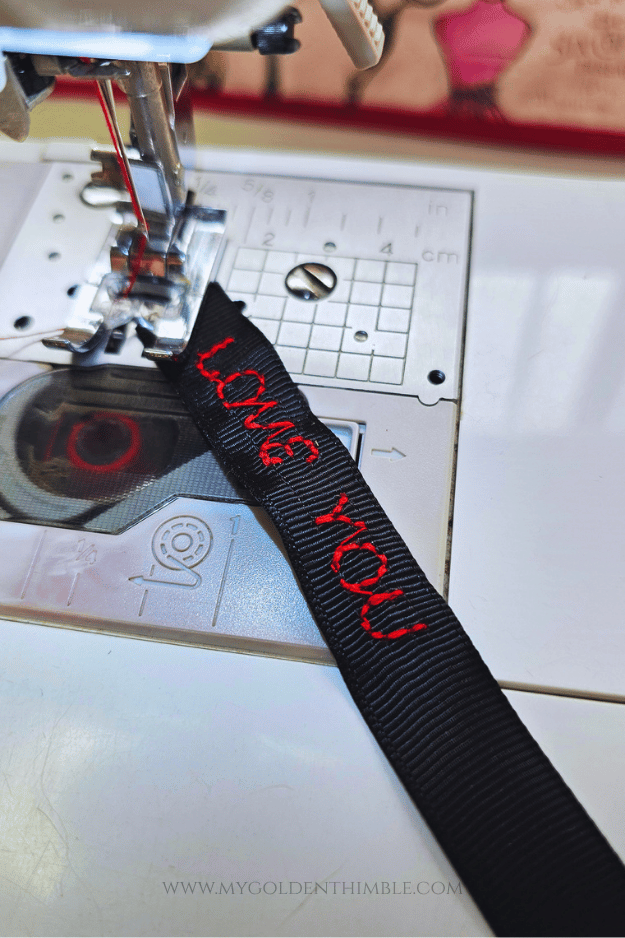
And here’s something I really want you to keep in mind: even though I’m using the embroidery function for this tutorial, you don’t need an embroidery machine to make DIY clothing labels.
You can easily create them using the decorative stitches and lettering options on a regular sewing machine.
(I actually have another post where I show how to do that, in case you want an alternative method!)
So whether you’re going all-in with embroidery or keeping it simple, this project is super flexible, and that’s what makes it so fun.
Now, let’s dive into how to make your own labels step by step.
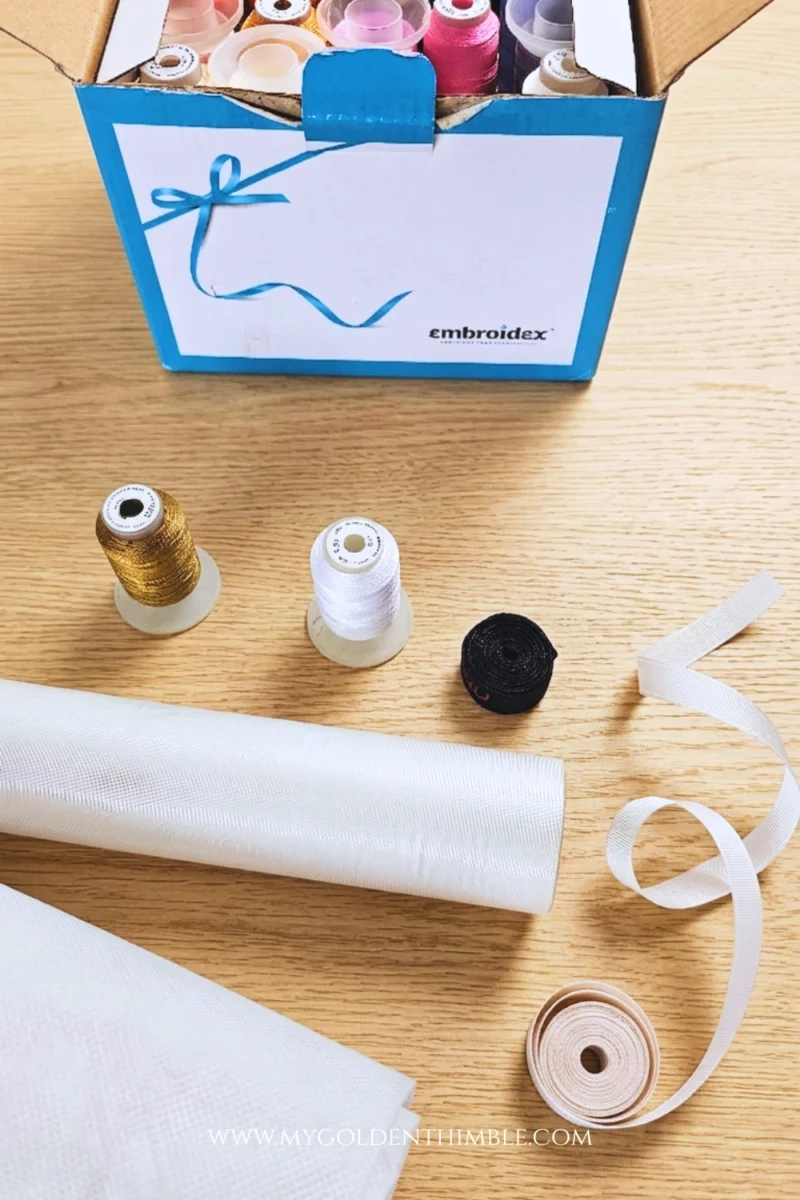
Materials You’ll Need
Before we get started, let’s gather everything you’ll need to make your own DIY clothing labels.
The best part about this project is that you only need a few simple supplies!
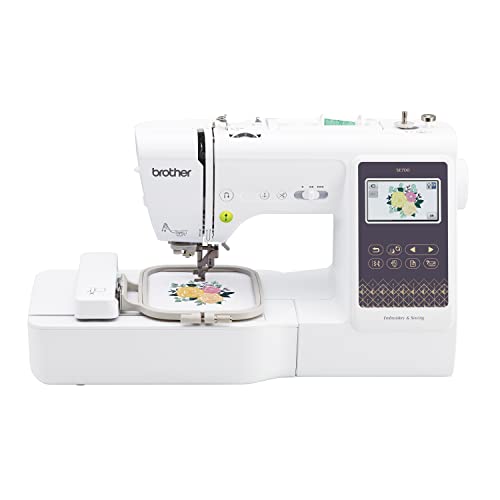

- Sewing and embroidery machine
I’m using my Brother sewing and embroidery machine for this tutorial, but remember—you can also use a regular sewing machine with decorative lettering stitches. - Water-soluble stabilizer (medium weight)
This is super important to keep your stitching clean and in place while you work. Since it’s washable, it will dissolve once your labels are finished. - Ribbon (ribbed or satin)
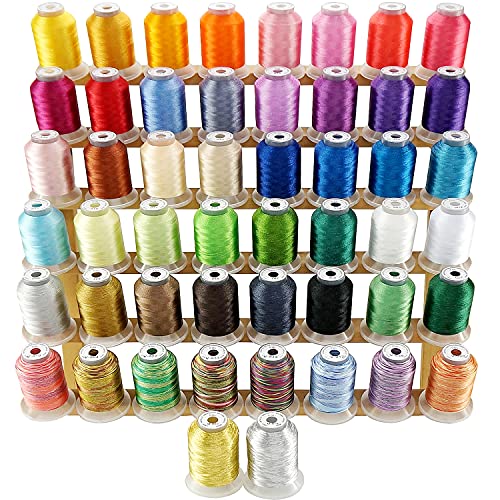
I used ribbed ribbon in 1/2 inch and 3/4 inch widths because it gives my homemade clothing tags a bit more structure. You can also use satin ribbon if you want a softer look for your personalized fabric labels. - Embroidery thread
This helps your labels look crisp and professional. You can have fun here and choose colors that match your brand or project! - Scissors or thread snips
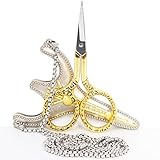
A must-have for trimming threads and cutting your labels neatly. - Glue stick (highly recommended)
This made a huge difference for me! I use it to gently “float” the ribbon on top of the stabilizer and keep everything in place while stitching. - Repositionable embroidery spray (optional alternative)
- If you don’t want to use a glue stick, this is another great option. I use it all the time for embroidery projects, and it works beautifully to hold your materials steady.
Tips and Tricks Before You Start
Before we jump into the tutorial, let me share a few things I learned while testing these DIY clothing labels.
These tips will make a huge difference in how your tags turn out—and help you avoid the most common mistakes.
Use a New Needle
Always start your project with a fresh needle. A dull needle can snag or pull on the ribbon fibers, which can lead to uneven or wobbly stitching. This is especially important when working on smaller details like homemade clothing tags.
Test Your Thread Tension
Take a few minutes to test your settings before you begin. If your tension is too high, you may end up with tangled threads or thread nests underneath your label.
A quick test stitch will save you time and frustration later.
Don’t Skip the Stabilizer
While the water-soluble stabilizer isn’t strictly required, it makes a huge difference. It keeps your stitches clean and helps prevent the ribbon from shifting, giving your personalized fabric labels a much more polished look.
Batch Your Labels
If you’re already setting everything up, make several labels at once. It’s faster, more efficient, and you’ll always have extra DIY clothing labels ready for your next project.
How to Create Your Label File (Embroidery Setup)
Let’s start by creating the file for your clothing labels using your embroidery software.
If you don’t have embroidery software, you can still follow this idea by using the built-in letters on your sewing machine.
But for this tutorial, I’ll show you exactly how I made my file using my PE Design Brother program.

Step 1: Add Your Text
Start by typing the text you want on your label. In my case, I simply used my name to create my personalized fabric labels.
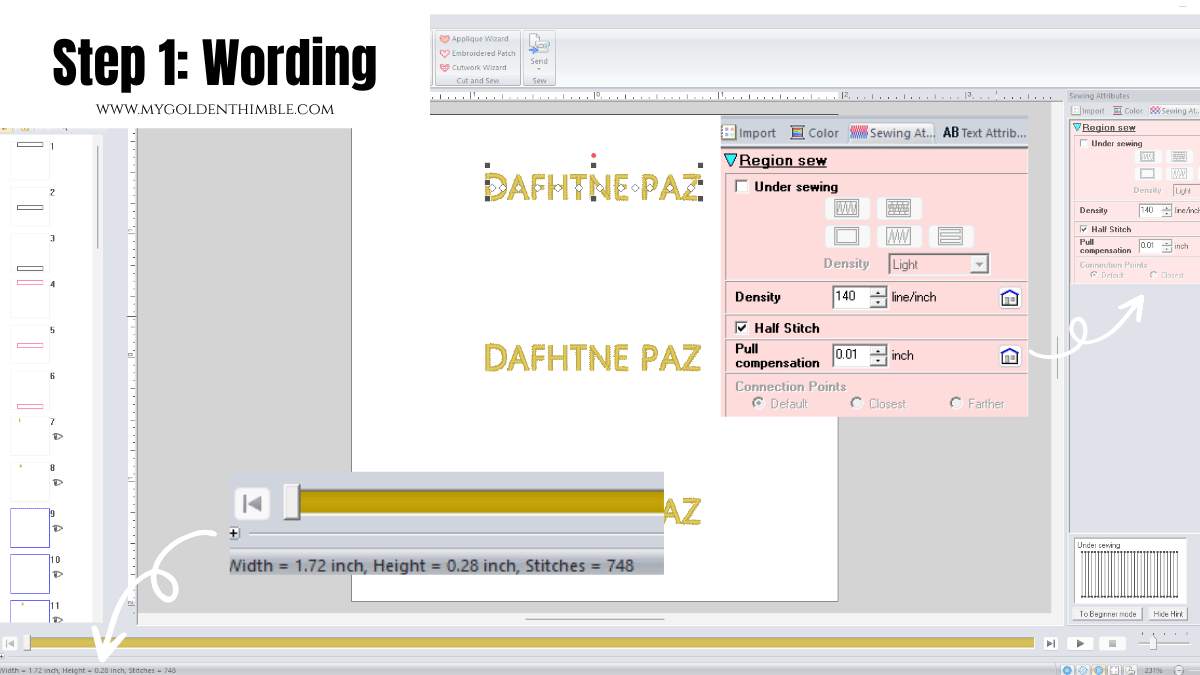
Try to choose a simple, thin font so it stitches cleanly on ribbon. I used a satin stitch with a density of around 140, which gave me nice, crisp results.
The most important part here is the size. Make sure the height of your letters fits comfortably within your ribbon. For my 1/2 inch ribbon, I kept the text small enough to leave a little space around it so it wouldn’t feel crowded.
Step 2: Create the Placement Rectangle
Next, create a rectangle around your text. This first rectangle will act as a guide to show you exactly where to place your ribbon later.
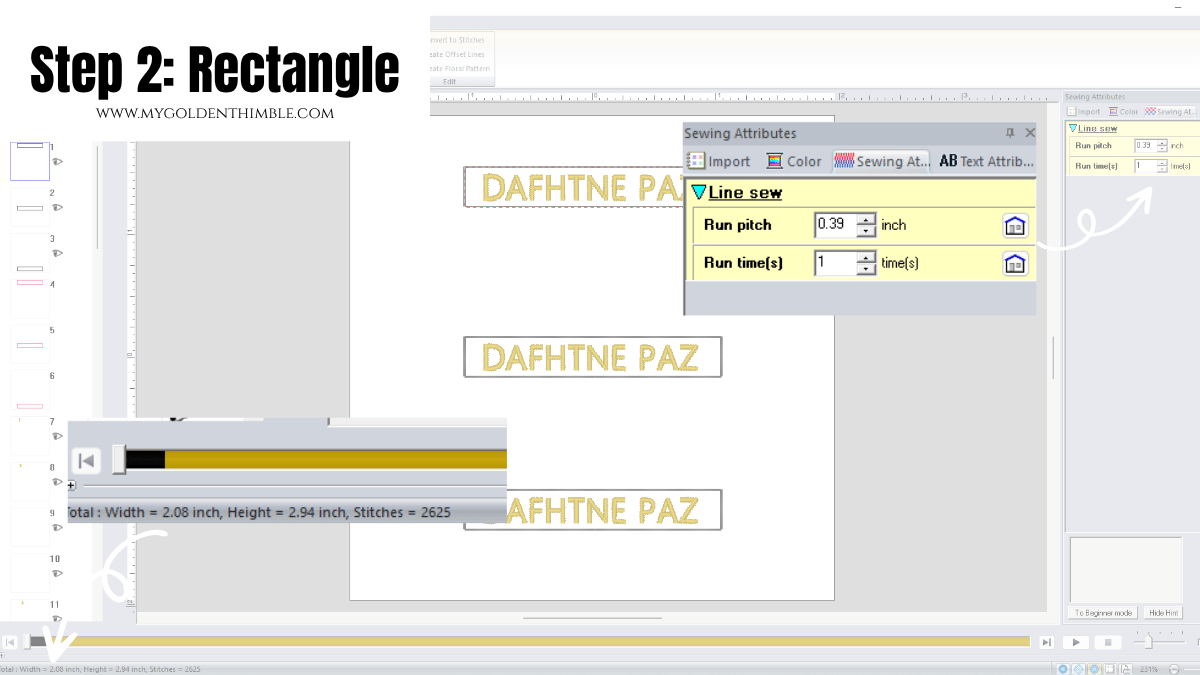
Use a long basting stitch for this step so it’s easy to remove once everything is stitched.
Also, make sure this rectangle is set to a different color than your text—this allows your machine to stop after stitching it.
This will be the first step in your stitch order.
Psst…Is this article helpful to you?? Please support us so we can keep making awesome tutorials for you by buying us a cup of coffee here. We will be forever grateful!
Step 3: Add the Tack-Down Rectangle
Now, copy and paste that same rectangle directly on top of the first one.
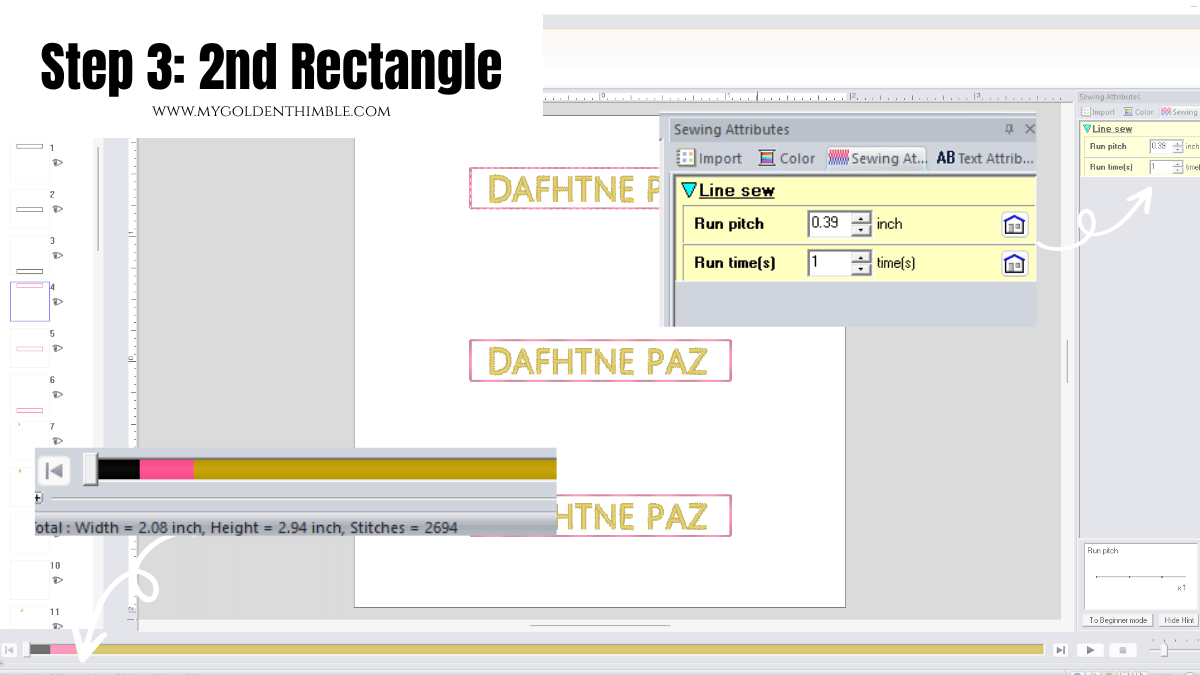
This second rectangle is what will hold your ribbon in place while your letters are stitched. Keep it in the exact same position, but assign it a different color (I used pink for mine so I could easily tell them apart).
This will be the second step your machine stitches.
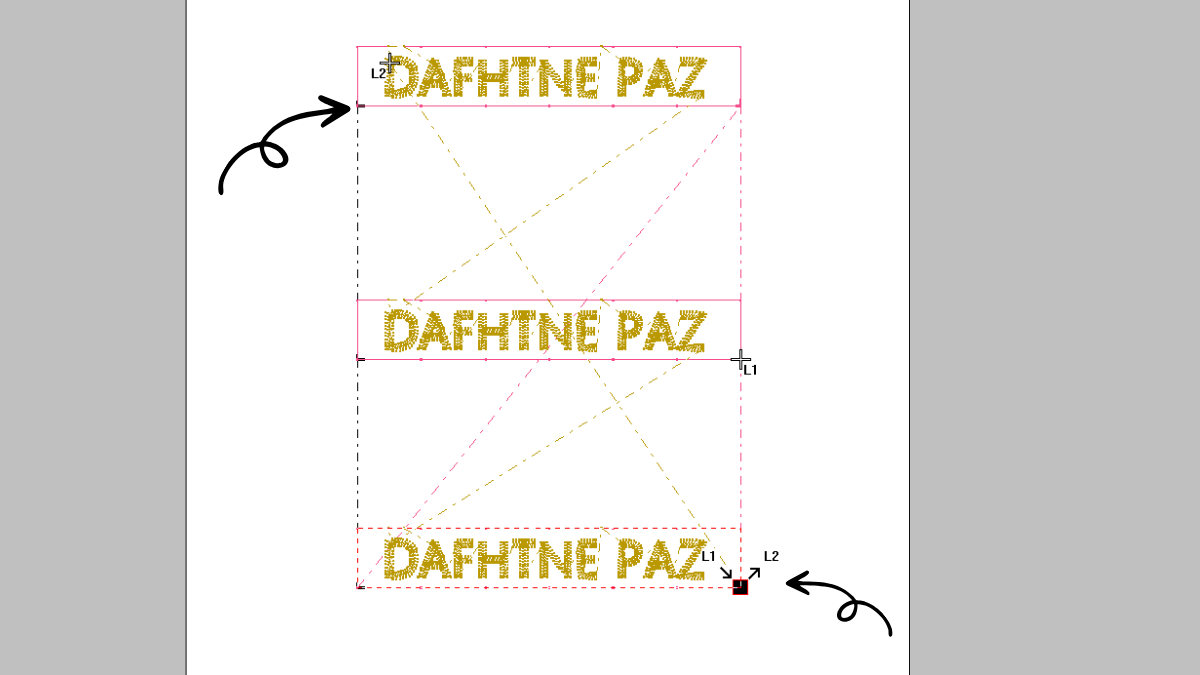
Step 4: Set the Correct Stitch Order
At this point, your file should be set up in this order:
- Placement rectangle (black)
- Tack-down rectangle (pink)
- Letters (gold)
Keeping each element in a different color ensures your machine pauses between each step, which is exactly what we need to place and secure the ribbon properly.
Step 5: Adjust Entry and Exit Points
This is something I didn’t do at first—but you definitely should.
Take a moment to adjust where your machine starts and finishes each rectangle. For the first rectangle, I like to place the starting point on the bottom left corner.
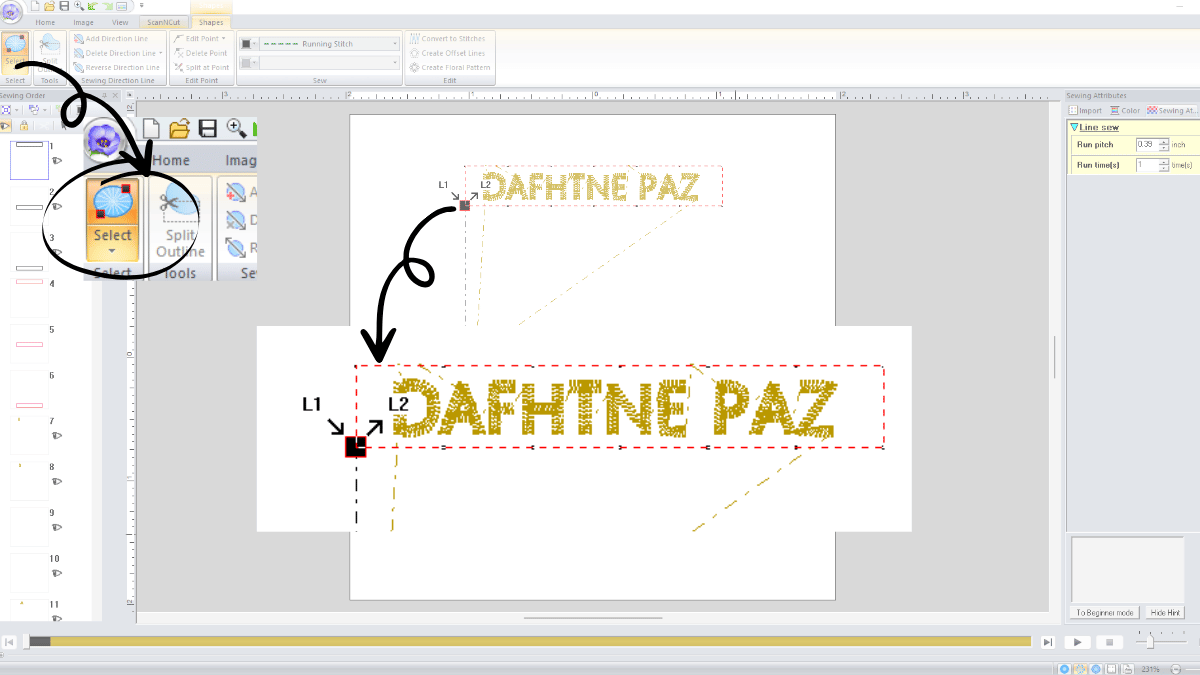
For the second one, I move it to the bottom right.
This helps keep the connecting threads away from your lettering, making your homemade clothing tags much cleaner and easier to trim later.
Step 6: Test Before Finalizing
Testing is a big part of this process. I made several samples before settling on the settings I liked, and I highly recommend you do the same.
If something doesn’t look quite right, you can always adjust your stitch density or your machine tension.

And if your result looks just slightly wobbly (and I really mean slightly), a quick press at the end can help smooth everything out.
Hey! Remember to save this article on Pinterest using the share button in the lower right corner so you can come back to it later!
How to Sew Your DIY Clothing Labels
Now for the fun part—actually stitching your DIY clothing labels!

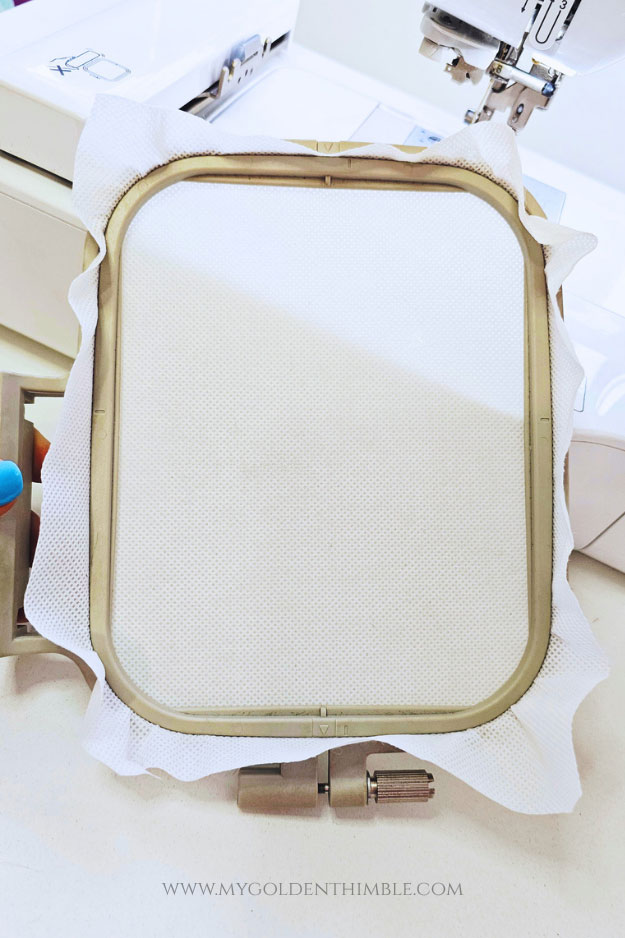
Start by hooping your medium-weight stabilizer.
Some people like to use contact paper for this step, but I prefer using a tear-away or wash-away stabilizer and securing my ribbon with a simple glue stick.
It works beautifully and keeps everything in place.
Once your hoop is ready, load your file into your machine using a USB.
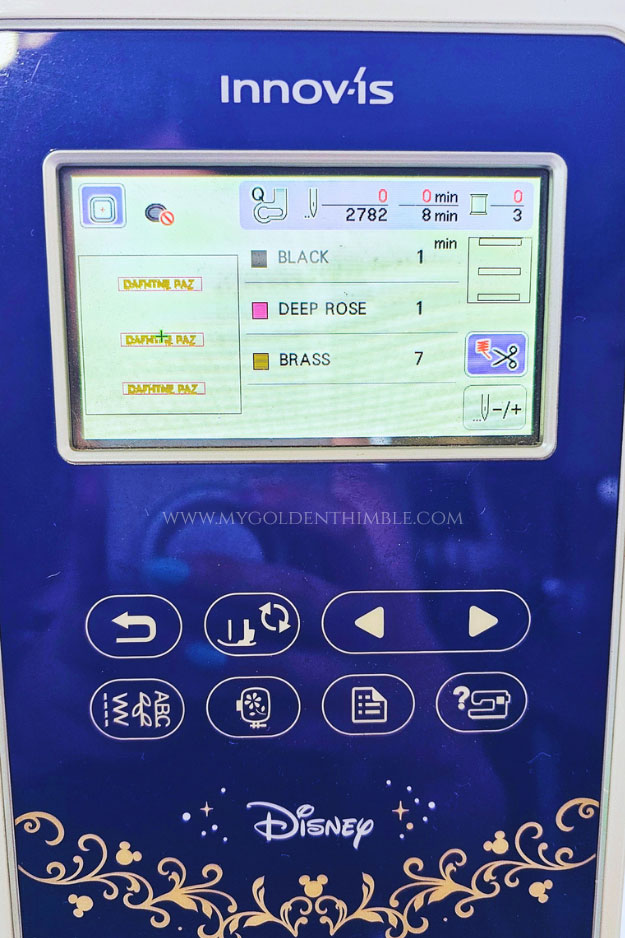
You should see your design set up in the correct order: first the placement rectangle, then the tack-down rectangle, and finally your lettering.
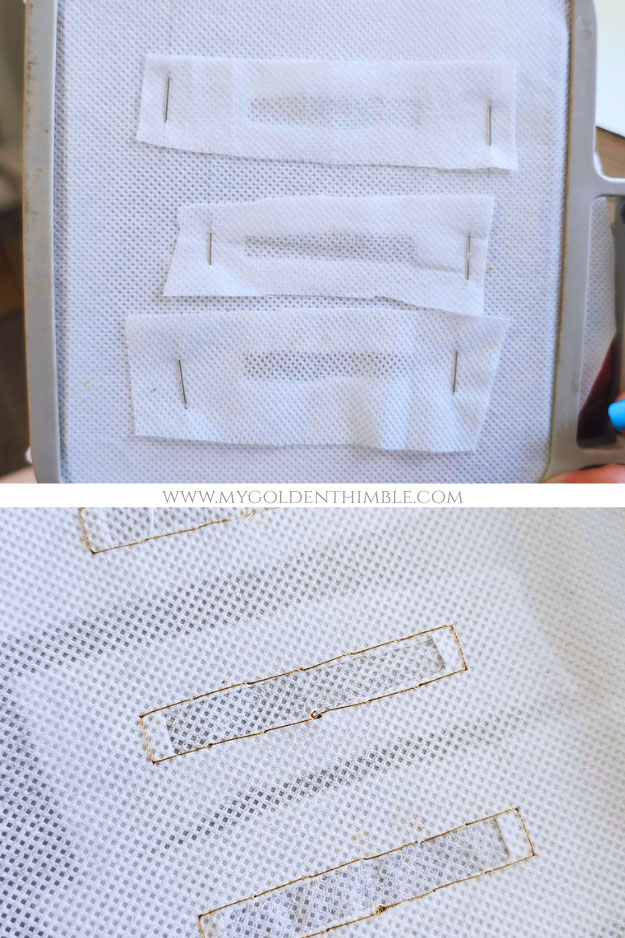
Step 1: Stitch the Placement Rectangle
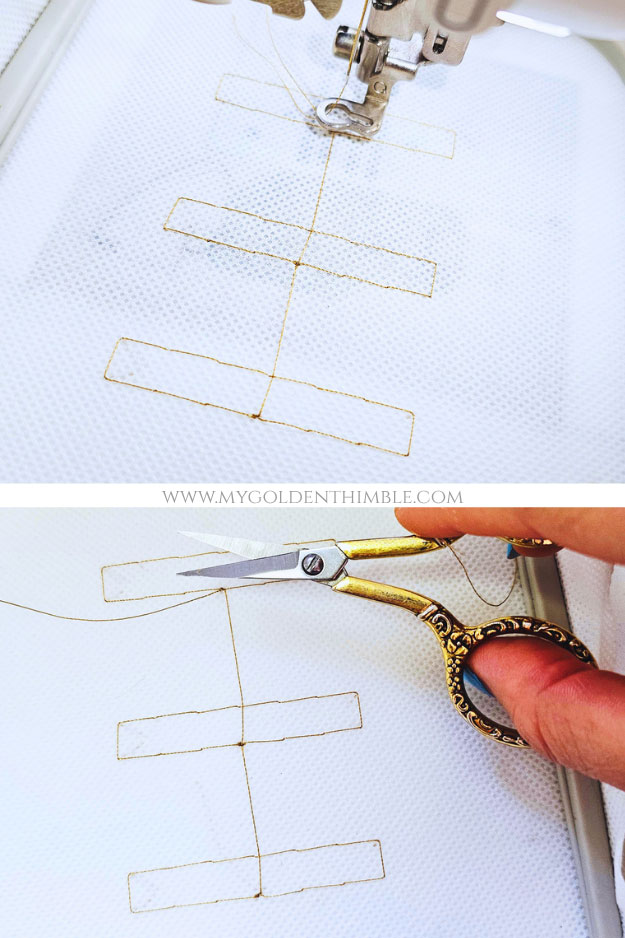
Go ahead and stitch the first rectangle (the placement stitch).
Once it’s done, trim any loose threads. This rectangle is going to guide you when placing your ribbon, so take a second to make sure it stitches cleanly.
Trim away all the leftover threads
Step 2: Position Your Ribbon
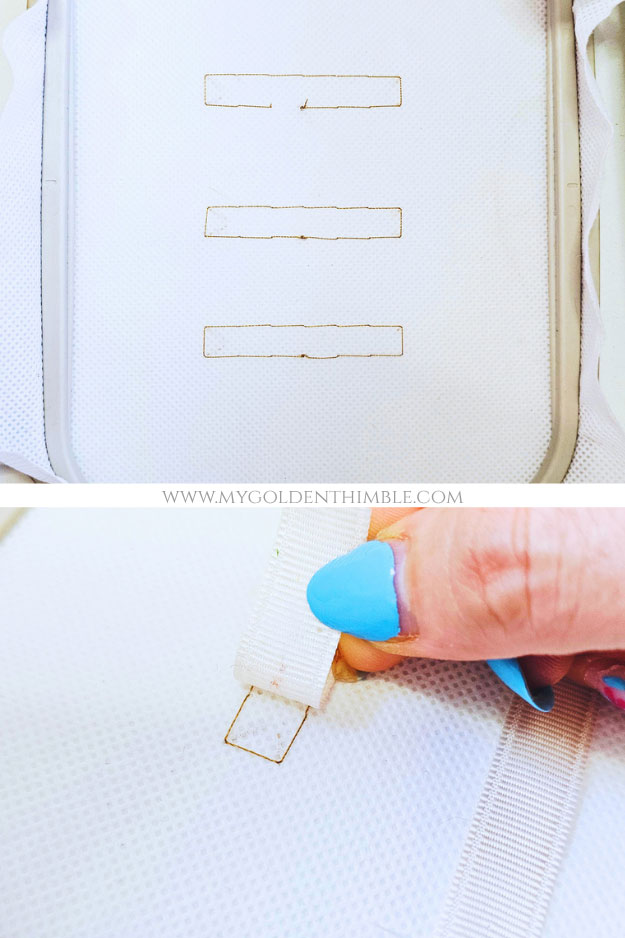
Now it’s time to place your ribbon.
Add a small amount of glue stick to the back of your ribbon and gently lay it on top of the rectangle. Make sure to center it carefully. This step is very important because it determines how your final homemade clothing tags will look.
If your ribbon is off-center, your text will be too, so take your time here.
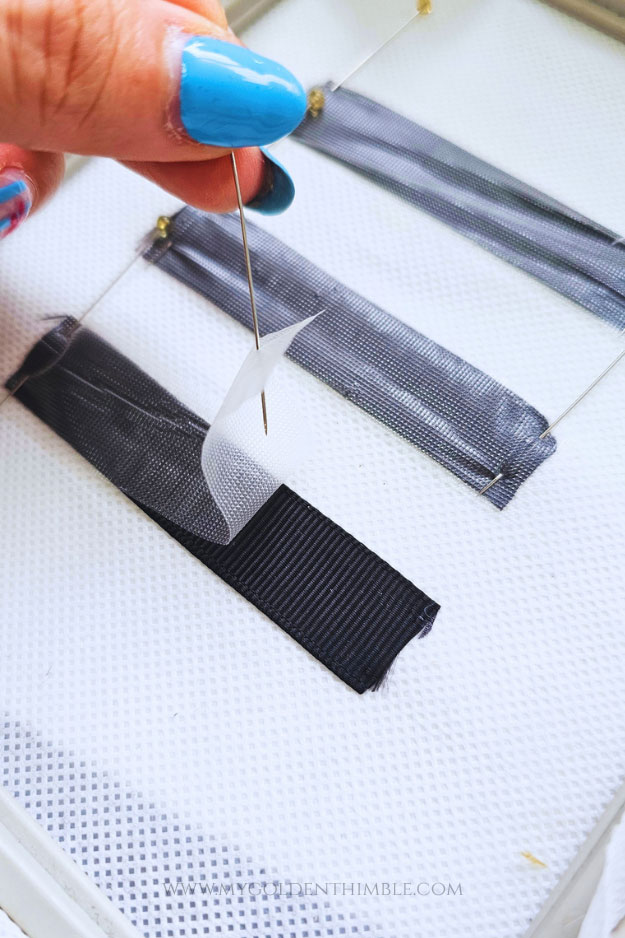
If you’d like, you can place a layer of wash-away stabilizer on top.
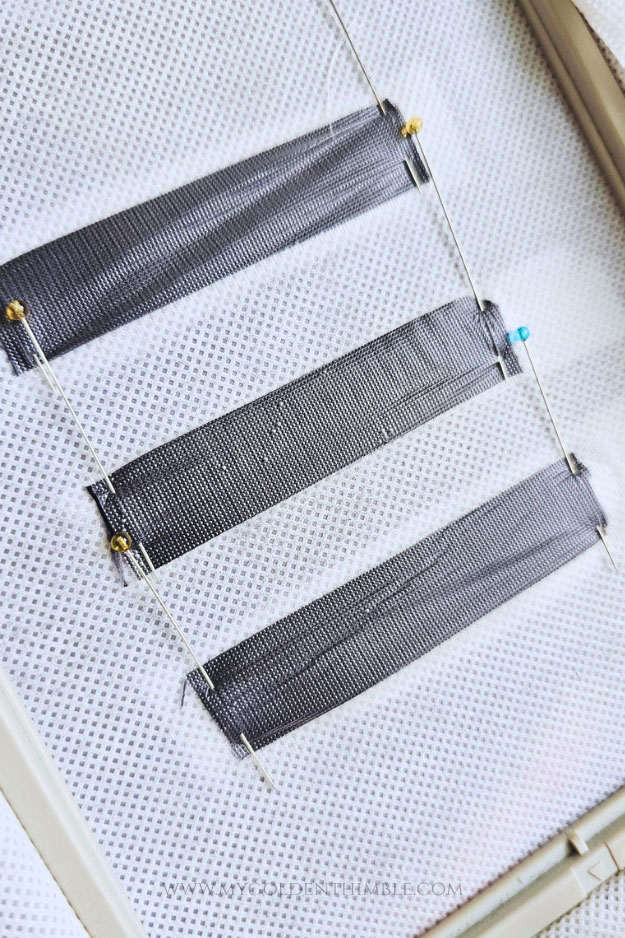
Secure everything with pins along the very edges (just make sure they stay outside the stitching area).
Step 3: Stitch the Tack-Down Rectangle
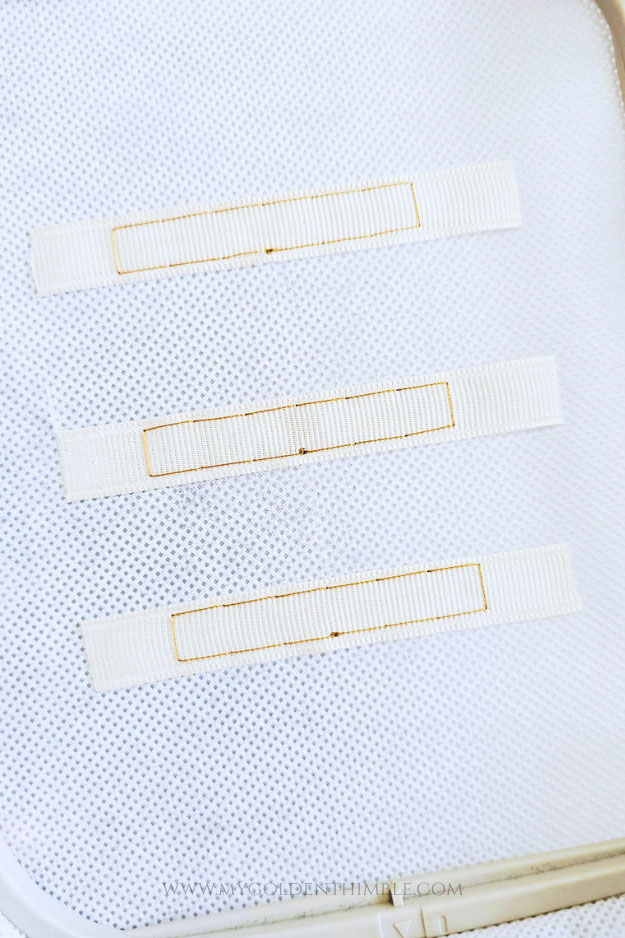
Next, stitch the second rectangle (the tack-down stitch).
This will sew directly over the ribbon and hold it firmly in place. It also gives you a second chance to visually confirm that your ribbon is centered correctly.
Your text will be stitched inside this shape.
Step 4: Stitch the Letters
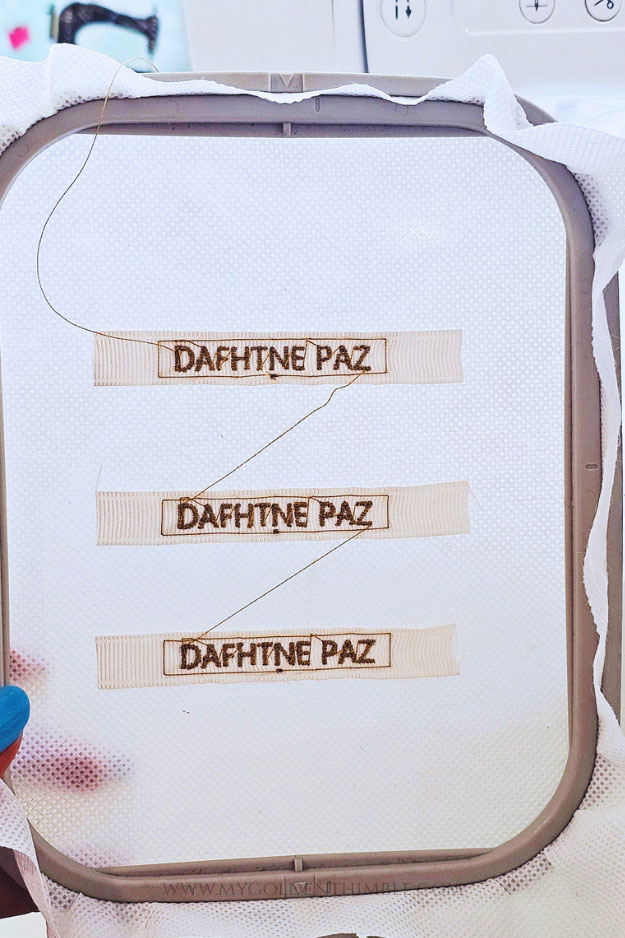
Now let your machine stitch the final step, the lettering.
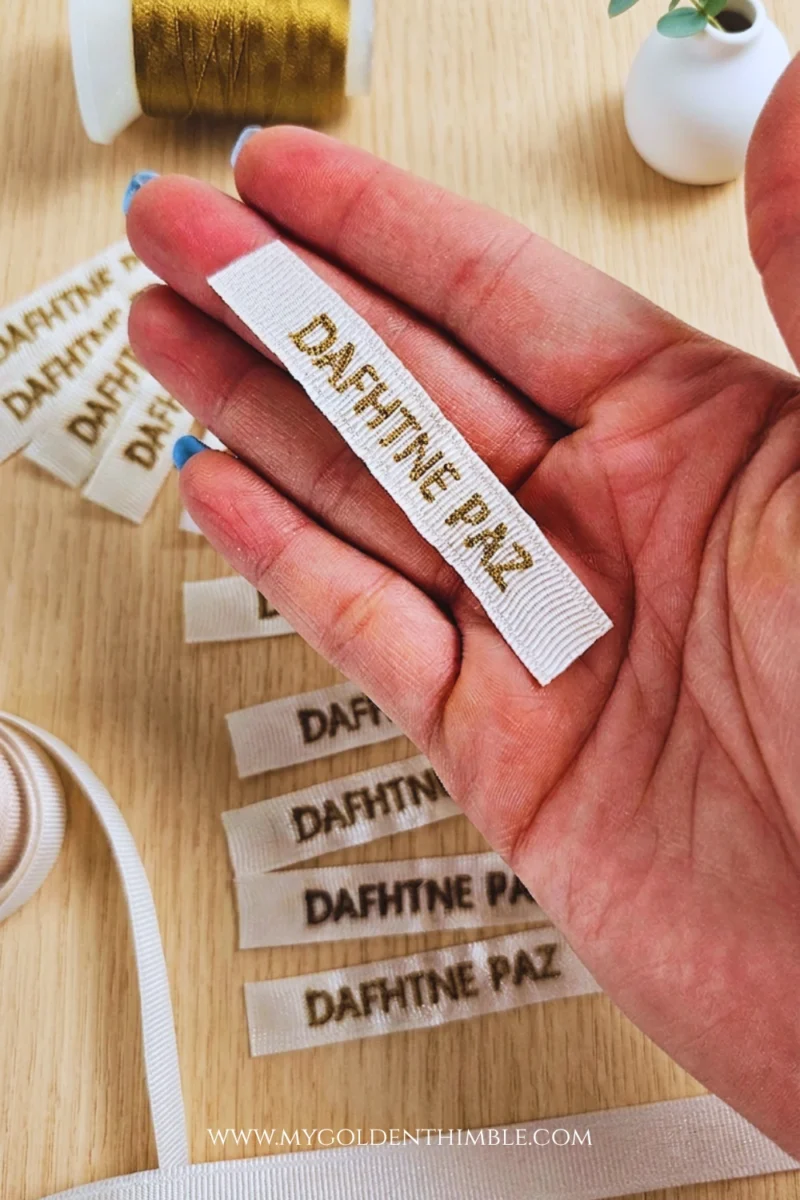
Once it’s done, you’ll start to see your personalized fabric labels come to life, and honestly… this is my favorite part every single time.
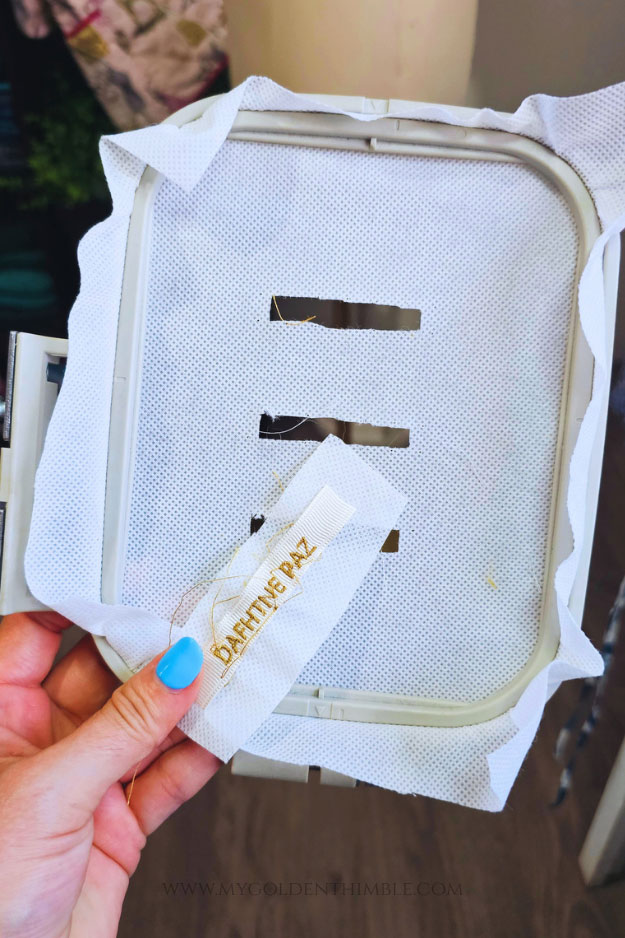
Step 5: Batch Your Labels (My Favorite Trick)
Before removing anything from the hoop—don’t stop at just one or three labels!
If everything is already set up, this is the perfect time to make a batch of your DIY sew-in labels.
Here’s how I do it:
After stitching your first set of labels, carefully trim the threads between each one.
Then remove only the rectangle stitches from the stabilizer, leaving the letter areas open.
You’ll be left with small “windows” where your labels were stitched.
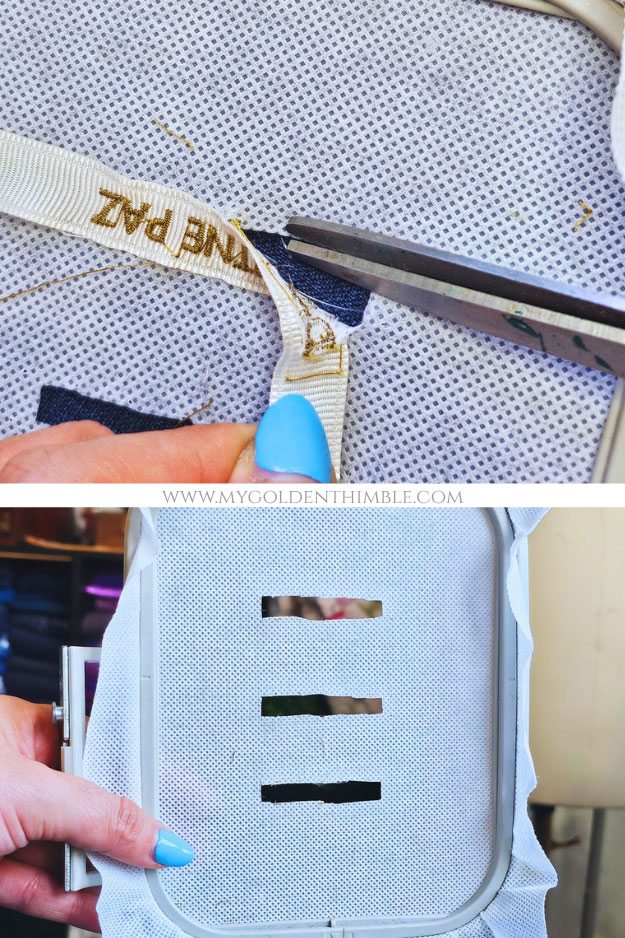
Cut small pieces of stabilizer to cover those openings from the back, pin them in place, and reattach your hoop to the machine.
And hit to sew the black rectangle (placement rectangle).
Then repeat the same steps.
This trick saves so much time and material.
Step 6: Remove and Clean Up
Once you’re done stitching all your labels, gently remove them from the stabilizer.
Trim the stabilizer around each label as close as possible to the stitching, and snip away any remaining threads. Then rinse off the wash-away stabilizer with a little water.
Optional: Clean Thread Ends with Heat (Use Caution)
If you notice tiny thread ends sticking out, you can very carefully pass a flame (from a lighter or candle) quickly near the threads to seal them.
But I want to be very clear, only do this if you’re comfortable handling fire around fabric. If not, simply trimming the threads closely works perfectly fine too.
And that’s it! You now have your own custom clothing labels DIY style—ready to add that perfect finishing touch to your handmade pieces.
Psst…Is this article helpful to you?? Please support us so we can keep making awesome tutorials for you by buying us a cup of coffee here. We will be forever grateful!