
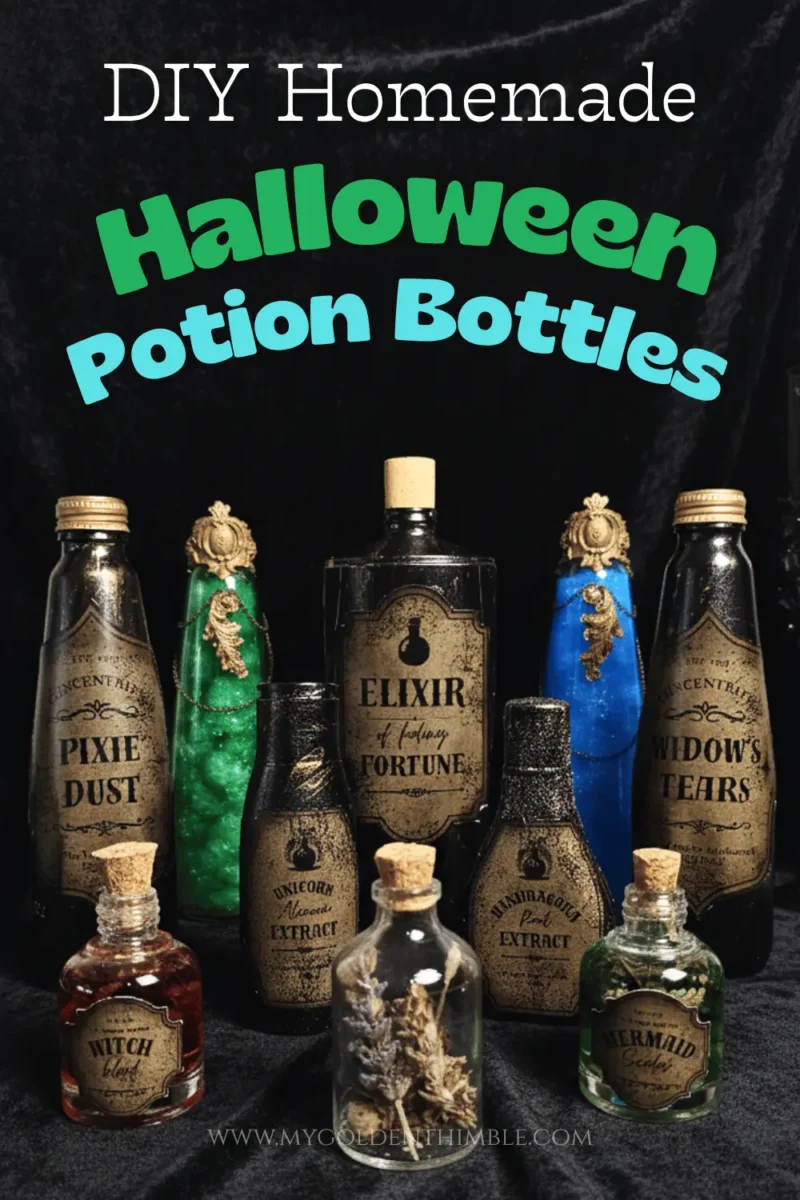
If you’ve been wanting to make your own DIY Potion Bottles, you’re going to love this tutorial!
This is such a fun, quick, and budget-friendly craft that will instantly add a spooky touch to your Halloween decor. I’ll show you how to make potion bottles for Halloween using things you probably already have lying around your home. Old jars, leftover paint, and a dash of imagination.
What I love the most about this project is how easy and customizable it is.
And, of course, I’ve included a Free Labels for Potion Bottles printable. You can download and use it to give your creations the perfect finishing touch.
NOTE: This post contains affiliate links, which means that if you make a purchase using one of the links in this article, I may earn a commission at no extra cost to you (To know more about this, click here.)
Before You Start: Free and Premium Potion Bottle Labels
If you’d like to take your display to the next level, I created a premium version of these potion labels.
They have even more shapes, unique designs, and extra name variations so you can match every bottle you have at home.
I have to tell you — I’m so excited about this project because I’m hosting my first Halloween party ever. And this gave me the perfect excuse to make some custom, handmade decorations.
Usually, my house decor this time of year leans more toward cozy fall colors, but this time I’m going full spooky mode!
Out of all the crafts I’ve planned, these DIY potion bottles instantly became the centerpiece of my snack table setup.
When I started searching for Halloween potion bottles online, most of them just felt… well, a little too plain.
The sets I found all had the same bottle shapes and repetitive labels, and honestly, that made them look mass-produced and kind of boring.
I wanted my bottles to look like they came straight from a witch’s apothecary. So, of course, as the crafter I am, there was no other choice but to make them myself.
That’s how this little DIY Apothecary Potion Bottles Tutorial was born — and let me tell you, it’s such a satisfying project to create with potion bottles from recycled bottles you already have around the house.
And because I always like to give you options, I’ve included a set of Free Labels for Potion Bottles that you can download at the end of this post.
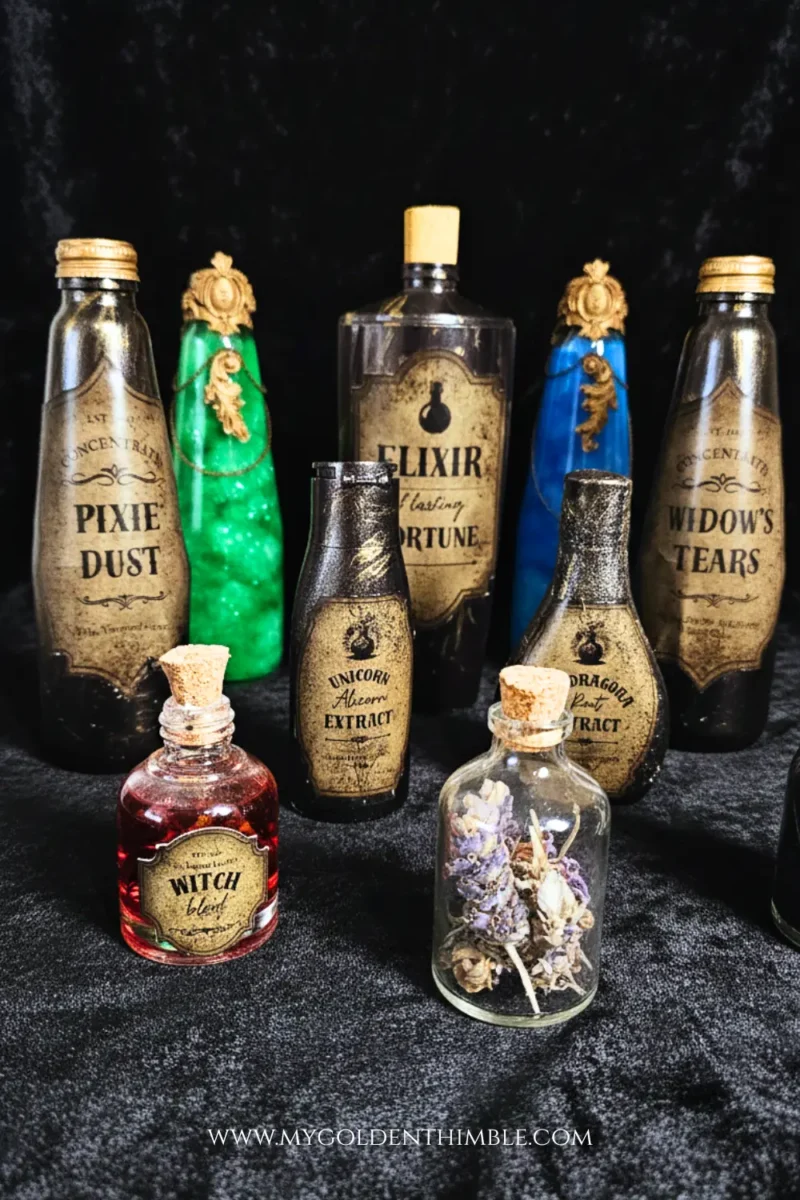
DIY Potion Bottles – 3 Styles
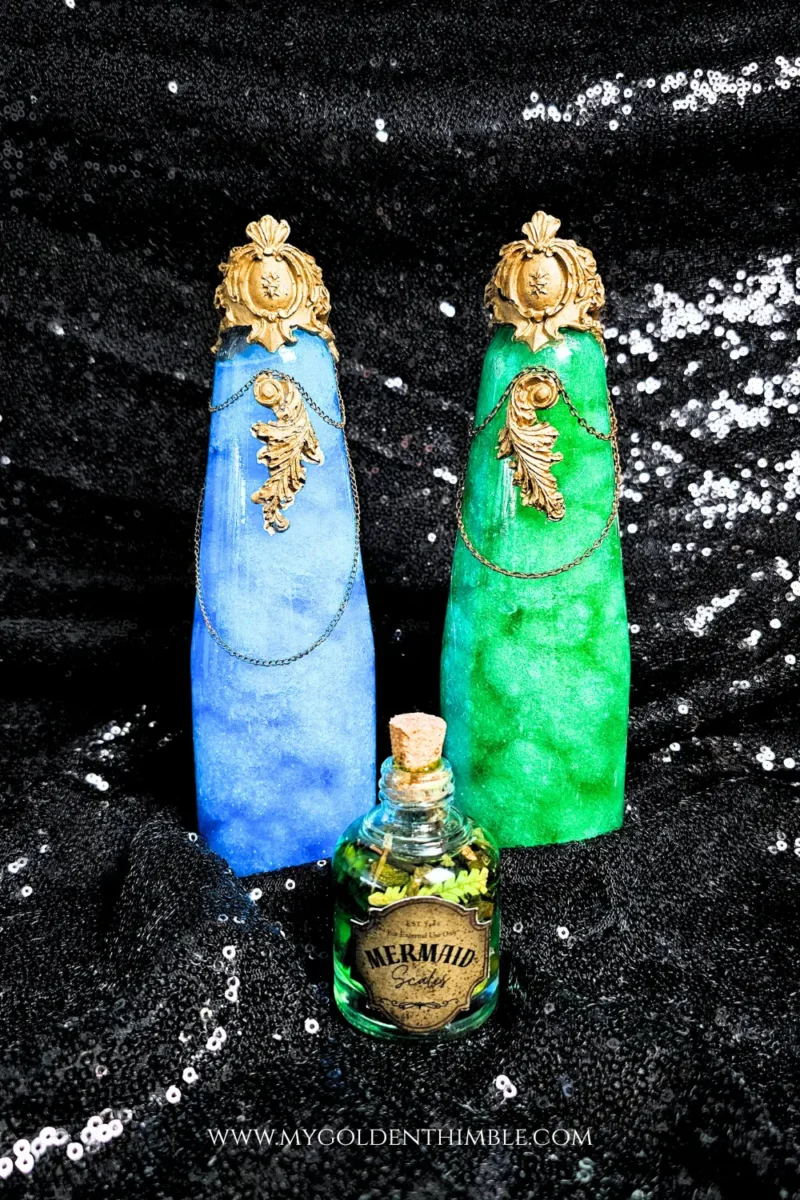
Materials You’ll Need to Make Your DIY Potion Bottles
Before we dive into the fun part, let’s gather everything you’ll need for your DIY potion bottles. The best part about this project is that you can use pretty much any kind of bottle you already have at home.
Here’s what I used for mine:
- Old bottles — I grabbed anything I could find around the house: empty shampoo bottles, tiny diffuser bottles (the ones that come with those long sticks), drink soda bottles, and even an old hand cream container. Translucent or solid bottles both work perfectly!
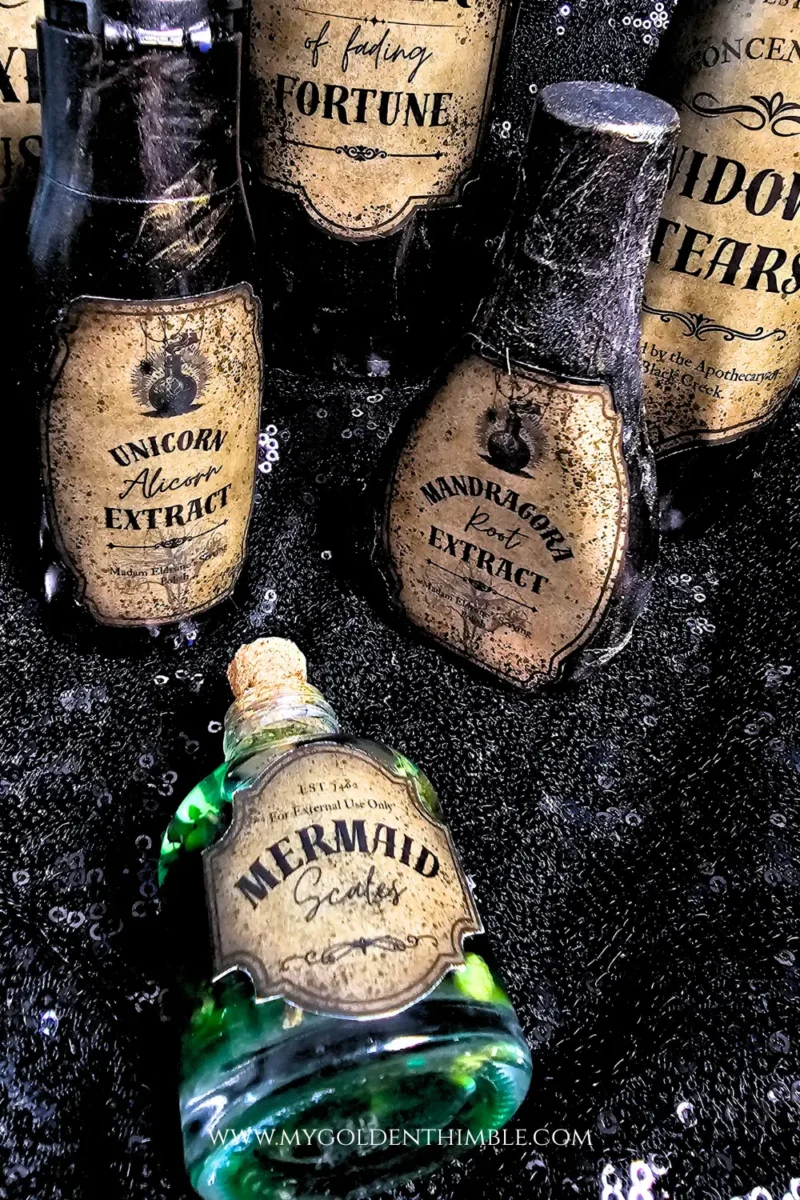
- Potion bottle labels — you can use my Free Labels for Potion Bottles (download link at the end of this post) or upgrade to the premium version here if you want extra designs and more shape options.
- Black spray paint
- Gold spray paint
- Small Paintbrush
- Craft filling
- Glitter : because what’s magic without a little sparkle?
- Hot glue gun: for sealing corks and adding embellishments.
- Old corks — I know you’ve been saving those wine corks for something fun, and this is it!
- Branches, roots, or dried herbs — you can collect bits of “dead nature” from your garden, or just raid your kitchen for spices like dried lavender, rosemary, or cloves.
And that’s it! Simple, inexpensive, and perfect for our project!
Aged Apothecary Potion Bottles
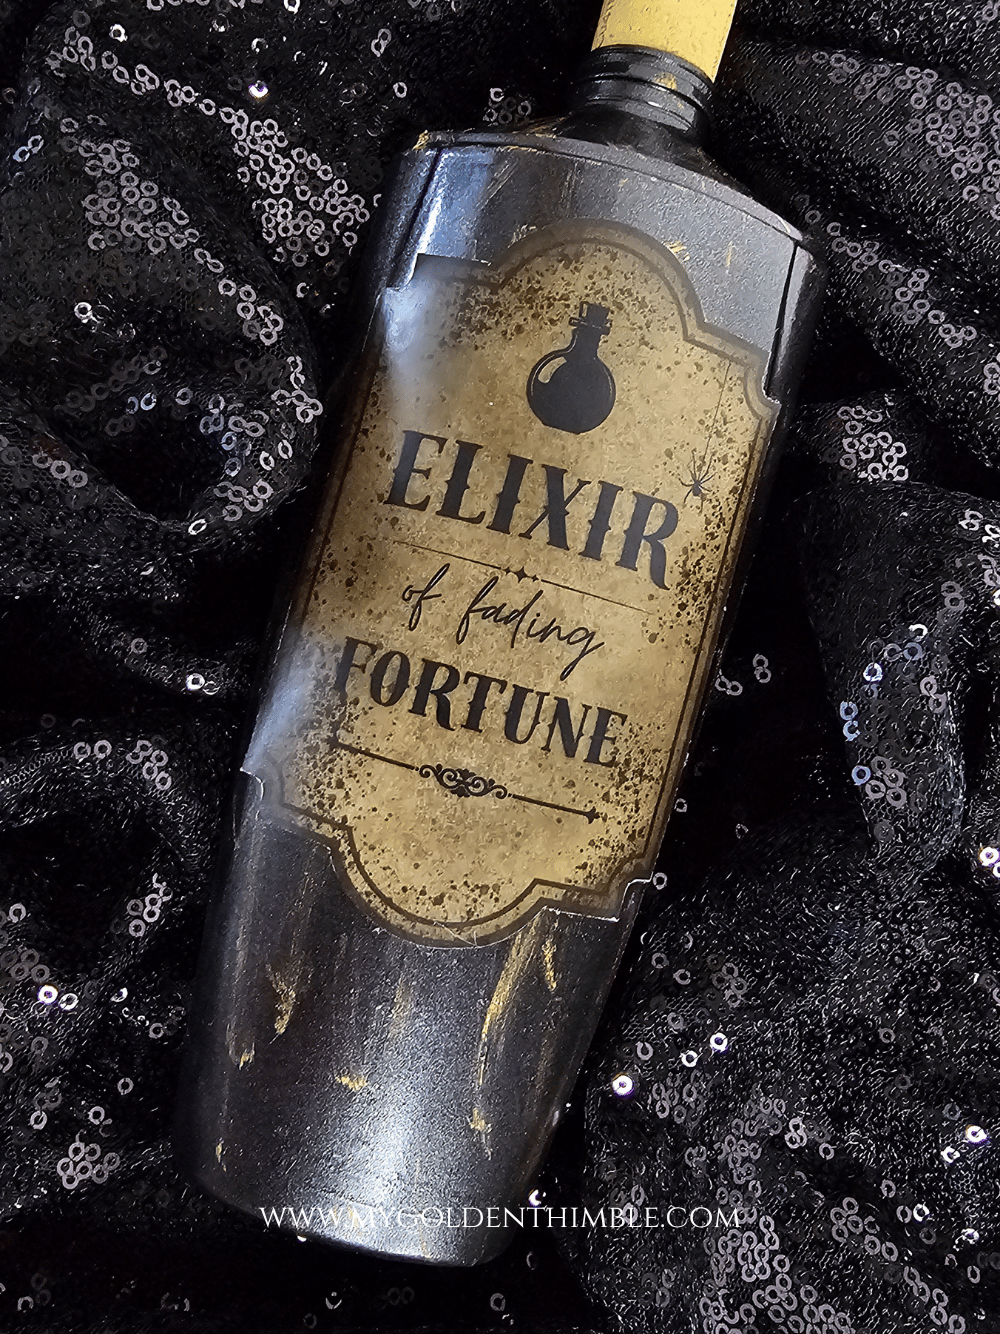
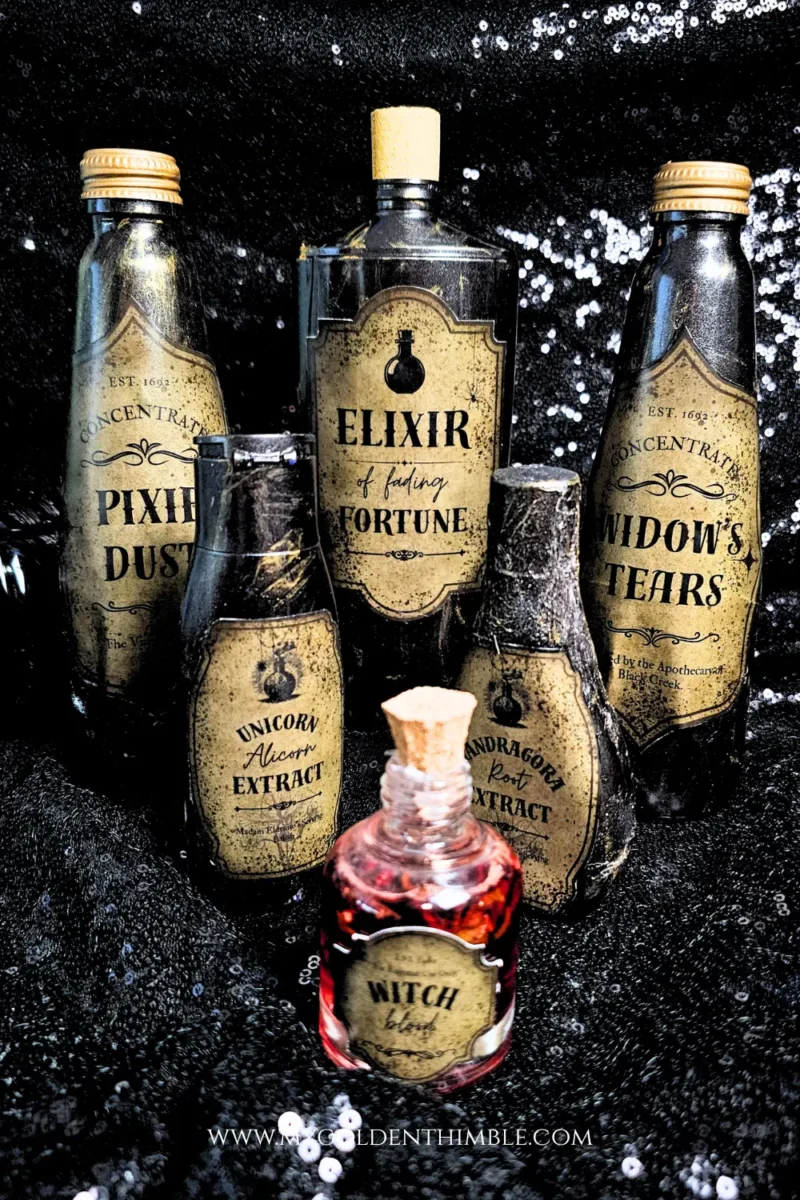
Alright, let’s start with the first and probably the most classic style — the aged apothecary potion bottles. These are the ones that look like they’ve been sitting on a dusty witch’s shelf for centuries, and honestly, they’re my favorite because they give that perfect spooky-vintage vibe.
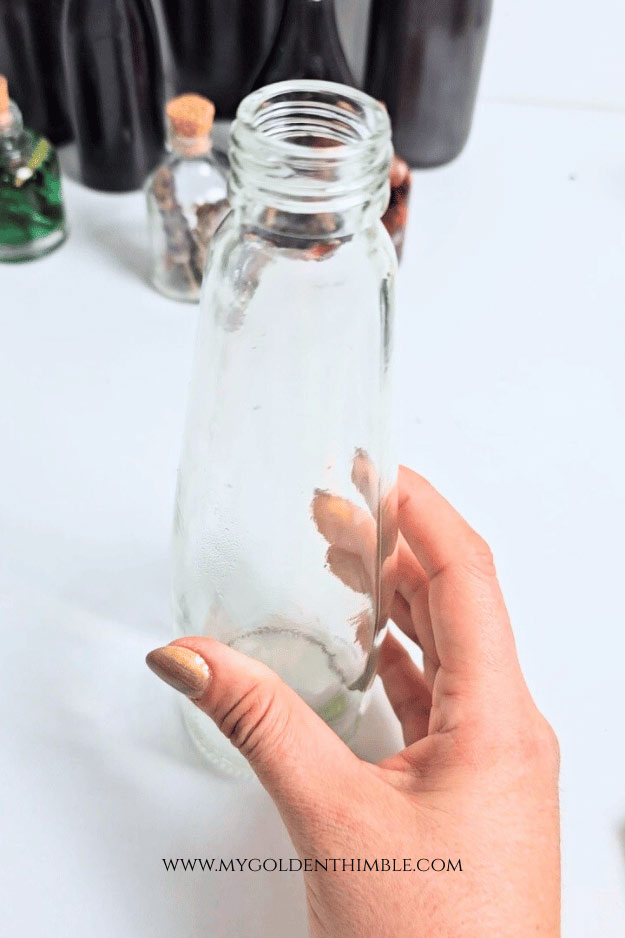
For this style, you can use any kind of bottle. The more variety in size and shape, the better.
That mix of tall, short, round, and square bottles gives them so much more character and makes your display look more authentic. I used large shampoo bottles, diffuser bottles, and a few old soda bottles I had around the house.

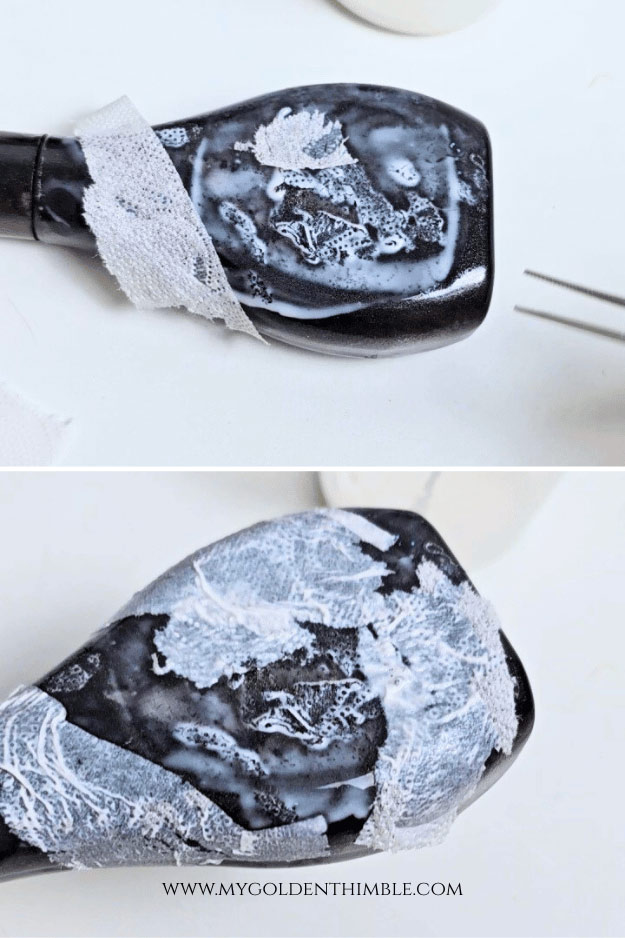
Now, for the base coat, you can either spray paint your bottles black or hand-paint them with acrylic paint if that’s what you have on hand.
Once they’re all covered, let them dry completely before adding any details.
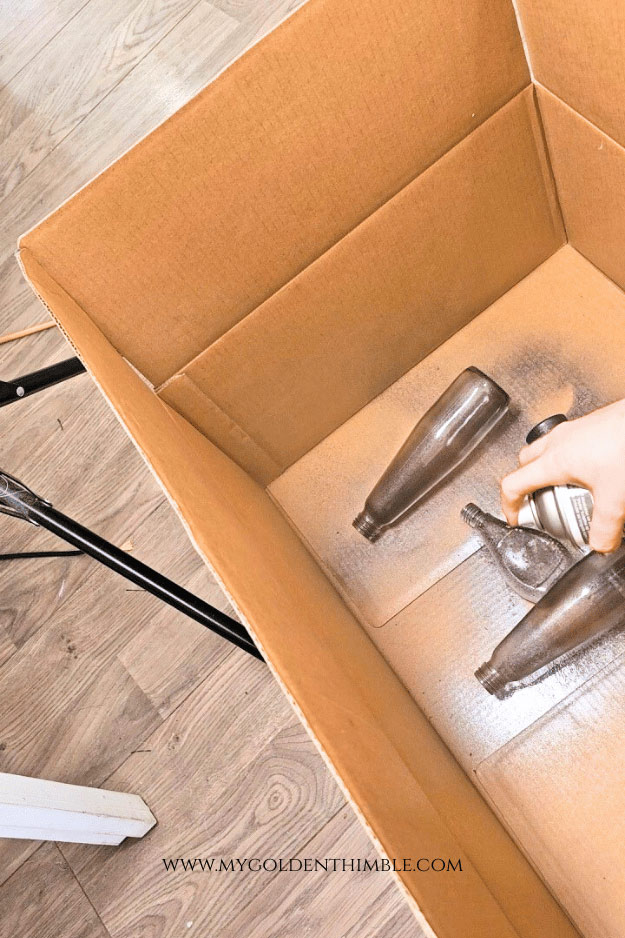
If you want to give some of them a little extra texture for that worn-out, apothecary look, you can do a super easy trick with white glue and toilet paper (yes, seriously!).
Just tear small bits of toilet paper and stick them randomly around the bottle using the glue. When it’s dry, paint right over it.
Once all your bottles are dry and looking nice and dark, grab your brush and a little bit of gold paint for a technique called dry brushing.
It’s super easy: you dip the tip of your brush into the paint, then wipe most of it off on a paper towel until the brush looks almost dry.
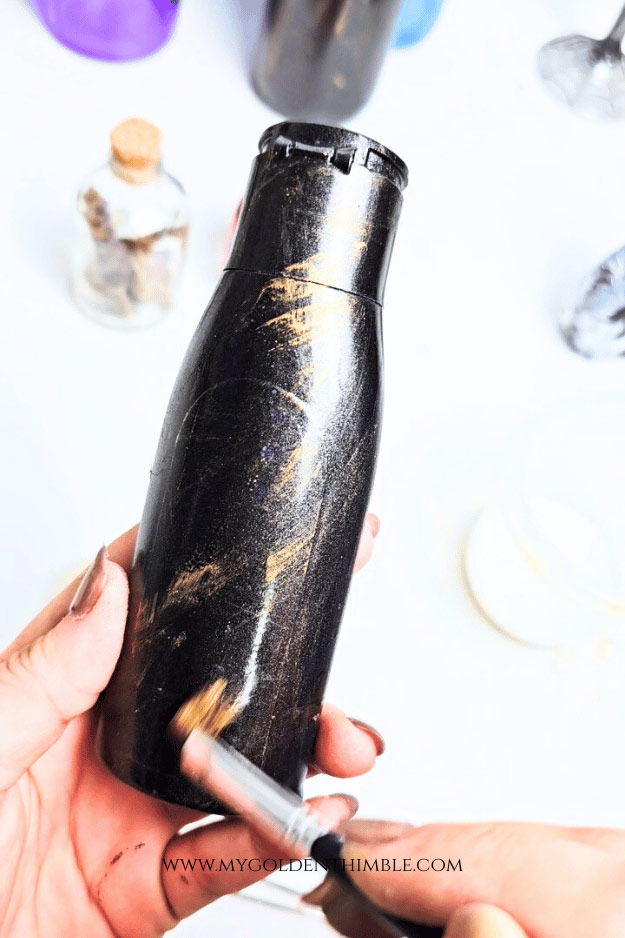
Then, lightly drag it across the surface of your bottle to highlight edges and textures.
It gives that subtle metallic glow that makes everything look old and precious — exactly what we want for this DIY Apothecary Potion Bottles Tutorial.
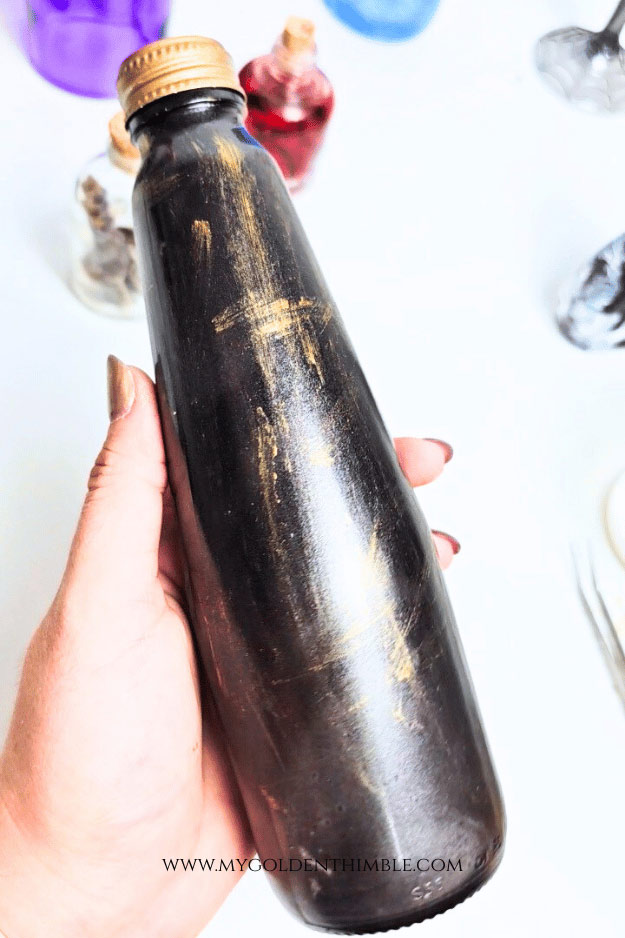
Add your labels!
When you’re happy with the finish, it’s time for the final touches. Glue on your potion bottle labels (either the Premium Labels for Potion Bottles or the free ones if you grabbed those).

If your bottles have caps, you can paint them gold to match the accents.
Or, if you have any corks that fit, use those instead.

I actually used a cork on my old shampoo bottle, and it instantly gave it that believable “antique potion” look.
And that’s it — your first batch of aged potion bottles is done!
Simple, fun, and absolutely perfect if you’re learning how to make potion bottles for Halloween that look like they came straight from a witch’s cabinet.
Let’s go for the next batch!
Mini Nature Potions

Okay, now let’s move on to the little potion bottles — these are honestly my favorite part because they look so cute and magical when you’re done.
For these, I used small diffuser bottles, (you know, the ones that come with the bamboo sticks you place around the house to make it smell nice). They’re the perfect size for this project, and the glass makes them look so realistic once you’re finished.
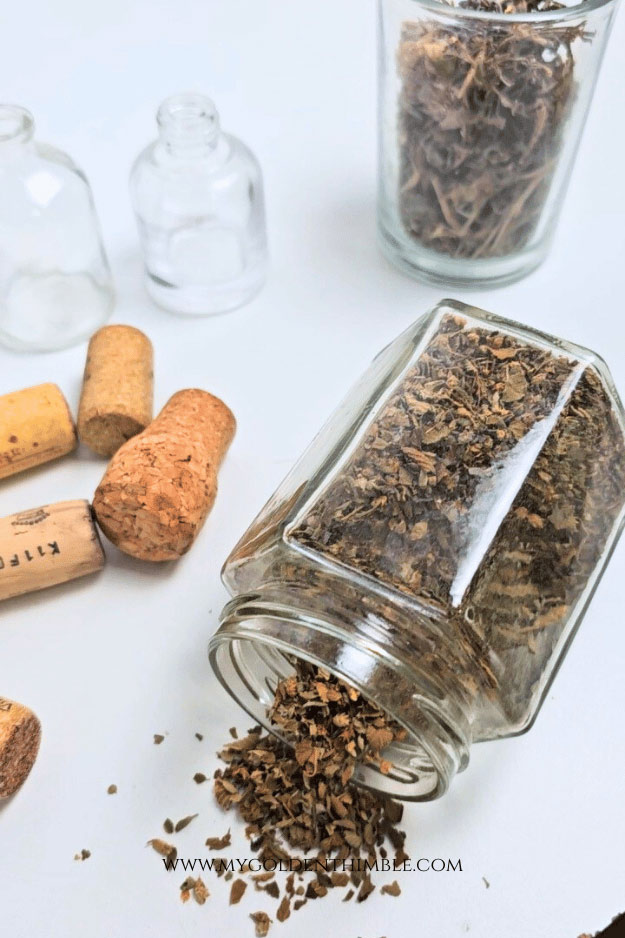
For these, I grabbed the smaller potion labels from my label set and started playing around with what each potion could be.
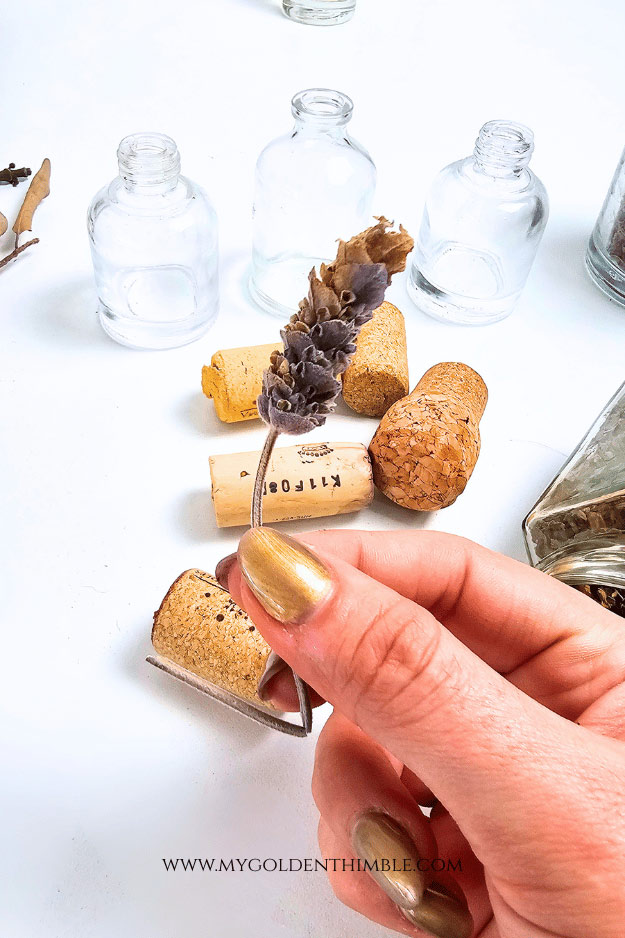
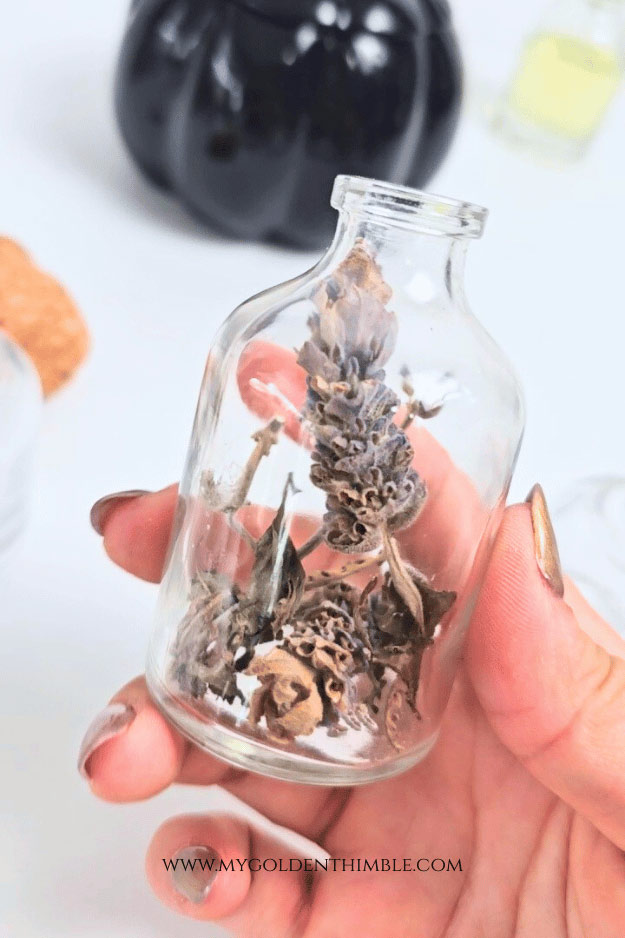
I really wanted to make them look like something you’d find in a witch’s cabinet, so I filled one of them with some dried lavender buds that I had left over from another project.
For the others, I used roots and dried branches that I picked from my garden — anything that looks like old herbs or enchanted plants works great.
Then, to really make them look like potions, I filled the bottles with water and added just one drop of food coloring.
I went with red for one and green for another — the red one got labeled “Witch’s Blood” and the green one “Dragon Scales.”
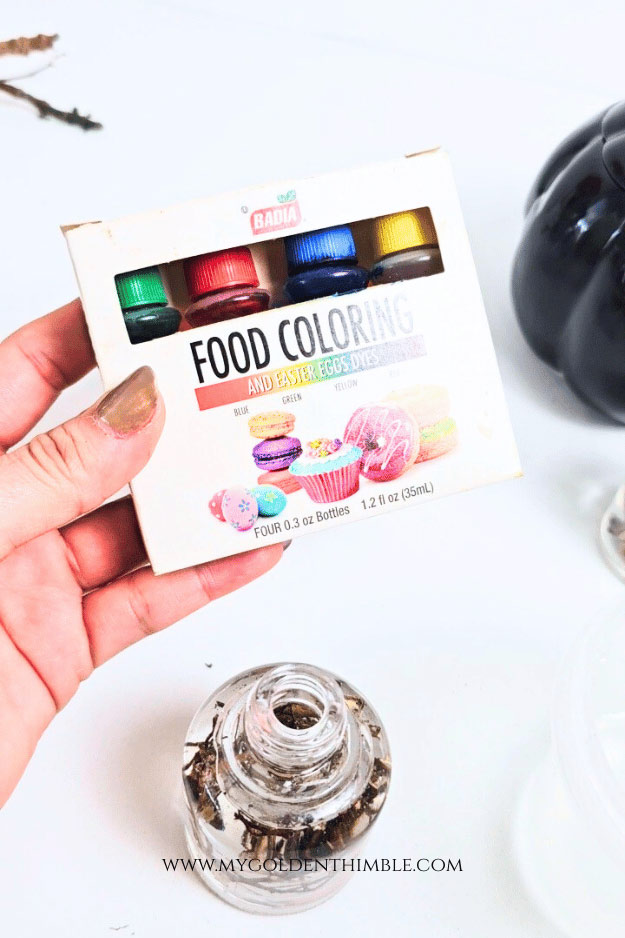
I thought that was such a fun way to bring the theme to life and make each bottle tell its own story.
Sealing the bottles
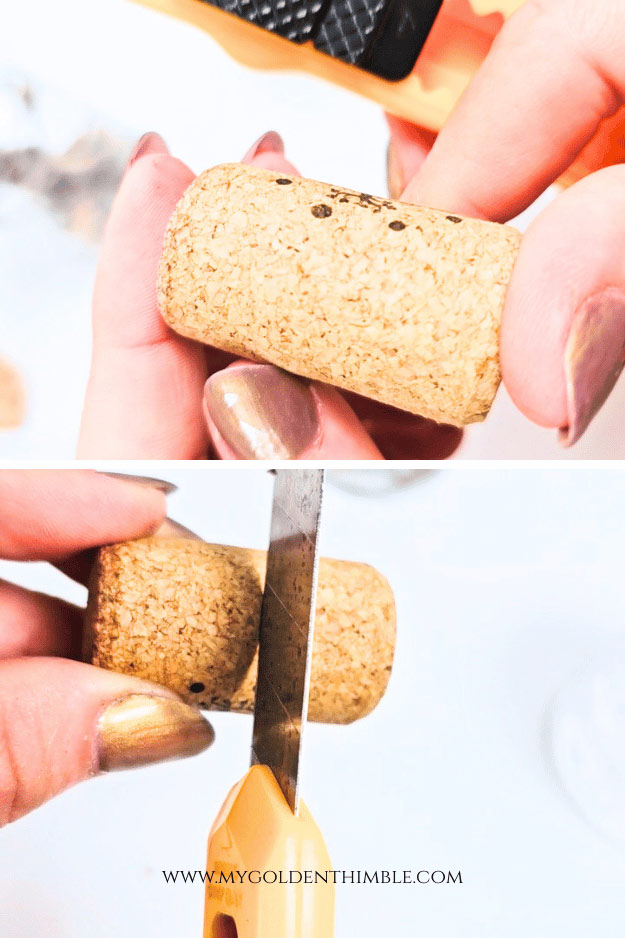
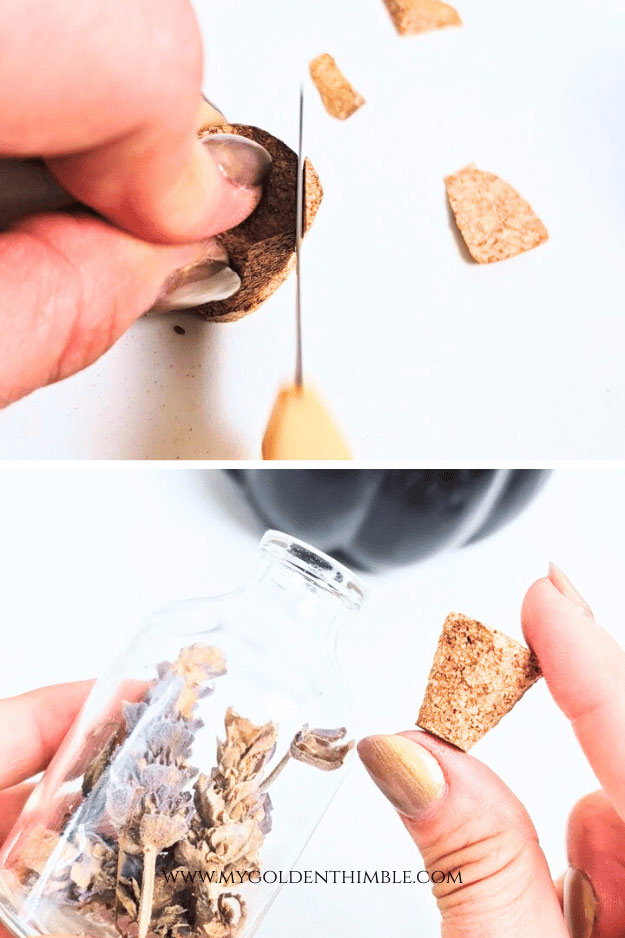
To seal the bottles, I took an old wine cork, cut it in half, and shaped it into a little cone using a craft knife so it would fit into the small bottle openings.
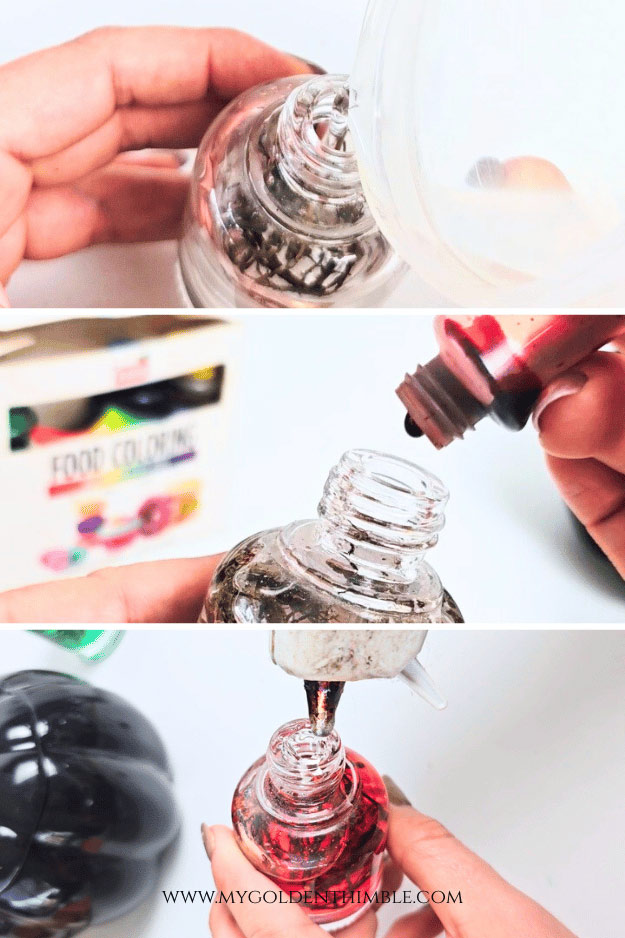
Before pushing it in, I added a bit of hot glue around the neck of the bottle to make sure it would stay put.
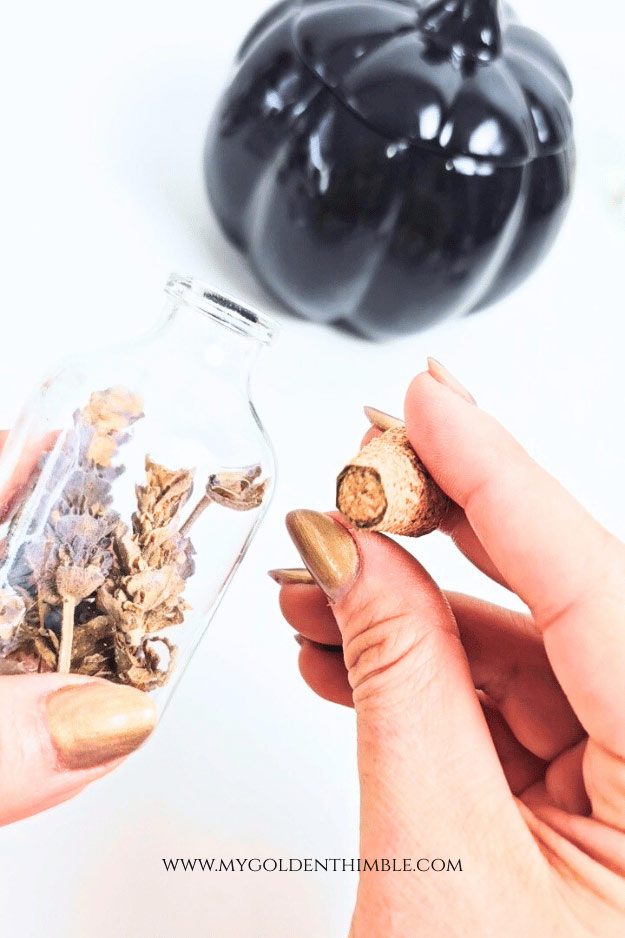
Then I added a touch more glue around the outside for extra security.
It not only seals the potion inside but also gives it a really rustic, authentic look, just like something straight out of a spooky witch’s workshop.
Mystique Sparkling Potion Bottles
Now let’s move on to the most magical and whimsical style — the mystique sparkling potion bottles.
I actually tried a technique I saw on another tutorial where she used cotton balls inside her bottles to create texture, but the cotton absorbed way too much water and didn’t give me the moving, alive effect I was hoping for.
After a little experimentation, I discovered that craft filling (the kind you use to stuff pillows) is perfect for this style. It gives the potion a sense of movement inside the bottle.
Here’s what you do: first, take your craft filling and spread it out so it’s fluffy — you don’t want it bunched up in a clump. Use a pencil to gently push the filling into the bottle until it reaches the amount you like.
Next, fill the bottle with water and add one or two drops of food coloring — pick whatever color fits your potion theme! Shake the bottle until the color is fully blended and the water is evenly tinted.
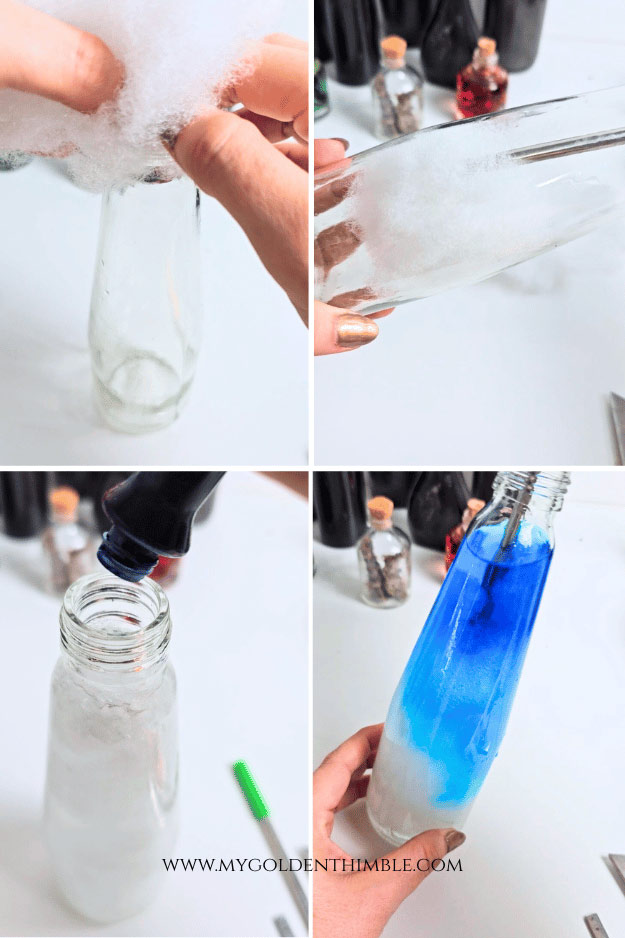
For the sparkling effect, add two or three scoops of glitter, then give the bottle another good shake.
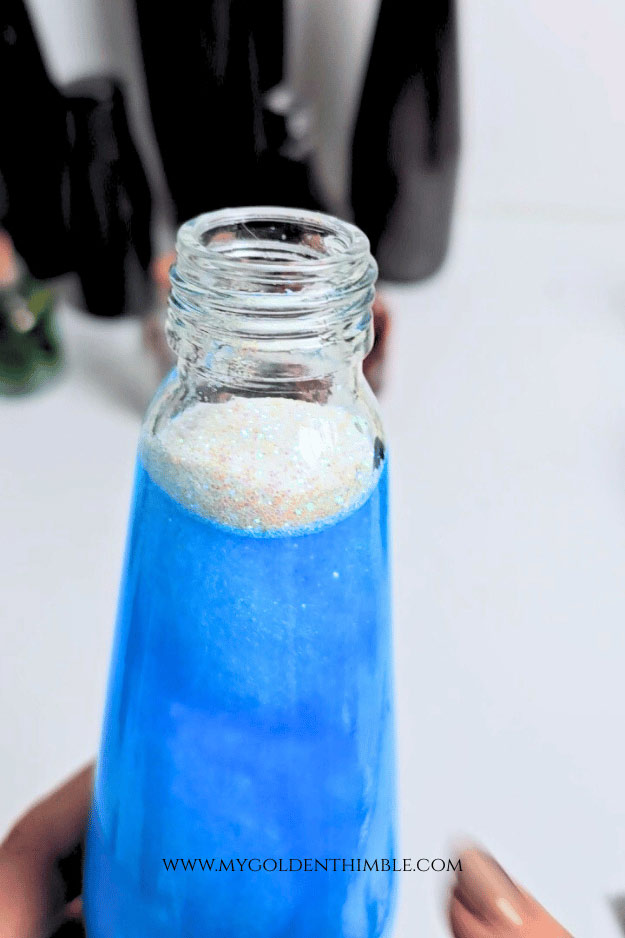
You’ll see the water shimmer and swirl around the craft filling — it’s such a fun little magical potion moment.
Adding details to the bottle
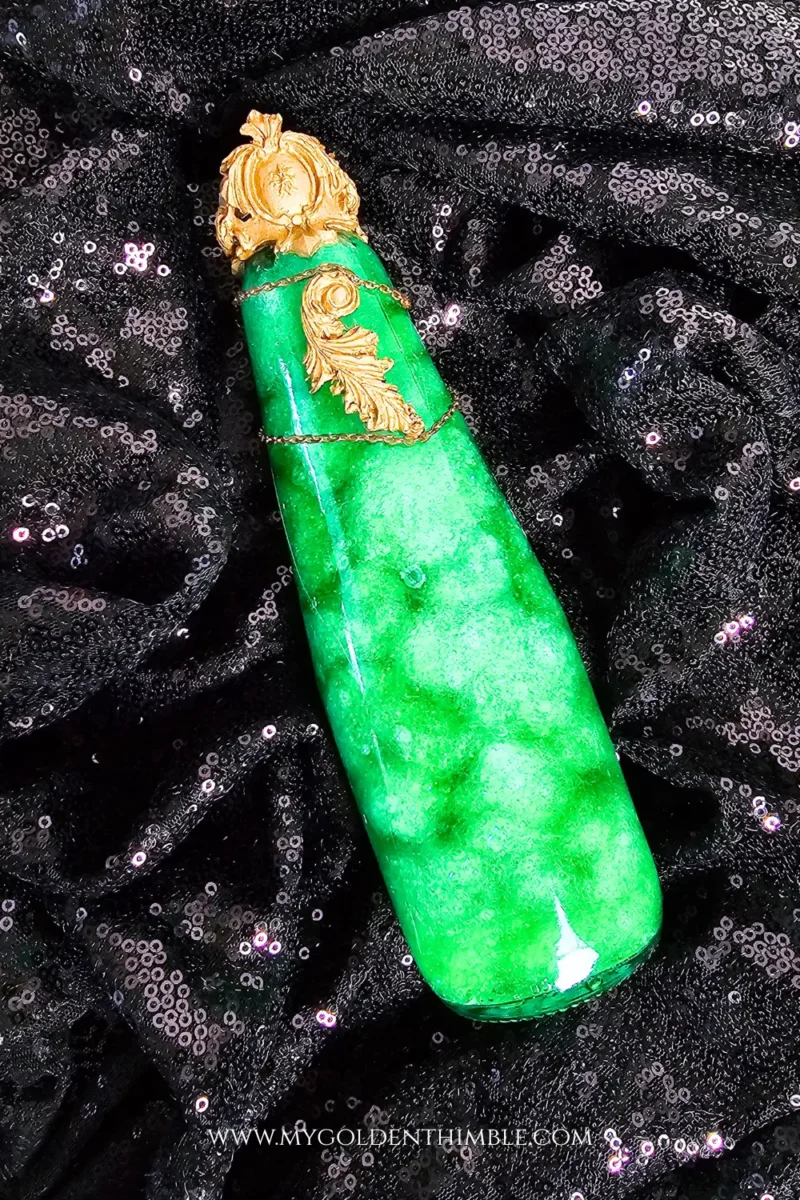
To decorate the bottle’s exterior, I used a silicone template and my hot glue gun to add small flourishes.
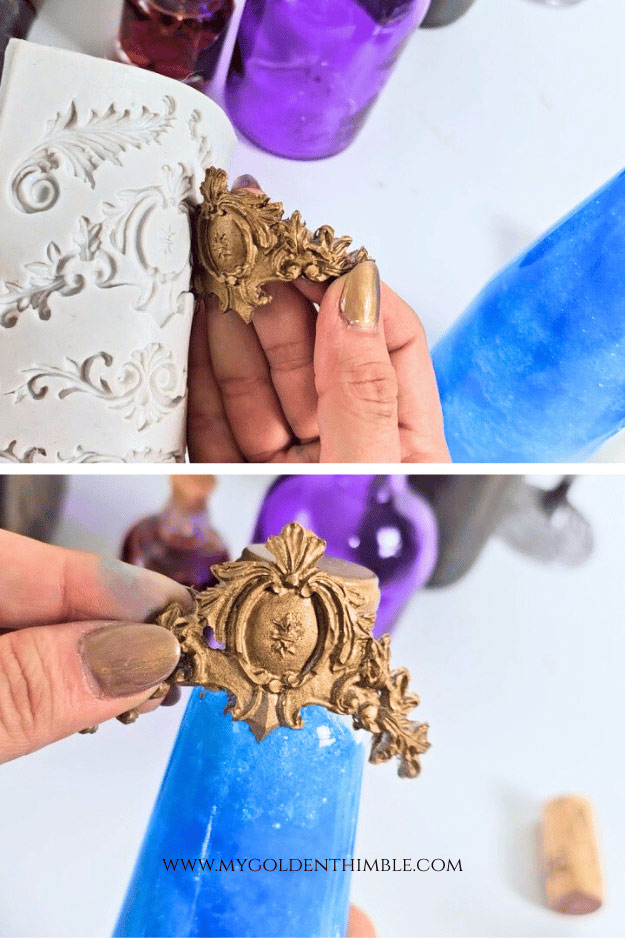
I filled the silicone template with hot glue, let it set, then sprayed the shapes with gold spray paint before gluing them onto the bottles.
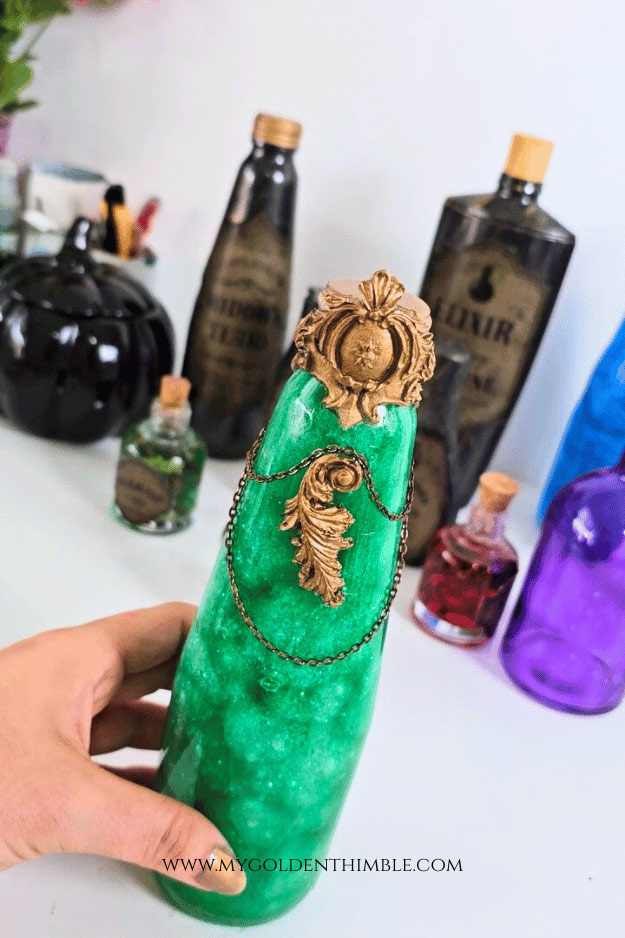
And for an extra touch of style, I grabbed an old rusty necklace chain I had lying around and wrapped it around the bottle. It gave the potion a little more character and a subtle vintage feel.

These sparkling bottles are so much fun to make, and they look incredible grouped together with your aged apothecary and mini nature bottles.
They’re perfect if you’re looking for a little extra sparkle in your Halloween decor and make your collection of DIY potion bottles feel truly magical.
Finishing Touches & Final Thoughts
And just like that, your DIY potion bottles are ready to wow everyone this Halloween! I hope you had as much fun creating these as I did — from the aged apothecary potion bottles to the mini nature bottles, and of course, the mystique sparkling potions, each style brings its own magic to your Halloween display.
Don’t forget to grab your Free Labels for Potion Bottles at the end of this post. If you want even more variety and shapes, the premium version is an amazing upgrade that makes your bottles feel extra magical and professional.
Download Your Potion Bottle Labels
I’m so excited to share these with you — because what’s a magical potion bottle without the perfect label? In the free version, you’ll get four unique labels in different sizes and with fun, spooky names. They’re perfect for getting started right away and adding that extra touch to your DIY potion bottles.
But if you’re ready to take your collection to the next level, we’ve got a super affordable premium version waiting for you in our printables shop. This one has over 17 labels in a variety of sizes, shapes, and quirky potion names — perfect for matching every bottle you have and making your display look truly enchanting
So grab the free labels to start your spooky potion adventure, or treat yourself to the premium pack for even more variety and a magical upgrade — either way, your DIY potion bottles are about to look incredible!








I could not find the free potion labels. What am I doing wrong? They look really cute.
Did you checked your spam and promo folders??
Incredible idea. Can’t wait to get the spooky labels.
Thanks,
Joyce
Please send me a picture when you do!