
This DIY Dog Bathroom Wall Art is hands-down one of the most hilarious and affordable ways to transform your plain bathroom into a space that feels fun, personal, and totally unforgettable.
Hey there, my lovely sewing and crafting friend! Today I’ve got a quick and super fun idea for you to try this weekend—especially if you’ve been staring at your plain old bathroom walls wondering how to make them more exciting.

NOTE: This post contains affiliate links, which means that if you make a purchase using one of the links in this article, I may earn a commission at no extra cost to you (To know more about this, click here.)
This Dog Bathroom Wall Art is not just easy to make—it’s totally affordable, completely customizable with a photo of your own dog, and it’s guaranteed to either make your visitors laugh out loud… or at the very least, give them something to talk about while they wash their hands.
So, don’t be surprised if suddenly everyone wants to use your bathroom when they come over!
About This DIY Project
I first saw this trend over on TikTok, where a couple of girls wrapped their pups in towels, turban-style, and turned the pictures into bathroom wall art. And of course, I immediately knew I had to try it too.
I just knew they would look perfect with my black and white bathroom decor.
But here’s the thing—I have three dogs. Three.
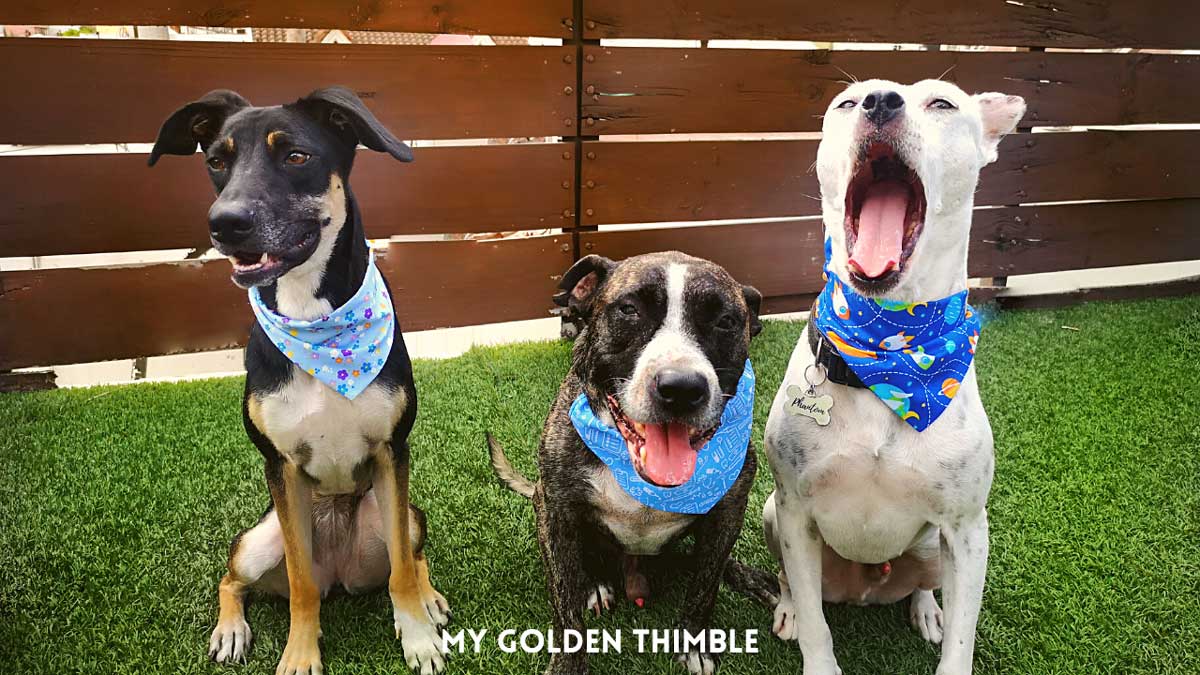
And not a single one of them would sit still long enough for me to wrap them in towels. The head wrap? A disaster.
One dog wiggled out, one chewed the towel, and the third just gave me the side-eye and walked away.
I was this close to giving up, but then I remembered—hello, it’s 2025! We have magical tools for exactly this kind of situation. So I hopped on over to Canva, used their AI photo editing tools, and boom!

I created the perfect photo of my dog with a towel head wrap that looks so real, even I almost believed I had managed to pull it off. I mean, look at how it looks in my bathroom decor.
And just FYI! This is not a sponsored post for Canva. It just made my project really easy.

And that’s the best part—you don’t need to chase your dogs around, get your towels all dirty, or become a dog whisperer to make this work.
And now I am going to share with you exactly how I did it!
Supplies You’ll Need for This Easy DIY Bathroom Dog Art
Let’s talk materials! This Dog Bathroom Wall Art DIY is super simple when it comes to supplies—chances are, you already have most of them at home. Here’s what you’ll need to turn your pup into the star of your bathroom:

- A picture frame – This is a great chance to be creative! I had an old frame with a broken back that I couldn’t throw away because the glass was still intact. When this project idea came to me, it felt perfect. To save money, you can also find cute frames at your local thrift store!
- A Canva account – To edit your dog’s photo for that spa-day towel look, you’ll need a Canva Pro account. If you don’t have one, no worries! You can try some free or budget-friendly AI tools like our best friend Chat GPT, or Freepick.
- A printer (optional) – If you have a printer at home, you can print your masterpiece right away. If not, just send the image file to a nearby print shop and request photo paper for a high-quality finish!
- Any extra craft supplies (optional but fun!) – Grab your craft supplies and give your frame a makeover with paint, glitter, vinyl lettering, or stickers—whatever suits your bathroom vibe!
So that’s it—super simple, right? Now that you know what you need, let me walk you through the process of turning your regular dog photo into a magazine-worthy bathroom centerpiece!
DIY Towel-Wrapped Dog Bathroom Wall Art

Step 1: Pick the Perfect Dog Photo
Before we get to the editing fun, we need the star of the show—a great photo of your dog to turn into your bathroom’s newest piece of art.
Now, the good news is: you don’t need to be a professional photographer, and you don’t even need a fancy setup.
The only thing I want you to worry about is cleaning your phone’s camera and good lighting.
If you’re using Canva Pro, you’ll have access to their Background Remover tool—and let me tell you, it works like a dream. You don’t need a solid white background, and you don’t have to chase your pup around the house trying to find the one blank wall they’ll sit in front of.

But! If you don’t have access to that tool and you’re planning to use a different (free) editing app, then I do recommend trying to take your dog’s photo in front of a simple or solid background—white or light-colored walls work best. It’ll make the editing process much easier and faster.
Here’s a little peek at the photos I took of my dog. (Yes, I took like… a few dozen.) But in the end, I chose the one in the middle because the expression was just too good to pass up!
Step 2: Load Your Dog’s Photo
First things first, hop into your Canva account and open a new document. I recommend setting your canvas size based on the frame you’ll be using—that way, you won’t have to crop anything later. (For example, if your frame is 8″x10″, just set your canvas to those dimensions.)

Once you’ve got your blank project open, upload your chosen dog photo. If the lighting in the photo is a little off, you can tweak it with the brightness and contrast settings until it looks just right.
Step 3: Enter Magic Studio
Here’s where the fun begins! Click on your image, and then hit Edit on the top bar. Scroll left until you see Magic Studio, and click on it. In there, we’re going to use the tool called Magic Edit.
Select the brush tool, and adjust its size so it matches your dog’s head. (You can go smaller for smaller dogs, or bigger if you’ve got a floofy-headed cutie like mine.)

Use the brush to draw over your dog’s head—this is where we’re going to ask Canva to add the towel wrap.
Step 4: Time to Prompt the Magic
After brushing, you’ll see a text box asking you what you want to add.
The first prompt I tried was “wrapped towel”—and yeah, it didn’t work. But then I typed “wrapped towel around the dog’s head”, hit Generate, and boom!

Canva gave me four adorable options of my dog looking like he just walked out of the spa. If none of the results hit the mark, no worries—you can generate again until you find the perfect one.
Once you select the towel-tastic version you love, it’ll appear right there on your canvas.
Step 5: Remove the Background
Next, we’re going to make that image pop by removing the background. Click on the image again, hit Edit, then choose Background Remover.

Canva does a magical job at this—it’ll isolate your pup perfectly and leave you with a clean, transparent cutout.
Step 6: Optional: Make It Black & White
Since my bathroom is decorated in black and white, I wanted my art to match that vibe. So I went to Edit, then Filters, and in the Mono section, I chose the Classic filter.

It instantly turned the whole image into a super chic black-and-white portrait—and it actually made it feel way more polished.
Step 7: Add a Subtle Background
After that, I wanted to add just a bit of background so the image didn’t look like it was floating in space—but I didn’t want anything too distracting.

So I headed to the Elements tab and searched for “white wood” textures. After trying a few, I found one that gave me the subtle look I was going for.
Step 8: Add a Shadow for Depth
To finish it off, I added a little bit of depth to the image. I clicked on my dog’s cutout, hit Edit, went to Effects, then chose Shadows and applied a Drop Shadow.

You can play around with the settings—blur, angle, transparency—until it looks just right.
Step 9: Send Your dog bathroom wall art diy to Print
Save the image in PNG format. I sent the final image to my nearest Office Depot for printing and asked them to print it in real size. I chose a shiny photo finish, and let me tell you, it looks even better in real life.

I couldn’t be happier with how it turned out (even if the photo of me beside it isn’t the cutest—hey, the dog’s the star here, right?).
Hang Your Picture Without Damaging the Wall.
Okay, your masterpiece is ready—and now it’s time to hang it up! But if you’re like me and have tiles all over your bathroom walls, the idea of drilling holes into them just doesn’t sit right. I mean, what if you want to move the frame later? Or change it out for a seasonal version of your pup with sunglasses?
So let me share what worked for me: I found these peel-and-stick hanging hooks on Amazon that are specifically designed for shower walls.

They’re made to hold up in moisture, and most importantly—they don’t damage your tiles. I just stuck one of those little lifesavers where I wanted the frame to go, gave it a minute to stick, and done! My new bathroom buddy was up on the wall, no power tools required.

 Command Large Utility Hooks, 7-Hooks, 12-Strips…
 Adhesive Wall Hooks for Towel/Coat,13Lb Strong…
If you don’t have tile but still want to avoid damaging your walls, here are a few more damage-free hanging options you can try:
- Command picture hanging strips – These work great on flat walls, and they come off cleanly when you’re ready to redecorate.
- Adhesive hooks – Perfect for lighter frames, and easy to remove later.
- Velcro strips – Surprisingly strong and great for renters or commitment-phobes like me.
- Standing or leaning frames – If you’ve got a bathroom shelf or countertop space, you can just pop the frame there without hanging anything at all!
Whichever method you choose, just make sure it’s suitable for your bathroom’s humidity level. You don’t want your dog’s glamorous spa photo taking a dive into the sink.
Now that your wall art is proudly displayed, it’s officially time to admire your work every time you walk into your bathroom. Trust me—it never gets old.
Thanks for reading me! Stay Crafty!





looks adorable!
Thank you!! Michelle! I don’t know if this really is adorable only because it’s my doggo. Haha good to know other people find it cute.