
Today, we are making a spooky DIY Halloween Ghost Wreath that is perfect for your home decorations this season.
This project is super quick to make and extremely affordable because we will be using… you guessed it!! Old tree branches!
Get ready because you will have this gorgeous wreath in less time than you think!

NOTE: This post contains affiliate links, which means that if you make a purchase using one of the links in this article, I may earn a commission at no extra cost to you (To know more about this, click here.)
There’s a saying in Mexico that goes, “No hagas leña de un árbol caído”—essentially, don’t kick something when it’s down.
Well, I’ve taken it very literally and turned an unfortunate event into something a bit spooky yet charming for Halloween! A few months ago, a freeze hit my town and sadly, my lemon trees dried out and were left barren. And you know what? When I saw those twisted branches, I thought, “These are perfect for a Halloween decor!
Instead of tossing the branches, I decided to transform them into a wreath for my front door.

With a few extra supplies and a touch of creativity, I made this ghostly wreath. The best part? It’s super affordable because we’re using natural branches.
This will be the last Halloween DIY Project for this year. I am so excited that it is also part of my DIY Ghost Decor series! And even better, the little ghosts I’ve added in the middle are from a past project—you can make them with either an embroidery machine or a regular zigzag stitch!
This is perfect because I already knew how to do this project from start to end.

You see, initially, I made these ghosts for a cute DIY garland that I hang every year on my mantel. I also made these same ghosts into the cutest throw pillows for my couch… It’s safe to say there are a lot of ghosts each year on my Halloween home decor.
So, if you’re ready to make something spooky and sustainable, let’s get started!
Don’t forget to check out all of our Ghost DIY Decor Projects.
DIY Halloween Ghost Wreath Made from Fallen Tree Branches

Materials List
- Dry tree branches – Look for thin branches; I gathered mine from my garden.
- Hot glue gun and glue sticks
- Spray paint – Black or any color you prefer for the base.
- Ghost pattern – Downloadable on our site
- Fabric (like felt) – For the ghosts if making by hand
- Embroidery thread (if using an embroidery machine) or sewing machine with zigzag stitch
- Clear thread – To make the ghosts appear to float in the center of the wreath
- Craft filling – Optional, if you want plump little ghosts
Step 1: Gather Your Branches

Head outside and collect thin, dry branches. The thinner, the better—they’re easier to shape into a circle and can be broken down into smaller pieces if needed.
Arrange the branches and snap them to the size you want for your wreath’s base; I aimed for a wreath about 15 inches tall and 8 inches wide.
Step 2: Assemble the Wreath Base
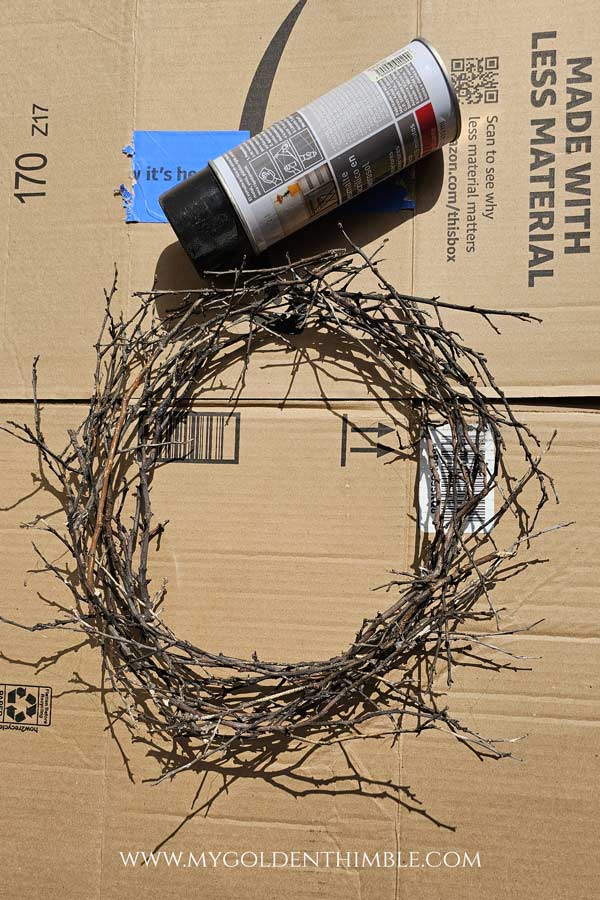
Take out your hot glue gun and start layering the branches into a circle. Begin with a rough outline, gluing branches one on top of the other. Don’t worry about visible glue; we’ll cover that with paint. Keep layering until you get the thickness you want.
Step 3: Spray Paint the Wreath
Begin by taking the wreath outdoors to ensure you have ample space and ventilation for the project. Lay it inside a cardboard box, which will help catch any excess spray paint and keep your working area clean. Choose a spray paint in a deep black or a spooky shade that suits your Halloween theme.
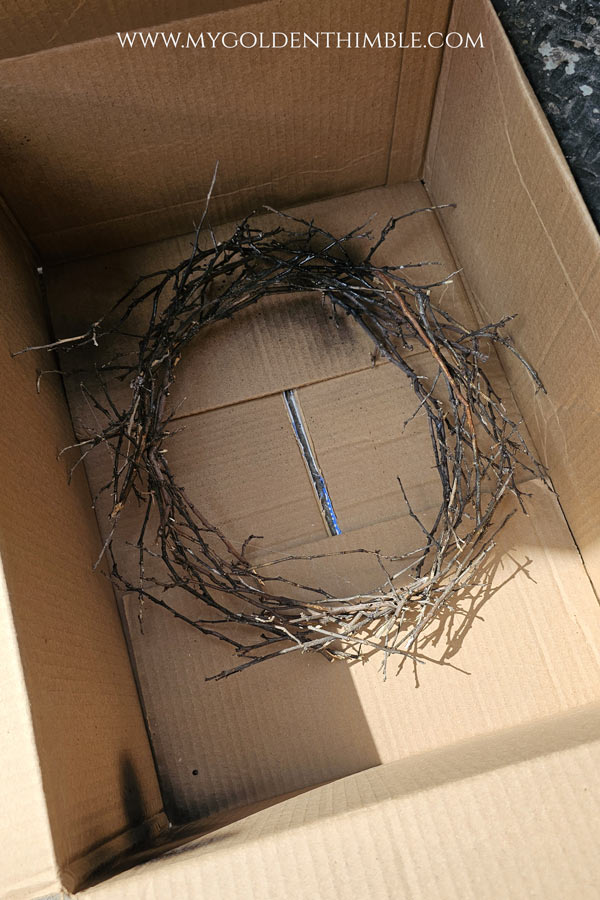
To get an even coat on your wreath, hold the spray can about 6-12 inches away. Make sure to cover all areas! If you spot any sections that need a little extra love, just go over them again.
After you’ve given your wreath a nice, even coat, just set it aside in a cozy, well-ventilated spot to dry. It’s a great idea to let it rest for a few hours so the paint can fully set. This way, you’ll get the best finish and make your wreath more durable. If you want you can also add a coat of clear coating.
Step 4: Make Your Ghosts
Download the ghost pattern from our site, load it into your embroidery machine, or cut it by hand using paper templates. Then, follow the step-by-step tutorial on how to make them here.
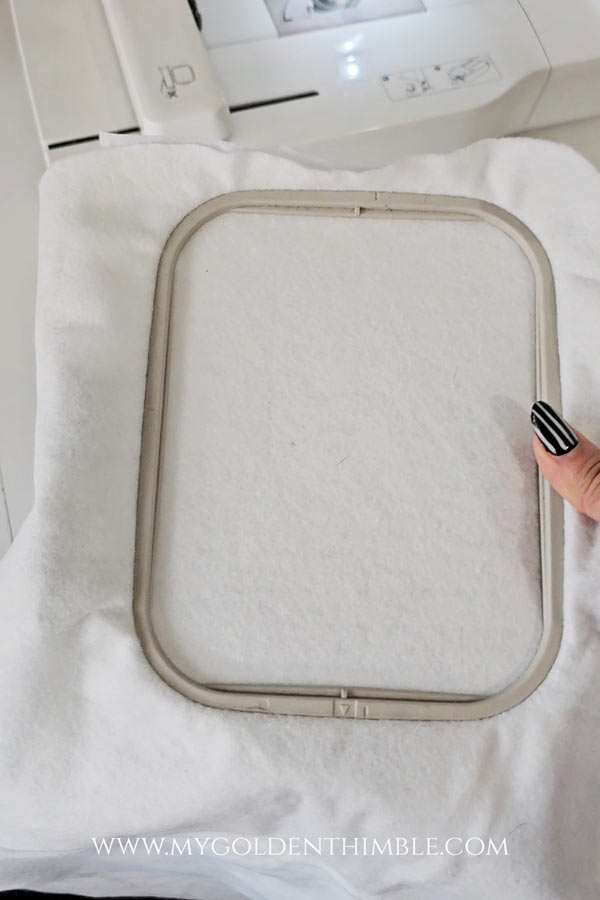
If you’re using an embroidery machine, each ghost pattern is set up in pairs, so you’ll end up with six ghosts—perfect for a full wreath or other Halloween decor projects.

If you’re making them by hand, trace the pattern onto felt, then use a narrow zigzag stitch around the edge, leaving a small section open.

Stuff each ghost lightly with craft filling if you’d like them to be a bit plump, then close up the opening with another zigzag stitch.
Step 5: Attach the Ghosts

Once your ghosts are ready, it’s time to hang them in the center of your wreath. I used clear thread to give them a floating effect.
Tie each ghost onto the wreath base so that they hang down slightly, filling the center with a whimsical, eerie look.

In the end, I decided to add some strings of hot glue to simulate spider webs. Honestly, I am not sure of how cool it looks. What do you think about this step? Tell me in the comments.
DIY Halloween Ghost Wreath Conclusion
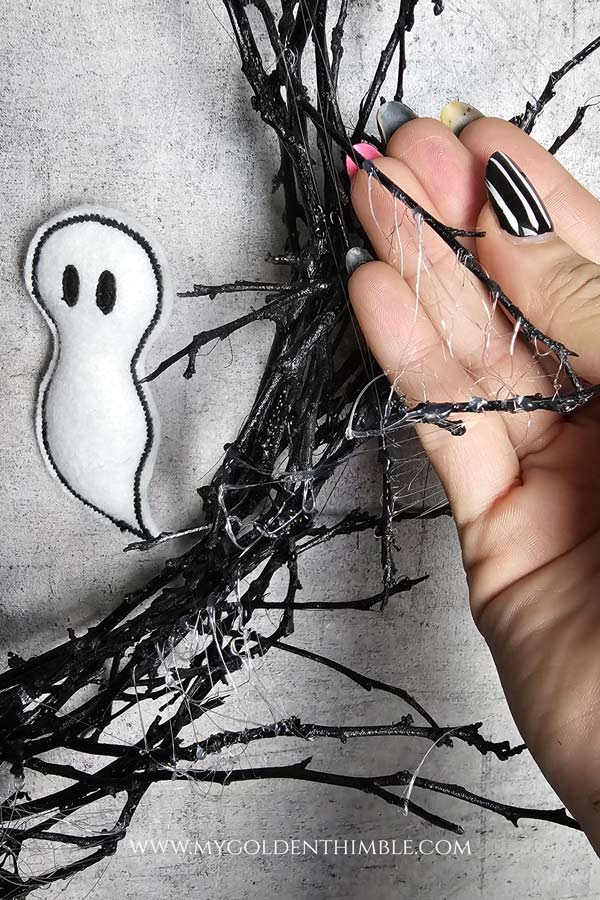
And there you have it—a unique, spooky Halloween wreath made from fallen branches and homemade felt ghosts! Every time I see it hanging on my door, I smile knowing it was born out of something that might have been discarded.
Next time, I might even add some faux spiderwebs for extra spookiness!
Please remember to tag me on social media so I can see your results with the “@mygoldenthimble.”
Happy Halloween crafting!







