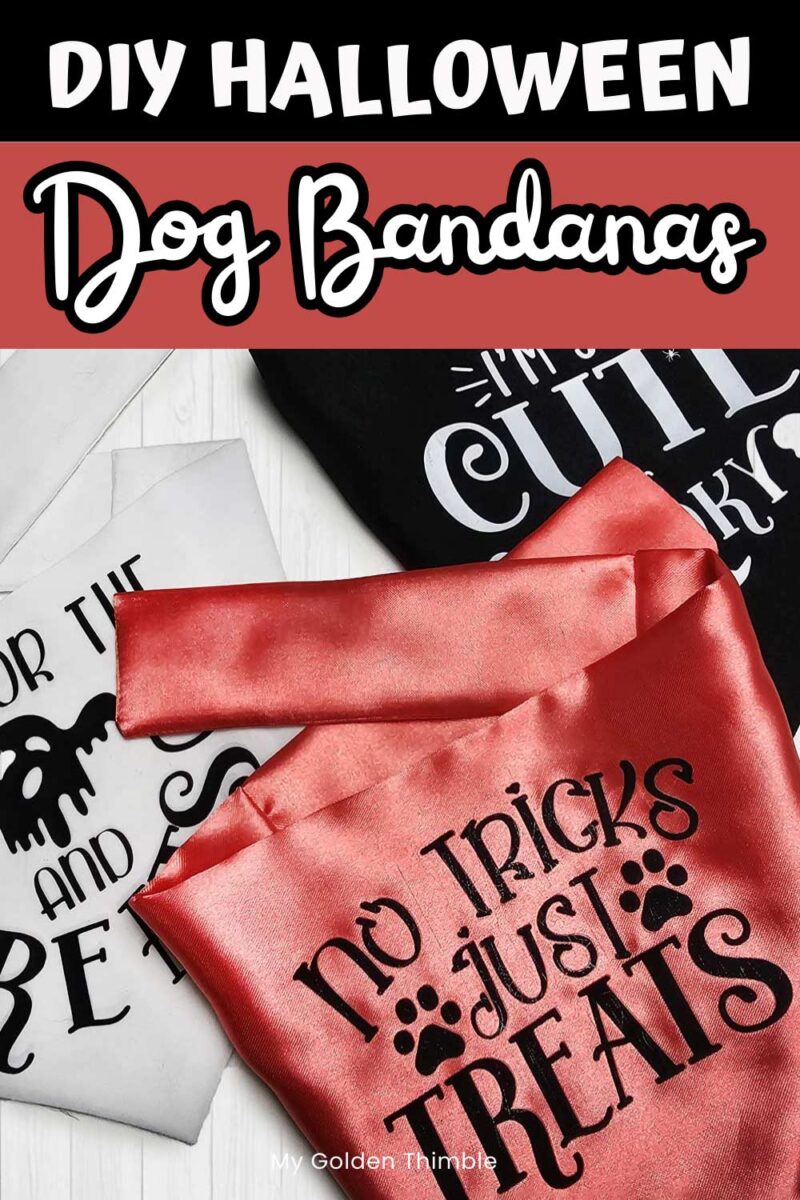
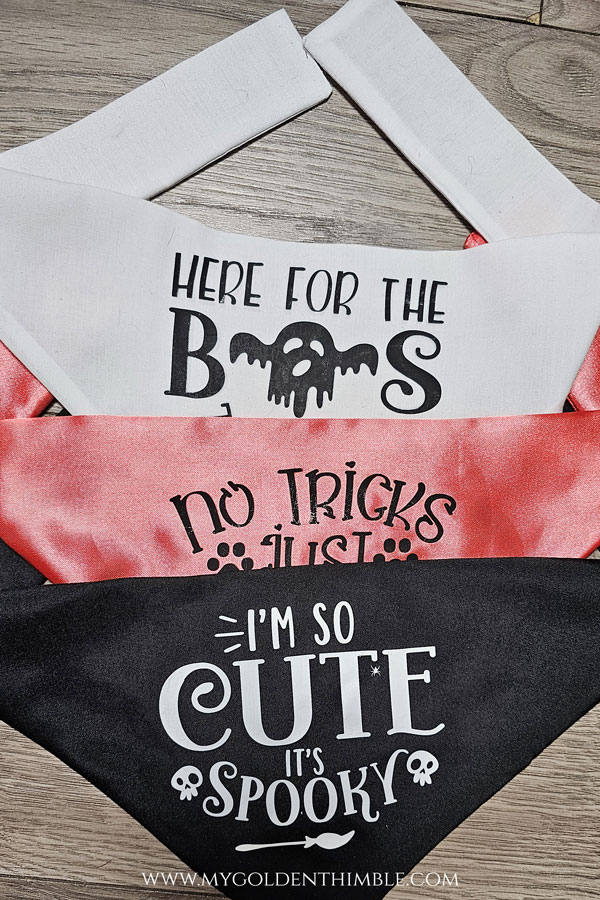
Today, I will show you how to make a fun and easy Halloween Dog Bandana DIY project that will make your dogs look spooky and cute!
I love to make themed dog bandanas for my dogs every season. It’s one of my favorite ways to bond with them, and knowing I made something special for them makes it even better.
It’s such a simple way to add a spooky, festive touch to their look, and the best part? It takes less than an hour to make!! Whether your pup is trick-or-treating with the family or just wants to get in on the Halloween spirit, this bandana is the perfect accessory.
NOTE: This post contains affiliate links, which means that if you make a purchase using one of the links in this article, I may earn a commission at no extra cost to you (To know more about this, click here.)
About This Project
I wanted to make something extra special for my doggies to wear on Halloween this year. I’ve already decorated my entire house for fall, and I even put together a cozy fall capsule wardrobe for myself, but nothing for my pups? No way! They deserve some Halloween fun, too.
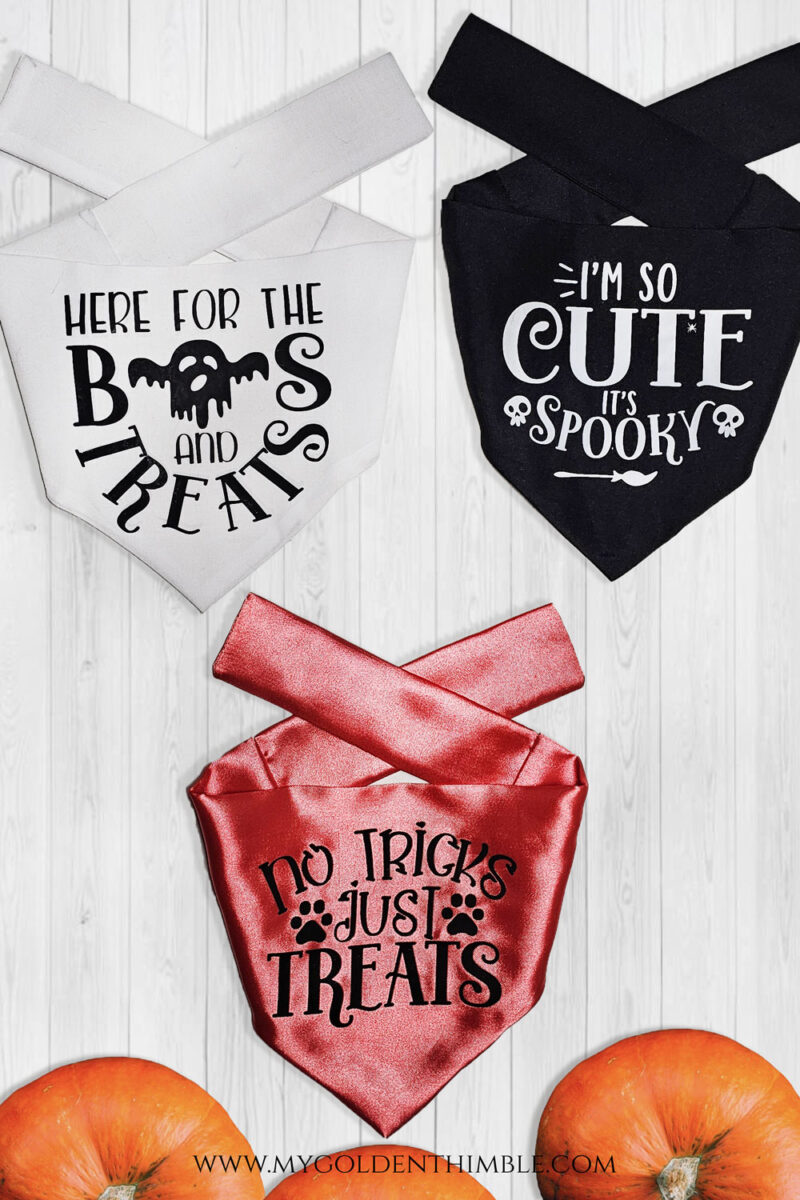
I’m also part of an awesome chat group where Dinnousar Mamma shares tons of Cricut and Silhouette freebies all the time. Not too long ago, she shared the cutest Halloween dog-themed SVGs!
They belong to Design Bundles, and you can grab them for free if you register on their site. I ran into a bit of trouble pressing the HTV (heat transfer vinyl), but it turned out amazing after a little trial and error!

As for the bandana pattern, I used our trusty and free doggy bandana pattern by My Golden Thimble. This pattern has been a favorite on our site for years, and I can see why!
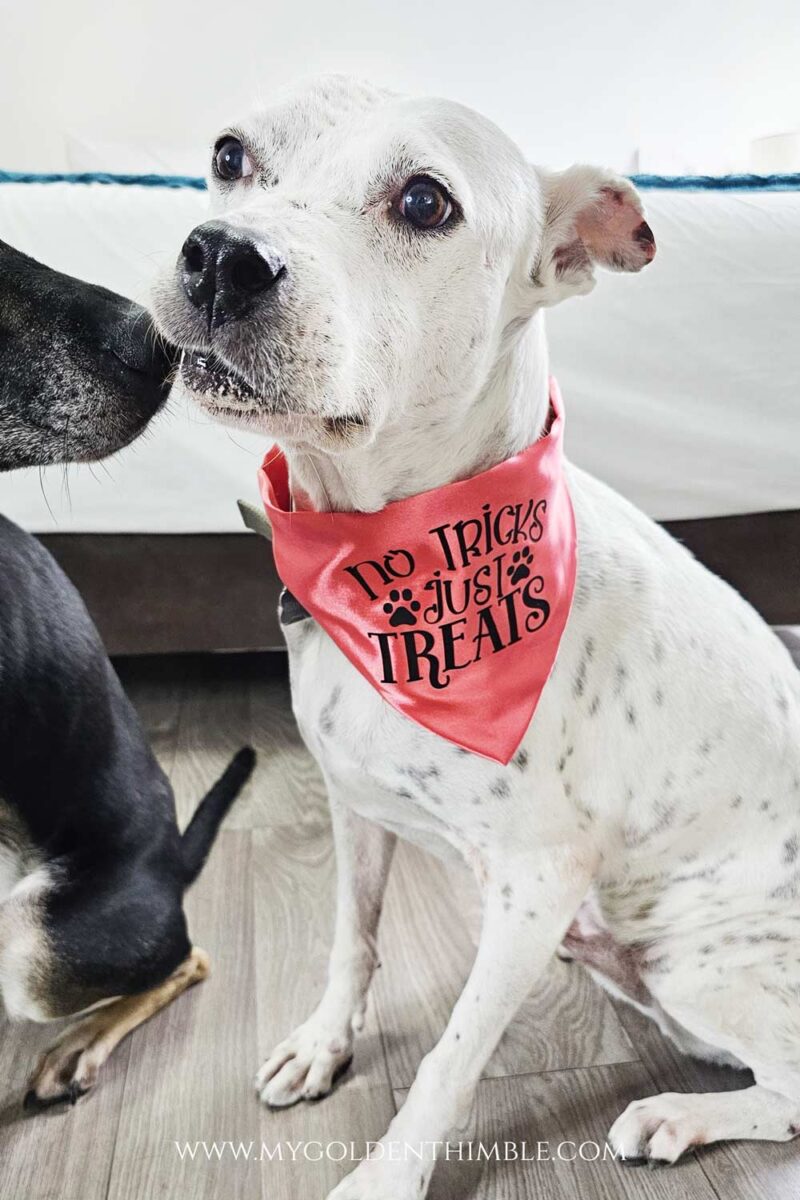
It’s easy, adorable, and perfect for any size pup. I made mine with scrap fabrics because bandanas don’t need much yardage—less than 1/4 yard each. This project is super fun and easy, and I just know you’re going to love making it for your fur babies!
How to make the Halloween Dog Bandanas DIY.

Materials You’ll Need:
- 1/4 yard of fabric (I found that polyester works best when using HTV)
- Heat Transfer Vinyl (HTV) in your choice of colors
- Matching thread to blend with your fabric
- Sewing machine (or hand sewing if you prefer!)
- Cricut or Silhouette machine for cutting your HTV
- Iron (for pressing the HTV onto your fabric)
- Halloween dog SVGs by Design Bundles (available for free when you register)
- Doggy’s bandana pattern by My Golden Thimble (this tried-and-true pattern is perfect for this project)
How to Sew the Bandana
For detailed step-by-step instructions (with pictures!), be sure to check out our full dog bandana tutorial. But here’s a quick summary of the main steps to get you started.
First, you’ll need to decide whether you want to sew the bandana with straps or without them. This is totally up to you—both options are adorable! Next, use the size chart from the pattern to pick the perfect bandana size for your dog. The pattern includes five sizes, from XS to XL, so it works for any pup, whether they’re a tiny Chihuahua or a big, lovable Great Dane.

Once you’ve chosen the right size, go ahead and cut your fabric. I used scraps from my stash, which makes this project even more fun and thrifty! If you’re planning to add heat transfer vinyl (HTV), I recommend using 100% polyester fabric—other fabrics can make it tricky to transfer the vinyl properly.
After you’ve got everything cut out, follow the instructions from the pattern to sew the bandana. It’s a simple and beginner-friendly process, so don’t worry if this is your first time sewing for your dog. Once you’ve finished sewing, it’s time to add the Halloween designs using HTV.
How to Press the HTV
First, download the Halloween dog SVG files from the link in the materials section and save them to your computer. Open Cricut Design Space (or Silhouette Studio if you’re using a Silhouette) and import the SVG files for the designs you want to use on your bandana.

Once you’ve got your designs imported, it’s time to cut! Don’t forget to mirror the designs before cutting—this is super important when working with HTV! Prep your HTV and cutting mat, load it into your machine, and start cutting your project.
I had a little trouble peeling off the smaller details, like the spider web on one of the designs, so if you’re a beginner, I recommend skipping the super intricate elements on your Halloween Dog Bandana DIY for now. It can save you some frustration!
After you’ve cut your designs and peeled off any excess vinyl, it’s time to press the vinyl onto your bandana. Follow the instructions for your machine and iron, and soon, your dog’s bandana will have the perfect spooky touch!
Halloween dog bandana DIY-Conclusion
That’s it! I hope you had as much fun making this Halloween Dog Bandana DIY as I did.
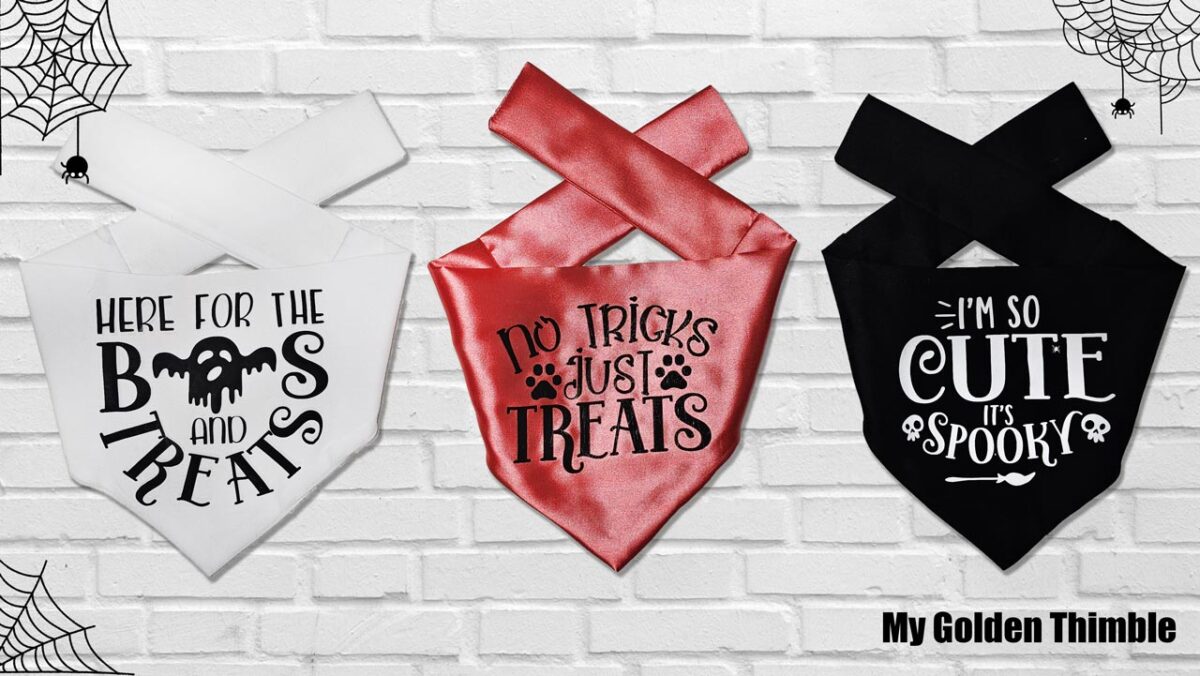
I’d love to see how your bandanas turn out! Feel free to share your creations with me and the community—we’re always looking for some festive inspiration from fellow dog lovers and crafters!
Don’t forget, you can always mix and match fabrics, designs, and sizes to make them unique for each of your pups.
If you enjoyed this project, be sure to check out more Halloween-themed crafts and sewing ideas coming soon. And don’t forget to sign up for my newsletter for more free patterns and tutorials!