
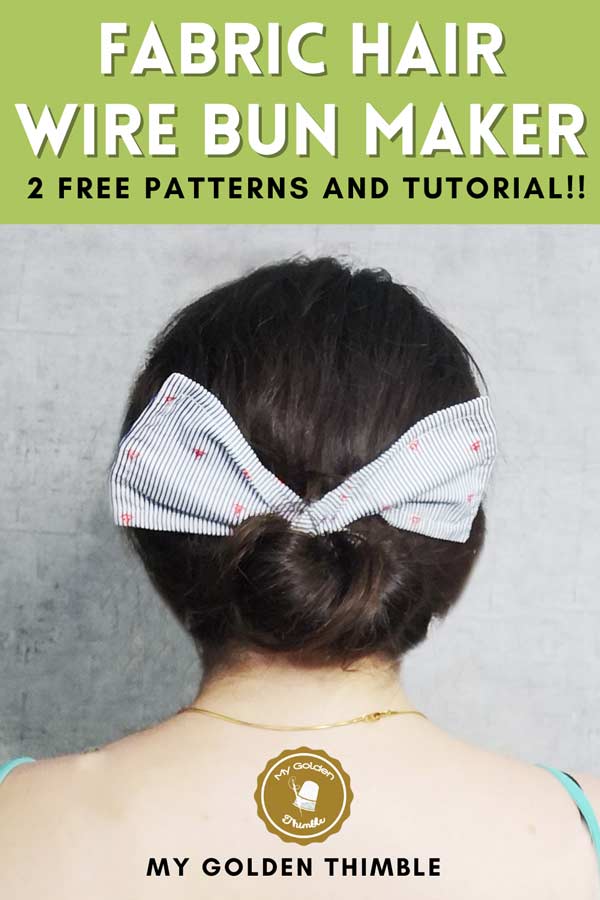
A new brand hair accessory has come to town, the Fabric Wire Hair Bun Maker.
And in this post, I am not only giving away 2 different patterns to DIY your own bun maker, but I will also show you how to make a wire bun wrap and o sew the pattern.
I am giving you a video and a picture step-by-step sewing tutorial so you can choose to learn how to make this accessory from the one you like best.
This fabric wire hair bun maker is the new scrunchie. So, you can bet on it to become pretty big in the next months.
That’s why you should keep reading this amazing tutorial and jump right into making both of these free sewing patterns.
NOTE: This post contains affiliate links, which means that if you make a purchase using one of the links in this article, I may earn a commission at no extra cost to you (To know more about this, click here.)
If you thought that DIY scrunchies made a great comeback, then you are going to love this fabric wire hair bun maker.
I saw it first in a TikTok hair tutorial and literally, days after that, I started seeing it everywhere!!
On stores, on Facebook videos, Reels…
So, it was only natural for me to assume that all the readers of My Golden Thimble would need to have a free pattern to make this popular sewing project.

The rectangle-shaped wire bun maker is one that is gaining more and more popularity among fashionistas.
Yet I just couldn’t leave you with that one option.
I’ve also made for you a curved pointy one that makes the cutest of bun bows.
If you have your own store this will be perfect to sell at craft fairs. They will be flying off your table before you know it.
They also make amazing and easy DIY Christmas gifts. Easy to sew projects, and wonderful just to have the cutest bun and bow to match with your self-made outfits.
How do you make a DIY Fabric Bun Maker?
Making this magic hair bun maker is so much easier than it seems at first. You would need less than ¼ of a yard of fabric and some wire. You don’t even need to worry about the sewing pattern because you can download the PDF sewing pattern with the 2 styles that I am giving here for free.
Finally follow the video or picture tutorials and you will have your fabric bun maker in less than 1 hour.
Which Fabrics work best to make a fabric wire hair bun maker?
You can use pretty much any woven fabric or scrap fabric scrap that has been laying around in your sewing room. But this list of fabrics will do the best job.
- Cotton
- Fat Quarters
- Canvas
- Non-stretch Velvet
- Non-stretch Lace
- Satin
- Batik
List of Materials:
- ¼ yard of fabric
- 2.55 mm Aluminum Craft Wire
- Sewing Machine
- Wirecutter
- Pliers
- Matching thread
Fabric Wire Hair Bun Maker Patterns and Tutorial.
In order to make our fabric hair bun maker, you will need to download the 2 free sewing patterns. that you can download at the bottom of this post along with the free printable sewing instructions card.
Step-by-step picture sewing tutorial.
1. Cut your Pattern pieces
Fold your fabric to have two layers with the right sides of the fabric facing together.
Cut the dotted hole in the center of the pattern with your paper scissors.
Place the pattern over the fabric and use pins or pattern weights to keep it from moving.
Cut the outer edge of the fabric and then, with a marking tool draw the inner hole on the fabric through the pattern hole.
2. Sew the opening.

This hole will be the opening where you enter your hair to make your bun.
Pin both layers of the fabric and sew above the line you drew.
The opening should be ¼” wide.
Make sure to backstitch in the points of each side of this hole to make them stronger. I had my opening unthreaded when I turned inside out and, let’s say it wasn’t fun to fix.
3. Turn inside out.

Cut as indicated in the picture above on the red lines.
Pass one layer of the fabric through the opening so both layers are on the right side.
Then, with the help of your fingers (and be careful here) press the opening flat.
4. Burrito Method.

Grab both sides of the side edges of your fabric wire hair bun maker and rolled them in.
Now take the other both opposite sides of the piece and cover the inner roll you just made.
Pin from the center out until you reach the ends of each side.
Make sure that you pin the ends of the points too.
5. Sew and clip

Sew all the pinned sides at ¼” from the top point to the end.
Clip the curved areas by making small triangles with the point of them being very near to the seam.
This will allow us to have a better shape when we turn our piece inside out.
6. Repeat with the other side.
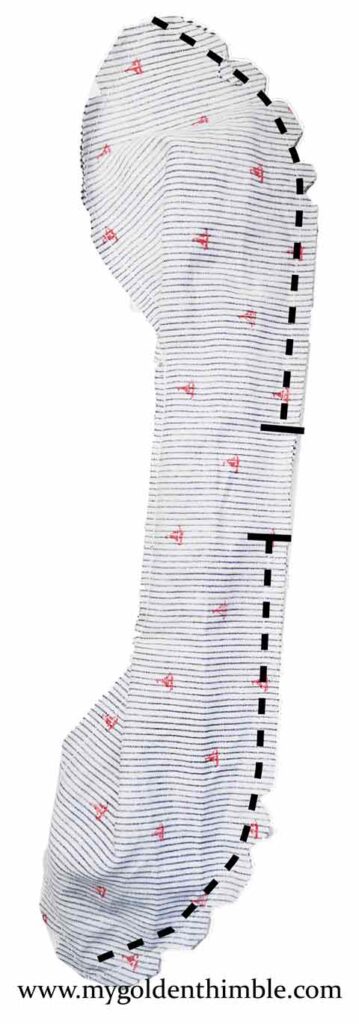
Pull the fabric wire hair bun maker inside out from the opened side.
Then repeat the process of the burrito method in steps 4 and 5.
But this time leave an opening in the middle of about 2”.
7. Turn the whole piece inside out

Clip the points of the pieces.
Then pull the whole piece through the space you left open so that the piece is on the right side.
Use sharing scissors or a point turner to make the points of the bun maker sharp.
Press.
8. Make a topstitch.

Once you pressed your bun maker is time to make the channel the wire is going to pass through.
Using your Blind Hem Foot or your regular foot make a top stitch for the center hole of about ⅛”.
Then make a topstitch on the outer edge of the piece. But this time sew it at ¼” from the edge and leave 2” open.
9. Insert the wire.

Using your pliers bend the wire end and press it.
Then insert it through the channel we made with the top stitch of ¼”.
Keep doing this until you reach the opposite end of the opening.
Cut your wire long enough to connect it with the other end.
Bend the other end and connect them by twisting them together.
10. Close the piece.

Close the opening of the topstitch.

And then use an invisible hand stitch to close the edge opening.
You are done!! Now you have the ultimate hairpiece accessory. I hope you enjoyed this fabric wire hair bun maker patterns and that you had fun making this pretty piece.
Don’t forget to click on the heart in the corner of the post if you like this tutorial so I can keep making more cool stuff for you.
DIY Hair Bun Maker Free PDF Sewing Patterns Download
To do that click here and subscribe to get the free sewing patterns instantly right into your inbox. Print them and then follow the instructions above or print the instructions condensed car at the end of this post.
Don’t forget to follow us on Social Media!!

How to make a Fabric Wire Bun Maker
Use this pattern and instructions to make a fabric wire bun maker hair accessory.
Materials
- Free Hair Bun Maker Sewing Pattern (Download at www.mygoldenthimble.com)
- 1/4 Yard of Fabric
- 2.5 mm wide Alumnium Craft Wire
- Matching thread
- Tailors Chalk
Tools
- Sewing Machine
- Wire Cutter
- Pliers
- Scissors
- Seam Ripper
- Sewing Hand Needle
- Sewing Pins
Instructions
1. Cut your Pattern pieces
Download and print the free sewing pattern at www.mygoldenthimble.com
2. Sew the opening.
Fold the fabric and cut out the center of the pattern.
Place the pattern on the fabric and using pins, cut the outer edge of the fabric and draw the inner hole of the fabric through the pattern.
3. Turn inside out.
Cut and pass one layer of the fabric through the opening so both layers are on the right side.
Then, with the help of your fingers press the opening flat.
4. Burrito Method.
Grab both sides of the side edges of your fabric wire bow and roll them up.
Now take the other two opposite sides of the piece and cover the inside roll you just made.
Pin from the center outward all the way to the ends of each side.
5. Sew and clip
Sew all sides with pins at ¼" from the top point to the end.
Trim the curved areas by making small triangles with the point of the triangles very close to the seam.
6. Repeat with the other side.
Pull the fabric wire to make bows from the open side.
Repeat steps 4 and 5 but this time leave an opening in the center of about 5 cm.
7. Turn the whole piece inside out
Trim the ends of the pieces.
Pass the whole piece through the space you have left open so that the piece is on the right side and sharpen the points of the bun.
8. Make a topstitch.
Make a topstitch for the center hole about ⅛". Next, topstitch around the outside edge of the piece. But this time sew it ¼" from the edge and leave 2" open.
9. Insert the wire.
Using the pliers, bend the end of the wire and push it through the channel we made with the ¼" top stitch until it reaches the opposite end of the opening, cut the wire, and connect it to the other end by twisting them together.
10. Close the piece.
Use an invisible hand stitch to close the edge opening.








Such a great pattern idea! However, under NOTES: What kind of “tape” are you recommending we use to “cover the wire joints to avoid puckering” ? And will this be washable if needed?
Thank you so very much!
I am gonna be super honest with you. I used scotch tape LOL, but I wouldn’t recommend you following my steps. Instead you could use a drop of hot glue!
buenas noches porfavor me he registrado y no me sale el patrón sería posible que me lo mandase excelente tutorial felicidades un saludo feliz noche
I signed up but like everyone else I did not get the pattern for cutting it out. I did receive the instructions though. Pattern to cut out is needed.
Hi Cynthia, I double-checked and the email does contain the patterns. I just added you again so you get the email again. If you keep having problems please dm on facebook.
I’ve applied twice now and still have not received the pattern in my email.
Hi gorgeous. I just checked and the email with the pattern appears to have reached your inbox on December 4th at about 7:05 pm.
Could you help me out and check your spam and promo folders just in case??
I have resent you the email just to be sure it gets to you. Please let me know 😉
I want this pattern and directions; however, I’ve not been successful and I’ve not been alone in the effort. Please assist.
TIA
Hi Pam,
Have you signed to get the pattern delivered to your email?
I keep trying to download the pattern but it asks for my name and email and takes me back to the instructions page. I’ve tried 3 times and same thing.
Check your inbox!! If you already signed up in the form the pattern was delivered to you via inbox to the email address you submitted. Sometimes it can go to the promo folders, especially on gmail.
I have checked the Primary Inbox, Promotional Inbox and the Spam folder. The files are not in there. I even tried a different email address and nothing has shown up there either.
Hi Lynn I just resend you the pattern to this email adress
THERE IS NO PATTERN for the Fabric Wire Hair Bun Maker on your web site. Please send to me.
Thanks.
Hi Chris!
The pattern isn’t on the website. You have to subscribe in the form linked in this post so I can send it to your email 😉
Help!! I can not find the pattern. I have subscribed twice.
Hi Nancy, I am checking our inbox and it says that you got this email with the patterns. Nevertheless I sent them to you again so keep an eye on your inbox 😉
Where is the pattern, I have been looking & clicking for 1/2 hour. I did subscribed.
Hi Rebecca, I just make sure that I sent you that email. You got it, it should be in your inbox
Please what gage of wire should we use?
A 12 to 17 gauge will do fine 😉
I printed the test square with the fabric wire bun maker but square was slightly smaller than 2 inches so I didn’t print out pattern from my brand new Apple iPad that has Google Chrome.
How should I proceed?
Thank you. I wanted to purchase online online patterns
Hi Rebecca, as for the patter of the Fabric Wire Bun Maker it shouldn’t be any problem if you print it as it is with a slightly smaller tester square. But if you want to purchase our pattern we strongly recommend to download and print from a computer so you can modify the needed settings. You can go to our tutorial on how to print and assemble sewing patterns.
Hi Dafhtne . Sorry, but I, too, am having trouble finding the pattern. I believe I am signed up to your site, since I get regular email updates. Please help.
TYIA,
Lila
Hi Lila, it appears that you weren’t subscribed to this workflow but I just did it for you. 😀 You should have the email with the free wire bun maker pattern in no time.
There is no pattern link in email.
Hi Karen, which email did you got?
I have subscribed several times to your sight. I have recieved the welcome letter. It tells me I can scan the free patterns. When it comes to the bun maker I am instructed to resign up tp get the pattern but it never comes. I dont know what Im doing wrong.
Donna
I am very sorry for the inconvenience, I will check up with the tech team and get back to you ASAP
Hi Donna! It’s done! I have confirmation that the email with the free wair hair bun maker patterns has been successfully delivered to your email address. Please let me know if you need further help. D.
There is no pattern link in email. I wish there was a video as the picture tutorial is too confusing to figure out how to actually do it.
Hi Cathy, the email with the pattern will be delivered to you after you subscribe to get it. It will be in your inbox. (Check your promo and spam folders).
PS. There is a video tutorial. But if you have any sort of add blocker you won’t be able to see it. You will have to disable it to check out the video. And then you can activate it again 😉