
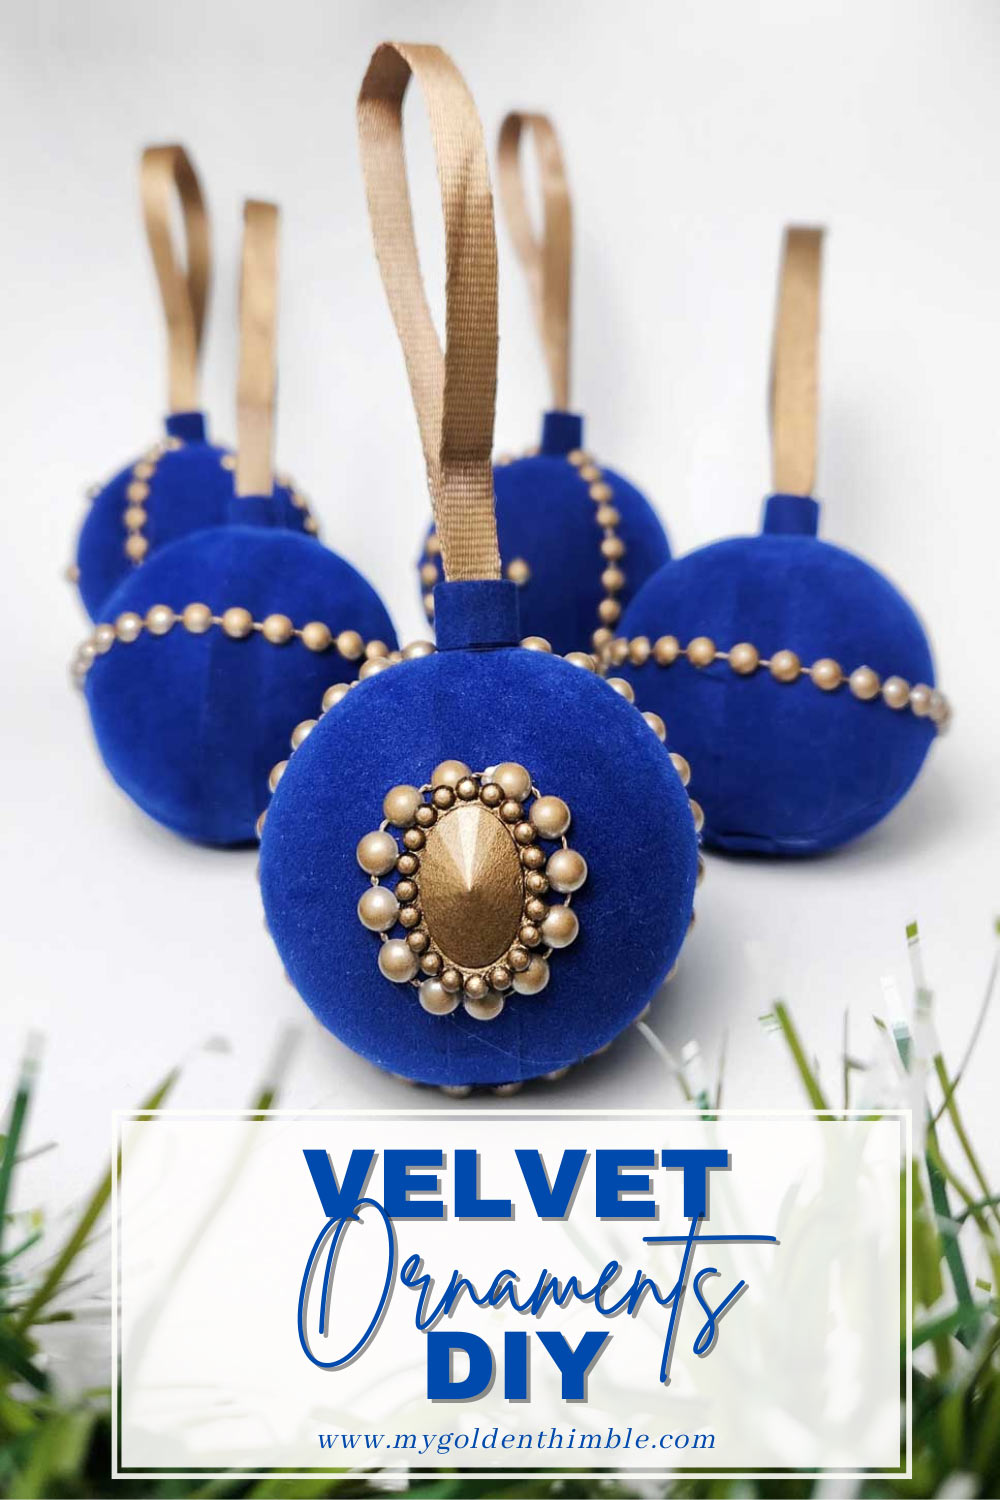
Today, I’m going to spill the secrets of creating DIY Velvet Vintage Ornaments that not only scream nostalgia but also won’t break the bank.
If you’re like me and love the idea of giving your Christmas tree a unique and vintage vibe, you’re in for a treat.
What’s even better? The materials for this project won’t dent your holiday budget. It’s the classic case of “cheap materials, expensive-looking results.”
We all love an excellent budget-friendly DIY, right?
NOTE: This post contains affiliate links, which means that if you make a purchase using one of the links in this article, I may earn a commission at no extra cost to you (To know more about this, click here.)
I’ve always been a fan of crafting my own Christmas Decorations, and this year, I decided to go all-in on a Blue and Gold Christmas Color Palette.
And what better way to complement that theme than homemade velvet vintage ornaments?
I went all in, trying velvet fabric on them, and they turned out fantastic!

To add a touch of glam, I took plain string plastic pearls and gave them a fabulous makeover with a coat of spray paint in a luxurious gold shade. Trust me, this little step goes a long way in elevating the overall look.

So, if you’re ready to tackle a crafting journey that will have your tree looking like it stepped out of a vintage holiday magazine, let’s dive into these gorgeous DIY velvet vintage ornaments!
Materials and Tools

Alright, my festive friends, let’s get down to business and talk about what you need to whip up these charming velvet vintage ornaments. Here’s the lineup:
- Velvet Fabric: Now, not just any velvet will do. Opt for a type with super short hair—it’s almost like working with paper, and that’s the magic touch we’re going for. Extra points if it is stretchy!
- Styrofoam Ornament Base: Choose your size wisely. The bigger the base, the harder it will be.
- Scissors: The unsung heroes of every crafting venture.
- Glue Gun and Glue Sticks: Your trusty sidekicks in sticking things together.
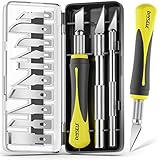
- Exacto knife: A sharp one you can handle with ease.
- Assorted Embellishments: Beads, sequins, ribbons—gather tiny treasures to add that extra pizzazz.
- Gold Cord for Hanging: Let’s not forget how these beauties will hang on the tree!
- Spray Paint in Gold: Because we’re turning simple string pearls into golden wonders. It’s like magic in a can.
- Pearl Plastic String: To add a touch of elegance and whimsy to your ornaments.
Here is a list of material recommendations I recommend from Amazon:




DIY Velvet Ornaments -Step-by-Step Instructions-
1. Prepare The Base
Before we get started, let’s make sure our styrofoam ornaments are nice and clean.
Now, let’s mark two lines that go across the ornament from top to bottom and back to the starting point.

This will create four vertical slices or sections, just like the ones you make with oranges!
Finally, grab your trusty exacto knife and slice along those lines.
Remember to go deep, but not too deep – we don’t want to slice through the center of the ball.
2. Cut the Velvet
Let’s create a beautiful “leaf” shape on our velvet fabric!
First, we need to measure the height and width of the ball sections.
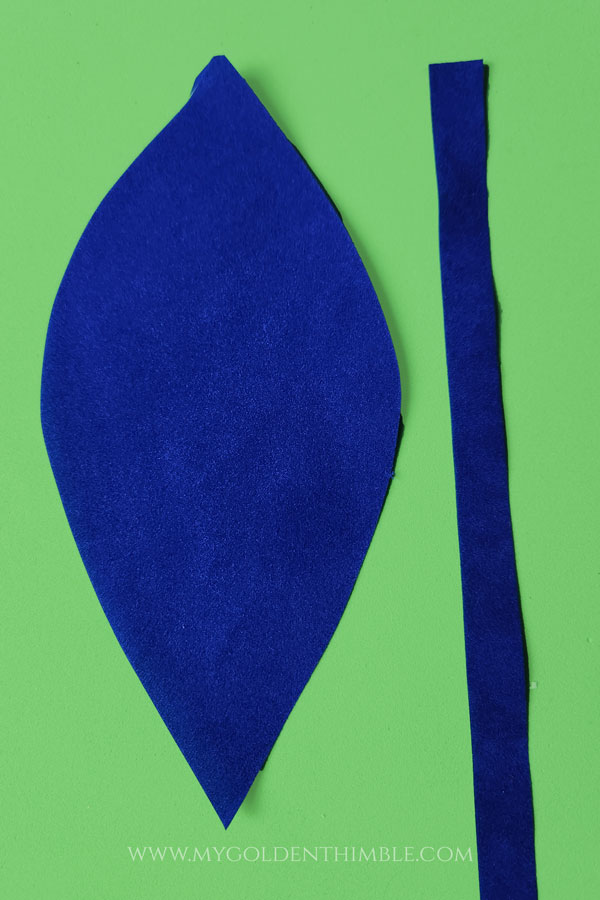
Then, we’ll cut four shapes of the same size, making sure to add about ¼” to ⅜” of seam allowance.
To make things easier, it’s best to cut these leaf shapes on the fabric’s bias. This will make them more stretchy and fun to work with!
You will also need to cut two strips of ⅜” in width and as long as the diameter of the ball is.
3. Cover the Styrofoam Ball
First, place your lovely velvet pieces on top of each section.
Then, grab a sharp tool (like snip scissors) and gently push the edges of the fabric between the slices.


Remember to stretch the fabric as you go to avoid any bunching between the sections.
If you have any extra fabric, just snip it off before pushing it in.
4. Hide the sliced sections

Let’s make our DIY velvet ornaments look even better!
Grab your trusty glue gun and a pair of tweezers, and let’s get started.
Gently place each strip on top of the sections where you pushed the fabric in to hide them and achieve a cleaner look.


Remember to use as little glue as possible to avoid any messy leftovers.
When gluing the starting/end edges, choose the same side (either on the top or bottom) to leave one side looking cleaner. This side can be used to put our hanger in.
5. Add the hanging string
Now, let’s make the perfect hanger for our lovely ornaments!
To do this, we’ll need two things: a string ribbon and a long strip of velvet fabric. In the picture, I used rat tail ribbon at first, but after looking at it for a while, I wasn’t completely sold on it.

So, I decided to paint a new satin ribbon with the same paint I used on my string pearls. This way, the ribbon would match the decorations of my ornaments perfectly!
Glue your ribbon together and then cover it with the strong strip of velvet until you get something like this:

Stop wrapping the string when you feel like you have a solid base, and then glue it to the top of your DIY velvet ornament.


6. Decorate!
Now, here is where the magic happens, my precious mistletoe!
We’ve got our velvety canvas ornaments all setup, and now it’s time to add some pizzazz.

I used some strings of pearls that I spray painted with gold paint and some plastic “jewels” that I had lying around in my craft room.
But don’t let that limit you!

Let your imagination run wild, and create your unique patterns for each ornament. Remember, there’s no need to make them all match perfectly – that’s the beauty of handmade ornaments!
TIP: It’s important to make sure that you’re adding embellishments in a balanced way. While aiming for symmetry is excellent, don’t be afraid to add a bit of asymmetry to give your project some character. Keep up the great work!
DIY Velvet Ornaments Tips and Tricks
These tips and tricks will help you easily flow through the crafting process and guarantee your ornaments shine brighter than Rudolph’s nose.
Tip 1. Working with Velvet Fabric Effectively:
If you’re working with velvet fabric, I’ve got some tips to help you out.
First off, make sure all your pieces have the same nap direction, so they look nice and even. And don’t forget to use sharp scissors for a clean cut!
Before you attach anything, test the glue on a scrap piece of velvet to avoid any staining mishaps. And remember, velvet can be a bit delicate, so handle it carefully to avoid any wrinkles or creases.
If you need to iron it, use low heat and be gentle. You got this!
Tip 2. Embellishment Overload and Distribution:
When it comes to decorating an ornament, it’s important to keep things balanced.
Try to distribute larger and smaller embellishments evenly to create a harmonious look. You can also make certain areas stand out by designating them as focal points.
Depending on the ornament’s shape, this could be the top, center, or specific sections.
Remember, sometimes less is more. If you find yourself going overboard, consider removing a few embellishments.
A well-placed bead or sequin can speak volumes.
Tip 3. Storing and Preserving the Ornaments for Future Use
When it’s time to put away your ornaments, it’s important to take a few steps to keep them safe and sound until next year. First, wrap each ornament individually in tissue paper to prevent any damage.
Then, find a cool, dark spot to store them – direct sunlight can cause the colors to fade over time. If you can, remove the hanging cord before storing it to prevent any bending or warping.
And lastly, consider labeling and organizing your ornaments by set to make things easier for yourself next year.
Conclusion
Hey there, my fellow craft lovers! You’ve just embarked on a journey into the wonderful world of DIY velvet vintage ornaments. And now, you’ve emerged with some truly magical creations that will add a special touch to your holiday celebrations.
Well done! Now I have something to ask!
Whether you’ve added your own unique twist to a design, played with colors, or created an entire set that tells a story, I’d love to see your handcrafted wonders!
Let’s turn this season into a virtual gallery of creativity by sharing your creations with me on social media [@mygoldenthimble].
Who knows, your amazing work might just inspire others to embark on their own crafting adventures.
Remember, there’s no joy like the shared joy of holiday crafting!
Wishing you a joyful and crafty holiday season! May your days be merry and your ornaments be ever-vintage fabulous.
Don’t forget to follow us on Social Media!!







