
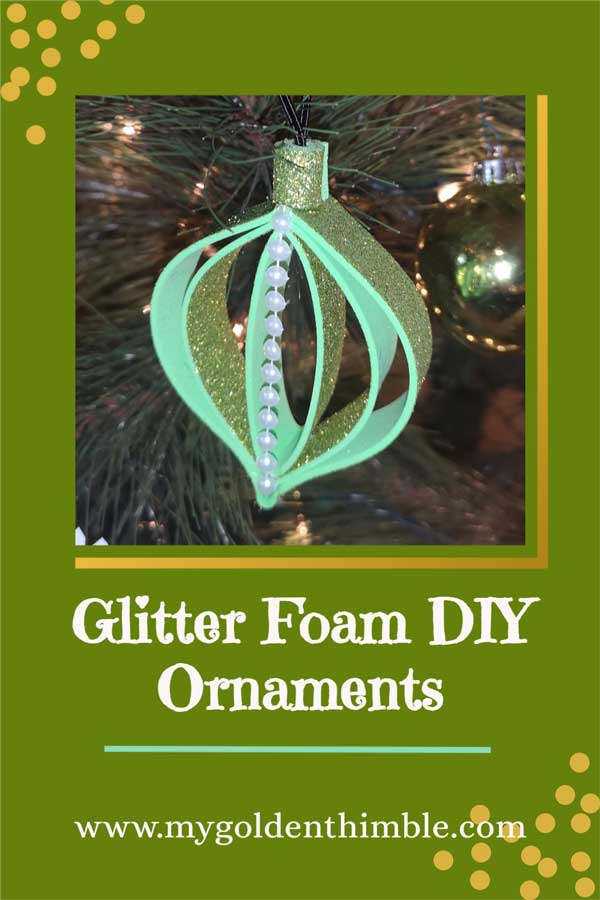
In this post, I will show you how to make DIY Glitter Foam Ornaments using a sheet of glitter foam to make an excellent and affordable Christmas Tree Decor.
You can create dozens of this ornament design using only a couple of sheets of this great and affordable material.
So grab your glue gun and some ribbon, and let’s do this.
NOTE: This post contains affiliate links, which means that if you make a purchase using one of the links in this article, I may earn a commission at no extra cost to you (To know more about this, click here.)
I love making my own DIY High-End Christmas Ornaments.
It just has a lot more value for me than buying one from a store. You can personalize it however you want and pass it on for generations to come.
I know that with all the new products flashing our faces each year, you might feel some sort of pressure.

But I am here to tell you that you don’t need to spend hundreds of dollars in order to have high-end ornaments for your tree.
There are a lot of glitter foam ornaments tutorials out there. And today I am bringing you a very simple and beautiful one.
In fact, you only need three materials—three or more sheets of glitter foam, a glue gun, and a ribbon.
Assuming that you already have the latter two as a good crafter, you are good to go.
How do you make an Ornament out of a Glitter Foam Sheet?
Making Christmas Ornaments out of glitter foam is not only easy but also super cheap!
And the results are just amazing. You only need to cut strips or squares, fold them, and glue them into different 3-dimensional shapes and finally add a string to hang them.
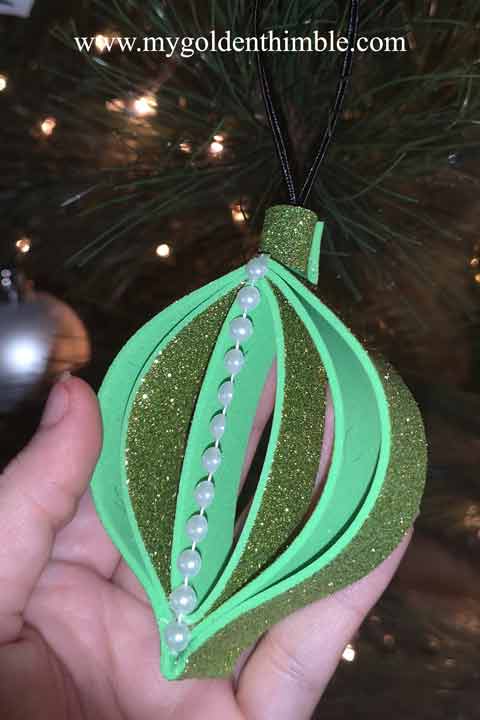
DIY Glitter Foam Ornaments. Step-by-step Tutorial.
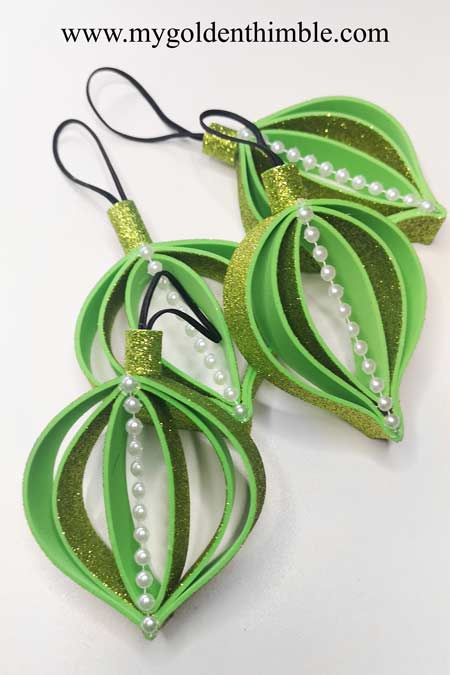
Ok, so let’s make this simple yet beautiful design. First, grab your materials.
- Materials:
- Glitter Foam Sheets (one or more colors)
- Glue Gun
- A string of ribbon of yarn (6” per ornament)
- Optional* Pearls, beads, or decorative notions.

1. Cut three strips.
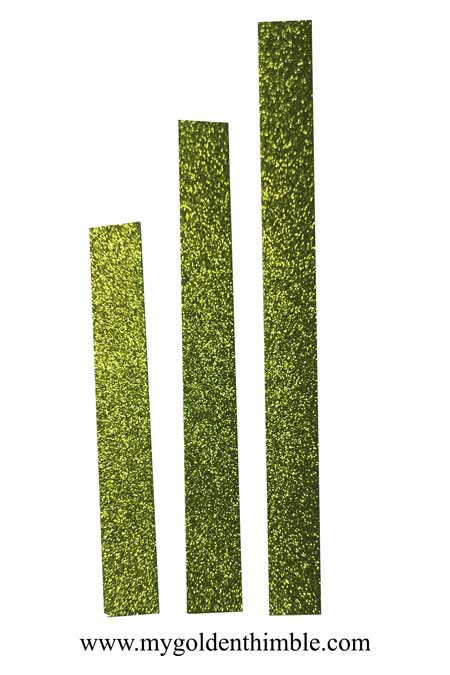
I am using the width of the sheet cut ¾” strips. Divide them equally into three groups.
Take one of the strip’s groups and cut out 1 ½” of each strip. Then take another group and cut off 3” out of those strips.
You will end up with three different strip sizes just like these.
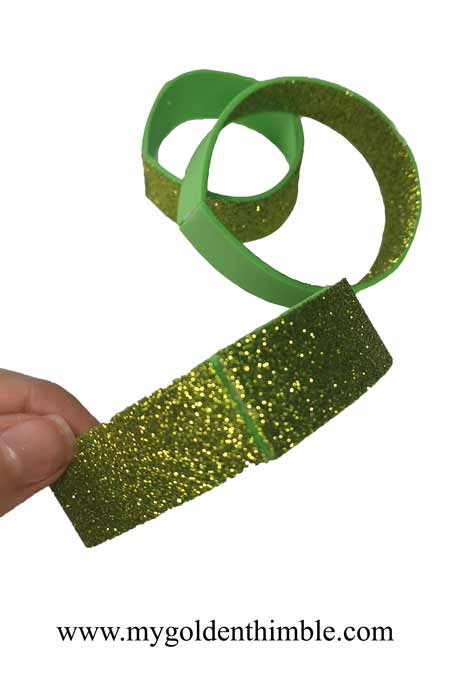
2. Make rings.
Use your glue gun to glue the strips into rings. Put together the ends and add just enough glue to keep them in place.
As I used only one color of glitter foam, I decided to glue the middle ring inside out.
This way, it makes a contrast of colors and the glitter material.
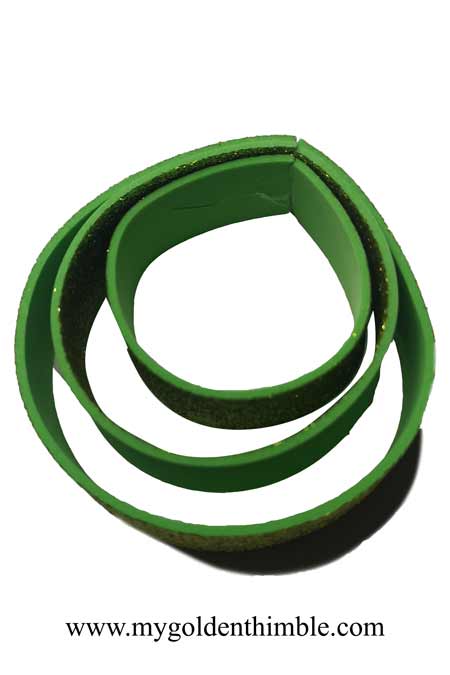
3. Glue the tops.
Carefully glue each one of the joints of the rings inside the bigger ring. You will end up with three circles just like this.
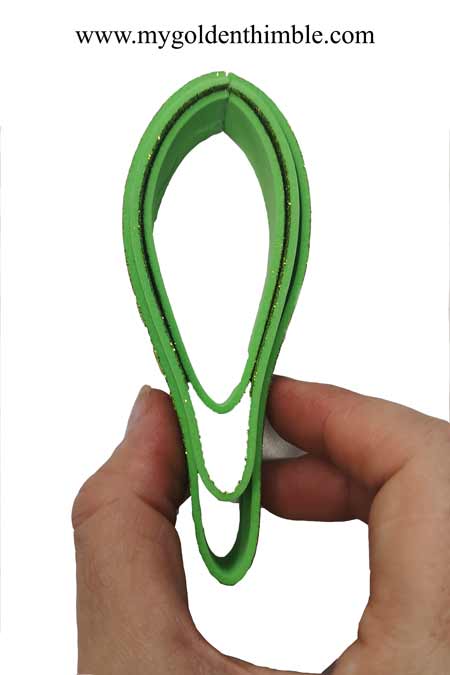
4. Press Flat and form the ornament shape.
Use your fingers to press and fold the bottom part of the ornament just at the middle.
To form the droplet classic ornament shape, we will glue the folds and press them with our fingers by pinching them.
Be careful; you might get burned if you use too much hot glue.
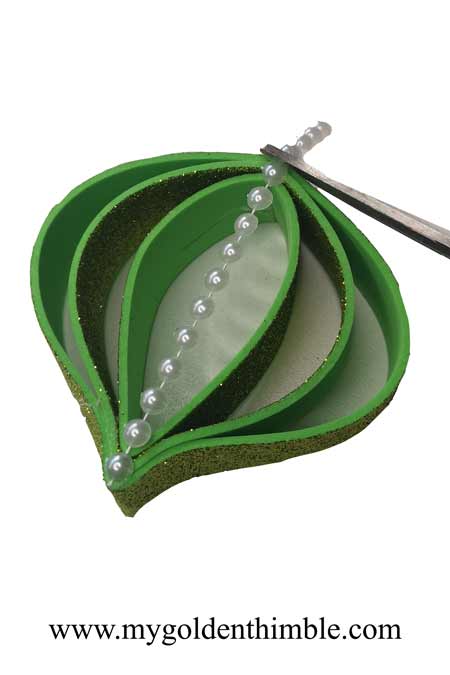
5. Decorate using plastic pearls.
This step is optional. But I decided to add a string of pearls on the front of the ornament to hide the glue spots.
Also, to give this ornament a touch of glamour.
6. Make the topping.
To make the string topping of the ornament, we’ll use glitter foam and a piece of string.
Cut a 6” long string and fold it in half.
Then, use one of the leftover foam strips to glue your string. I cut in half one of the full-width strips.
Put a drop of glue and place the two opened ends of the string.
Then roll the strip over itself to make the topper. Glue close.

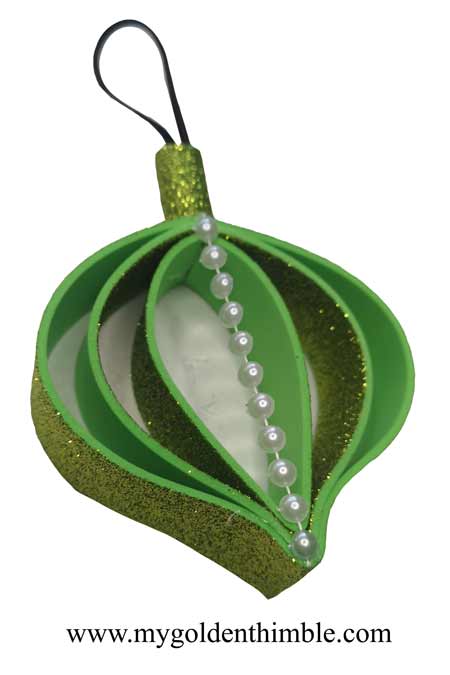
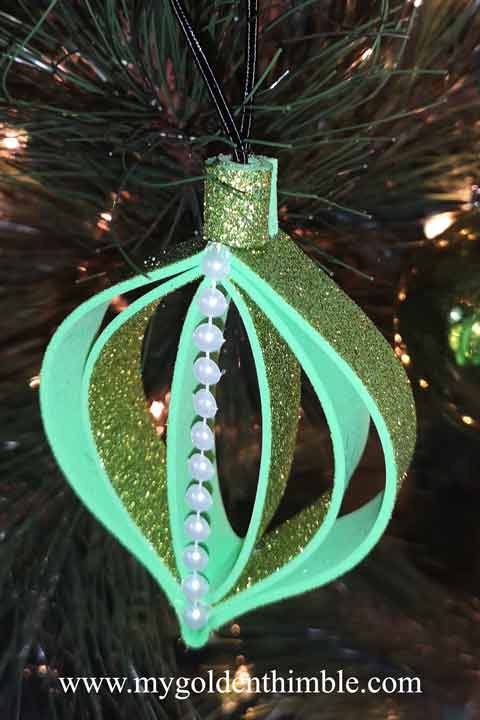
And that’s it!! Now you have a lovely DIY Ornament for a super affordable price!!
Please remember to check out all of our Christmas Crafts and Decor tutorials. And don’t forget to leave us a comment telling us how you liked this tutorial.
Have a Merry Christmas and a Wonderful New Year from My Golden Thimble family.
Don’t forget to follow us on Social Media!!
Psst…Is this article helpful to you?? Please support us so we can keep making awesome tutorials for you by buying us a cup of coffee here. We will be forever grateful!







