
Join me in making the cutest DIY Valentine’s Gnomes for your Decorations of this year.
With a few simple materials and a bit of creativity, you can easily recreate these adorable little gnomes to put on your mantel.
These Valentine Day Gnomes will be the center of attention for your Valentine’s DIY Decorations, and the best part is that they are so easy and affordable to make that you can make lots of sets of these adorable friends.
So grab your glue gun and the pinkiest of felts on your fabric stash, and let’s make some holiday gnomes!

NOTE: This post contains affiliate links, which means that if you make a purchase using one of the links in this article, I may earn a commission at no extra cost to you (To know more about this, click here.)
I have wanted to make these uber-sweet Valentine gnomes since I first discovered them two years ago.
Usually, I get a little lost between the Christmas craft season and the arrival of spring in late March. I don’t know precisely what, when, or where to put out the in-between decorations.
I have made several Valentine’s DIY projects in the past, but not enough to go bananas as I do with Christmas crafts and decorations…

Still, I do enjoy Valentine’s Day as it is a super lovely holiday, and it is not like I need any excuse to get all crafty.
Do you know what I mean??
So, I decided I wanted to start a collection of Valentine’s Day decorations to put up around my home for this holiday from now on.
Why do we put Valentine’s Day Gnomes as decorations?
Gnomes, in general, have become trendy seasonal decorations.
What once was just a garden guardian has become a must-have with holidays and seasons, for example, Christmas, Spring, Fall, and, of course, Valentine’s Day.
So, it was only natural that we DIY’ers adopted DIY Valentine gnomes as a fun part of our seasonal projects. Not only because it is a super quick craft but also because we get to customize it every way we want!
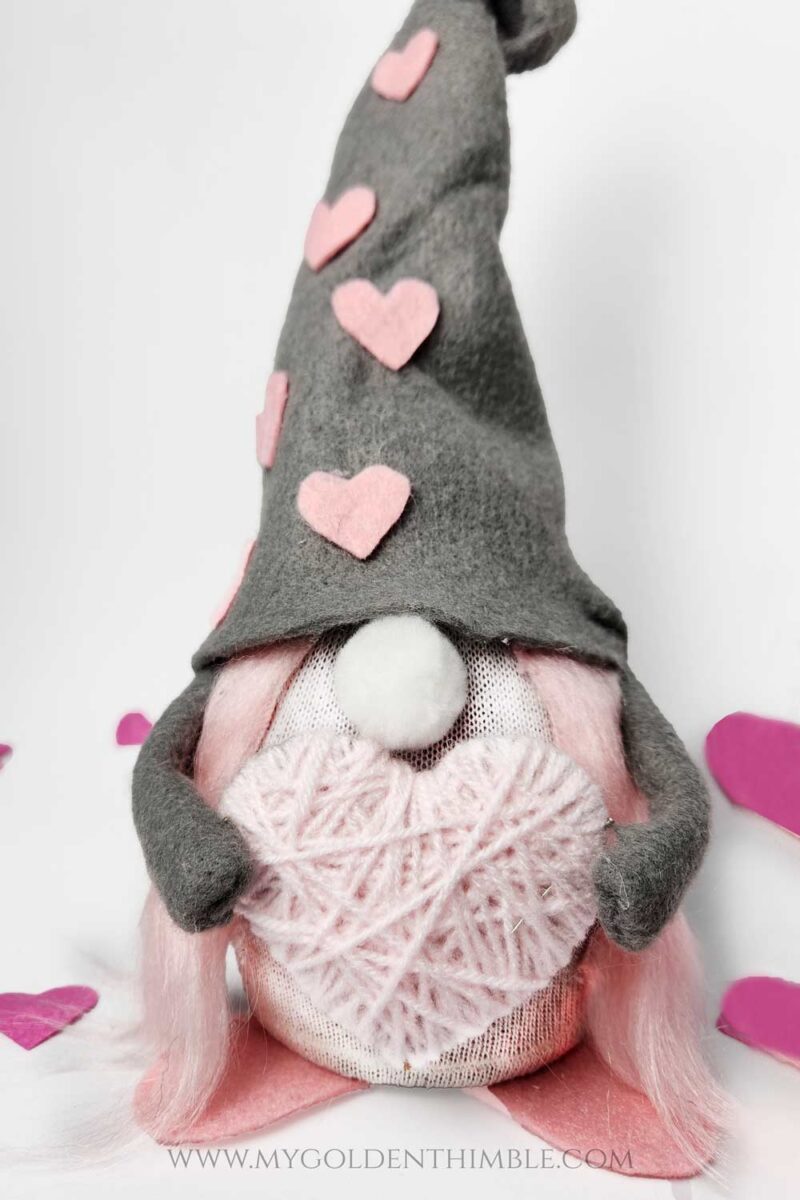
But the real reason why we started putting up Gnomes in our Valentine’s decorations was because Gnomes are considered symbols of good luck and prosperity. Placing a gnome in the home or garden may be thought to bring positive energy and fortune. So, by putting them on Valentine’s Day, you add a lucky charm for all your love and friendship relationships.
And who wouldn’t like that?
What materials do I need to make DIY Valentine’s Gnomes?
There are a lot of tutorials out there, each with its own spin on this project.
For me, I wanted to keep it as simple as possible, and with all the expenses I had on Christmas, I also needed it to be CHEAP!

So, I will use easy-to-get materials for this DIY, valentines gnomes no sew.
I even skipped the craft filling and turned it into my fabric scraps bin instead. Using fabric scraps as a filler gave these gnomes a great shape and weight to stand independently without needing beads, rice, or any other additional weight.
Isn’t that savvy?
That is why the materials for this project are things that you probably already have at home and a few recycled items. Here is what you will need.
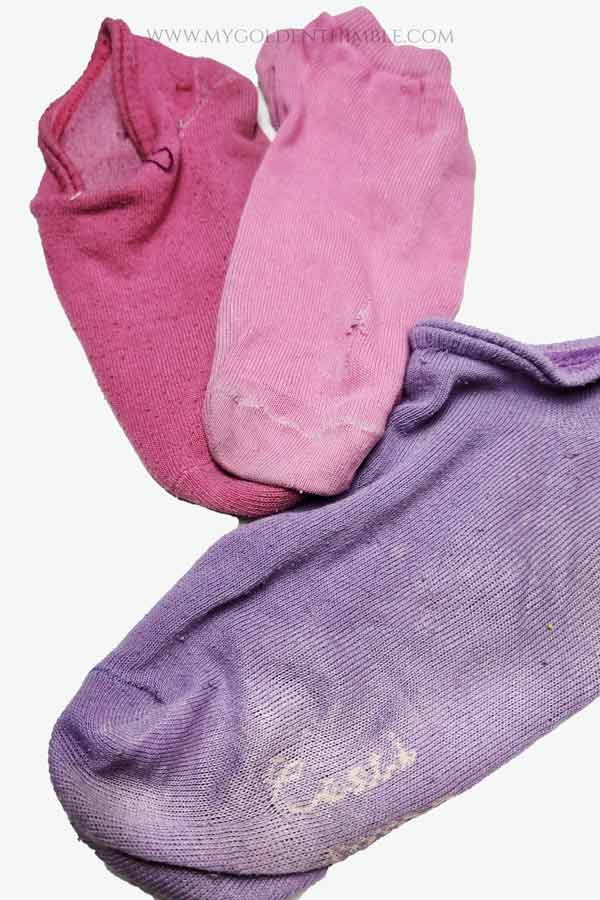
- Old ankle socks (preferably pink, white, grey, or red)
- Rubber hair ties
- Fabric scraps
- Recycled cardboard
- Felt Scraps or Fat Quarters
- Wood beads
- Mini pompoms
- Pipe cleaners (whatever color you have)
- A small piece of Faux Fur (long hair)
- Fabric Gun and glue sticks
If you want to add any unique decorations of your own notions, get those too! Get creative and show your own style with these little friends.
How to make DIY Valentine’s Gnomes. Step-by-Step Tutorial.
1. Cut the base
Let’s create a perfect little home for your gnome!
First, grab a glass or a candle jar (like I did here) and use it to draw a circle on a piece of cardboard.
The thickness of the cardboard is important, as it will ensure that your gnome remains upright and does not topple over.
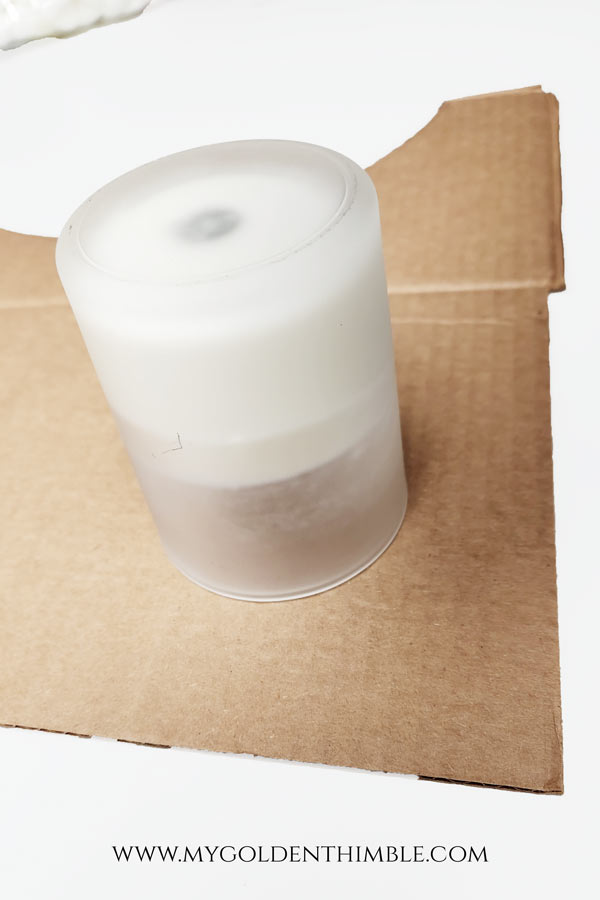
You can use any old shipping or pizza box lying around for this – recycling at its best! Just make sure that the cardboard is thick enough to support your gnome on its “feet.”
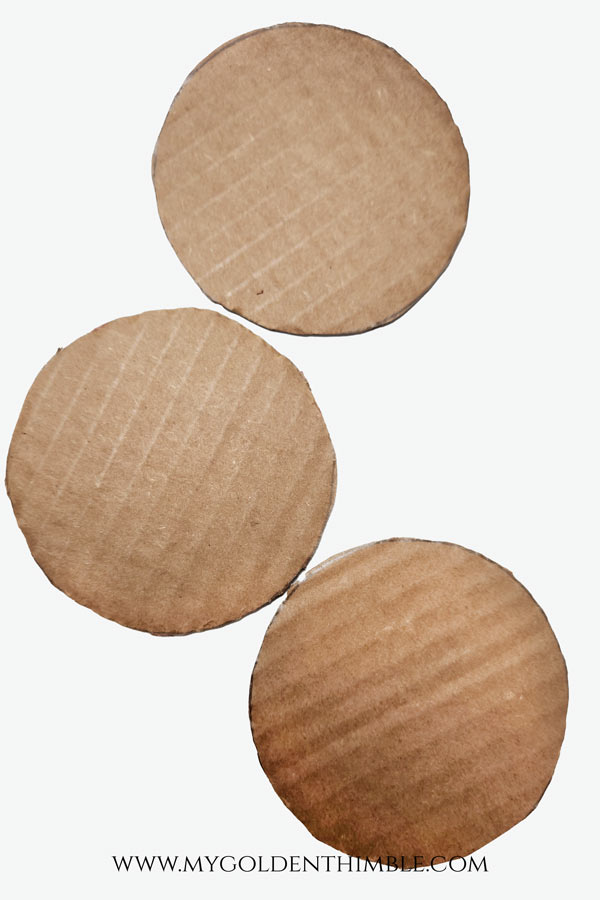
Once you’ve got your circle, it’s time to get your scissors and carefully cut out the shape.
Take your time and enjoy the process – we want to make sure your gnome has the best possible base to stand on. And remember, the thicker the cardboard, the happier your gnome will be!
2. Place the base inside the sock
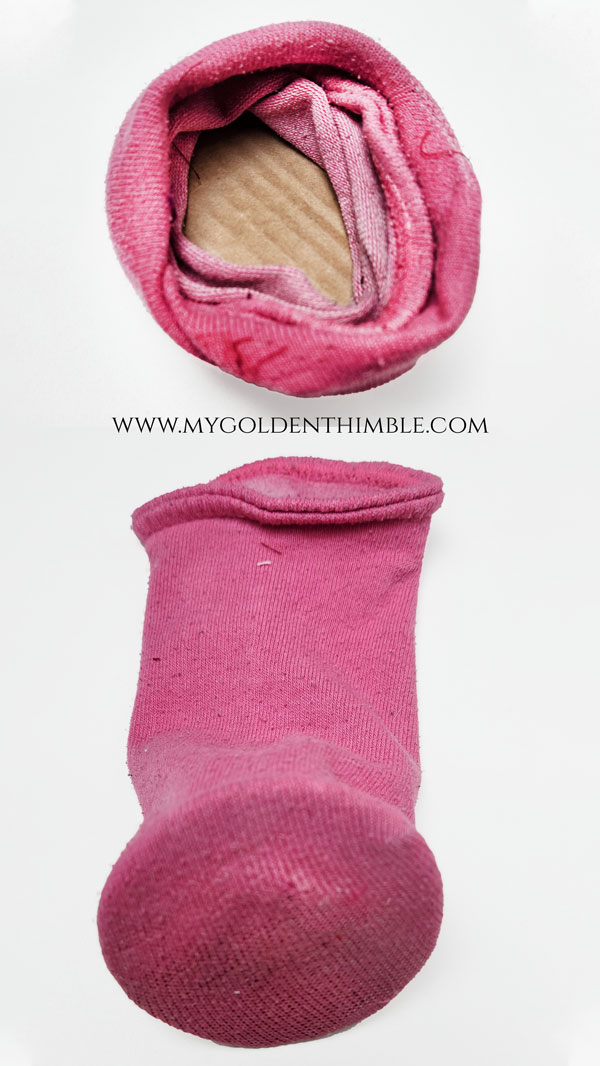
Now that you have the base, it’s time to insert it into your sock.
Take the base and gently slide it down into the sock until it reaches the toe section.
Once you’ve done that, use your fingers to carefully adjust the base so that it lays as flat as possible. This will guarantee that our sock gnomes will stand tall and proud and stay put once we finish.
If you’re worried about it moving around, you can use a small amount of glue to secure it in place. However, I have found that simply placing it in the sock is enough to keep it in put.
3. Insert the filing.
It’s time to give our gnome a chunky cylinder body!
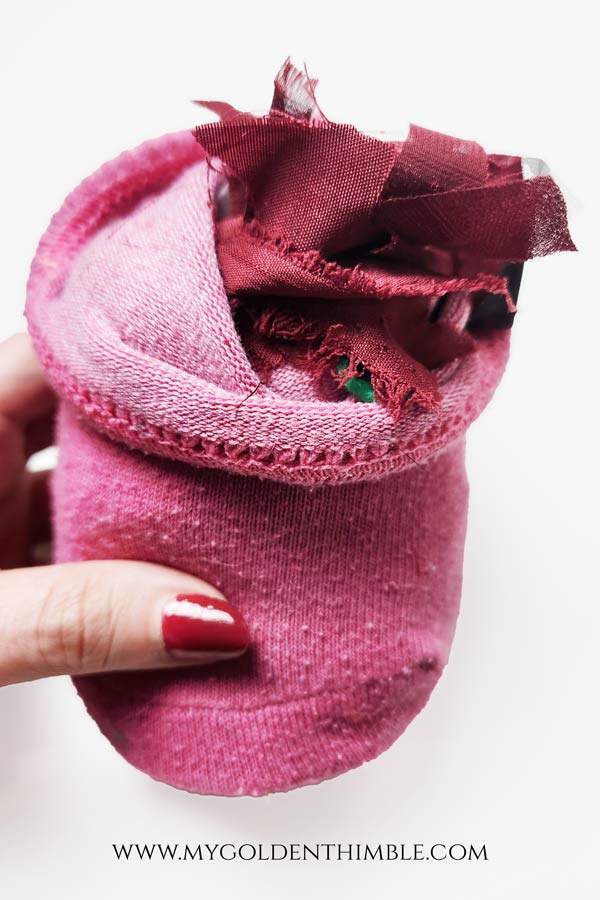
You are welcome to use regular craft filling for this part. But honestly, I believe that using scraps as a filling gives them more body and just the exact weight they need to stand still. I have done this for quite a while; just this fall, I used them as filling on my DIY Felt Pumpkins.
Plus! Recycling fabric scraps is great for the environment!
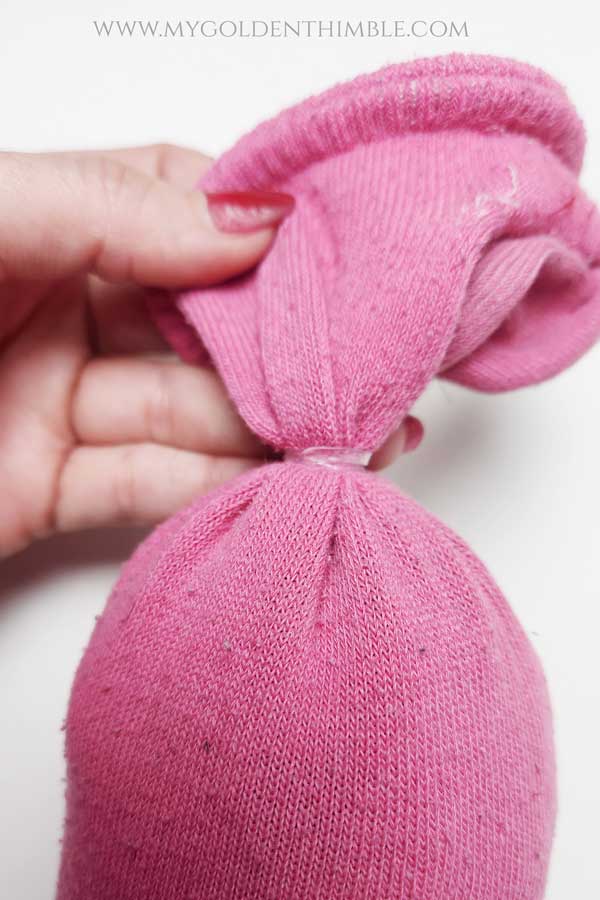
Once you reach a height, you like to tie the end of the sock with a hair tie and cut the excess out.
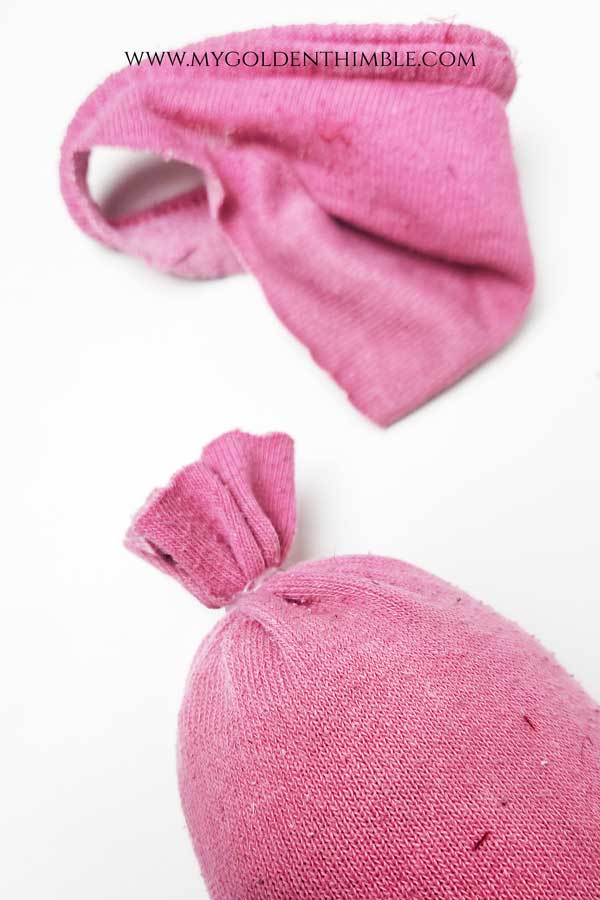
TIP: Use that excess sock fabric to fill the next Valentine gnome.
4. Cut and glue the beard
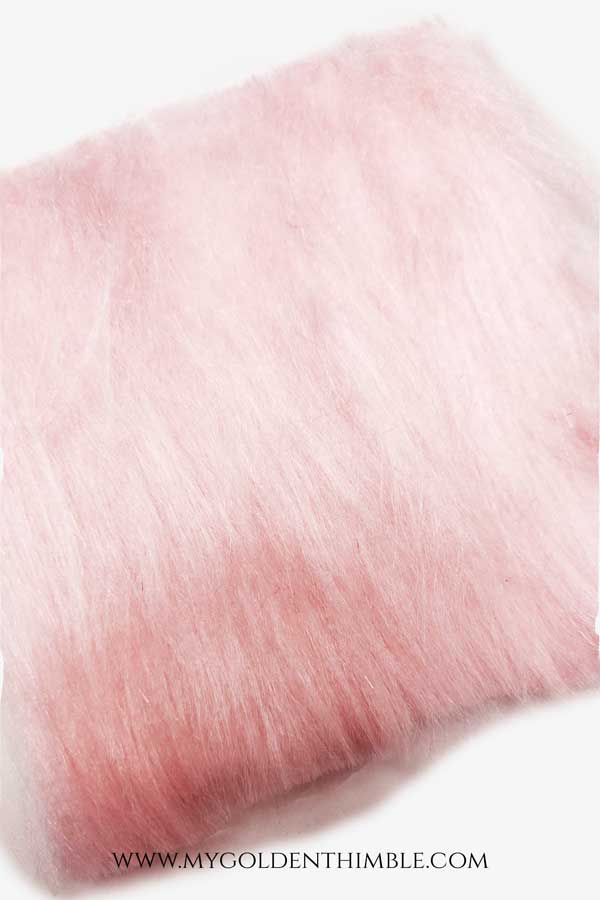
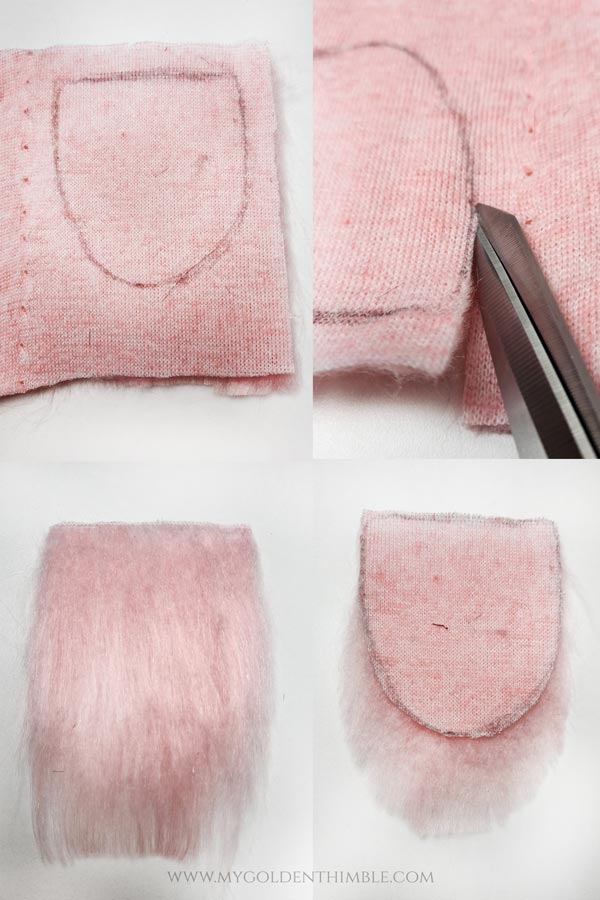
Take your faux fur scrap and turn it to the wrong side.
Draw a beard for your gnome, making a “D” shape with a pencil or a pen. The beard I made for my DIY gnomes was 4″ wide and 4 1/2″ tall.
Then, it is time to cut it. BUT WAIT!
When cutting faux fur, you must always start doing it from the wrong side of the fabric. Then, you want to insert your scissors between the hairs of the fur so you are not actually cutting on the fur itself but separating the woven piece.
You will end with something like this.
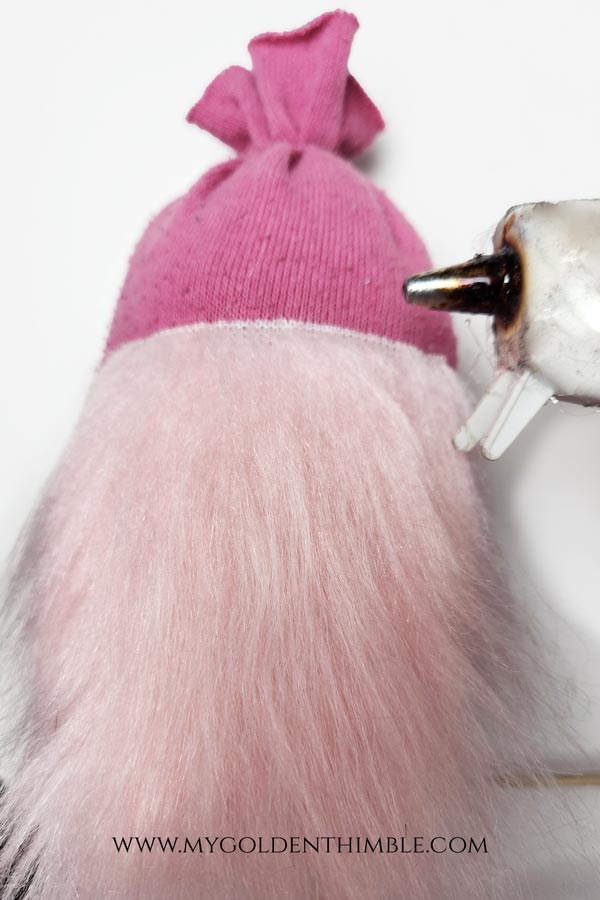
Grab your trusty glue gun and use it to attach the beard to your gnome’s body. If you want your gnome’s beard to look extra long like mine, simply glue it slightly lower so that the ends dangle down to the floor.
To make girl gnomes with braids, follow the same steps, but instead of making a “D” shape, you will need to cut two strips of 6” by 2”.
5. Make the hat and the arms.

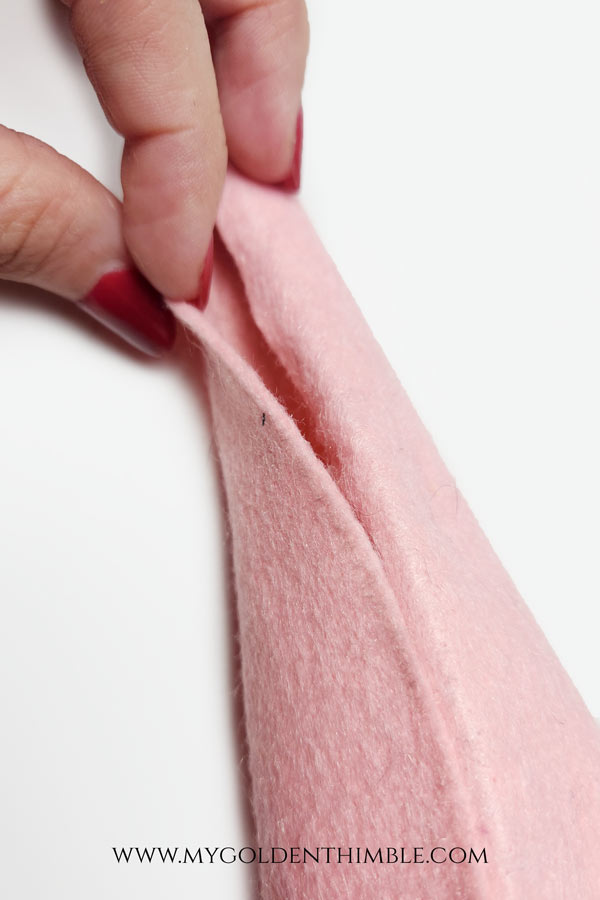
You want a very tall cone hat, as this is the main characteristic of gnomes. To do that, cut a triangle on your felt fabric at least 11 1/2″ wide and 10″ tall.
Then, glue a clean pipe to one of the sides, 1/4″ apart from the edge. Use your glue gun to glue that edge on top of your cleaning pipe.

Finally, close the hat by gluing the other end over the cleaning pipe side of the hat. Be careful not to drop any glue outside the hat, or that will be very hard to clean up.
To make the arms, fold a cleaning pipe in 4 parts. Then, cut a felt rectangle of 4″ by 2″ and glue the folded cleaning pipe on the center.
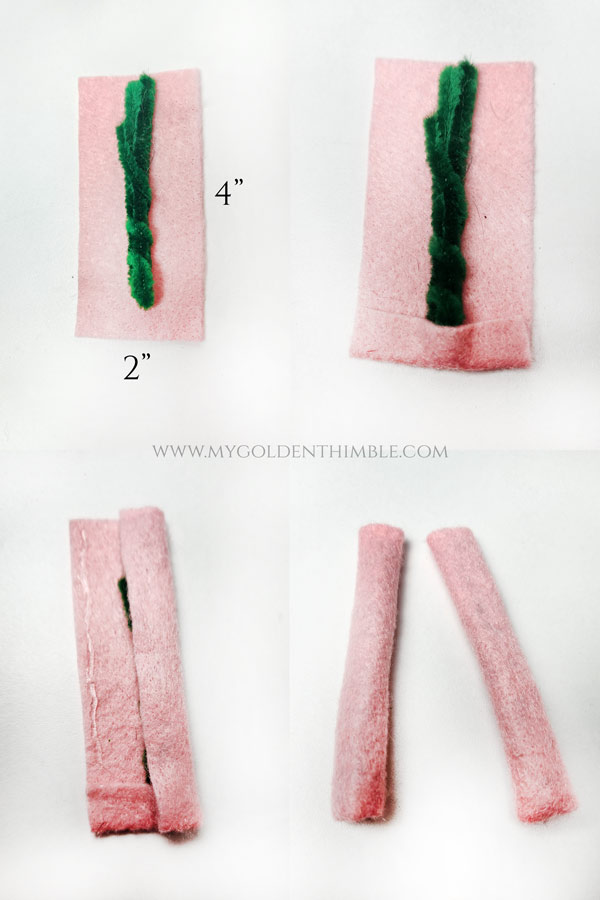
Fold one of the ends in, glue it, and then wrap it around with the rest of the felt.
Note* The pipe cleaners are optional for this tutorial. You can skip using them if you want. I recommend them if you’re going to bend the shapes of the hat and arms.
6. Put it all together.
The very last part is to put everything together!
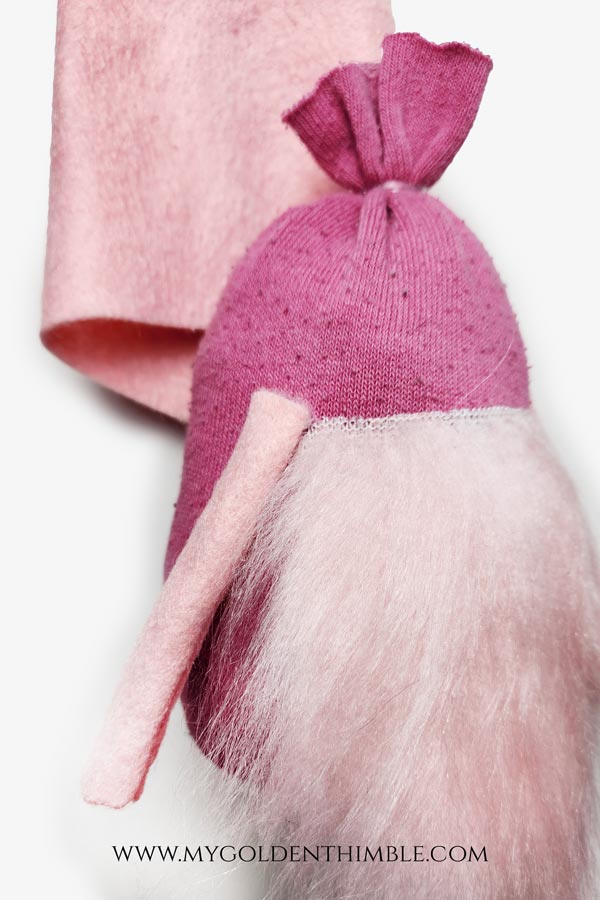
Glue the arms right next to the start of the beard. Then, put your wood bead (I used a pompom because I didn’t have any beads) in the center top of the beard.
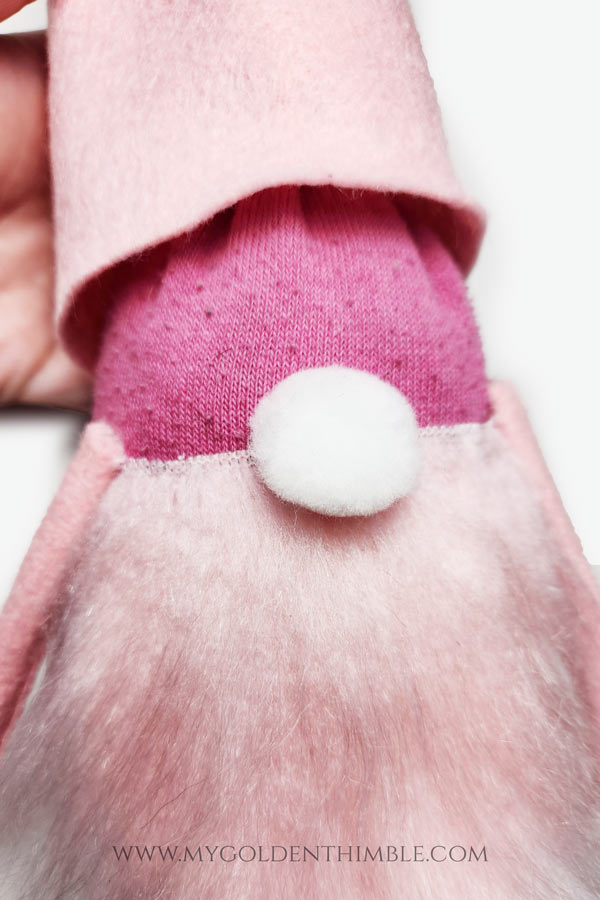
Then, put on the hat and mind this. The distinctive trait of the gnome’s hat is that it sits right in the middle of the gnome’s nose, covering “its eyes.”
Finally, if you want, cut a pair of “feet” on your felt and glue them on your base at the bottom of the sock. Mine measure 3″ tall by 1 1/2″ wide.
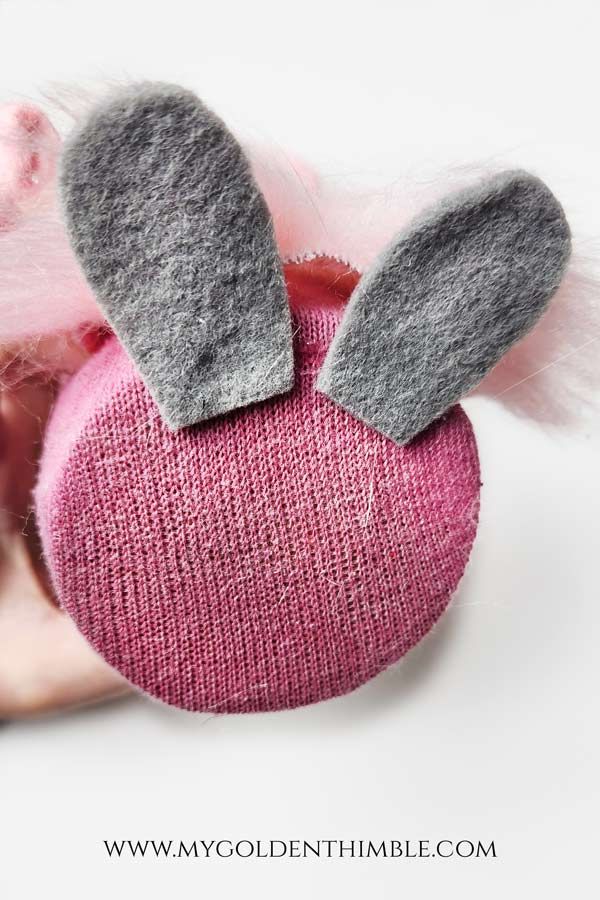
And you are done!!
I hope that this DIY Valentine gnomes tutorial showed you how easily you can make charming creatures to pop up your Valentine’s DIY decorations at home.
All adults, regardless of their skill level, can enjoy this craft! So, share it with your friends and family to create an amazing and unique experience.
By adding these handmade Valentine gnomes into your space, you will not only enhance the festive feeling in your place, but you will also be able to make this holiday uniquely yours.
Don’t forget to follow us on Social Media!!







