
Let’s make a beautiful DIY Storage Cardboard Box with all of those forgotten boxes you have been saving all this time.
I made this decorative box out of an old amazon box, a scrap piece of vinyl leather, and some… napkins!
You won’t believe how easy it is to make this cute box with just a few materials. The braided decoupage detail only makes it more interesting and elegant. Don’t you think?
Let’s do this!

NOTE: This post contains affiliate links, which means that if you make a purchase using one of the links in this article, I may earn a commission at no extra cost to you (To know more about this, click here.)
As I was cleaning this weekend, I stumbled upon this cute cardboard box from Amazon that I had been storing for weeks now in the hopes I could turn it into something beautiful.
I just didn’t know what, how or with which materials.
Sometimes you just have to wait for the inspiration to strike.
And so it did.
As I watched a decoupage video on Instagram with a girl who was using wet napkins to decorate a vase.
I thought I could use the same technique to make a nice braided texture for my small box.

Why use Napkins?
Have you seen those adorable rope-covered boxes tutorials?? I adore the result!
The thing is, the rope is pretty expensive. And the amount of rope you need to cover an entire box is even more.
I admit it. I am cheap!
You will always see me looking for a way to save some money here and there. And, more importantly, a way to use the things that I already have at home.
As I buy napkins in bulk, I had a lot of those. I also had white paint, and don’t even let me start with fabric scraps.
So this was a go!
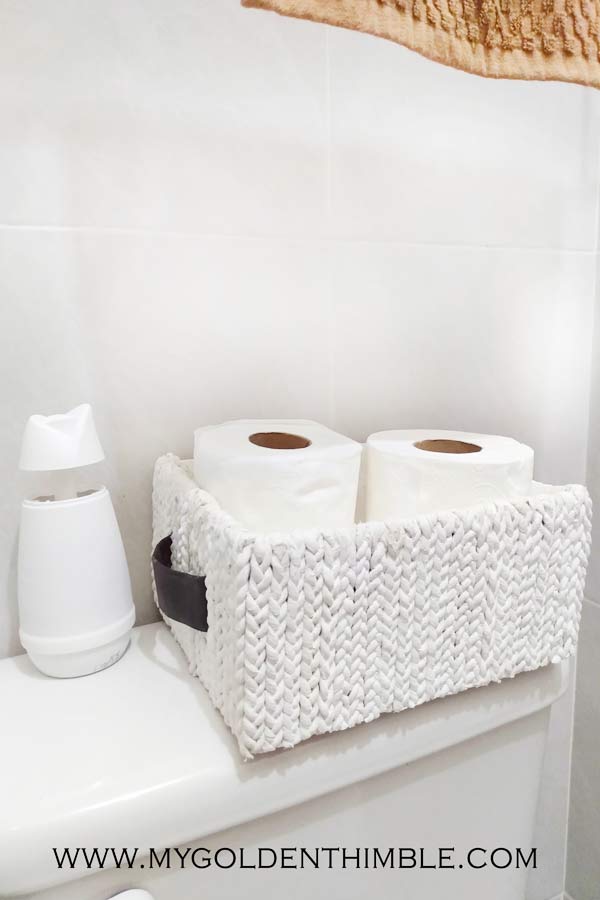
This tutorial will show you exactly what I did to turn a simple cardboard box into this beautiful storage decorative box.
If you have toddlers, you can include them in this DIY. Making the braids will be an excellent exercise for those motor skills.
You can each paint your box in a different color and use them to keep your spaces tidy and pretty.
Put on a nice movie and get all these materials for your box.
What can I use to make the Handles on a DIY Storage Cardboard Box?

You can use any kind of faux leather scrap of fabric or use the handles of an old bag.
Of course, it all depends on the final use you want for your box.
You can even try to use the same braids you make for the sides of the box and use them as a handle. They are pretty strong!
I choose to use these scraps of faux leather vinyl.
How to Make a DIY Storage Cardboard Box.
1. Gather the materials

- Cardboard Box
- Napkins
- White Glue or Modge Podge
- Craft White Paint (or color of your choice)
- Foam Brush
- Material for straps (I used vinyl leather)
- Spray Bottle
- Pencil
2. Form the braids

Unfold the napkin entirely and use the spray bottle to dampen it with water.
Then use your fingers to roll it into a string from the longer side.
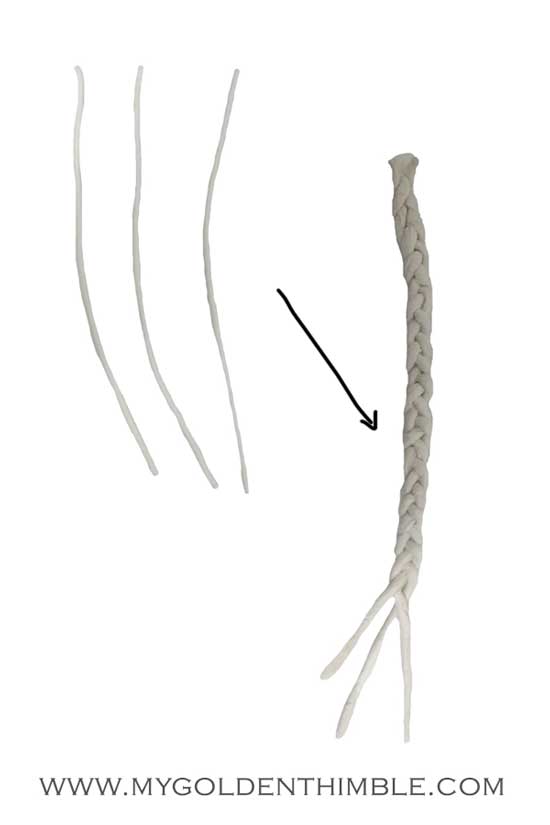
Each braid will need three napkins. Join each one over the other from the top ends and press with your finger to keep them in place.
You can use a clothespin to hold them while you braid them.
3. Cut or Glue the tabs of the box.

All boxes come with these four tabs to close them.
You can cut them with the help of a cutter.
Or if like me, you want to give extra strength to your box, you can glue them to the inside of the box.
But the main goal is to hide them from the outside.
4. Decoupage the inside of the box.

Make a mixture with one part water and two parts white glue.
Paint a thin coat of this mixture on the inside of the box and cover it with napkins (closed or opened).
Pain another coat of the mixture on top of the napkins and repeat as needed.
5. Mark the Glue the Straps in Place
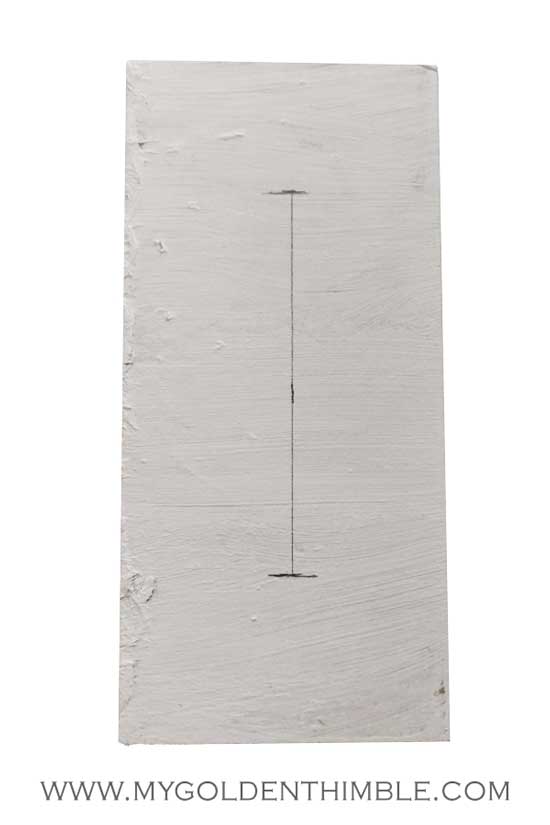
With the help of a pencil, mark the place where you want the straps to be.
Glue them, making sure you leave a loop to act as a handle.
My recommendation for this part is to use stronger glue if you have any.
6. Paint the outside of the Box
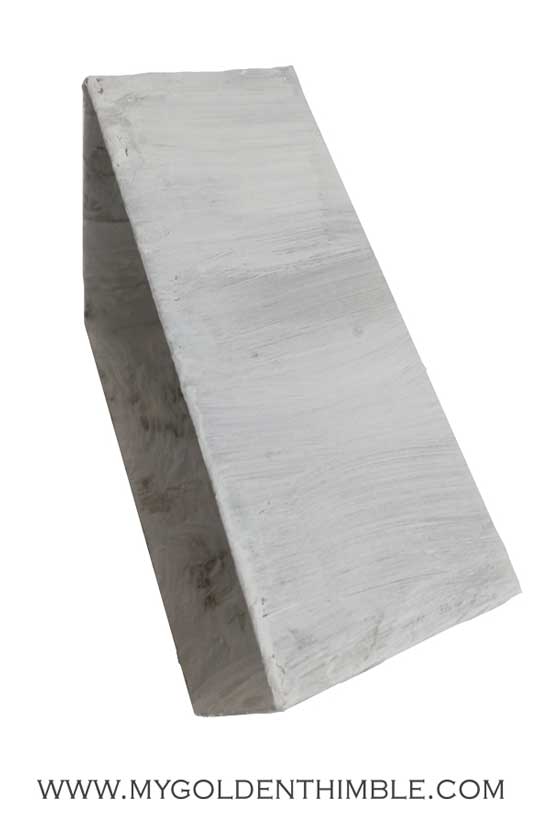
Use white paint (or whatever color you choose) to paint the outside of the box.
This will make that the cardboard color won’t be noticeable throughout the gaps of the braids.
7. Glue the braids.

Start with the corners, so you keep the sharp shape of the box.
As an essential tip, make sure that all braids face the same direction!
Hide the ends of the braids by pushing the ends to the inside of the box and the bottom of it.
Since my box wasn’t all that tall, I was able to cut my braids in half to make more of them.
Use the braids to hide the ends of the strap handle.
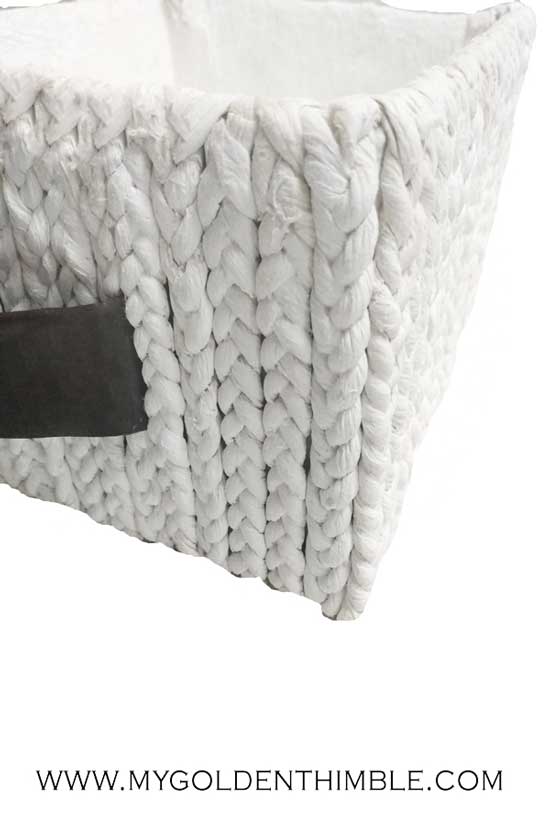
8. Paint the braided box.
With a lot of caution to not stain the handles, use your brush to paint the box any color you want.
I decided to paint them white. Even though the napkins were “white”, they got sort of a yellowish shade when I wet them.
And as I wanted my box for my home decor, I was looking for a clean and bright white.
The result was very good!
And that’s it!!
Now you have a nice decorative and multipurpose box.
Remember that you can use your imagination to put your own design touch into this project.
Let me know in the comments: Which place would you think this Box will look good in??
Help us reach more people! Save this Post on Pinterest







I’ve donesomething similar to this using ModPodge and Lace. I sealed the box with ModPodge, inside and out. Painted it a pretty sky blue on the outside. Covered the inside with cotton fabric, added more ModPodge to the inside to seal the fabric. Then applied the lace with more ModPodge. Sealed everything again and my box with finished. I didn’t even think of applying handles. I wish I had. Your napkin box is genius. Looks like it is covered with a knobby knit sweater. Love it more than my lacy box.
Omg your DIY box sounds pretty good too! I wish I could see it, thank you so much for leaving your comment. I appreciate it.
Great idea, I think I will try it with rope.
Rope will make it way more faster!
very clear and good article easy to understand. Thank you