
If you love DIY gingerbread house decor but don’t love the price tag that usually comes with it, you are going to adore this project. Today I’m sharing a step-by-step tutorial to create charming gingerbread house decorations using recycled toilet paper rolls.
Yes, really!
These little houses are perfect for decorating your mantel, styling a shelf, or even turning into the cutest Christmas garland ever.
They have that cozy, high-end handmade look, but the best part is that they’re incredibly affordable because we’re using materials you probably already have at home.
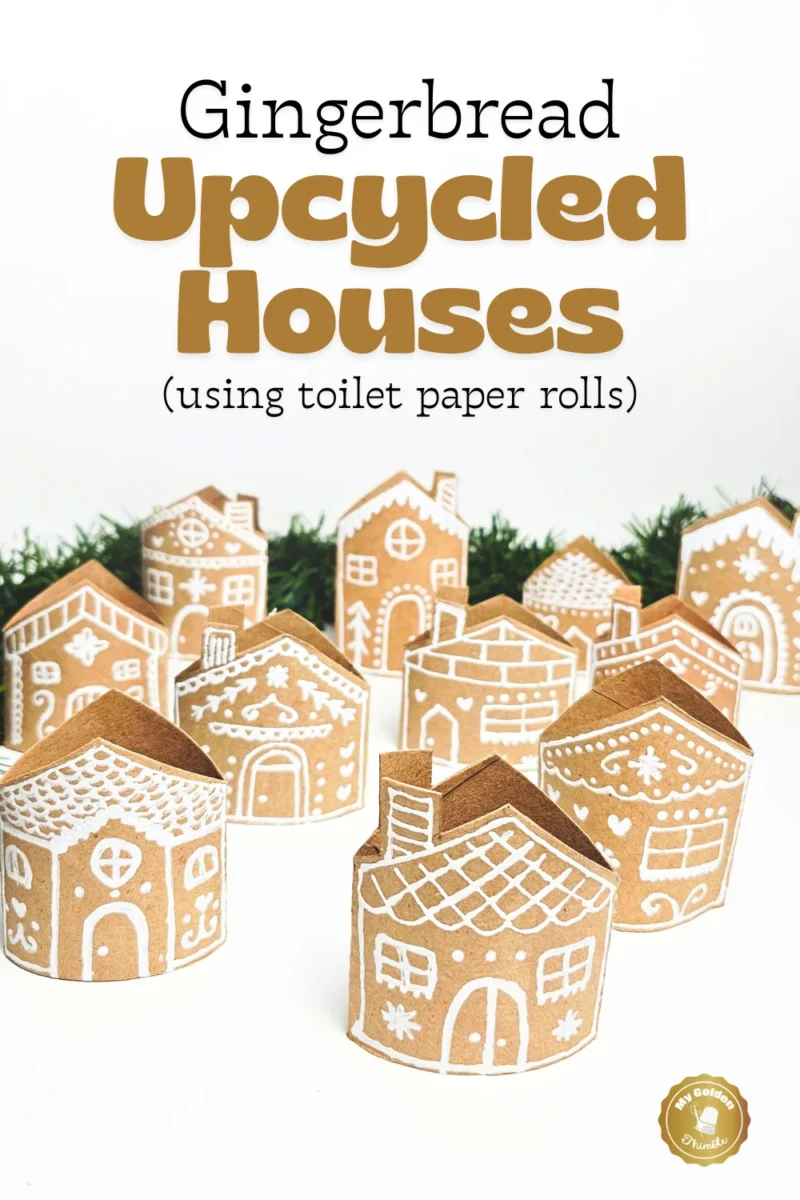
About This Project
I absolutely love making crafts on a budget. Don’t get me wrong, I enjoy buying new craft supplies just like anyone else, but there’s something extra special about creating handmade decorations with little to no money. Recycling materials I already have feels like a win, and honestly, it adds an extra layer of joy to the whole process.

Lately, I’ve been on a mission to use more toilet paper rolls and cardboard for Christmas crafting. The very first recycled cardboard Christmas crafts I made were toilet paper roll snowflakes, and I ended up creating more than fourteen different designs.
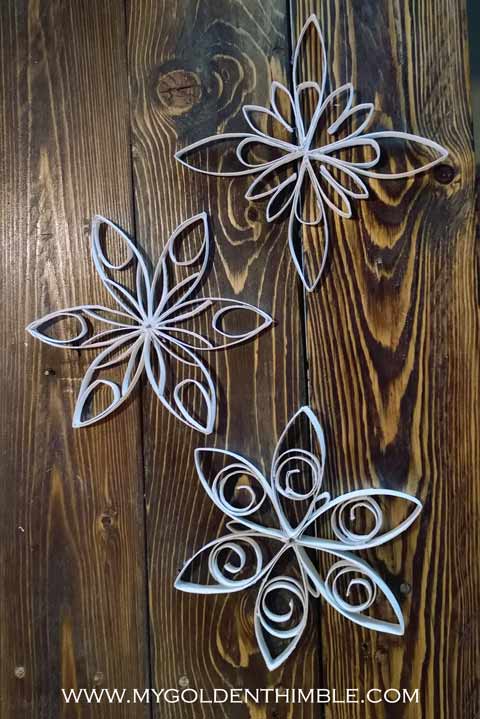
Then came the toilet paper rolls mini Christmas trees with different finishing touches, and let me tell you, those were a total sensation. They’re lightweight, easy to store, and look adorable everywhere.

And now, we’re moving on to gingerbread. These mini gingerbread houses are the newest addition to my Christmas decor, and they’re currently living happily on my mantel.
Ways to Use These Gingerbread Houses as Decorations
One of the things I love most about this Christmas gingerbread house decor DIY project is how versatile it is. These little houses can be styled in so many ways around your home.
The easiest option is to display them right on your mantel. Add a few natural wooden elements, maybe some greenery, and a couple of candles, and suddenly you have the coziest Christmas setup. The candlelight makes the houses glow just a little, and somehow they look even cuter that way.
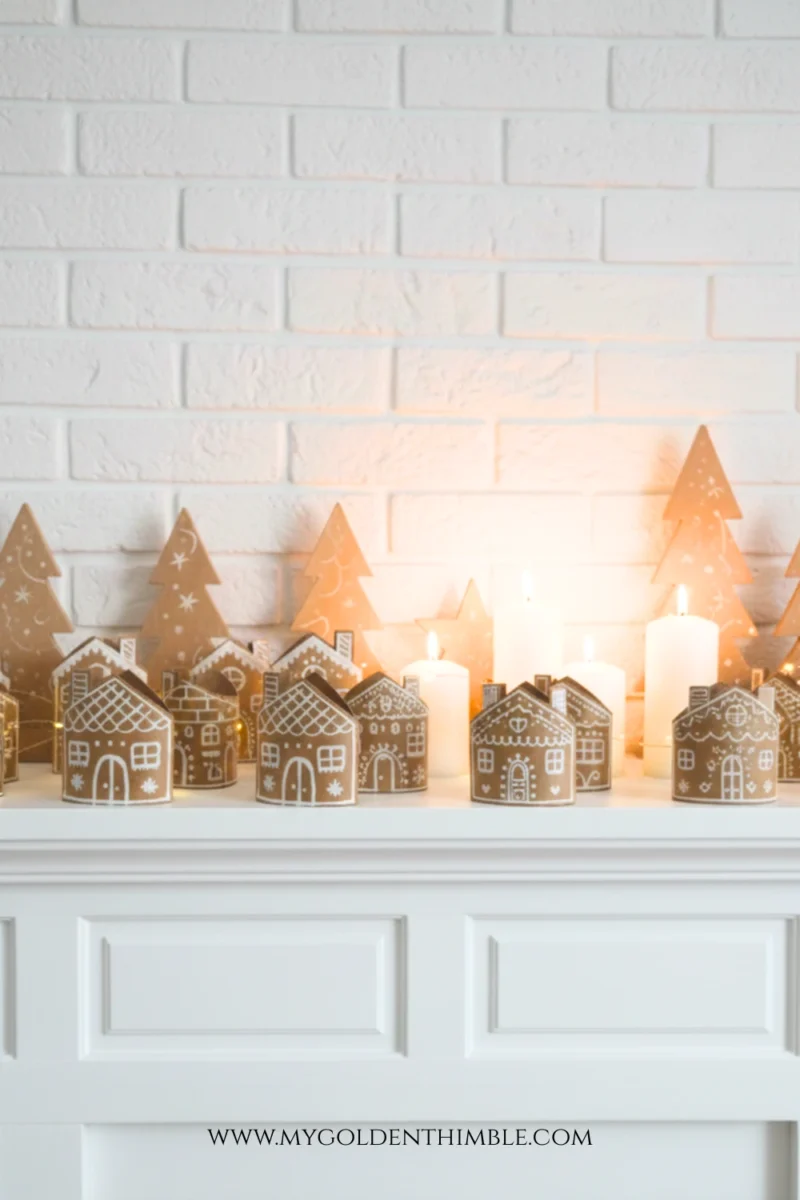
Another fun idea is turning them into a garland. Simply thread the houses onto a piece of yarn and hang them wherever you like. A fireplace, a window, a bookshelf, or even a hallway would look amazing.
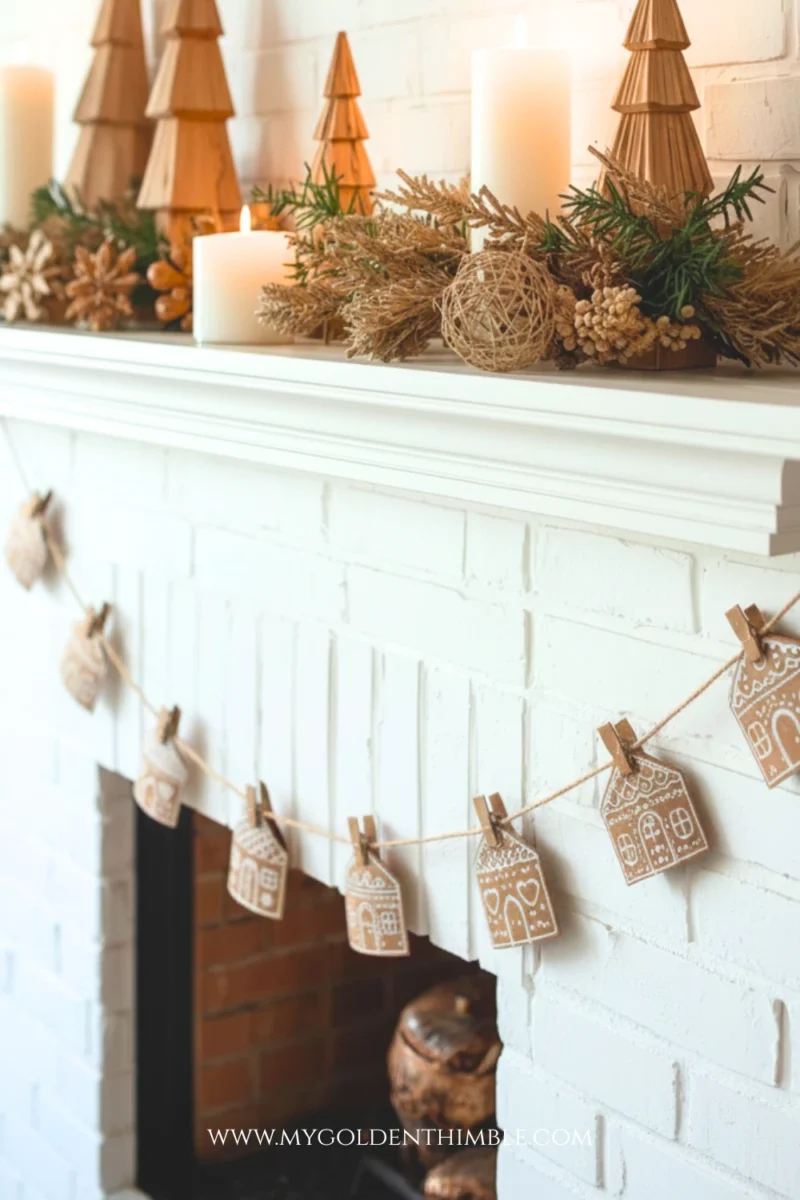
You can dress them up with ribbons, wooden beads, or any little detail your creativity comes up with. This is one of those DIY Christmas decor crafts that truly lets you make it your own.
DIY Gingerbread Houses Decor Tutorial
Materials
- Empty toilet paper rolls
- White paint in a tube
- Scissors
- A pencil
That’s it. Simple, budget-friendly, and perfect for crafting on a whim.
I’ve been gathering empty toilet paper rolls for a couple of weeks now, and once you start saving them, you’ll be surprised how quickly they add up.
Cardboard is the perfect base for a toilet paper roll gingerbread house because it’s sturdy, easy to cut, and gives that classic gingerbread look once it’s decorated.
That’s why these houses work so well as part of recycled cardboard Christmas crafts.
Step 1: Flatten the Rolls

Start by gently flattening each toilet paper roll with your hands. Take a moment to look at both sides of the cardboard and choose the smoothest, nicest-looking side.
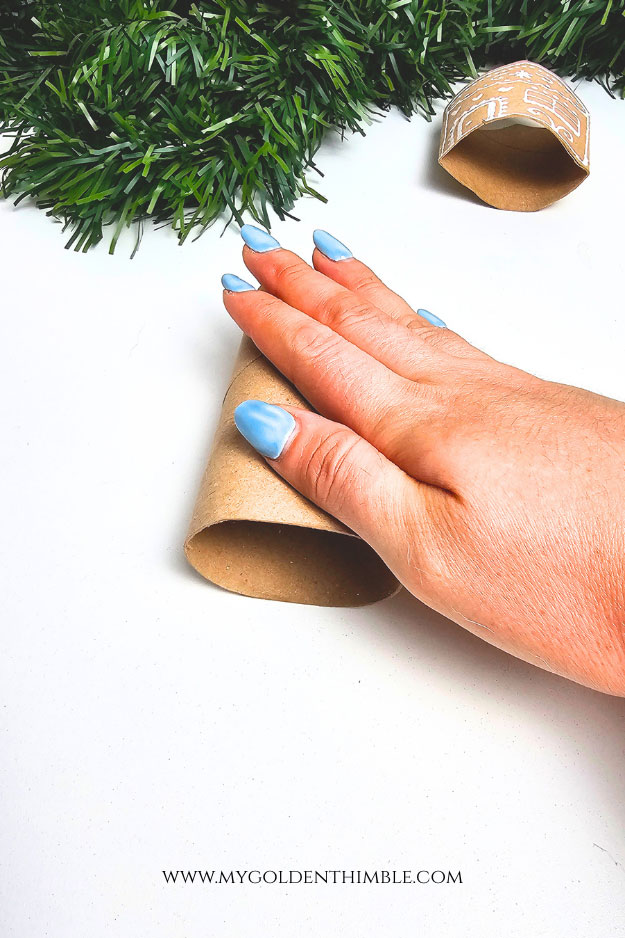
This will become the front of your gingerbread house, so it’s worth paying attention to.
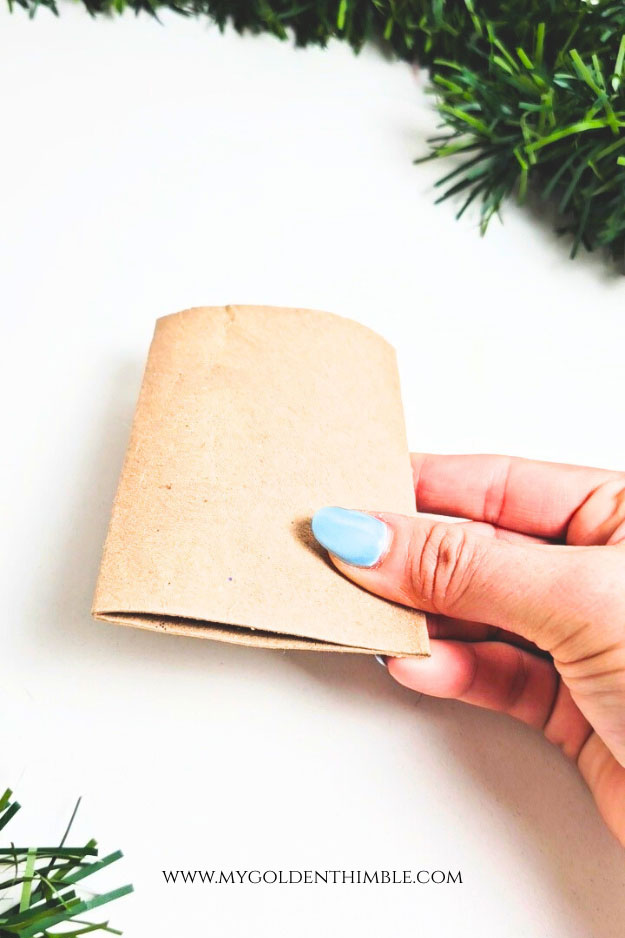
Once you’ve chosen your front, make sure that side is facing up as you work. Flattening the rolls creates a sturdy surface that makes drawing and painting much easier later on.
Step 2: Draw the House Shape
Using a pencil, begin by sketching the roof of your house.
Draw a simple triangle at the top of the flattened roll to create that classic house shape. This is where you can have fun and experiment a little. Make some houses taller and others shorter, and slightly change the angle of the roofs.

These small differences make your finished display look more charming and less uniform. If you’d like, you can also draw a small chimney on one side of the roof, but that’s completely optional. Even simple shapes look adorable once decorated.
Step 3: Cut and Paint
Carefully cut along the pencil lines you just drew. Take your time with this step so your edges are nice and clean.
Don’t worry if everything isn’t perfectly straight. A slightly uneven edge actually adds to the handmade gingerbread look.
Step 4: Decorate Like Gingerbread
This is my favorite part of the entire project. Using white paint, start decorating your cardboard houses as if you were piping icing onto real gingerbread. Draw windows, doors, roof lines, and little decorative accents.

I made sure that every house had its own personality, and no two looked exactly the same. That’s what makes this toilet paper roll gingerbread house craft so special.
If you don’t want to come up with designs from scratch, you can absolutely copy my drawings or look up gingerbread house inspiration online.
There are endless ideas, and this is meant to be fun, not stressful.
Step 5: Display Your Houses
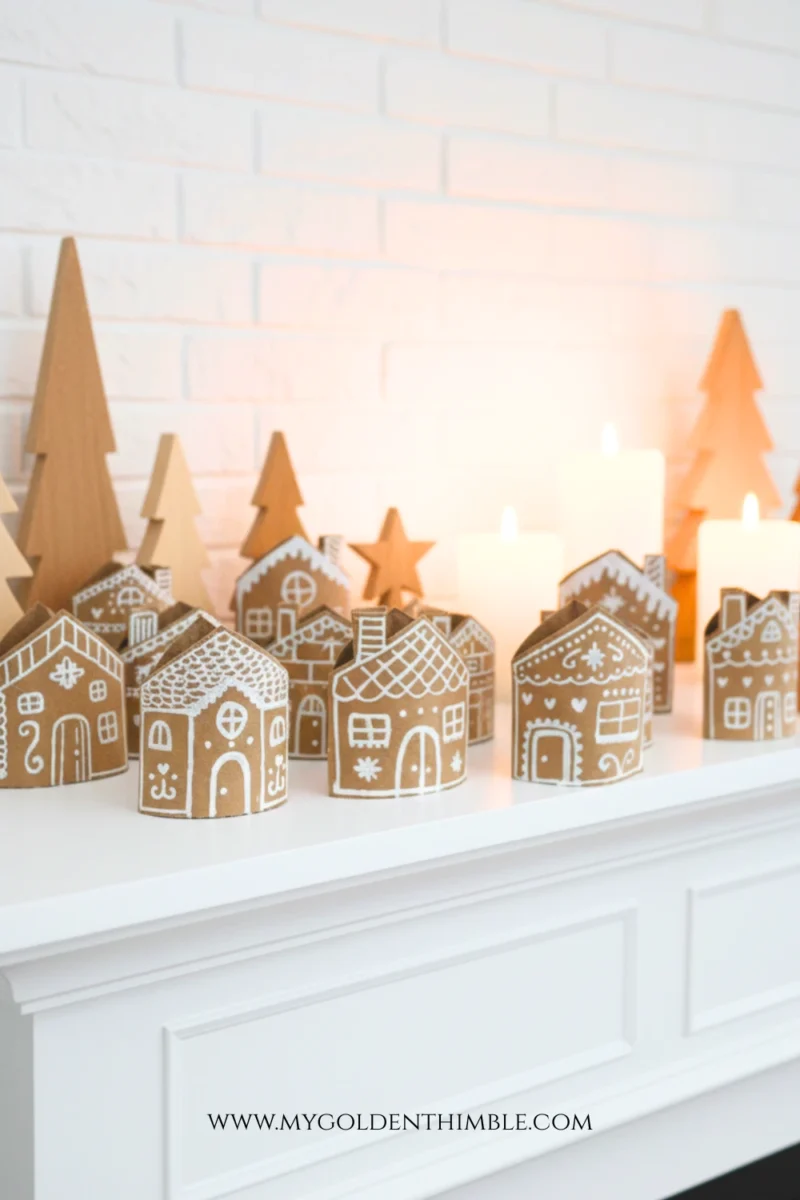
Once you’re happy with the designs, set the houses aside and let the paint dry completely. This step is important, especially if you plan to hang them as a garland or move them around for styling.
The paint will dry fairly quickly, but giving it a little extra time ensures everything stays crisp and clean.
This DIY gingerbread house Christmas decoration is one of those projects that looks like it took way more effort than it actually did.
Final Thoughts

This DIY gingerbread house decor project proves that beautiful Christmas decorations don’t have to be expensive or complicated. With a few toilet paper rolls and a little creativity, you can create something truly special and meaningful for your home.
If you enjoyed this tutorial, please leave a comment below and tell me what you think. Did you like it? Would you make these gingerbread houses at home? I’d love to hear how you would display yours.







