
If you’re looking for a cute and stylish bag that’s also super easy to make, you’re in the right place! This multi-way Bow Bag Sewing Pattern is perfect for beginners and a great quick make for anyone who wants to whip up a fabulous new accessory in no time.
This adorable bow-shaped bag can be styled in two different ways—as a structured handbag or as a soft clutch—all thanks to a clever design twist. With a free downloadable sewing pattern and step-by-step instructions, you’ll have this bag ready to go in no time.
Plus, you can make it in different fabrics to match your mood and outfit!

NOTE: This post contains affiliate links, which means that if you make a purchase using one of the links in this article, I may earn a commission at no extra cost to you (To know more about this, click here.)
Why I Love This Project (And You Will Too!)
You know I love a good, fast sewing project, and this one is as quick as it is cute! I’ve had this taffeta fabric sitting in my stash for over ten years (yes, ten!), just waiting for the perfect moment to shine.
guess what? This was it! The fabric’s texture is ideal for creating that structured bow shape.

One of the best things about this bag is that a happy accident during the pattern-making process led to two ways to carry it.
You can keep it open as a handbag a big bow, or fold it in half for a sleek bow clutch look. The secret?
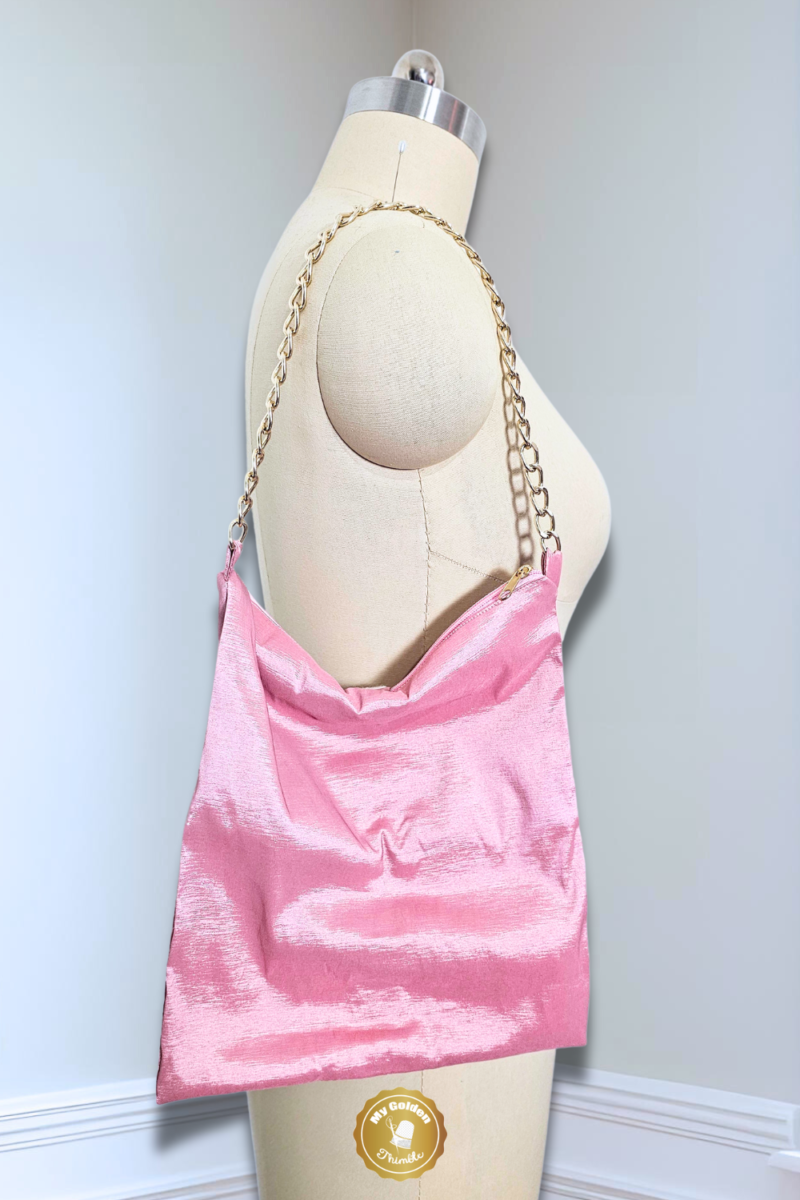
A middle strap that wraps around the bag and closes with Velcro (or snap buttons covered with fabric if you prefer a cleaner finish).

If you’re using a lightweight fabric like cotton or poplin, I recommend using medium to heavyweight fusible interfacing to give it more body.
But since taffeta already has some structure, I went with a lighter interfacing. I plan to take this beauty out for brunch with my friends soon, and I’m already dreaming of making one in denim and another in red satin. What fabric would you use?
Let me know in the comments!
Related Projects:

Flower Bag Pattern

Ruffle Trim Tote Bag

Bow Clutch Bag Pattern
DIY Bow Bag Sewing Pattern Instructions
Materials You’ll Need
Here are the materials needed for this sewing project. Click on the links to see my product recommendations and the tools I use.
- ¼ yard of taffeta fabric (or your fabric of choice)
- ¼ yard of lining fabric
- ¼ yard of fusible interfacing (light to medium weight)
- 18” bag chain
- Velcro or snap buttons
- Matching thread
- Sewing machine (this is the one I am using)
- Cutting mat (my favorite brand)
- Rotary cutter (I use this one)
Step-by-Step Instructions
Step 1: Download & Cut Your Fabric
First, download the sewing pattern (fill the form at the bottom of the post) and cut your fabrics according to the provided cutting directions. Don’t forget to transfer any markings and symbols to your fabric!
Step 2: Add Structure
Press fusible interfacing onto the wrong side of your main fabric to give the bag some body. If you’re using a lightweight fabric, opt for medium to heavyweight interfacing for a sturdier finish.
Step 3: Attach the Zipper
Place the nylon zipper along the short edge of the main fabric, right sides together. Then, layer the lining fabric on top, aligning the edges.

Pin or clip everything in place, then sew using a zipper foot at ⅛” seam allowance.
Step 4: Make the Center Strap
Fold the center strap in half lengthwise, right sides together, and sew along the long edge and one short edge using a ¼” seam allowance. Turn it right side out, press it neatly, and set it aside.
Step 5: Attach the Strap & Sew the Other Side of the Zipper
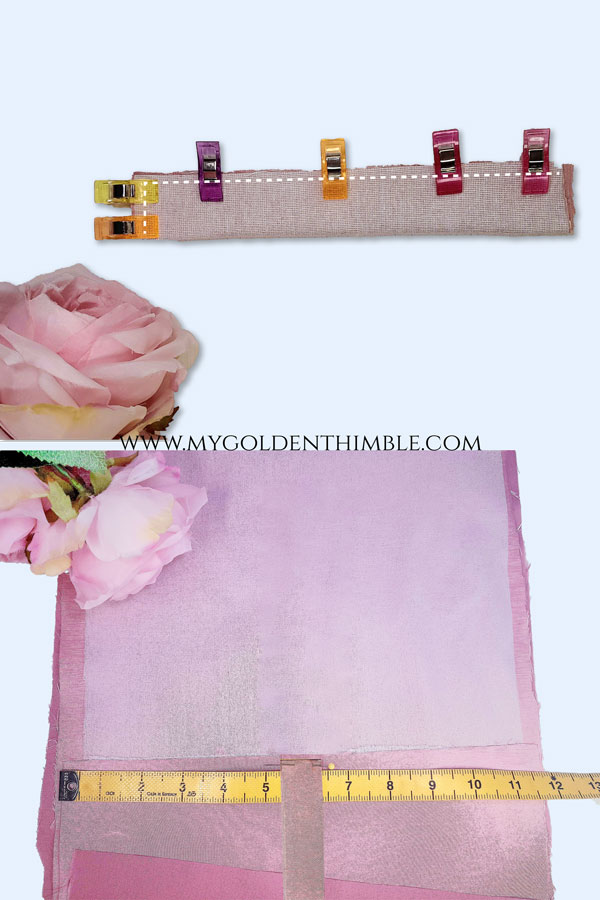
Position the center strap at the opposite short edge of the bag, aligning the raw edges.
Then, repeat Step 3 by attaching the other side of the zipper and sandwiching it between the main fabric and lining.
Sew using a zipper foot, then turn the piece right side out and topstitch at ⅛” for a clean finish.

Step 6: Make & Attach the Side Tabs
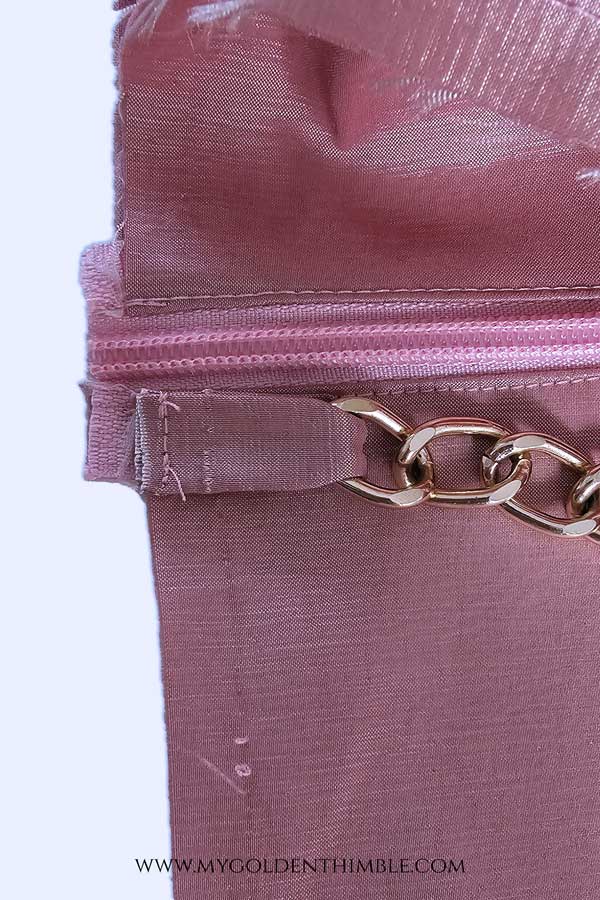
Fold the side tabs in half lengthwise, right sides together, and sew along the long edge at ¼” seam allowance.
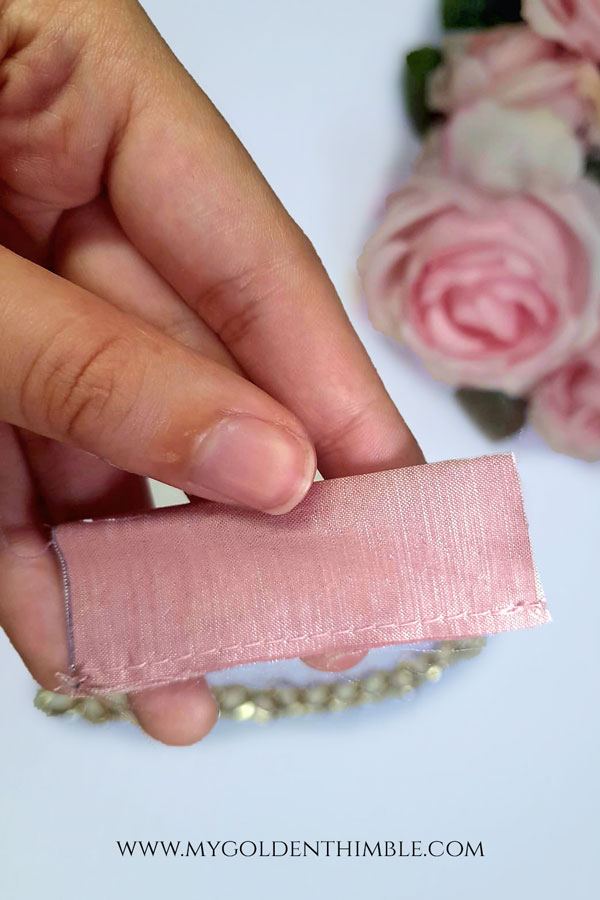
Turn them right side out and insert them through the bag chain before sewing the raw edges together.
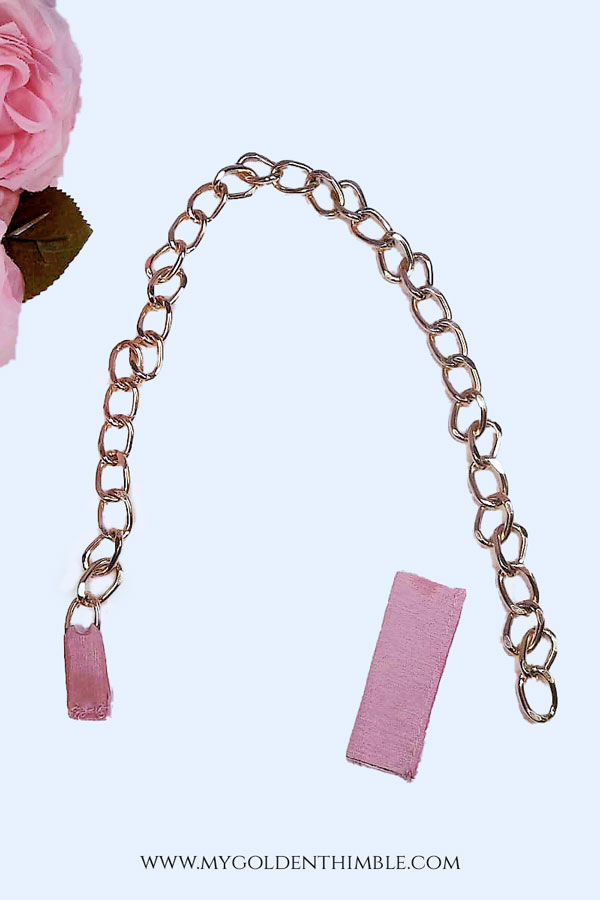
Step 7: Secure the Side Tabs
Pin the tabs right below the zipper on both sides of the bag. Make sure they’re secure and evenly placed.
Step 8: Sew the Bag Together
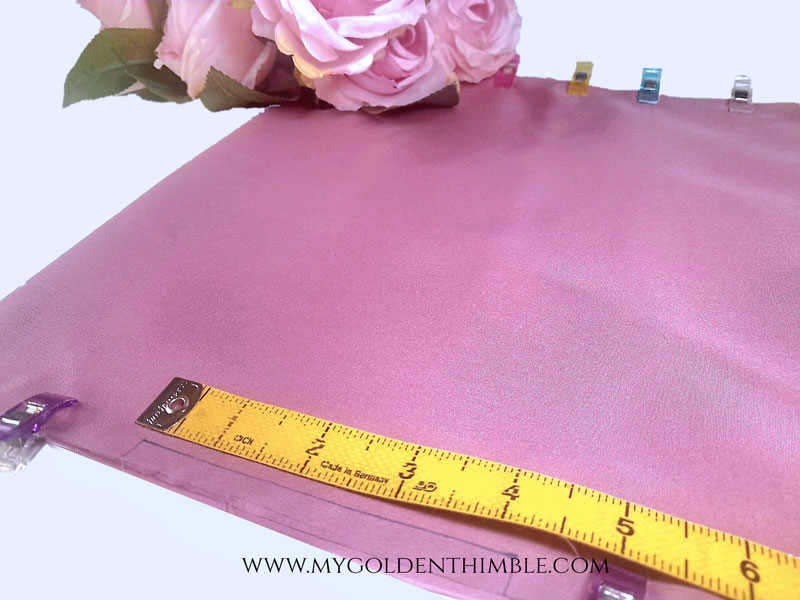
Align the main fabric and lining, right sides together, and sew all around the edges at ¼” seam allowance—but leave a 3” opening in the lining.

Step 9: Turn & Close the Opening
Turn the bag right side out through the opening in the lining. Press everything neatly and hand-stitch the opening closed using an invisible stitch.
Step 10: Sew the Velcro
Take a small piece of velcro and attach it to one end of the center strip. Attach the other side of the velcro square on the opposite side at the starting of the strip.

Step 11: Give It a Final Press & You’re Done!
Press your gorgeous bow bag to smooth out any wrinkles, and you’re ready to show it off!
Time to Make Your Own!
And that’s it—your very own bow bag is complete! Whether you carry it as a handbag or a clutch, this bag is sure to upgrade any outfit with its chic and playful look.
I can’t wait to see what fabrics you choose! Would you go bold with a satin or classic with denim? Let me know in the comments and happy sewing!
PDF Pattern Download
Hey there! Want this amazing free download? Just pop your name and email into the form below, and we’ll send it your way. Oh, and remember to check your promo or spam folders in case the email takes a detour there by mistake. If it does, just nudge it into your main inbox so you don’t miss any more freebies from us!
Don’t see the form? Disable your ad blocker and refresh the page!







Never mind when I reinstated my add blocker it popped up!
Oh! Good! I am so glad!
I disabled my add blocker, but there still isn’t a form for the pdf. Am I just missing it?
Refresh the page!!
love this idea
Thank you so much!! 😀 I am glad you liked it
Can´t find the form to download the pattern ; ;
It’s at the end of the post, gorgeous!
The materials list doesn’t have a zip, but step 3 requires a zip. What size?
You are right, I am so sorry! It needs a 10″ or 12″ zipper, love!
the pattern says pdf protected for viewing only
Hi Diane, did you tried to modify the file? None of our patterns or digital products can be modified or edited in any manner for Intellectual Property reasons.
No it just says pdf protected for viewing only
Diane, could you please send me a text on our Facebook page, so I can help you with this issue?