
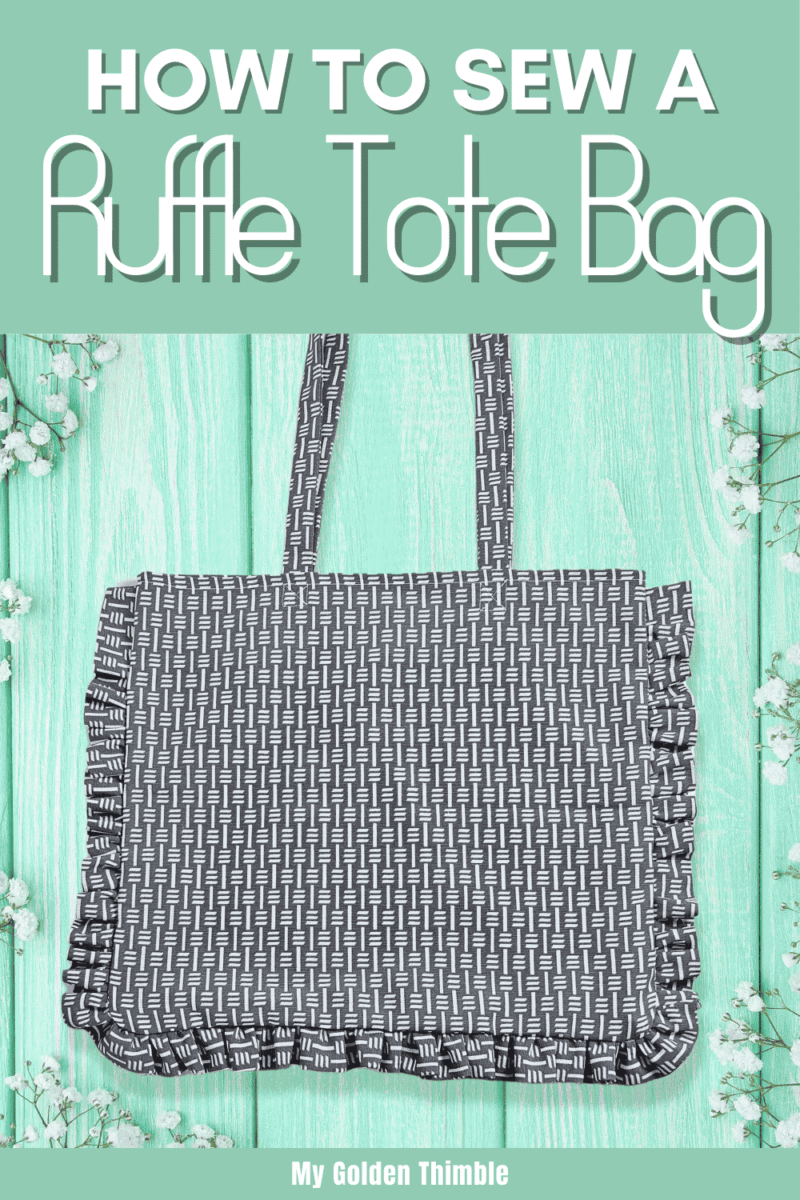
If you’ve been looking for a quick and adorable sewing project to dip your toes into the world of bag-making, then this is it. This ruffle tote bag pattern is the perfect beginner-friendly sewing pattern to get you started.
It’s super simple to sew and you can get it done in under two hours—yes, even if you’re a total newbie!The best part? The whole bag is made out of just a couple of rectangles, so there’s no complicated pattern cutting or confusing curves to deal with.
It’s one of those projects that will instantly boost your sewing confidence and give you something cute and functional to show off at the end.
NOTE: This post contains affiliate links, which means that if you make a purchase using one of the links in this article, I may earn a commission at no extra cost to you (To know more about this, click here.)
Ruffle Tote Bag Project Notes
Okay, so let me tell you a bit about how this little tote bag came to life.
I had this old piece of outdoor canvas fabric sitting in the back of my sewing shelf for ages. You know the kind that’s a little too stiff for clothes?
I wanted to make something simple. One of those satisfying projects that you can start and finish on the same day without stressing over it for a whole week.
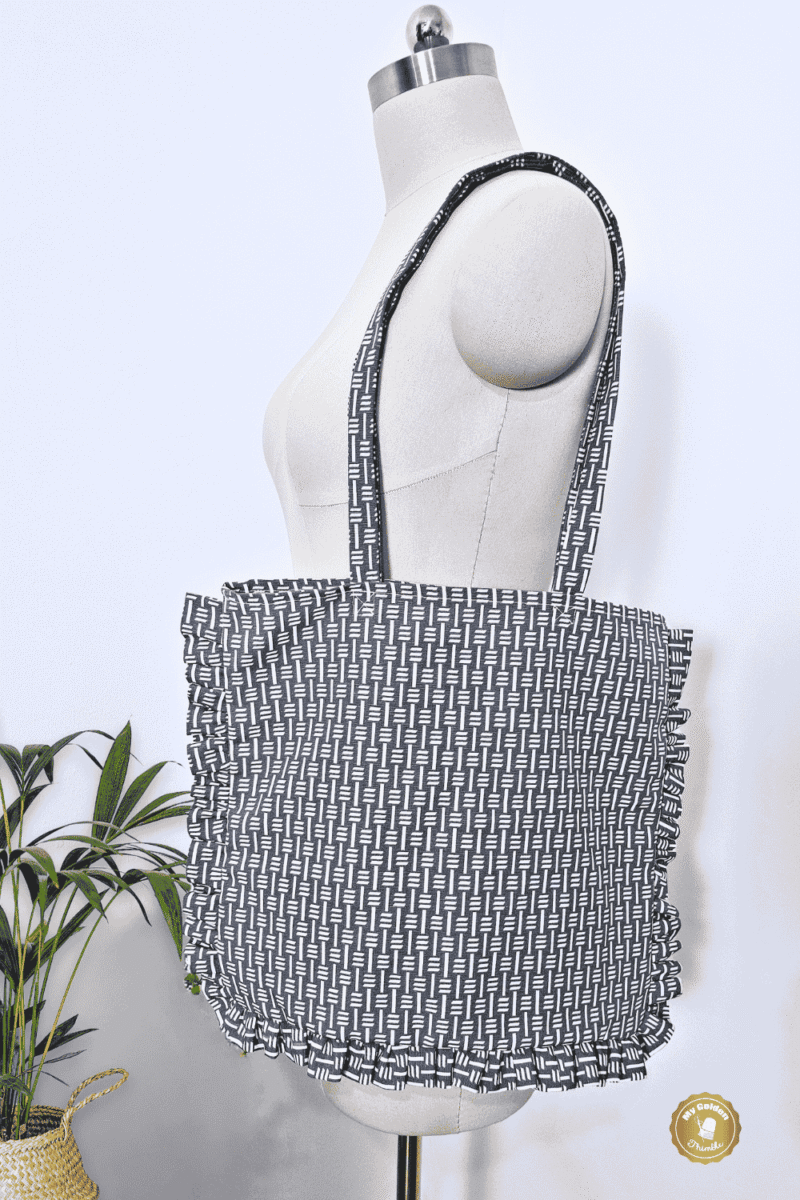
Lately, I’ve been so into ruffles. It all started with my ruffle pillow cover for the bedroom. I finished it and immediately thought, “Okay wait… I need to ruffle everything now.”

So this tote bag was next in line for a ruffle makeover, and honestly, I love how it turned out. This bag is not only cute and functional, but it also pairs so well with a pretty outfit.

Because I used that sturdy canvas fabric, I didn’t have to bother with interfacing or lining. Less materials, less time, more instant gratification! If you’re like me and you love finishing a project in one sitting, structured fabrics like canvas are your best friend.

Of course, if you’re working with cotton or quilt fabrics, just keep in mind that you might want to add some fusible interfacing or even a simple lining to give your bag a bit more structure. It’s totally up to you!
How to Make The Ruffle Tote Bag Pattern
To make this cute bag, cut the following pieces from your fabric:
- Two rectangles of 17” x 15”
- One strip of 75” x 3.5”
- Two strips of 29” x 2.5”

How to Sew a Ruffle Tote Bag Pattern
Step 1: Prepare the ruffle
To get started, take your ruffle strip and fold it in half lengthwise with the right sides of the fabric facing each other.
Then sew the shorter ends together using a ½” seam allowance. Once that’s done, clip the corners to reduce bulk and turn the strip right side out.

Press it flat with your iron to get nice, crisp edges. Now, along the raw edge of the strip, sew a basting stitch about ⅜” from the edge. Use the longest stitch setting on your machine.
Once that’s in place, gently pull the thread to gather the fabric and create your ruffle. It’s okay if it takes a little adjusting to make the gathers look even—this part doesn’t have to be perfect to be pretty!
Step 2: Mark and place the ruffle
Take one of your bag body rectangles and measure 1½” down from the top edge on both sides, then make a small mark on each side.

This will be the placement guide for your ruffle so it stays centered and neat. Now, line up your gathered ruffle strip with the raw edge of the rectangle, starting and ending right at those marks you made.
Once you’re happy with how the ruffles are distributed, baste the strip in place so it won’t move when you assemble the bag.
Step 3: Sew the bag body
Now, grab the second rectangle for the bag body and place it on top of the first one with the right sides of the fabric facing each other.
Make sure everything is aligned, then sew all around the sides and the bottom of the bag with a ½” seam allowance.
This will enclose your ruffle neatly between the two layers of fabric.
After sewing, turn the bag right side out and admire that sweet little ruffle trim peeking out!
Step 4: Add bias binding and hem the top
To finish the inside of your bag nicely, use bias binding to cover the raw seams all around the inside edges.

You can do this using your favorite bias binding method—whatever feels easiest for you.
Once that’s done, move to the top edge of the bag and fold it down ½” twice to create a clean hem. Sew a straight stitch all around the top to secure it and give the bag a neat, finished look.

Step 5: Make and attach the straps
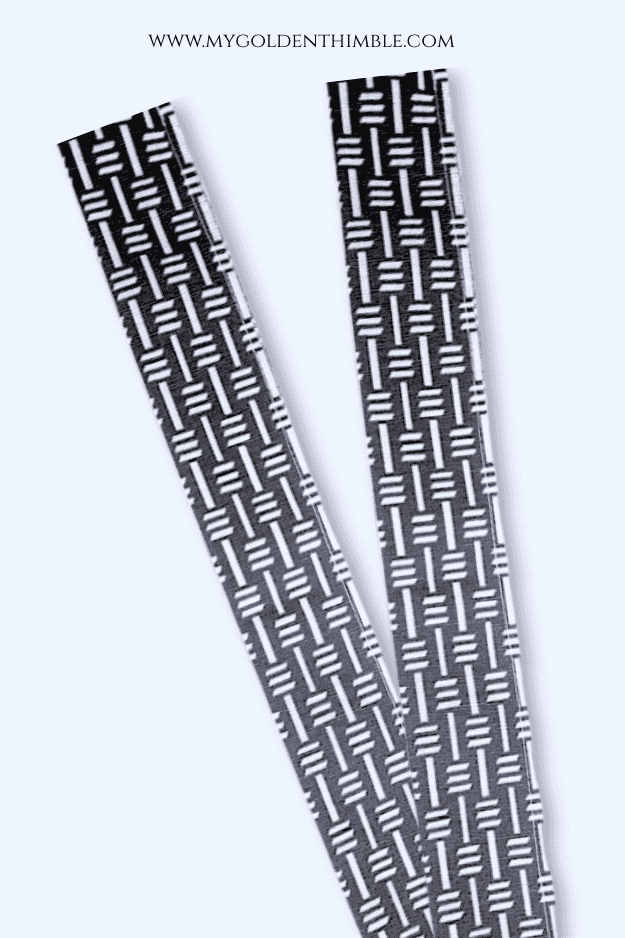
To make the straps, fold each strap piece in half lengthwise with the wrong sides together. Sew all the way around at ¼”, but make sure to leave a 3” opening along one of the long edges. Use that little opening to turn the strap right side out, then press it nice and flat.
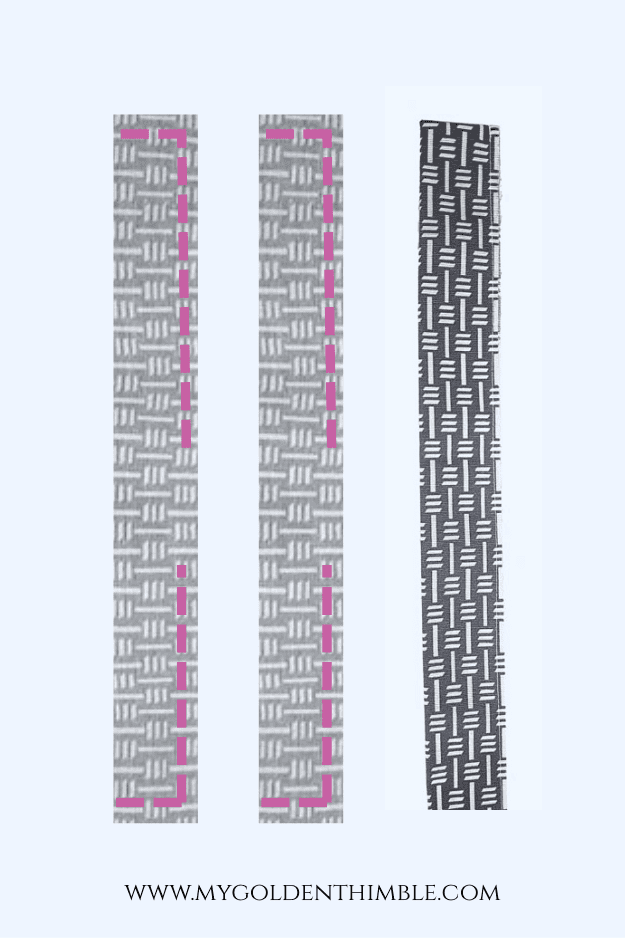
You can close the gap with an invisible ladder stitch by hand. Or topstitch around the entire strap if you want a quicker finish.
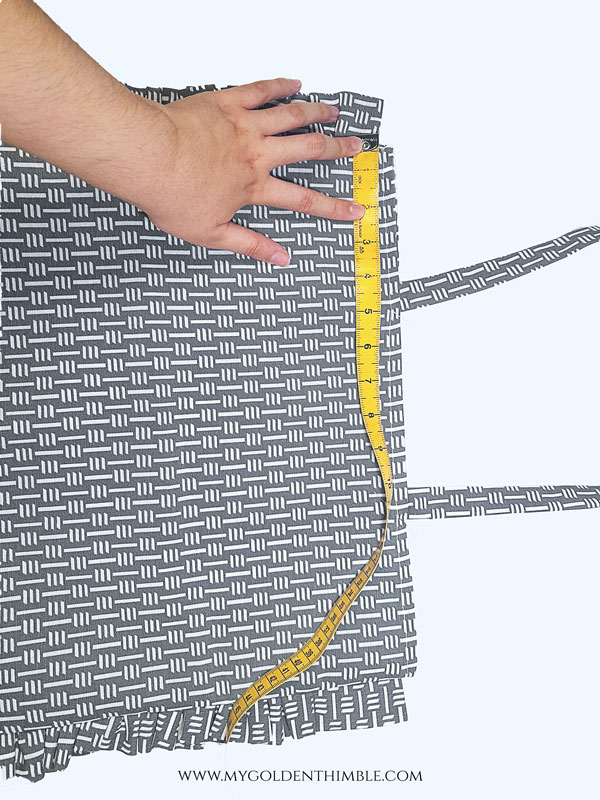
Once your straps are ready, measure 4⅜” in from each side of the bag to find the perfect placement. Then sew the straps to the inside of the bag to secure them—and that’s it!
Final Thoughts
And that’s it! You just made your very own ruffled trim tote bag. And hopefully, had a blast doing it.
This little project is perfect for a weekend sew, a gift idea, or just a fun excuse to use up that cute fabric you’ve been hoarding (yes, I know you’ve got some!).

You keep it simple like mine with canvas or dress it up with colorful quilting cotton. It doesn’t matter, you’re going to love how versatile and charming this bag turns out!!
So go ahead, grab those scraps and give them a try. And if you get ruffled fever like I did… don’t say I didn’t warn you!








I noticed in the instructions for the ruffle and the straps you wrote to fold wrong sides together but wouldn’t it be right sides together
Yes my love! Thank you so much for noticing!! I made the correction. Sending lots of love.
D
I love this and think I will try it…question however. On the 75″ measurement for the ruffle, if you are using regular quilting cotton, you would need to cut 2 pieces and would you need to cut on the diagonal or simply cut 2 pieces that measure 75 inches total?
I wouldn’t cut them diagonally because it is too long and it will be to complicated. Instead cut 2 that measure 75 total!