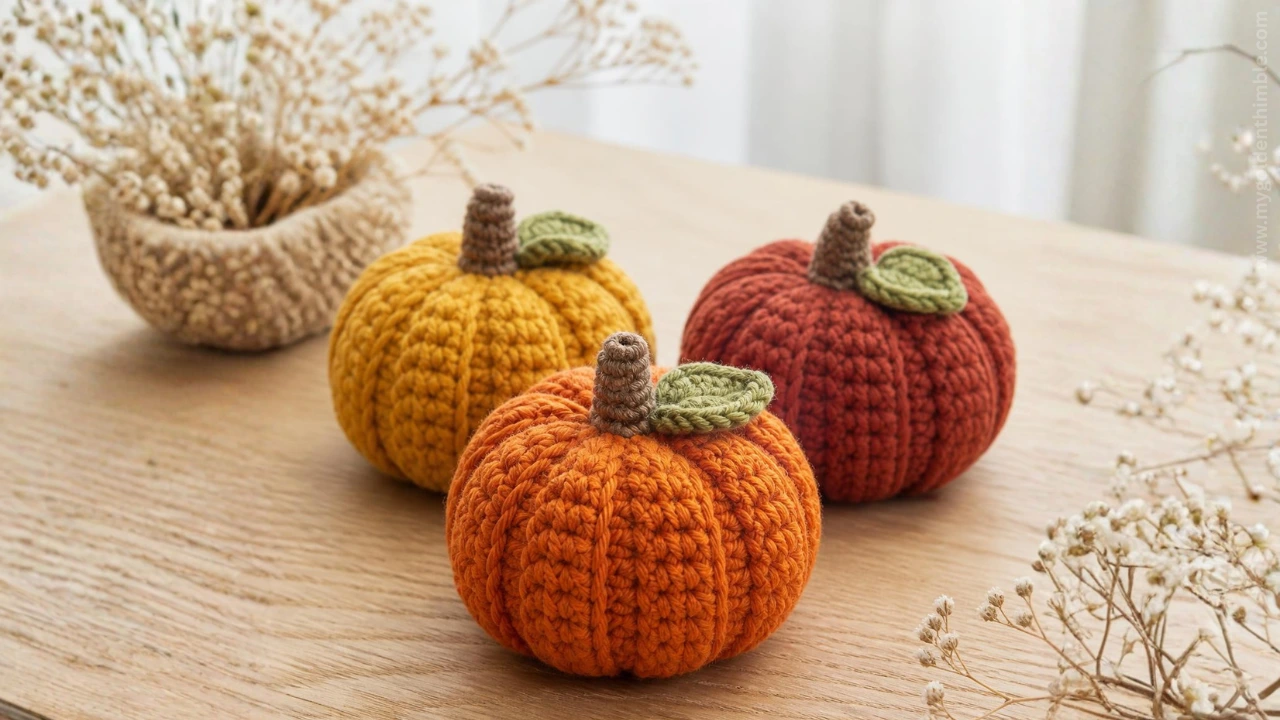
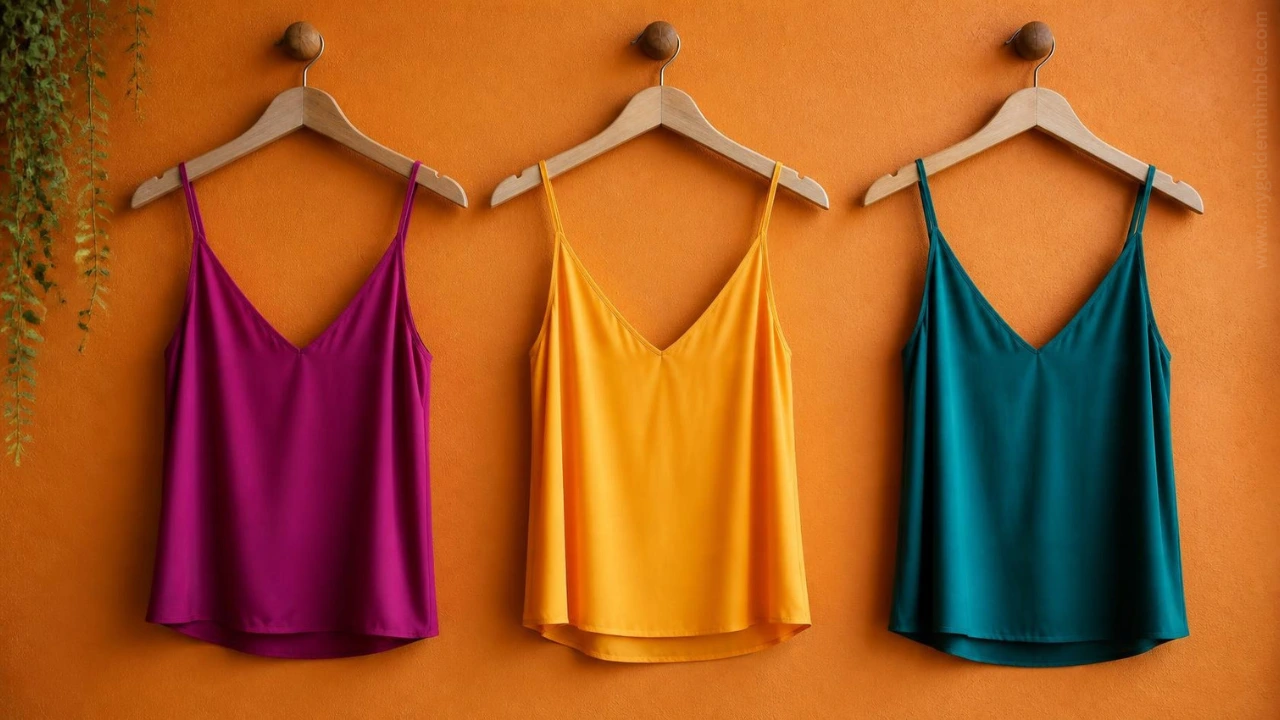
In this tutorial, I will show you How to Make a Drawstring Bag in two different ways.
These bags are fantastic for storing all kinds of things and even for organizational purposes at home. My favorite use is making them as reusable gift bags for my friends and family.
Making drawstring bags is super easy, and it takes almost no sewing and no fabric whatsoever.
So it is one of the perfect sewing projects for beginners. A DIY drawstring bag will be ideal if you are just starting to find your way around your sewing machine.
Here you will learn how to sew a drawstring bag with different variations. One of them with a french seam, and the other uses a serger. I will also show you how to make a drawstring bag with two strings and a single one.
I will also show you how to make a bag with the cord on top and one with the cord in the middle. These two ways give them a different look, so choose the one you love the most.

NOTE: This post contains affiliate links, which means that if you make a purchase using one of the links in this article, I may earn a commission at no extra cost to you (To know more about this, click here.)
About This project
This project was one of my first and easiest sewing projects as a sewing student back in high school. These kinds of projects are perfect for accomplishing a useful task while we learn how to sew.
We can quickly learn the sewing machine parts, fix our tension, and try different seams and stitches while making a drawstring bag.
Today, I use them for all sorts of things. The reason is their practicality. It is also a straightforward project that anyone can do in under 20 or 15 minutes.
Now, I do have to warn you, this tutorial is a tad bit long. But hang with me.
I wanted to cover all the questions and tips you might need to know about this topic. That way, you can create the most amazing drawstring bag for yourself.
What is the best cord to use for a drawstring bag?
Some of the most used cord materials for drawstrings are satin ribbon, satin rattail cord, tinsel string, and twisted trim cord.
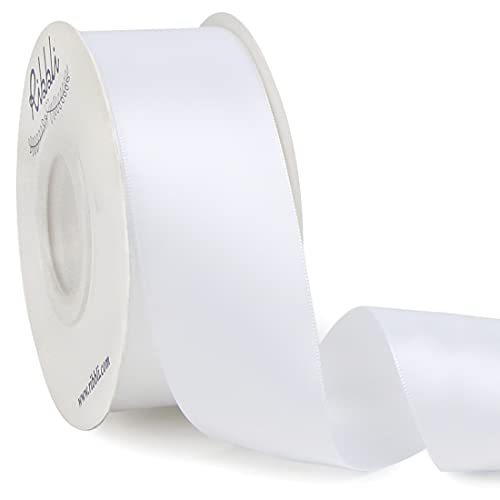
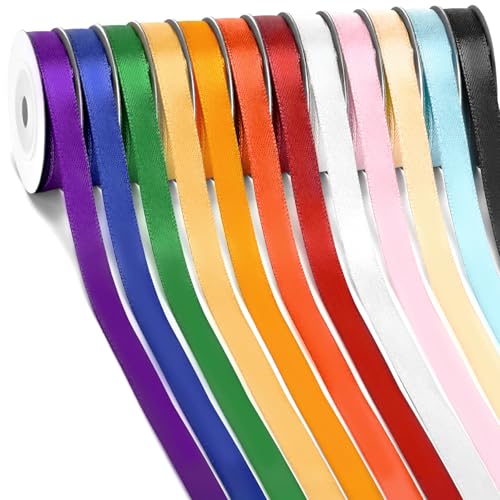
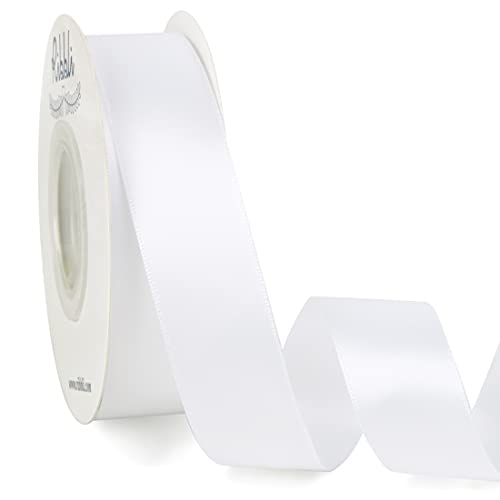
In this tutorial, I will use satin ribbon in different widths, as I like it the most, to give these bags a pop of color. I always use it to tie a pretty bow when closed.
Remember that the width of your trim will affect the distance between your seams, so modify the instructions in this tutorial to fit the width of your cords.

Another thing you can do is make your own cords with the same fabric as the drawstring bags. This works great if you want your cords to match the bag’s material and colors. Use a spaghetti straps tutorial to do this.
Let’s make the first type.
How do you make a double-pull drawstring bag?
For this tutorial on how to make a drawstring bag, we will use the best techniques. Our seams will be clean French seams to avoid having raw edges, and our closure will have two strings to pull from. As I said before, this is the best way to close a drawstring bag.
But of course, you can always choose to use one string only.
Materials:
1. Make the pattern
To make the pattern for your string bag, make a square or a rectangle as big as you want your bag to be.
Add 1/2″ on each side of the square as seam allowance. For the top, add two times the measurement of the width of your cord + 1/4″.
For example, my ribbon width is 3/4″, so my top measurement will be 1 1/2″ + 1/4″.
Add the cut-on-fold pattern symbol at the bottom of the pattern (where you didn’t add anything).
2. Cut your fabric.
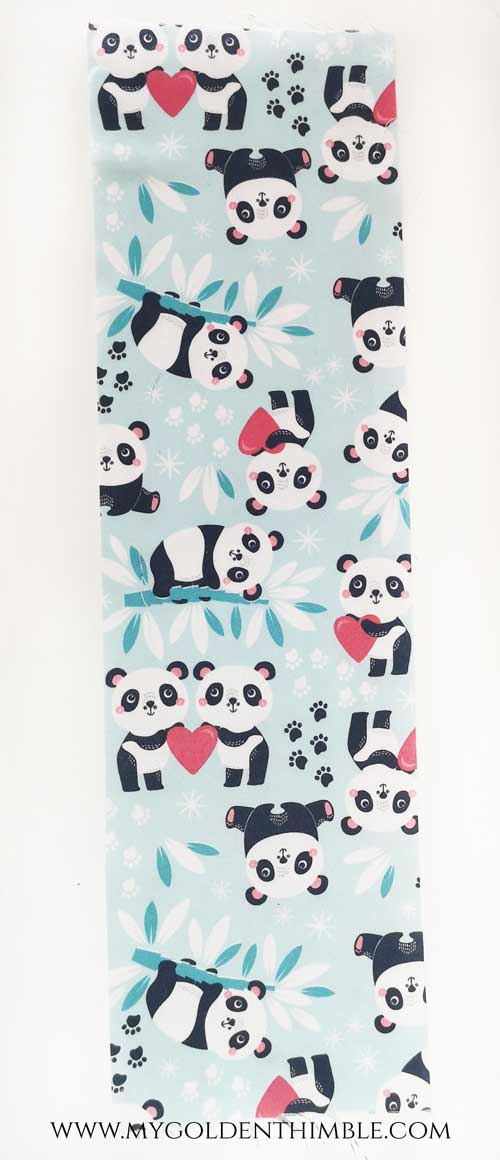
Fold your fabric in two and place the bottom of your pattern on the folded edge of the fabric.
Cut your pattern and unfold.
3. Hem the top raw edges.
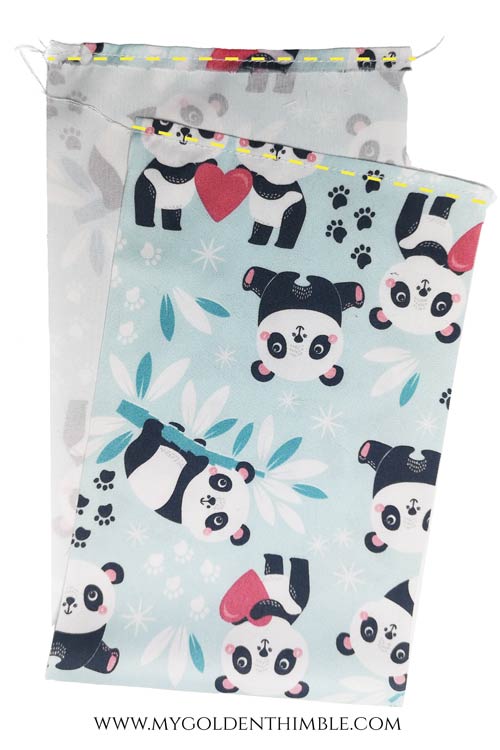
Fold the shorter ends of the rectangle 1/4″ toward the wrong side of the fabric and press.
Sew a top stitch at 1/8″ and press again.
4. Sew a french seam.
Now you are going to make the french seam on the sides of our bag. Go to our french seam tutorial to see a deeper reference to this technique. I will explain it quickly here, though.
Fold the rectangle in half by joining the hems. Put the fabric with the wrong sides together.
Measure two times the width of your cord and make a mark from the top of the hem down.
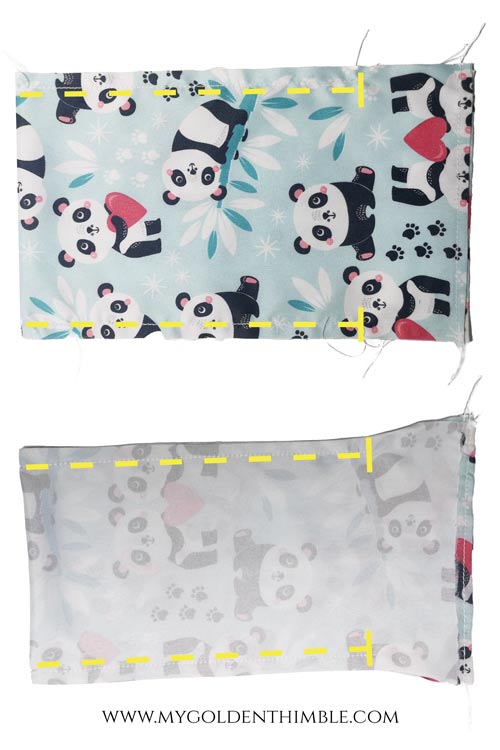
Sew the sides at 1/4″ from the folded bottom of the bag up, but stop sewing right at the mark you just made. Make a backstitch.
Press the seams and turn the bag inside out, leaving the right sides together on the inside of the bag.
Sew the sides again at 1/4″, stopping at the mark. With this seam, you will make a case for the first seam allowance we made.
5. Cut the upper seam allowances.

Clip 1/4″ of the upper seam allowances, as I am doing in the picture. This part of the seam allowance must unfold towards the fabric’s wrong side.
Then we are going to fold that part towards itself to create a hem on each one of the four pieces of the upper bag.
Pin them and then make a stay stitch at 1/8″.
6. Create the casings.
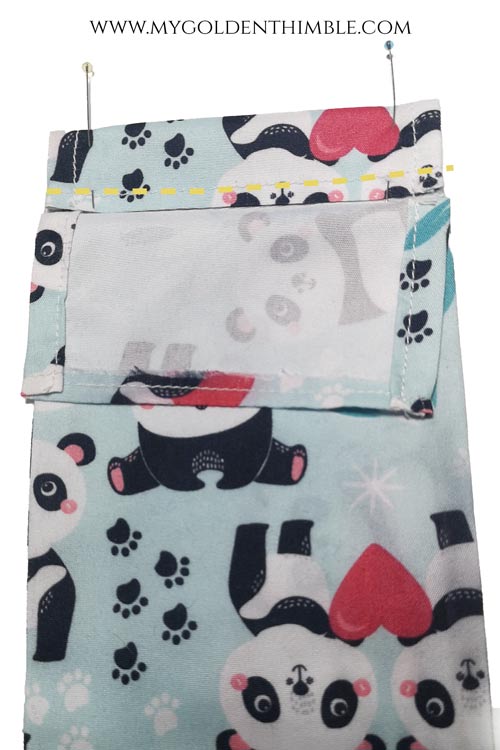
You are almost done! Now it’s time to create the casings for our string or ribbon.
To do so, fold the top of the bag right until the french seams are about to start.
Pin it in place and make a seam right above the seam of the first hem we made. Make a backstitch at the beginning and at the end of each seam.
7. Insert the strings or ribbons.

Cut a ribbon twice as wide as the top of your bag and add 4″ or 5″ extra inches to that measurement.
With the help of a safety pin, a loop turner, or an elastic inserter, insert your elastic through the casings.
You can leave your bag with only one string, or you can use two strings.
To use two strings, insert the ends of the second ribbon through the opposite side, which you did the first time.
And that’s it!
Now you have a simple drawstring bag with a french seam finish. For the next variation, I will make a drawstring bag with the ribbon in the middle instead of on the top.
How to make a drawstring bag with one string in the middle.
For this variation, we will make a drawstring bag differently. We will place the casing of the ribbon or string a little bit lower from the top of the bag.
This style makes our diy drawstring bag look cuter because the gathering on the top will create a beautiful shape. It looks so elegant! That is why I always recommend using this bag tutorial to make gift bags.
I am using only one ribbon or cord this time, but remember you can use a double pull style by adding a second cord on the opposite side of the openings. As we did on the variation above.
1. Make the pattern for a drawstring bag.
To make this pattern, we will start the same way we did before.
Make a square or rectangle with the measurements you want your finished bag to be. Mark the top and the bottom of the shape.
Add 1/4″ on each side as a seam allowance.
On the top, we will add two times the width of our ribbon or cord + two times the measurement you want above your ribbon + 1/4″.
For example, my ribbon is 1″ wide, and I want about 1 1/2″ of fabric above the ribbon of my bag. So I will add 2″ + 3″ + 1/4″ or a total of 5 1/4″.
Write down the symbol “cut on fold” on the bottom of your pattern.
2. Cut your fabric pieces.
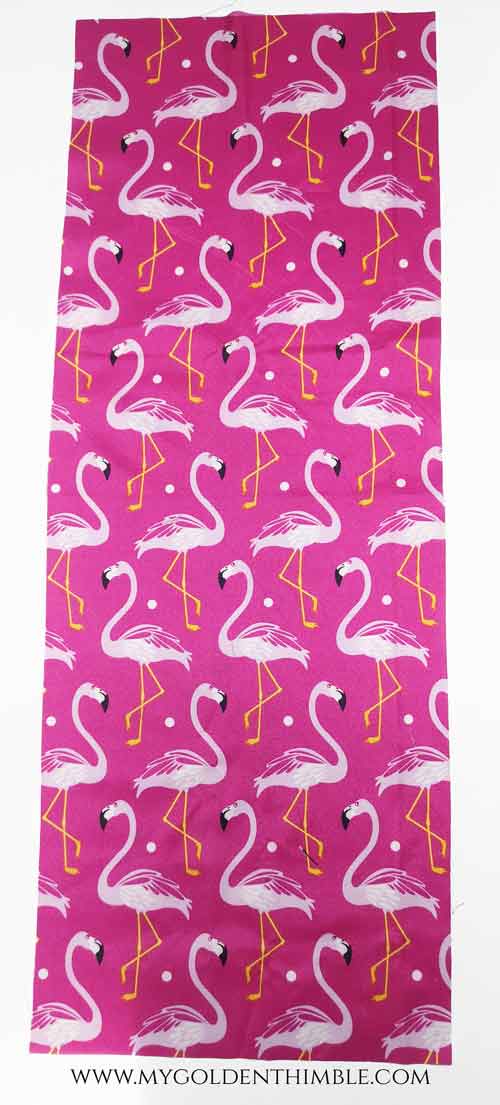
Use your pattern to cut your fabric, and make sure to place the right end of the pattern on the fold of your fabric.
3. Make a hem on the top edges.
Fold the top edges (smaller ends) of the rectangle towards the wrong side of the fabric. Press and sew the hem at 1/8″.
4. Serge the raw edges.
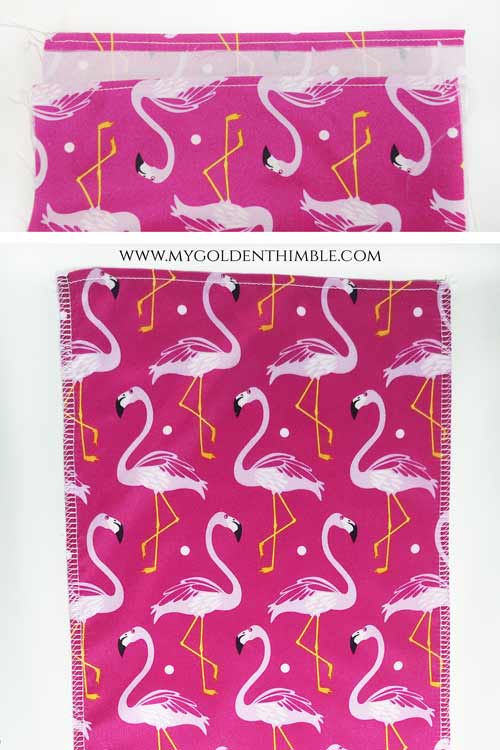
With the rectangle unfolded, serge the raw side edges of your bag.
5. Sew the sides.
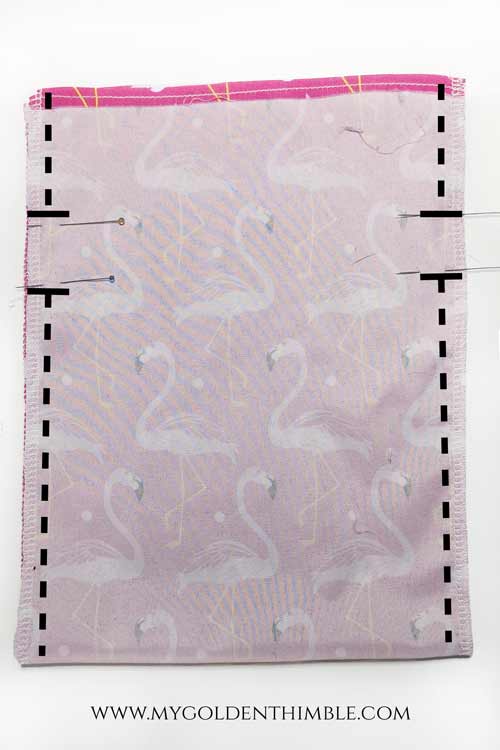
Fold the bag in half by aligning both of the top-end hems together. Leave the right sides of the fabric inside.
Mark the width of your ribbon with two pins on each side. You will sew the side seam at 1/4″ ABOVE and UNDER these pins. Leaving the width of the ribbon without sewing.
Remember to backstitch at the beginning and at the end of each seam.
Press the seams open.
6. Fold the top edge.
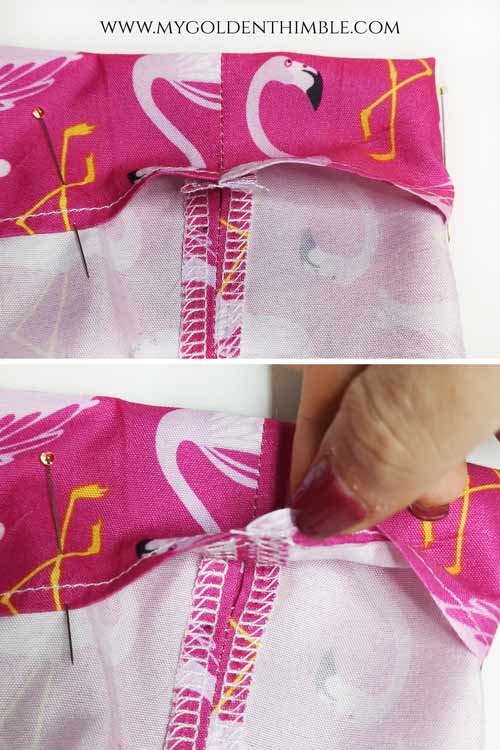
Fold the top edge to make the casing of our drawstring bag.
Ensure that the hem we made in step 3 of this tutorial is below the opening we left.
Pin along the whole circumference and then make a seam just on top of the seam of the first hem.
7. Make the casing.
Make a second seam above the one you just made to make the casing.
This seam has to measure the width of your ribbon or cord so we can put it through this casing.
Press.

8. Insert the strings.
Amazing! This is the final step. You are doing great.
To finish your bag, insert the string or ribbon with the help of a safety pin, a loop turner, or an elastic inserter.
And you are done!!
Bonus!
How to make a drawstring bag shorter.
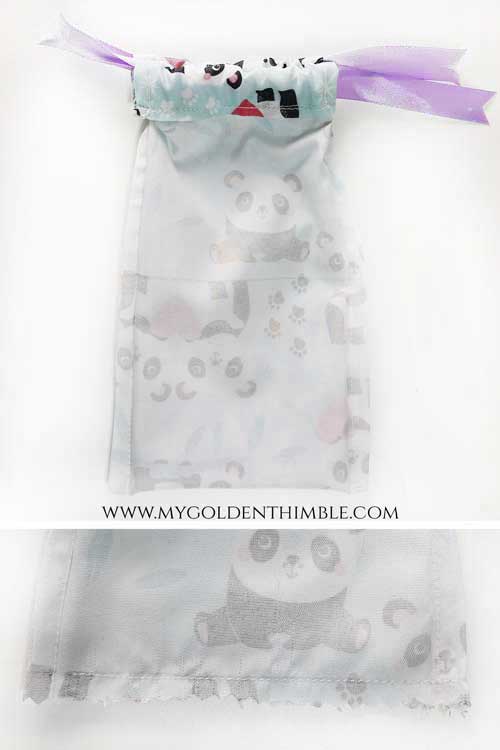
To make a drawstring bag shorter, turn the bag outside and flatten the bottom with your hands.
Measure how much you want to take off your bag and make a line with a fabric marking tool.
Make a straight seam and backstitch the beginning and the end of it.
Then cut the excess fabric leaving about 1/4″ of seam allowance below the seam. You can serge this raw edge to prevent it from fraying.
If you want to know how to make a small drawstring bag, then go to the top of the tutorials and modify the patterns to the measurement you need.
How to make a drawstring square bottom.

Sewing a drawstring bag with a flat bottom is super easy. Follow the instructions for any bag variations I showed you above, and then do this.
Fold up the corner of the bag with the seam allowance in the middle until you form a triangle.
Then make a straight seam of the width you want the flat bottom of your bag to be. For example, I want my bag to be 1 1/2″ wide, so I will make a seam measuring 1 1/2″.
Do this on both corners, and that’s it! You have a flat-bottom drawstring bag.

How does a drawstring bag work?
A drawstring bag’s purpose is to open and close in a matter of seconds. To do this, we use strings or cords that we insert in the casing to pull them and gather the opening of the bag close.
A drawstring can have two or one string; in both cases, the closure works similarly.

The only difference is that when you have two strings, the bag’s opening will gather at the center of the strings, as on the one-string bag, the gathers will be on the folded side of the string.
A bag with two strings is way easier to open and close than a single-string bag. This is because the bag will close on its own when you pull both strings on opposite sides.
As with the single-string bag, you must push the fabric through the cordings to close the bag.
A good tip is to make knots at the end of the strings so you won’t have to adjust them in case they fall out.