In this post, we will explore the technique of sewing a lapped seam, which is a type of seam used in many sewing projects.
We will discuss the materials and tools needed, the steps involved in sewing a lapped and double-lapped seam, and some tips and tricks to help you achieve a professional-looking finish.

NOTE: This post contains affiliate links, which means that if you make a purchase using one of the links in this article, I may earn a commission at no extra cost to you (To know more about this, click here.)
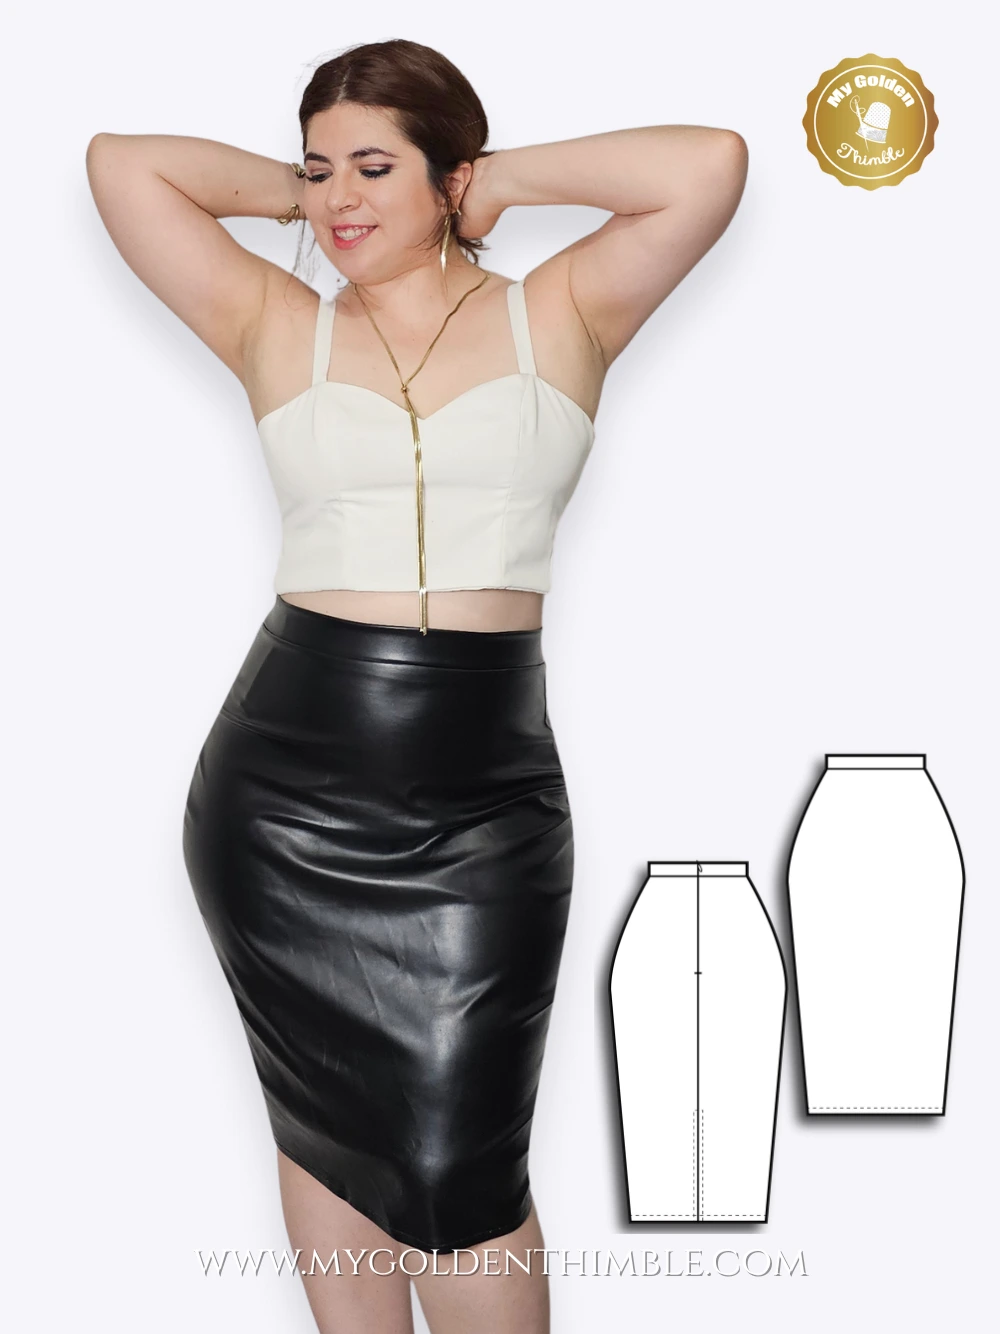
When I think about sewing anything with leather or vinyl, my first seam finish to go to is the lapped seam. It is just one of those seams that make your life easier and allow you to sew your projects more quickly.
It involves almost no thinking and handling and has a super clean, flat, and smooth finish on the seam allowances.
And despite what you might be thinking, this seam is actually very easy to achieve. I will give you my best tips for working with this seam in your favorite projects made with non-fray fabrics.
What is a lapped seam?
A lapped seam is a seam in which the raw edges of seam allowances of the fabrics overlap and are stitched in place. This seam creates a beautifully clean and flat finish on seam allowances avoiding bulks or exposed hanging seams.
This seam will have a similar finish to a flat felled seam with two parallel top stitches. But on the contrary, of the flat felled seam, the lapped seam only has enclosed seams if you work with the double-lapped seam, which we also show you in this tutorial.
You don’t need to finish the edges of these seams, as it is mainly used for fabrics that don’t fray.
What is a Lapped Seam Used For?
A lapped seam is mainly used for fabrics that don’t fray, such as leather, suede, wool, felt, and vinyl. You will use this seam when you want a clean, flat finish. You can also use it when you have intricate shapes on your seams for construction or decorative purposes.
These fabrics are usually thicker, and their edges don’t fray when cut. This quality makes them perfect for this type of finish because their edges will be left overlapped and exposed, and thanks to that. They won’t have a bulk on the seam allowances.
The benefits of this seam are wide. Some of them include flat seams and avoiding bulks when you join two pieces together.
This is especially useful in Leather Sewing Patterns. It is also a solid, durable seam that works excellently on thicker fabrics like leather.
Lapped Seam Tips and Hacks.
Before we start with this tutorial, let me share my best tips for creating a successful lapped seam, even if you are a beginner.
1. Make clean and accurate cuts. The cleaner the edges of your project are, the more precise your seam will be. Preferably, use your best rotary cutter. Make sure not to have wonky lines on your cuts and to have the exact seam allowance measured.
2. Use a ruler or a cutting mat to measure the overlapping. If you have straight lines using a transparent pattern, making a ruler or a cutting mat will make your overlapping more exact.
3. Determine your seam allowances before cutting your fabrics. As I will show you below, there are two ways to add seam allowances to your patterns. Choose the one you prefer and mark the side which has the seam allowances before cutting.
4. Use masking tape or painter’s tape to hold your pieces together. Most fabrics that don’t fray are canvases in which the marks or pins can’t be removed. That’s why using tape to hold your pieces together (like in this video below) will make your job easier.
5. Sew both seams from the same side. If you sew the first seam on the right side of the fabric, sew the second one from the same side. Seams look different if you don’t have the perfect thread tension balance, so if you sew them on different sides, you won’t have the same finish.
6. Use a medium to long stitch length. As you will be working with thicker fabrics, it is better if you lengthen your seam. Don’t work with short seam lengths.
How do seam allowances work on a Lapped Seam?
You can add seam allowances to your lapped seams in two ways. The first way is to add the whole seam allowance on just one side of the edges.
For example, in this case, the seam allowance of 1/2″ is only on the left side of my pieces, which means this side is the one that will overlap on the other side. You will need to overlap the top piece 1/2″ over the bottom piece.

The middle/center of this seam allowance will be the line of the edge of the bottom piece.
On the other hand, the best way to add the seam allowances is by distributing them between the two sides of the pieces. I have a 1/2″ seam allowance in the following picture on both sides.
In this case, I will have to overlap my piece 1″ in total to have the center/middle of the seam just between the two top stitches.

Choose your preferred method, add your seams, and proceed with the tutorial.
How to Sew a Lapped Seam? Step-by-step.
Note* If you can’t see the video tutorial, turn off your ad blocker and refresh this page.
1. Measure and Mark your Seam Allowances.
Follow the steps above to add and mark your seam allowances. I will work with a ¼” seam allowance for this tutorial on both sides of my fabrics.
This means I’ll need to overlap my pieces two times that measurement. So I will need to measure ½” on each side.
2. Overlap the pieces.

I like to use a ruler to ensure I overlap the exact amount on each side of my edges.
Put one edge on the ½” mark and use your ruler as a guide to overlap the same amount with the top fabric.
Use sewing clips or painter’s tape to hold your pieces in place.
Save this technique on Pinterest.
3. Make the First Top Stitch.

Use a Teflon presser foot (here is a Teflon foot tutorial) to make your lapped seams. This way, your fabrics won’t get stuck.
Make a top stitch on the right edge of the top fabric. Use a length stitch of 3.0 or 3.5.

The stitch should be about ⅛” apart from the edge.
4. Turn the Fabric and Position the Needle.

This is a trick to get your needle in the exact position so it will catch both layers of the fabric when you sew it on the right side.
Position the piece upside down below the presser foot and move your needle, making sure it is ⅛” from the left side edge of the bottom fabric.
Turn your piece to the right side again.
5. Sew the Second Top Stitch.

Place the fabric below the presser foot and sew the second line of the top stitch.
Use the first seam as a guideline so the lines will end up parallel to each other.
Double Lapped Seam. Step-by-Step.

A double-lapped seam has both edges of the fabrics enclosed. This is a great seam to reinforce the seam allowances.
This is an excellent seam for outdoor projects like cushions or hard work clothes like denim and working overalls.
1. Overlap the Seams.

Overlap the raw edges seam allowances ½”.
Use sewing clips or painter’s tape to hold your pieces in place.
2. Turn and Enclose the Seams.

Fold and turn the top side of the seam over the bottom side and vice versa.
Both raw edges of the seams will end up enclosed, as in this picture.
3. Top Stitch.

Make two top stitches near each folded edge of the fabrics to hold the seam allowances in place.
And that’s it!!

Remember showing off your beautiful job at My Golden Thimble Sewing Club to get a lot of love and praise!
In conclusion, mastering the lapped seam is a valuable skill for any seamstress. Not only does it create strong, durable seams, but it also adds a professional touch to your sewing projects.
With the step-by-step instructions provided in this tutorial and the tips and resources for achieving a smooth, polished finish, you can feel confident in your ability to sew a lapped seam in any project.
So go ahead and try it – you might find that the lapped seam becomes your go-to technique for creating high-quality, long-lasting garments and accessories.
Happy sewing!
Psst…Is this article helpful to you?? Please support us so we can keep making awesome tutorials for you by buying us a cup of coffee here. We will be forever grateful!
Don’t forget to follow us on Social Media!!