If you’re tired of dealing with messy, tangled cords all over your desk, bag, or sewing space, you’re going to love this Cord Keeper DIY project. Today, I’m sharing a super simple (and totally adorable!) way to keep your cables neat and organized—with a free sewing pattern included!
So, grab your fabric scraps, and let’s get started on this fun and practical cord holder DIY.

NOTE: This post contains affiliate links, which means that if you make a purchase using one of the links in this article, I may earn a commission at no extra cost to you (To know more about this, click here.)
No more chaos!
I have to be honest with you—cords are taking over my life. My sewing room is full of them—power cords for my sewing machine, my serger, my iron, and who knows what else! Not to mention all the chargers, earphones, and mystery cables scattered around the house.
Right now, I have this old shoebox stuffed with random cords that I swear I meant to organize… but somehow, it never happens. I don’t even know what half of them are for! It’s just a giant tangled mess that I keep shuffling around when I need to find one specific charger.

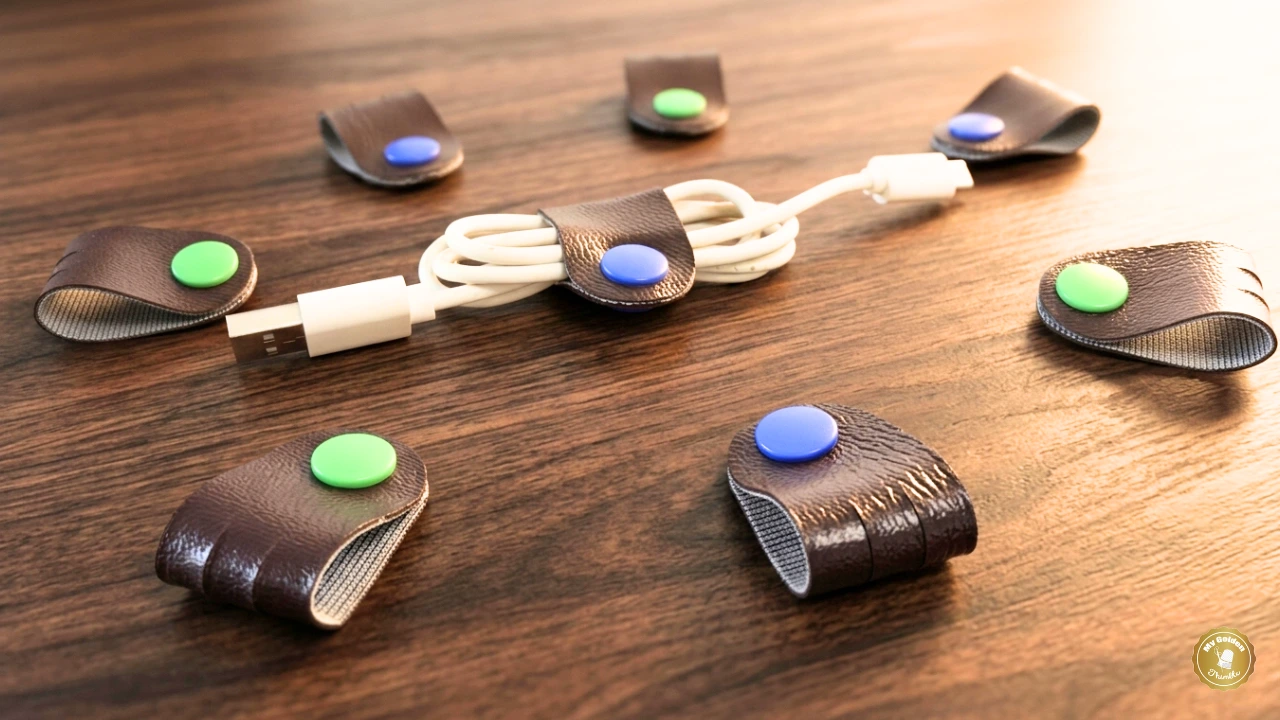
So, I finally decided it was time to fix this chaos, and that’s how this Cord Keeper DIY project came to life! These little fabric wraps are so easy to make and keep all your cables neatly rolled up—no more digging through a ball of wires! Plus, they come in three sizes, so whether you need a cord keeper for your desk or something small for travel, I’ve got you covered.
And the best part? You can make these with just a tiny bit of fabric, so it’s the perfect scrap-buster project! Ready to sew (or no-sew) your way to an organized space? Let’s get started!
Two Ways to Install Snaps (or Velcro!)
When it comes to closing your cord keeper DIY, you have two options for installing snaps (or Velcro!). Both are super easy, and I’ll walk you through each option. Plus, if you prefer using Velcro squares, you can follow the same instructions instead of snaps. Now, let’s dive into your two choices for closure:

- Close by Folding in Half – This method works great for smaller cords that need a snug wrap. To do this, place the snap buttons mirrored—so you’ll put the button caps on one side and the stud and socket on the other side of the piece. When you fold the cord keeper in half, the snaps will line up perfectly and keep it closed.
- Close Like a Bracelet – This option is perfect for wrapping around larger cables, as it holds everything more securely. To install the snaps this way, place one cap on the back side and the stud on the front side at one end of the cord keeper. Then, on the opposite end, place the cap on the front side and the socket on the back side. This allows the cord keeper to wrap around like a bracelet, holding your larger cables tightly in place.

If you prefer Velcro squares instead of snaps, simply follow the same instructions, but replace the snap pieces with your Velcro pieces—just be sure to position them in the same spots! Both options will work great, so it’s up to you how you want to close your cord keeper.
Cord Keeper DIY Sewing Tutorial

Materials You’ll Need
One of the best things about this Cord Keeper DIY is that it uses fabric scraps, so you can finally put those little leftover pieces to good use! Here’s everything you’ll need to make your own:
- Fabric scraps – Any cotton fabric works great for this project! Quilting cotton is my favorite since it’s sturdy but easy to sew.
- Plastic snap pliers kit OR Velcro – Snaps give a clean, professional look, but Velcro works great if you want a quick and easy option!
- Lightweight fusible interfacing (optional) – If you want a bit more structure, adding interfacing helps, but you can totally skip this if you prefer a softer cord keeper.
- Matching thread – Because we want everything to look neat and pretty!
- Sewing machine – For stitching it all together (but don’t worry
- Point turner – Makes it easier to get crisp corners when turning your fabric right-side out.
- Iron – Helps press everything nicely for a clean, polished look.
That’s it! Just a handful of supplies, and you’re ready to sew up some cute and super practical cord holders. Now, let’s get stitching!
Step 1: Cut Your Fabric

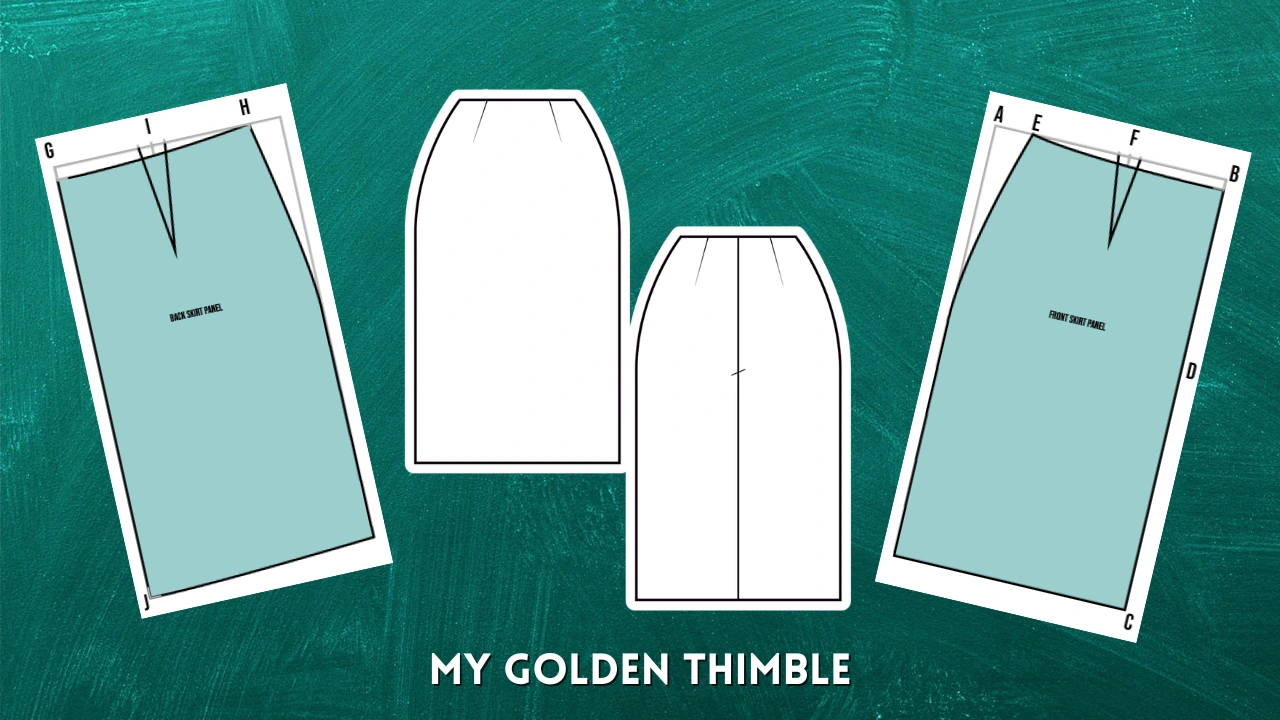
Start by cutting two mirrored layers of the pattern from your fabric. If you’re working with a fabric that’s a little too flimsy or stretchy, this is the perfect time to add lightweight fusible interfacing to the back of each piece.

It’ll give your DIY cord wrapper a bit more structure and durability.
Step 2: Sew the Pieces Together
Place the two fabric pieces right sides together, making sure all edges line up nicely. Then, using a ¼” seam allowance, stitch all the way around—but don’t sew it completely closed! Leave a small opening on one of the longer sides so we can turn it right side out later.

Make sure to backstitch at the beginning and end of your stitching so your seams stay secure when you flip it. Now, let’s move on to the next step!
Step 3: Trim and Notch the Seam Allowance
Now that we’ve sewn our cord keeper sewing pattern together, it’s time to trim down the seam allowance so we can get those nice, smooth curves. Carefully trim the seam allowance on the rounded ends by half—this will help reduce bulk and make it easier to turn.

After that, make small notches along the curves by cutting tiny triangle-shaped snips close to the seam, being careful not to cut through it. These little cuts will help the fabric lay flat once turned. If you have pinking shears, you can use them instead to trim the seam allowance, as they naturally create tiny notches and save you a step.
Step 4: Turn the Cord Keeper Right Side Out
Using the open space we left while sewing, carefully turn your DIY cord wrapper right side out. For the smaller sizes, this step can be a little tricky, so a point-turner tool will be super helpful in pushing out the curves and corners. Just be careful not to puncture the fabric as you work!
Once it’s fully turned, smooth out the edges with your fingers and give it a good press with your iron to make everything nice and flat. A well-pressed cord keeper will look neater and be easier to topstitch in the next step!
Step 5: Topstitch Around the Edges
Now that your cord keeper DIY is looking nice and crisp, it’s time to sew a topstitch to give it a polished finish and help it hold its shape. Take it to your sewing machine and stitch all the way around the edges using a ⅛” seam allowance. This step not only makes it look extra neat but also closes up the opening we used for turning.

Make sure to backstitch at the beginning and end of your seams to keep everything secure. Once that’s done, your cord keeper is almost ready to use—just one more step to go!
Step 6: Attach the Snaps
Now for the fun part—adding the snaps to your cord keeper for desk or wherever you plan to use it! We mentioned at the beginning of the post that there are two ways to install the snaps depending on how you want your cord keeper to close.

Take your snap button kit and pliers, and use the pattern as a reference to mark where to place the snaps on each end of the cord keeper.

Attach the snap pieces carefully, following the instructions on your snap kit. Take your time here because snaps can be tricky—once they’re in, they’re not coming out, so it’s best to go slow and make sure everything lines up perfectly.
Once the snaps are securely installed, you’re all done! Your DIY cord keeper is ready to keep your cables neat and organized.
Conclusion

And that’s it—your cord keeper DIY is ready to keep all your cables neat and organized! I hope you had fun with this easy project, and I’d love to see your finished creations. Don’t forget to share them on social media and tag us @mygoldenthimble so we can see how you made it your own. Happy sewing, and keep those cords untangled!
Don’t forget to follow us on Social Media!!
Get Your Free Cord Keeper DIY Sewing Pattern
Hey there! Want this amazing free download? Just pop your name and email into the form below, and we’ll send it your way. Oh, and remember to check your promo or spam folders in case the email takes a detour there by mistake. If it does, just nudge it into your main inbox so you don’t miss any more freebies from us!


I love the cord keepers, but I have subscribed more than 5 times to receive pattern, but I have not received it.
Hi gorgeous!! Could you check again? I just resent it to you.
Please send pattern for cord keepers. Great gift idea. Thnx.
My love! You have to subcsribe on the form at the end of the post, and the pattern will be sent to your email asap.
would love to make these but do not see a pattern. how do i get it
Hi Teresa, there is a form at the end of this post which you have to fill out and we will send it to you.
Thanks for sharing this tutorial. I’ve made one cord keeper already, and plan to make more. So easy to make, and so handy!
Ohhh that’s so cool! Which size did you made?
Made the cord keepers right away. The family loved them. All cords are in their place. Would highly tell everyone make these as they are fun and easy to make sand help control the mess.
Awww thank you so much Brenda!! I love that you guys enjoyed it. They also make wonderful gifts don’t they???
Thank you for very creative ideas, and especially sharing them. I retired and just picked up on sewing again it’s been a long while. I started just taking in my clothes due to weight loss. I could only do so much, currenty I am enjoying your advice and tutors along with the patterens.
Thank you for all you do.
Thank you so much Teresa. It is my absolute pleasure being part of your sewing lives. I hope we can make more projects together!