
If you’re looking for a DIY Halloween garland, this Boo felt garland DIY is the perfect, cute little project to add some festive charm without the creepy vibes.
I know a lot of us love decorating for Halloween, but don’t really want skeletons staring at us or blood dripping down the walls, so this one is all about the fun side of spooky season.
This adorable felt garland features friendly little ghosts, happy bats, and the word “BOO” right in the middle, making it a cheerful (and not scary at all!) Halloween decoration.
And the best part? I’ve included a free SVG file you can use with your Cricut or any cutting machine, plus a PDF template so you can still make it even if you’re cutting everything by hand.

NOTE: This post contains affiliate links, which means that if you make a purchase using one of the links in this article, I may earn a commission at no extra cost to you (To know more about this, click here.)
About This Project
I had so much fun making this project! You already know I’m all about cute décor for Halloween, and this year I really wanted to step away from the usual orange and black.
A little while ago, I made some air-dry clay ghosts with purple and pink details, and I completely fell in love with that color combo. It felt so fresh and playful, so I thought—why not use the same palette for a garland? That’s how this DIY Halloween garland idea came to life.
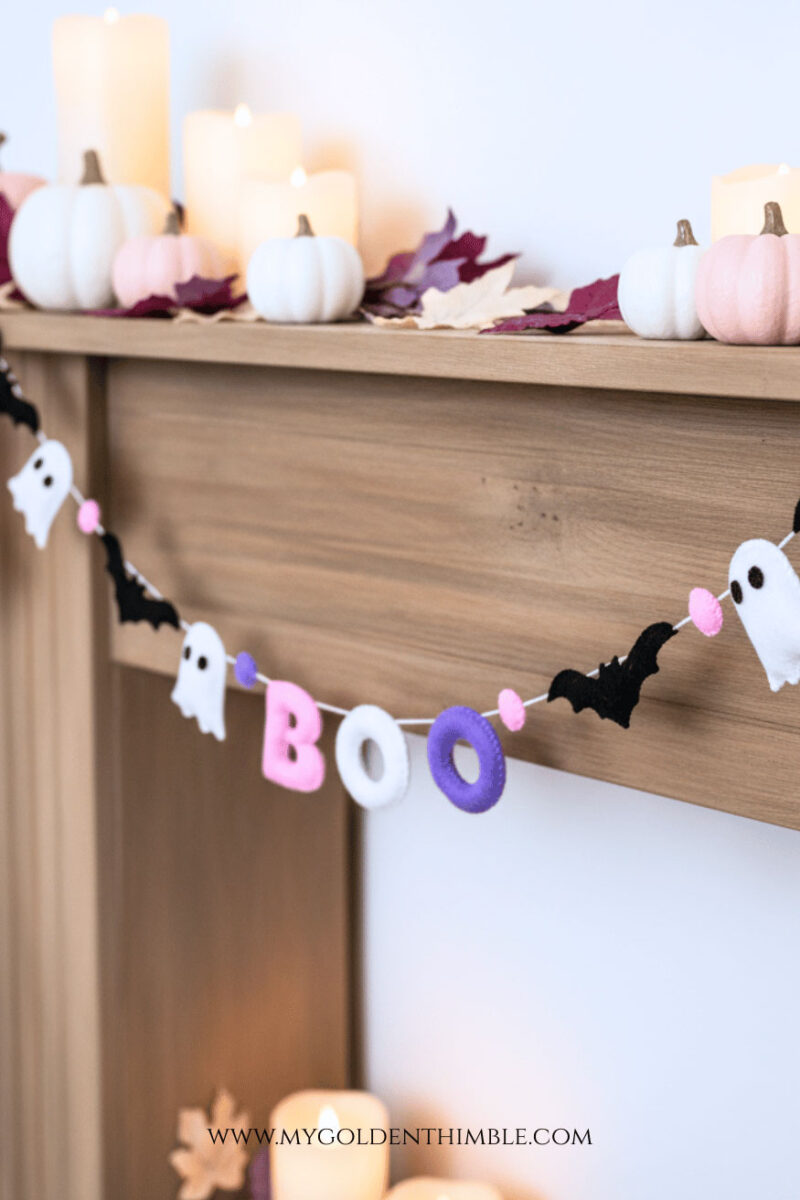
The free files for this project are designed to be used with a Cricut or any cutting machine like a Silhouette, and they come in SVG format, so you can get perfect, crisp shapes. Don’t worry if you don’t have a cutting machine, though, because I also included a PDF template that you can easily cut by hand.

For my version, I used my Cricut Maker 3, and let me tell you—it made this project so quick and easy, with every piece coming out perfectly neat. I used acrylic felt from a rainbow bundle I picked up earlier this year, and it worked beautifully for this kind of craft.


Now, here’s the fun part: I actually made two different versions of this garland. One in purple and pink (my “cute Halloween” palette), and another in classic black and white.

They each give off a totally different vibe. For the colorful version.
DIY Halloween Garland: Make Your Boo Felt Garland DIY

Materials and Tools You’ll Need
Here’s everything you’ll need to make your own Boo felt garland DIY:
- Felt fabric – Choose the colors you love! I used a rainbow felt bundle so I could play with purple, pink, and also the classic black and white.
- Matching thread – For sewing or stitching details if you’d like to add extra touches.
- White glue or hot glue/silicone glue – Either one works to attach the smaller pieces together.
- String or cord – I recommend using rat tail cord because it has a nice shine and really enriches the look of the garland.
- Cricut (or any cutting machine) – Totally optional, but it makes cutting the pieces super fast and perfectly neat.
- Cricut tools – Like a spatula or weeding tool, if you’re using a cutting machine.
- Scissors – In case you’re cutting everything by hand with the PDF template.
Do you enjoy our freebies?? Support us so we can keep making freebies for you by buying us a cup of coffee here. We will be forever grateful!
Step 1: Upload the Files to Cricut Design Space
Start by transferring the free SVG file into Cricut Design Space. If you’re making the purple-and-pink version or the black-and-white version, make sure to adjust the colors of each piece so they match your chosen palette.
Don’t forget—you’ll need to cut two of every piece so that you can have a front and a back for each letter, ghost, and bat.

Since felt doesn’t have a “wrong side,” there’s no need to mirror the pieces. To save material, arrange the bat pieces tightly together on your mat before cutting.
Step 2: Cut and Prepare the Pieces
Once everything is cut, carefully peel the pieces off your Cricut mat and arrange them into pairs.
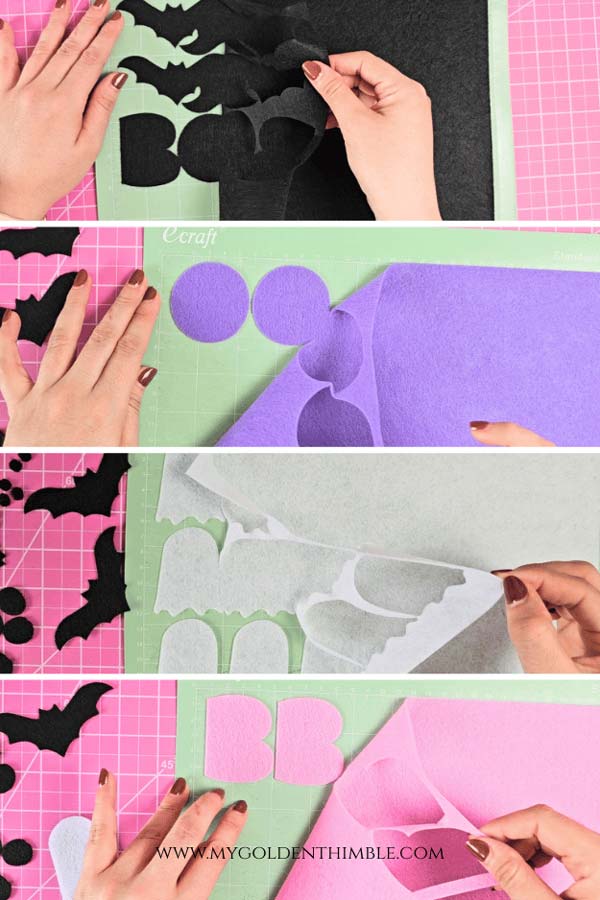
You should have two of every element ready to go. If you’re using the PDF template, simply print it, cut out the shapes, trace them onto felt, and cut them by hand.
Step 3: Sew the Pieces (Optional Puffy Version)
Now it’s time to stitch! Take each pair and sew around the edges using a simple running stitch or a blanket stitch—both work beautifully.
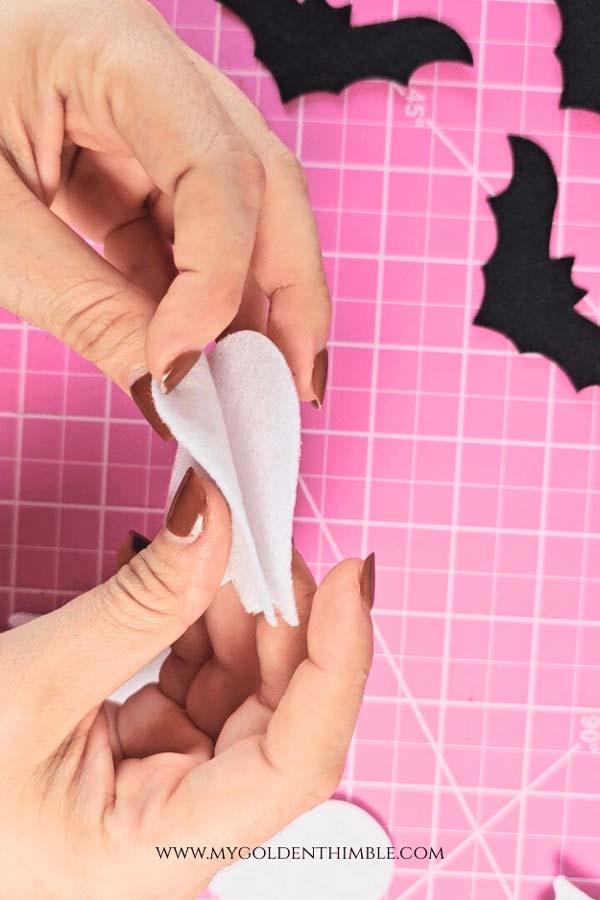
Leave a small opening so you can fill them later.
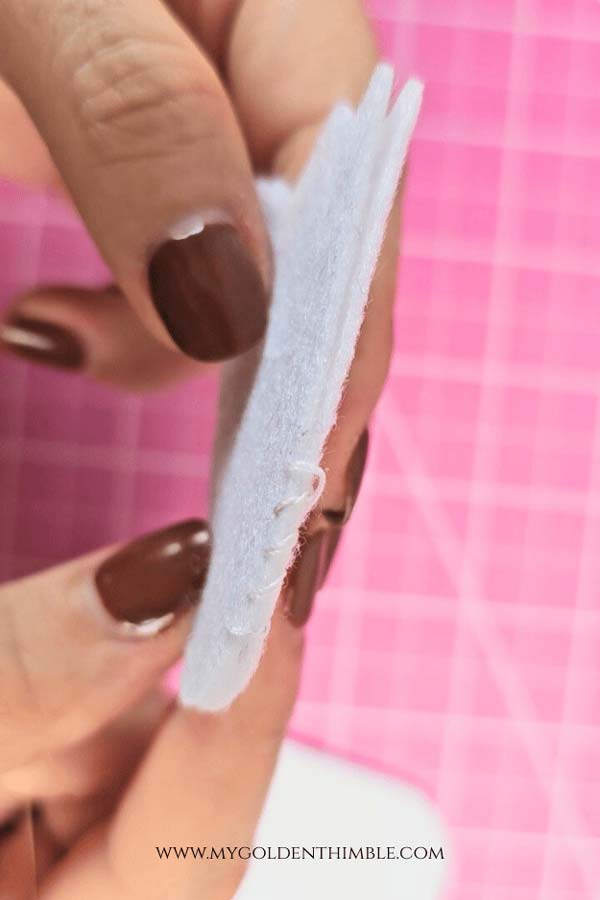
With a pair of long tweezers (I love using serger tweezers for this part), carefully stuff each piece with craft filling until it’s nice and plump.

Once filled, finish sewing the opening closed. To hide your knot, pass the needle through the inside of the piece before snipping the thread tail.

For the little ghost eyes, you can stitch them on, but I actually prefer to glue them because they’re so tiny, it saves time and still looks adorable.

Keep doing the same thing with the rest of the pieces.


Step 4: Flat No-Sew Option
If you prefer a flatter look, you can skip the filling and simply glue or stitch the two layers together with the string sandwiched between them.

This creates a sleeker finish that looks more like store-bought décor, while the puffy version feels craftier and handmade.

Honestly, both styles are super cute—I made both so I could decorate different parts of my home!
Step 5: Assemble the Garland
Once your pieces are ready, it’s time to string them together.
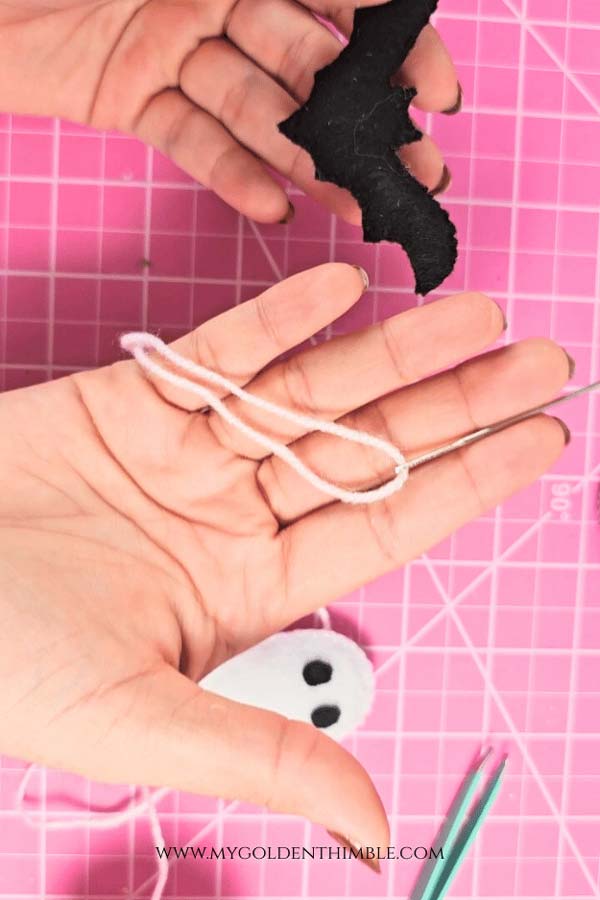
For the puffy garland, I used a large needle and standard acrylic yarn. For the flat black-and-white version, I used shiny rat tail ribbon for one and yarn for the other, which gives the garland a polished touch.
When threading the bats, make sure they hang correctly. If you only thread through one wing, the bat will twist on the string, which looks messy.

Instead, thread carefully so the string passes straight across the top of the bat’s head—this way it will hang flat and neat.
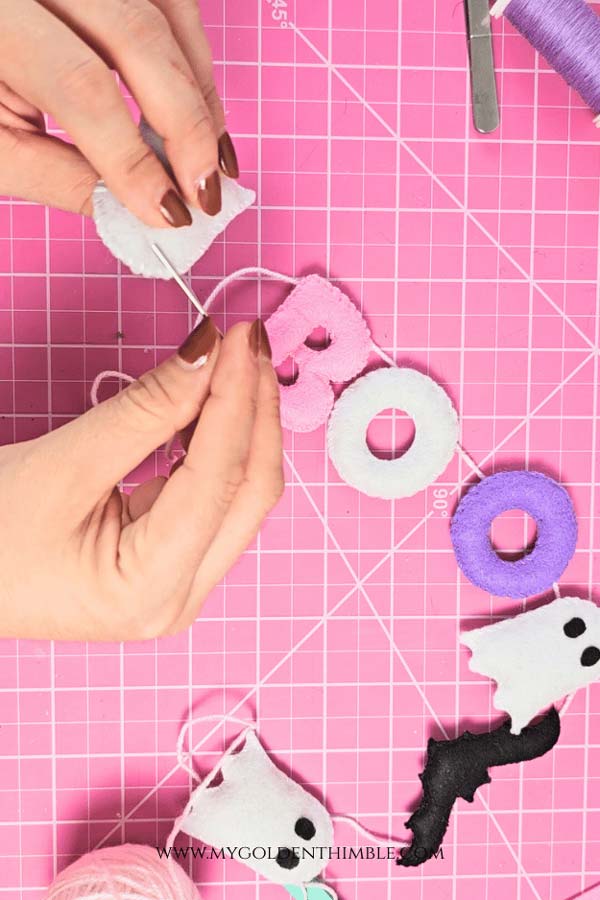
I spaced my pieces evenly (you can see the exact measurements in the pictures), but feel free to adjust depending on how long you want your garland to be.
Final Thoughts
And that’s it! Your DIY Halloween garland is ready to hang and bring some cheerful spooky vibes into your home.
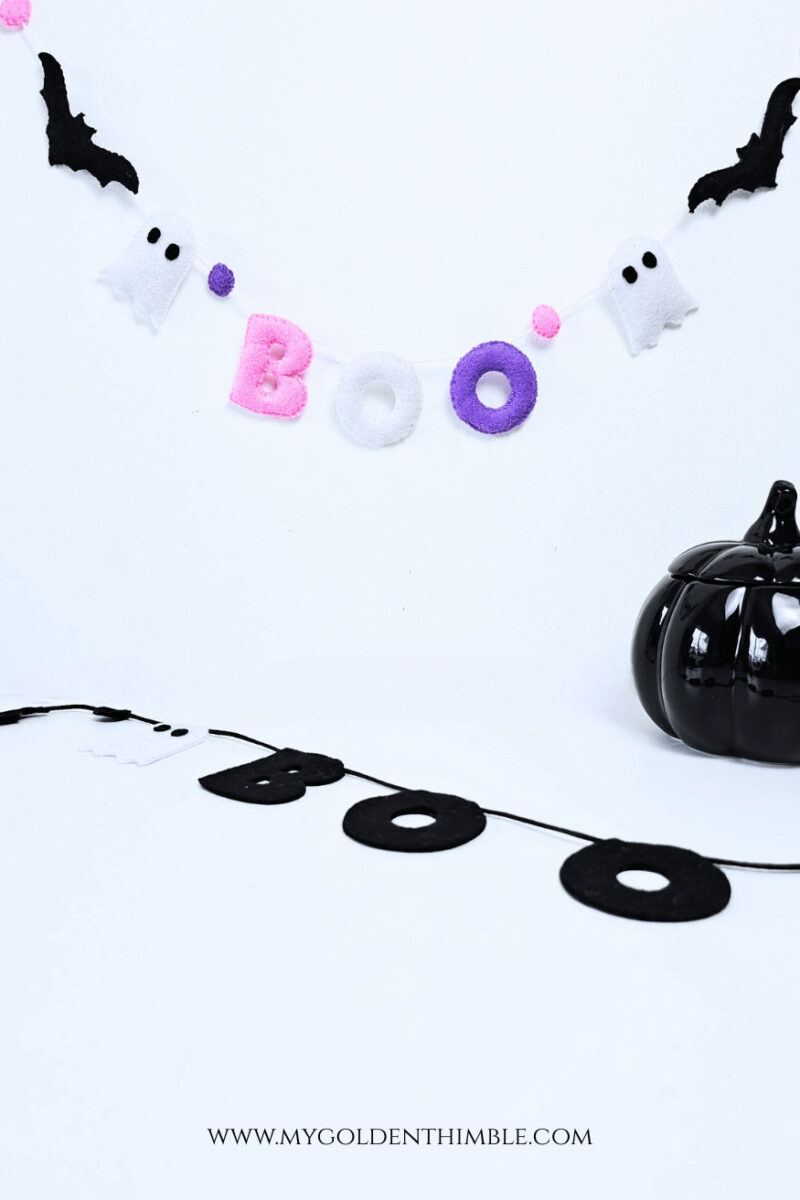
I personally love how the Boo felt garland DIY in pink and purple feels whimsical and playful, while the black-and-white version gives me those classic Halloween vibes—it’s like having the best of both worlds.
If you want to add even more personality to your garland, here are a few little ideas: try using glitter felt for the letters so the word “BOO” sparkles under the light, or add tiny beads and sequins for extra texture.

You can also mix in other Halloween shapes like little pumpkins or candy corns if you want to make your garland longer. And if you’re crafting with kids, the flat version is perfect—it’s quick, safe, and they’ll love choosing their own colors.
Don’t forget, the free SVG file and PDF template are ready for you to download, so you can start right away. I hope you have as much fun making this garland as I did—I already can’t wait to hang mine around the house!
Boo Ghost Garland Download (SVG + PDF)
Hey there! Want this amazing free download? Just pop your name and email into the form below, and we’ll send it your way. Oh, and remember to check your promo or spam folders in case the email takes a detour there by mistake. If it does, just nudge it into your main inbox so you don’t miss any more freebies from us!
Don’t see the form? Disable your ad blocker and refresh the page!
Do you enjoy our freebies?? Support us so we can keep making freebies for you by buying us a cup of coffee here. We will be forever grateful!








Thank you!!
You are most welcome!