
Today, I will show you how to use a Twin Needle to Hem Knit Fabric in just a few simple steps.
Have you ever been amazed by flawless hems on knit garments and wondered if they were made using special machines? Well, I’ve got great news for you—you can achieve the same results with a Twin Needle and your trusty home sewing machine!
Don’t be intimidated by this needle! Using it, it’s a simple process that just requires a few small tweaks, and you’ll be on your way to creating professional-looking hems in no time.
Most machines come with a universal twin needle that you can use right away, so look for it. But if you don’t have it, don’t worry, I will tell you which one to get.
NOTE: This post contains affiliate links, which means that if you make a purchase using one of the links in this article, I may earn a commission at no extra cost to you (To know more about this, click here.)
Choosing the Right Twin Needle
As you might know, twin needles have lots of applications. These double needles are designed to help us do double hemstitches to sew jeans, embroidery, and knit fabrics.
Even though there are several types of twin needles, the most common types are the universal and the stretch needles.
You can find these needles and all their variations in my needle-buying guide here.
You will need the later version to hem and sew knit fabrics. This one is usually blue.
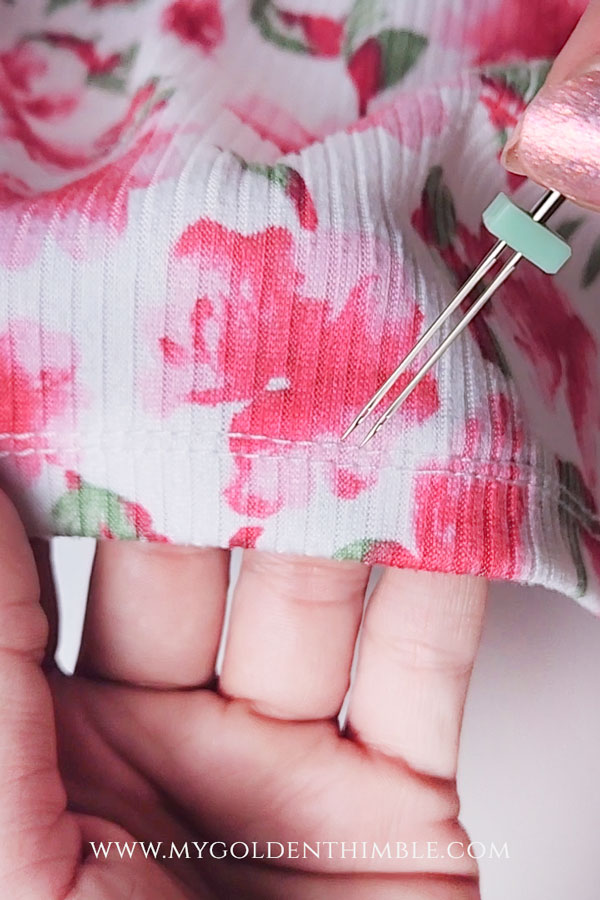
Once you spot them, you can choose the width distance between the needles: 2.5 or 4.0 mm.
I like to use the 2.5 widths to make pintucks and the 4.0 widths for hems because the latter has a bigger distance between the needles, which allows the bobbin stitch to allow for more stretch (I will explain this later).
Unfortunately, yours truly broke her 4.0 just as she was filming this tutorial. So, I will be using the 2.5 width today.
How to use a twin needle to hem knit fabrics.
Setting up your machine.
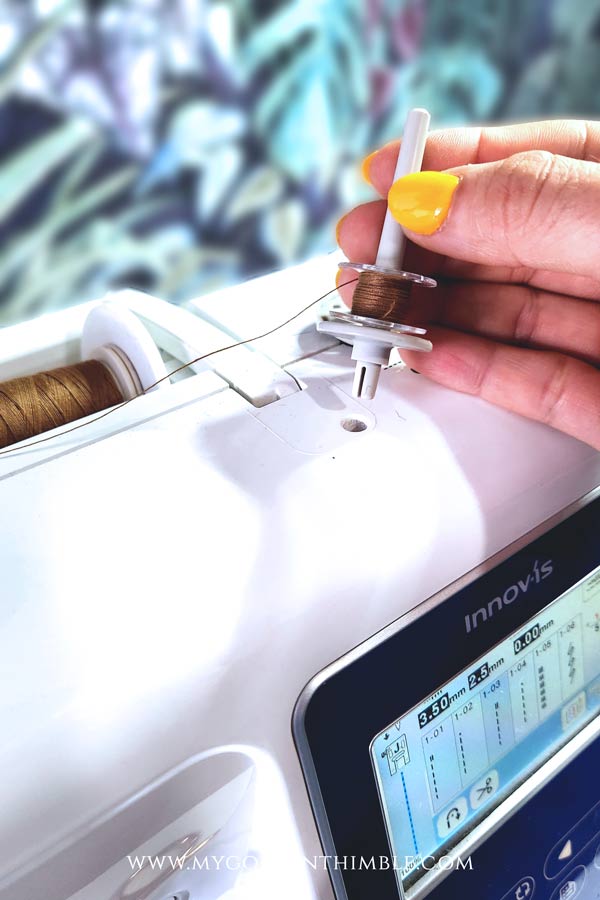
To make a twin-needle stitch, we need to set up our machine with two spools of thread.
To do that, you need to install the removable spool holder that comes with your sewing machine’s accessories.
Install it and then put one spool in each one. If you don’t have an extra spool, just fill up a bobbin, like I did here, and use that.
After that, we need to install our needle.
This is totally a no-brainer! Take out your old needle and then insert the butt of the twin needle as you would do with any other needle.
How to thread a double needle.

Then, take the two tails of the spool threads and thread your sewing machine as normal.
You can start with the one on the main spool holder and thread it on the left needle. After that, take the additional spool and thread it the exact same way, except you now need to thread the right needle.
Place the thread tails under the foot.
Testing your tension.
Always, always, always make a test before starting sewing with a new technique.
With twin needles in particular, I have found that, as with all fabrics, you will need different tension settings for each of the knit fabric types.
In this example, I used different tensions, and these were the results. As you can see, the higher the tension, the more even and stable the seam is. But also, it gets narrower (because of the tension).

The goal you want to achieve is to get the bobbin thread to form an even zig-zag stitch on the bottom of the fabric. This is what is going to allow the stitch to be stretchy.

The shorter the stitch, the more stretchy it will be.
You also want to avoid as much as possible for the top thread to show at the bottom.
Tighter tensions work best with this stitch.
If you notice that the stitch is causing a “tunnel” to form on the right side of the fabric, try to lower your tension a bit.

You can avoid this by using a piece of water soluble stabilizer on the top of your stitches.
Making your stitches.
First of all, press your hem with the desired width on the wrong side of the fabric. I like to do a hem of ¾” in my T-shirts and dresses.
In this case, you only need to fold your hem one time.

If I don’t need as much stretch on my hems, I will always do an overlock stitch on the edges of the fabrics first. Just FYI, the combination of both stitches will reduce the stretch on your hem.
Pin your hem from the right side of the garment, and then start sewing!

To finish the stitch, try to sew exactly on the top of the beginning of the seam to overlap the two ends. Then simply cut away the excess!!

And that’s it!!
As you can see, finding the perfect solution for hemming knits doesn’t have to be expensive or require a second machine.
By learning a new technique that is quick, easy, and affordable, you can achieve professional-looking results without any hassle.
So, next time you work with knit fabrics, try out this handy trick and see how simple and effective it is!
Happy sewing!








my thread always snaps after a few stitches. is there a trick what I can do?
Your tension is probably too high! Reduce the tension on the top thread first, then try the bobbin if it keeps happening.
This is so helpful. I have had twin needles for years and never known how to use them. I love how you explain everything so clearly. Thank you 😊.
Thank you so much for saying this Laura! I love that!
Do you ever use Stay Tape on your knit hems with the twin needle? I’ve seen it done but can’t find a tutorial on it.
I have, just make sure that is the stretchy kind!
This is the best tutorial I’ve seen! Thanks
Hi Annie! Thank you so much 😀 I am so happy it helped!
Very helpful. I have never used a twin needle
Thank you for commenting! Let me know how your first time goes!
Great tutorial!
Thank you so much Beth!