
This is the season to be jolly and embrace all things sparkly with our different DIY Glitter Ornaments!
In this tutorial, I am going to show you how you can easily make the cutest glitter Christmas ornaments with two colors of glitter for a unique effect.
And the best thing is that you won’t need any fancy materials like expensive glue or extra fine glitter. I know some tutorials ask you to get everything fancy, but don’t worry. I’ll show you how to create this beautiful effect using cheap and simple materials.
Are you ready to be dazzled by the enchanting world of DIY glitter Christmas ornaments? They’ve taken over our homes faster than Santa on Christmas Eve! So, get ready to add some serious sparkle to your day, my friend!

NOTE: This post contains affiliate links, which means that if you make a purchase using one of the links in this article, I may earn a commission at no extra cost to you (To know more about this, click here.)
A special Ornament design
When it comes to festive decorations, there is one trend that has every one of us getting sparkles all over our craft rooms- Christmas glitter ornaments!
These little balls of shimmer have become the ultimate holiday accessory for our Christmas trees.

I created clear plastic ornaments with glitter for the first time while making my set for Nightmare Before Christmas Hand-painted Ornaments. It was a huge success, and I learned all the tips and tricks to make these gorgeous ornaments.
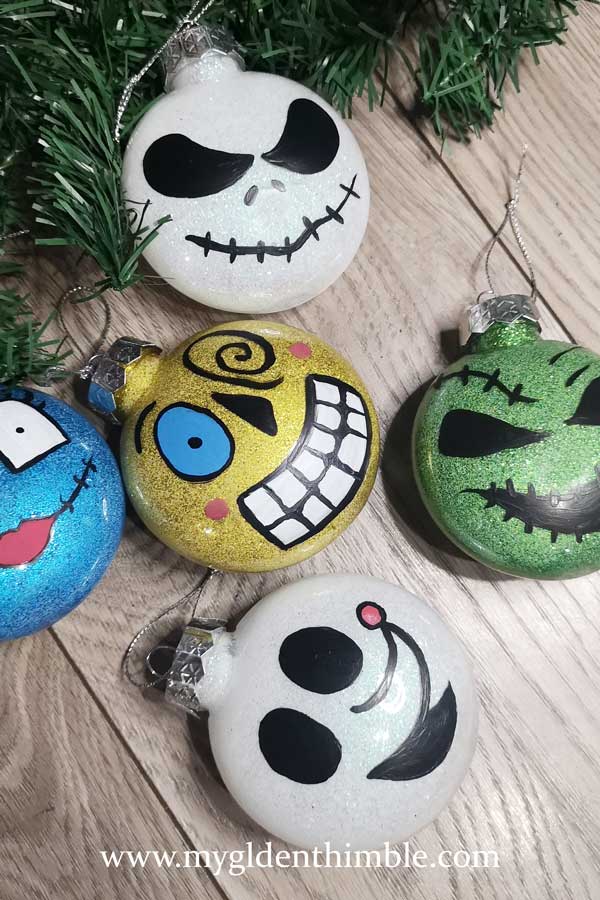
But this year, I wanted to go even further and challenge myself to make a TWO-toned color DIY glitter ornament because I am just that EXTRA.

After a couple of trials and errors, this is what I achieved.
Surprisingly great! Two colors, one unique effect. Perfect for any Christmas color palette theme.
So what do you say I show you how you can create these gorgeous free DIY Christmas Ornaments yourself?
Read this too: Don’t Break The Bank! 5 Elegant & Simple Christmas Ornaments DIY
What kind of glue do you use for glitter ornaments?
The answer to this question couldn’t be simpler.
To get glitter to stick inside ornaments, you need plain, simple white glue.
Yes, the one you can get at any school or crafts supply shop.
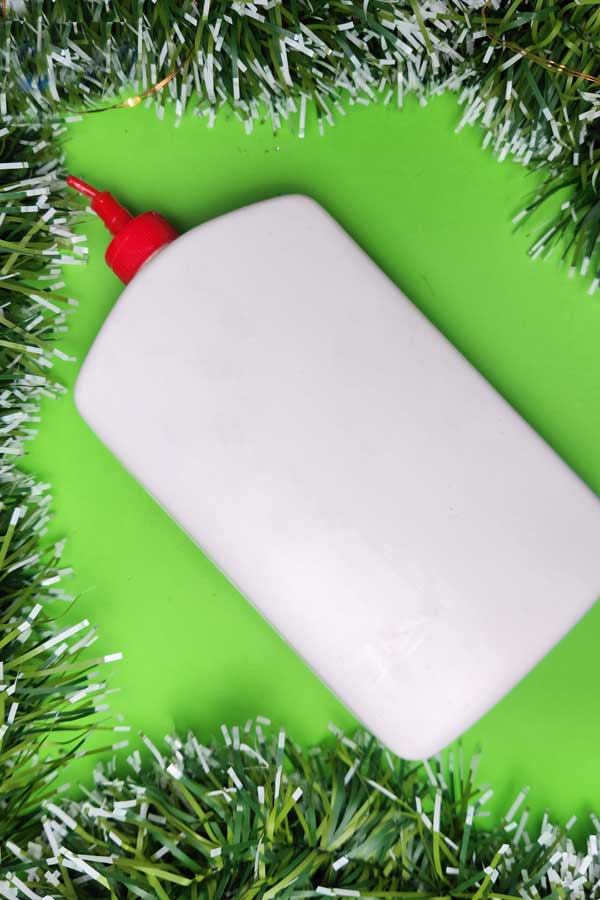
And before you ask me, why do all these other tutorials ask for Mod Podge or even polyacrylic glue?
Of course, there are certain advantages of using fancy glue to make your glitter ornaments with these types of glue. They will definitely last longer and dry harder.
Which let me tell you… In my book, those are DISADVANTAGES!
Because here is the thing. If you use white glue, you can mess everything up and start over again without wasting anything but glitter!
I have done this a lot. Not only because I like to recycle and upcycle my old ornaments but also because I messed up a little when I first learned this technique.

And, of course, I wasn’t going to throw my clear glass ornaments into the trash!
I only had to fill them with water, let the glue soften up, and then just wash it all. As you can see in the video tutorial below, the ornament will come up as clean as when you got it new.
And it also works if you try to wash old glitter ornaments from past years. I did this with one of last year’s Nightmare Before Christmas Ornaments, and it worked!
It only took longer for the old glue to soften, but it worked perfectly. Also, you can just peel it off when it is dry to remove the old glitter quicker and then wash up the rest.
Gather the Materials
First things first, let’s gather our supplies. Here is what you will need to make the DIY Glitter Ornaments.
- Clear glass ornaments (or clear plastic ones)
- Glitter of different colors (any type, size or shape)
- White glue
- A small cup to put the glue in
- Ribbon for decoration
- Adeshive vinyl for a Cricut design (optional).
- Cricut Maker 3 (optional).
- Other notions for decoration like pearls, studs, and fake gemstones (optional).
With these simple materials, you can effortlessly bring a touch of personalized glamour to your ornaments. As you can see, except for the clear ornaments, you probably already have all the rest of the material list in your craft room already.
Read this too: DIY Glitter Foam Ornaments. Easy Step-By-Step Tutorial.
How to Make Glitter Ornaments
1. Prepare Ornaments for Glittering

To prepare your ornaments for glittering, carefully select clear glass or plastic ornaments of your choice.
Then, remove the caps from each ornament and ensure they are clean and completely dry.
This will allow the glitter to adhere evenly and create a dazzling effect.
2. Apply one coat of glue

Let’s get started by applying a nice amount of white glue inside the ornament.
Don’t worry about putting too much, as we can always clean up the excess later.
To make sure that the glue is spread evenly throughout the inside of the ornament, let’s give it a little twirl while applying it.
We want to make sure that every surface gets covered, so go ahead and spread that glue around!
3. Remove excess glue and let it sit

Ok, here is one part of the trick to make sure you will succeed when using white glue on your ornament.
Turn the ornament upside down and place it over a container.
Let all the excess glue drop out, and then wait about 10-15 minutes just to let the glue sit on the walls of the ornament.
If the glue is too wet, your glitter might drip around and mess up your design in the next steps.
4. Apply the first color of glitter

Now comes the crucial part of this whole process.
First, you have to look for a “small spoon.” Basically, anything, literally anything that can hold a small amount of glitter and fits through the opening of the ornament.

I used a cuticle pusher from my manicure set. But other ideas that come to my mind to replace this tool are the opposite end of a small spoon, a nail file, a straw sliced in the middle… What every you have around that is clean and fits will do.
Put your first color glitter in a small container (I used a water bottle cap) so you can scoop it up with your tool.

Grab some glitter and carefully drop it inside your ornament in any spot. Shake it softly so it can spread to the sides of that spot.
Repeat this step a couple more times until you get enough spots of the same color.
5. Apply the second color glitter.

Now the hard part is over, let’s add the second color.
This will be way easier as you only have to pour a lot of the second color glitter inside to fill up the empty spaces.
You can use a paper funnel to do this easier.
Pour it into the ornament. Give it a gentle shake and rotate it around to ensure the glitter is evenly spread.

Tip: Use a piece of paper on the top before you shake it so you won’t make a mess.
Finally, shake the excess glitter out into its container.
6. Let it dry overnight.
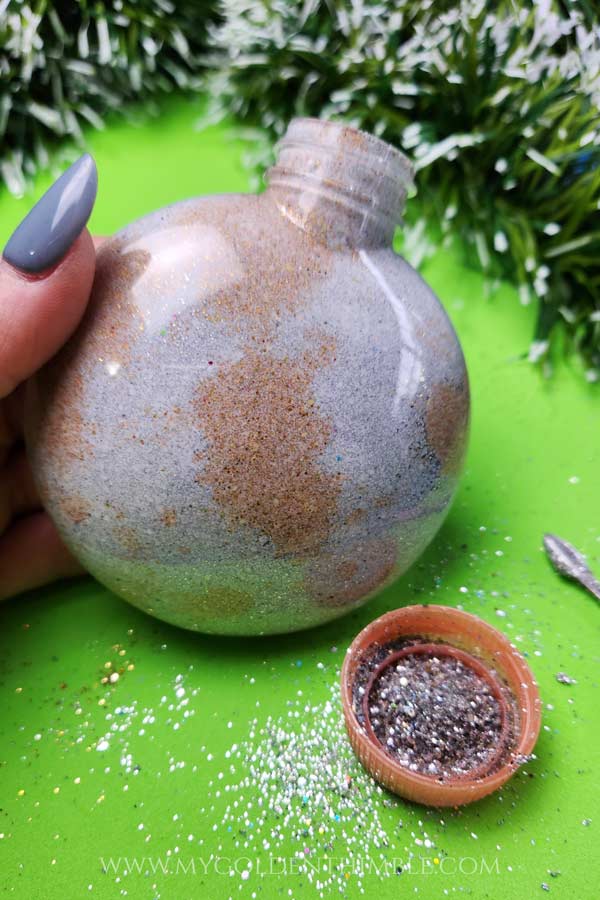
After applying the glue and glitter, it’s important to let them dry completely for the perfect finish.
Find a nice, clean, and flat surface to put your glittery ornaments on, and make sure they won’t be disturbed.
To avoid the glitter sticking to one spot, try positioning them differently.
And here’s the crucial part – just leave them alone overnight!
This gives the glue enough time to dry completely and the glitter enough time to stick to the surface securely. The result will be some seriously beautiful ornaments you’ll be proud to show off!
Once they are dry, you can put the cap back on!

Add Finishing Touches. How to personalize and decorate your glitter ornaments.
After creating your glitter ornaments, there are several finishing touches you can add to decorate further and personalize them:
Option 1. Adding Cricut Designs.
For a one-of-a-kind look on your ornaments, consider utilizing adhesive vinyl and a Cricut machine to create intricate and personalized designs or messages.
With a Cricut cutting machine, you can easily cut out intricate designs from adhesive vinyl in the Cricut design space, which can then be applied to the exterior of your ornament.
This allows you to create a unique and custom look for your ornaments that is sure to impress.
Whether you want to add a personalized monogram or create a specific design, a Cricut machine and adhesive vinyl can help you achieve the perfect look for your ornaments.
Option 2. Ribbon and Bows

Want to make your Christmas ornaments look even more amazing?
Consider adding some decorative ribbons or bows to the caps!
You can either tie them around the cap or glue them on.
When picking out ribbons or bows, choose Christmas color palettes and patterns that match the glitter on the ornament – this will create a cohesive and stunning look for your tree decorations.
Option 3. Embellishments.
To give your ornament a little extra pizzazz and make it stand out, why not add some cute embellishments like small pearls, studs, or fake gemstones?
Just grab a strong adhesive and stick them onto the outside of the ornament wherever you think they’ll look best. I loved doing this for my 5 elegant DIY Christmas Ornaments.
And I can tell you that it makes them really unique.
Get creative and place them in a way that complements the existing design of the ornament, like putting pearls or gemstones at the corners or arranging studs in a cute little pattern.
With these fun little touches, your ornament will be the talk of the party.
Option 4. Personal Touches.
When it comes to adding a personal touch to your glitter ornaments diy, don’t be afraid to get creative and have some fun!
Try attaching cute and quirky charms to your handmade glitter ornaments, make custom labels that reflect your unique personality, or even incorporate tiny trinkets that are special to you.
These little touches will make your ornaments stand out and bring a smile to your face every time you see them.
So, let your imagination run wild and add some extra personality to your everyday items!
Conclusion

Creating vibrant two-colored glitter ornaments without the need for fancy glue is a simple and enjoyable craft project that adds a personal touch to your holiday decor.
The key steps involve preparing the ornaments meticulously, applying a generous coat of white glue, and carefully adding layers of glitter for a dazzling effect. Removing excess glue and allowing the ornaments to sit before using glitter ensures a clean and controlled process.
With patience and creativity, this DIY Glitter Christmas Ornaments DIY will have stunning results.
As you let your glittery creations dry overnight, you’ll find the anticipation well worth it, and the result will be beautiful ornaments that reflect your unique style.
I hope this easy and budget-friendly craft motivates you to have fun making glitter ornaments on your own.
These handmade ornaments are a delightful addition to your festive decorations and make for thoughtful and cherished gifts during the holiday season.
Give it a try and enjoy the satisfaction of crafting your own dazzling ornaments!
Don’t forget to follow us on Social Media!!







Hi Dafhtne,
These look amazing.
Ever used Elmer’s clear glue in place of the white glue?
Thank you,
Deb
I have used clear glue too (Not elmer’s though), but as I get the white on bulk I tend to use more of that one. Both work great!