
There is no better way to get new tops and clothes than DIY an Upcycled Shirt Refashion. A women’s upcycled shirt to be precise.
This is a very easy and affordable way to get new clothes without actually spending any money on them.
In this tutorial, Julie will teach you how to transform an old Shirt from her work into an absolutely beautiful tie-straps top.
Our top will be one more idea of a lot of upcycled shirt ideas you can learn to transform your old and outdated shirts.

Inspiration for sewing projects can come from some pretty unusual places.
But, I think my latest flash of creativity even surprised me when I took on the refashioning of a pretty unfortunate-looking tradeshow blouse.
Inspiration for the upcycled shirt.
You see, the company I work for is currently doubling in size.
And, some rooms and offices are being relocated, which means a lot of cleaning is going on.
When we were going through a huge set of cabinets in our training room, we found a treasure trove of old marketing materials, including some branded tradeshow shirts.
Back in the day, when we attended tradeshows, we would wear coordinating shirts or sweaters embroidered with the company logo or a specific product we were promoting at the time.

Most of these sweaters and polos were pretty non-offensive, and we were able to get rid of them by offering them up to current employees.
However, we could find no takers for one of our former trade show tops: a branded white blouse with French cuffs.
And, I can understand why.
These blouses are fitted, matronly-looking and the logo for the product we were promoting at the time (which we had embroidered on the shirt) was just not very pretty.
As we were bagging up these blouses to drop off at Goodwill, I joked to my colleagues that I would take them home and turn them into some cute rompers for us.
Which they all thought was hilarious.
Initially, I was definitely NOT serious. But then, I began to get excited about the prospect of turning something so hideous into something cute and wearable for summer.
Preparing the refashioned shirt
Although I had initially proposed converting these blouses into rompers, I quickly scaled back my ambitions.
I thought a cute summer camisole-style blouse pattern with ties at the top would be much more doable with the limited blouse fabric.
So, I jumped right in taking apart the blouse to try to establish a rough shape.
There’s something quite liberating about cutting into the fabric you don’t care about. Whenever I’m making something with very expensive fabric, I hem and haw, and measure and re-measure before actually making a cut.
But since we had quite a few of these blouses, I felt quite fearless, chopping off the sleeves and the collar.
Already it looked better.
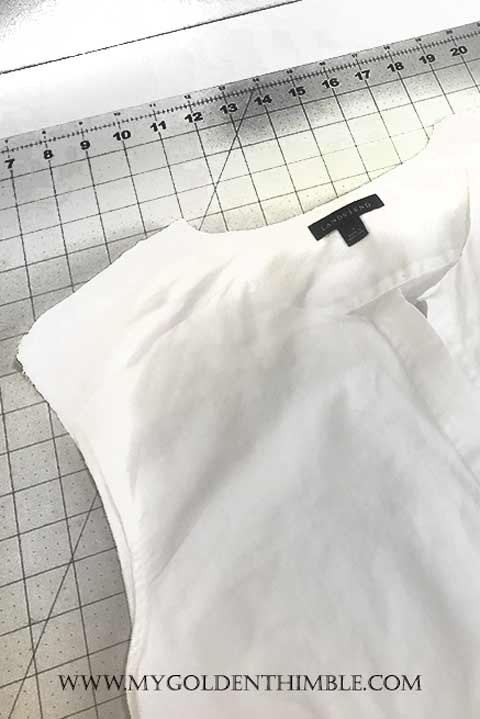
But, then there was the issue of the logo.
Removing the embroidered logo on this delicate fabric was not doable, so I needed to re-style the shirt in a way that would eliminate the ugly embroidery.
So, using a straight edge, I sliced off the top portion of the shirt front on both sides just under the embroidered logo.
However, with this portion of the front missing, it felt like the shirt might be too low.
So, I decided to integrate a small facing piece above the remaining shirt front.

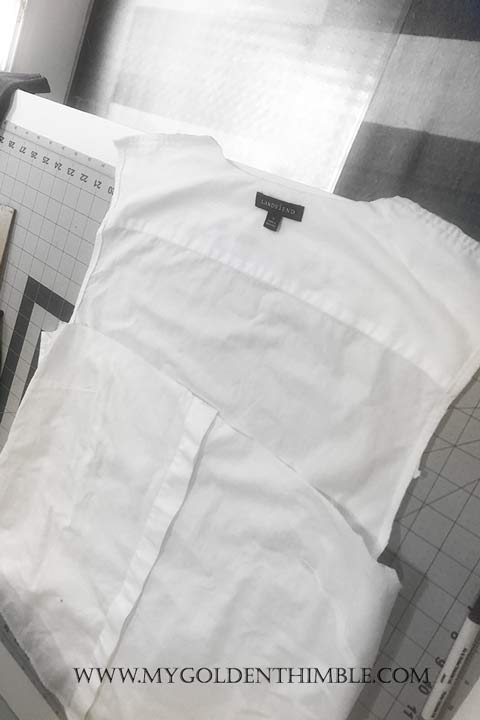
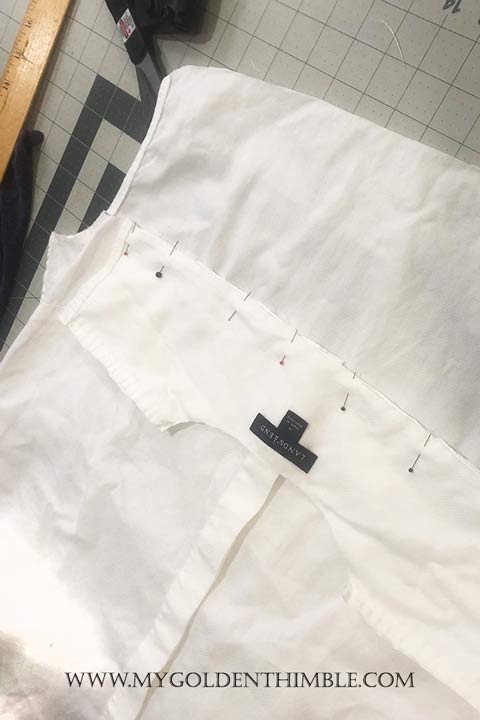
I made a temporary facing piece from the top back of the shirt above the shoulders where it is double layered.
Then, I roughly stitched the top front portion of the shirt where I had removed the logo.
The way it looked was great, even though the facing piece prevented the shirt front from unbuttoning completely.
Making the straps.
I used the reaming fabric from the sleeves for over-the-shoulder ties.
What I did was simply cut four strips from the sleeves about 2” wide and 16” long, folded them in half (lengthwise with right sides together), and pressed them.
After stitching them together so that the tube portion was about ¾” wide, I trimmed the seam allowances, turned them right side out, and pressed them again.
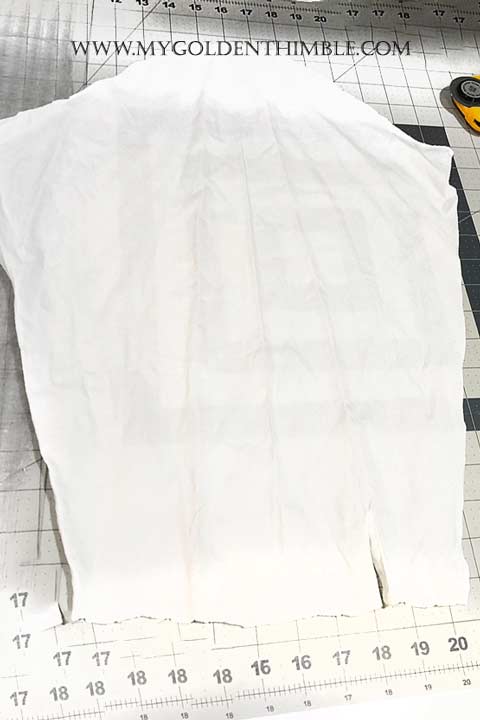
The next steps in refashioning the shirt would require putting it on a body and starting pinning it.
Fortunately, I have a 17-year-old in my house who is usually pretty willing to be my model.
When she saw what I was making, she asked if the shirt could be for her… um… sure!
But I suggested that maybe she should wait to see how it turned out.

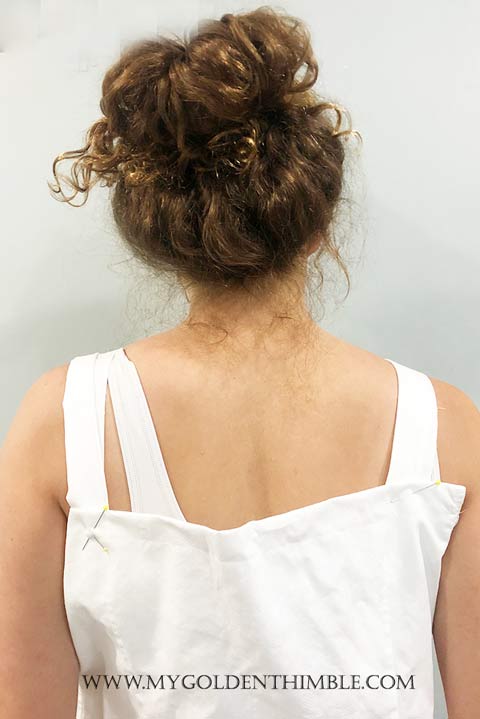
After trying the shirt on my model, I realized that the blouse was a little wide.
But, couldn’t make it too fitted because you can’t unbutton it completely to get it on and off.
It would have to be roomy enough to be able to go over the head.
So, I decided to gather the fabric in the back using some elastic.
Finishing the upcycled shirt.
Fitting the shirt on my model allowed me to refine the shape of the front-facing.
Since it came from the back-shoulder portion which was comprised of two layers of fabric, I kept this thickness.
In retrospect, I wish I had fused a bit of interfacing between the two layers to give it more body and it could lay flatter when pressed.
I created openings at the top of the front-facing and fed the raw edges of the straps through.
Then, I stitched these closed, securing the straps in place, and topstitched the entire front-facing.
I had a lot of extra length in the back of the shirt, so I trimmed down the back to the point where I wanted it to hit on the back, plus an extra 5/8” for seam allowance.
Then I made a rectangular facing piece for the back of the shirt from the scraps.
Like I had done in the front, I left openings for the straps and secured them in place by stitching the facing piece to the shirt.
Instead of topstitching the facing to the shirt, I created a channel for a piece of ¾” elastic to gather the excess fabric between the two straps.
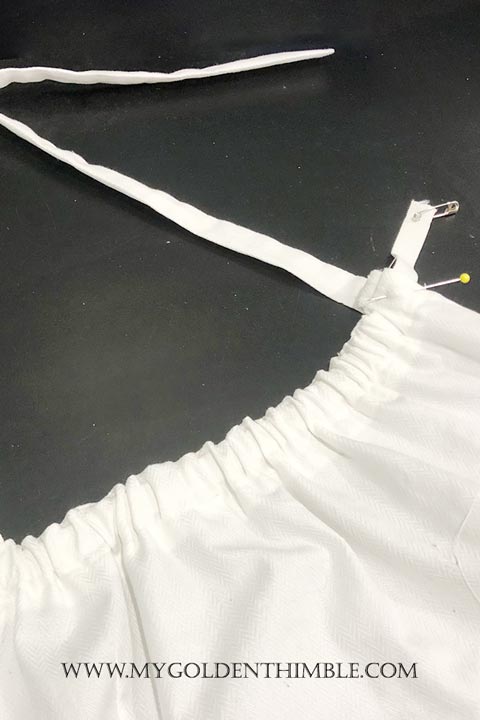
I did not have the elastic span the entire back width of the shirt but instead secured the ends of the elastic within the channel underneath the straps.
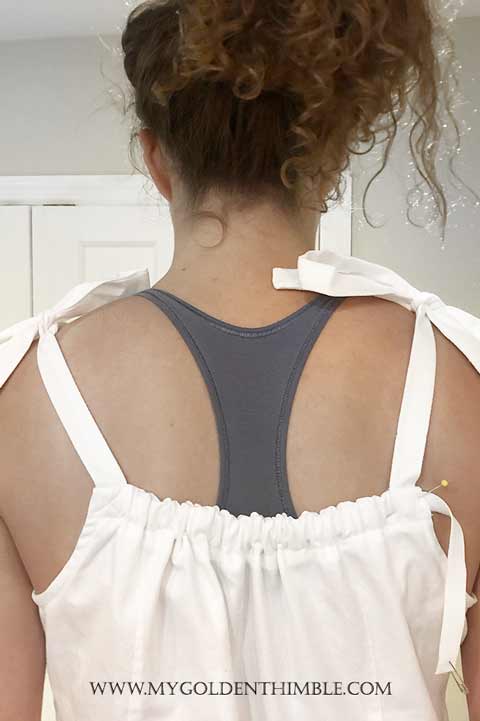
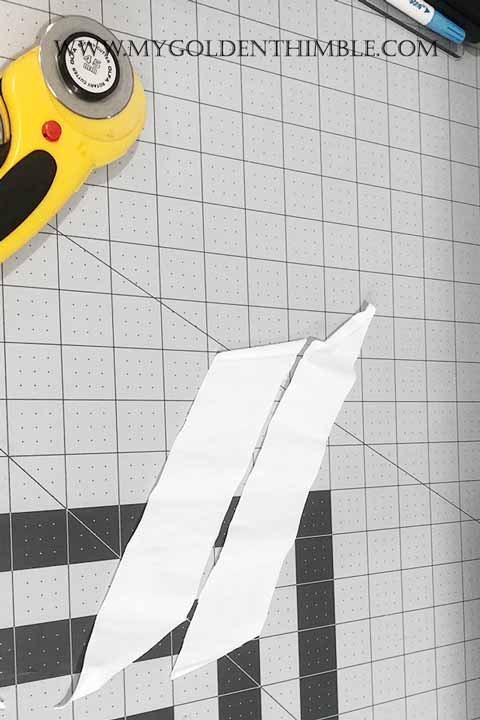
From the remaining portions of the sleeves, I cut out 1 inch wide strips on the bias for underarm facings.
I pressed about 3/8” down on one side and attached the right side of the facing to the right side of the raw underarm then pressed it down and topstitched it in place.
I hid the ends of the facing pieces underneath the front and back facings.
Final Upcycled Shirt Results
I have to admit, I’m pretty surprised with how well this little shirt turned out.
It bears very little resemblance to the original trade show blouse.
Plus, my daughter has been an enthusiastic recipient of this creation, already wearing it several times on hot summer nights.


Who is Julie from Machine Embroidery Geek?
Julie Griffey likes to make fun and modern projects using her sewing and embroidery machine. She holds an MA in apparel design and an MFA in design. When she’s not in her sewing room she’s striving to be a solid B+ parent. Check out her blog chock full of machine embroidery tips, how-tos, and inspiration.
Don’t forget to follow us on Social Media!!








Fantastic idea and great job explaining thank you
Thank you so much, Julie was great indeed upcycling this shirt!